
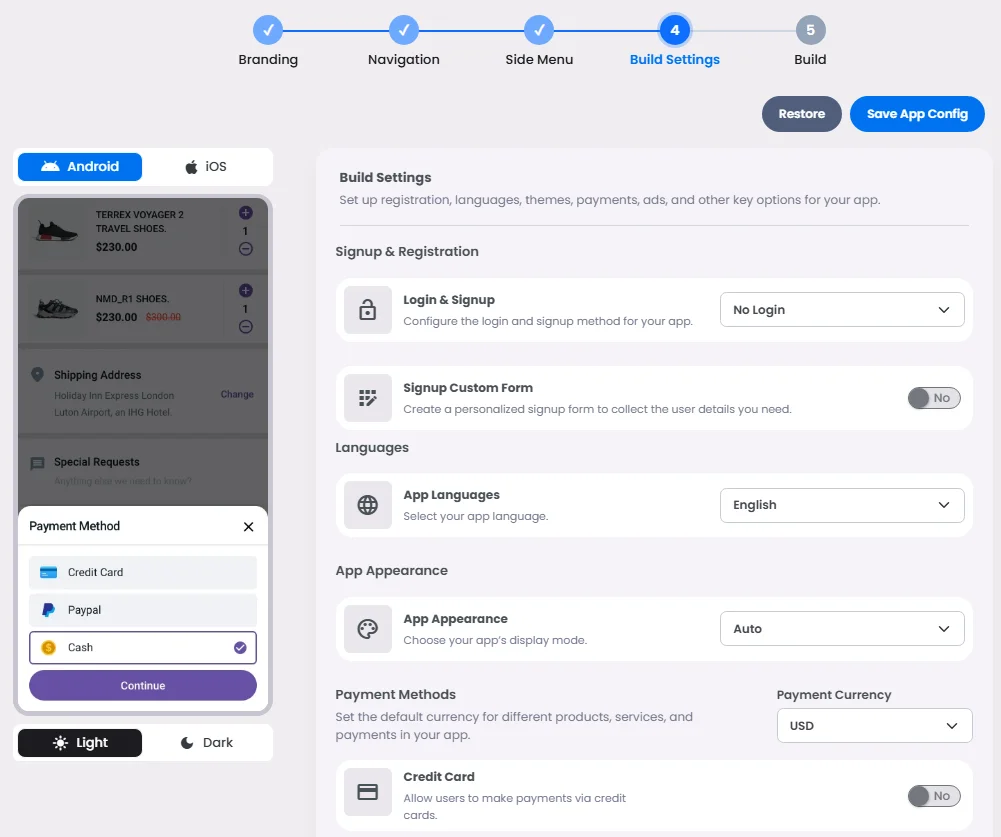
The Build Settings page allows you to configure multiple elements in your app: Signup & Registration settings, choosing your App Language & App Theme, selecting the Payment Method & Currency used in your app, and setting up Google Ads, Chat Backup, Appbars, Chat Labels and Change Request.
Signup & Registeration
Login & signup
This section allows you to select the method of verification when a user first signs up for your app.
You can choose to verify via email or mobile, or you can skip the verification process by choosing No Login.

And when you select the login method you want, the settings will open up to configure your login method:
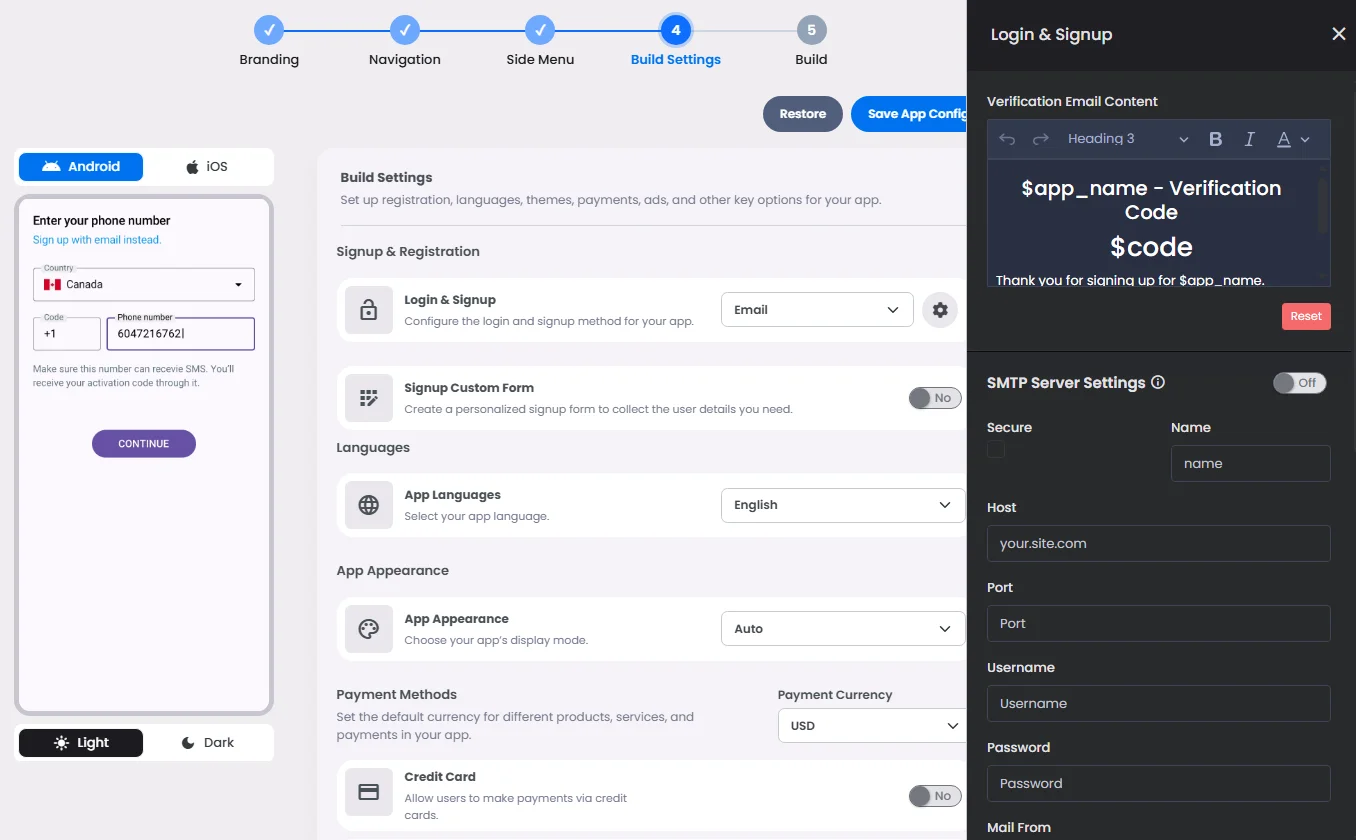
- Verification Message: Use the text editor to add the verification message you want to send to your users.
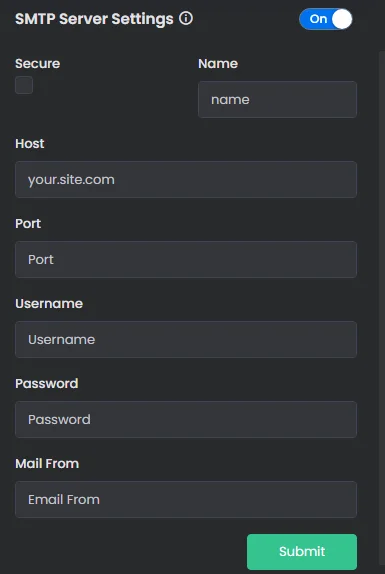
- SMTP Server Settings: To complete the verification process, turn the toggle on in SMTP server settings. Fill in the information and click 'Submit' to use your SMTP server; otherwise, leave the toggle off to use nandbox's SMTP server.
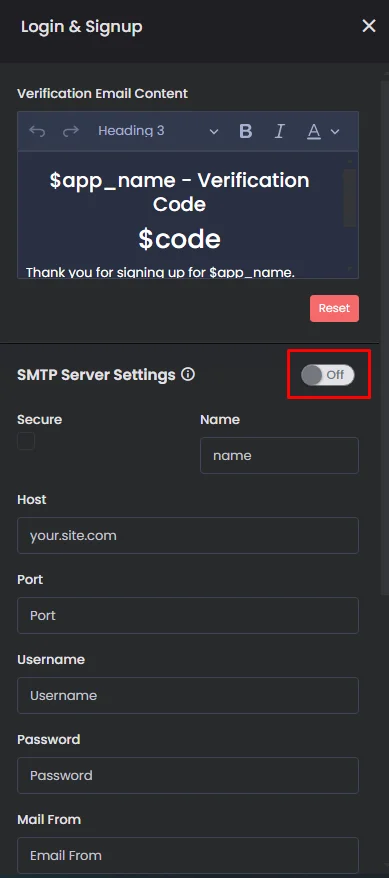
Here is an article to guide you with how the SMTP server works.
- You can allow your users to change the email used in registeration.

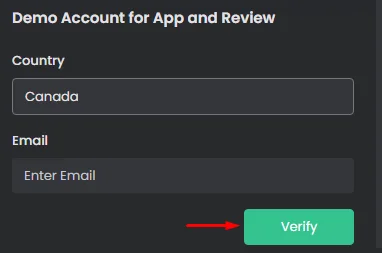
Demo Account for App and Review:
Before publishing your app on the Google Play Store and Apple's App Store, it must undergo review. In this step, creating a demo account is a must so that verifiers in Google and Apple can use it to access and evaluate your app. Once the review process is complete, your app will move closer to becoming available in the stores.
Your email must be unique and not already registered in the app.
Enter the country and the email address and click ‘Verify’.
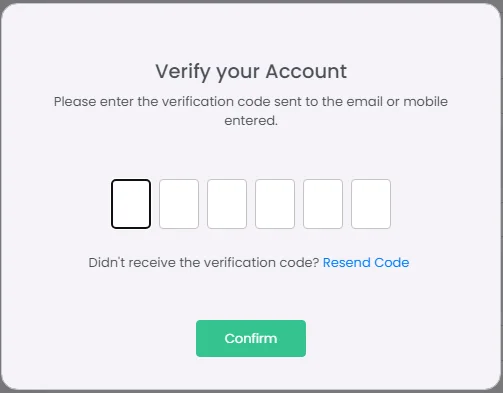
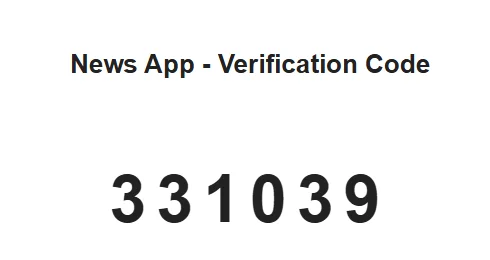
A verification screen will pop up; check your email, enter the verification code sent to you, and click 'Verify'.
These are the Android and iOS login instructions that Google and Apple will use to access your app for review.
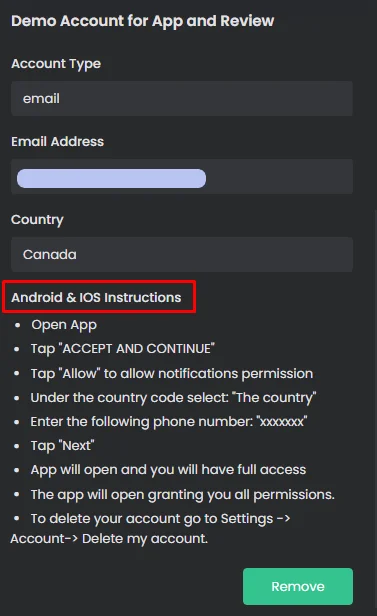
You can also remove these instructions if you want to change the email address.
Check these documents to find out where to put these instructions in the Apple Store and Google Play Store.
⇒ Mobile
The same goes for mobile verification. Choose the type of verification message you want to send to your users.
- Verification Message: Enter the verification message you wish to send to your users.
- Vendors: Select one of the vendors: Vonage or Infobip.
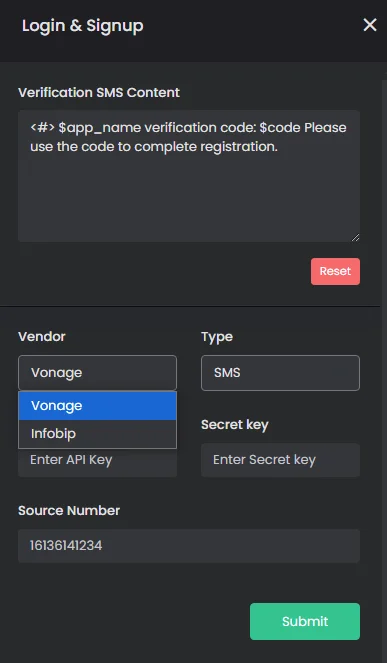
Vonage
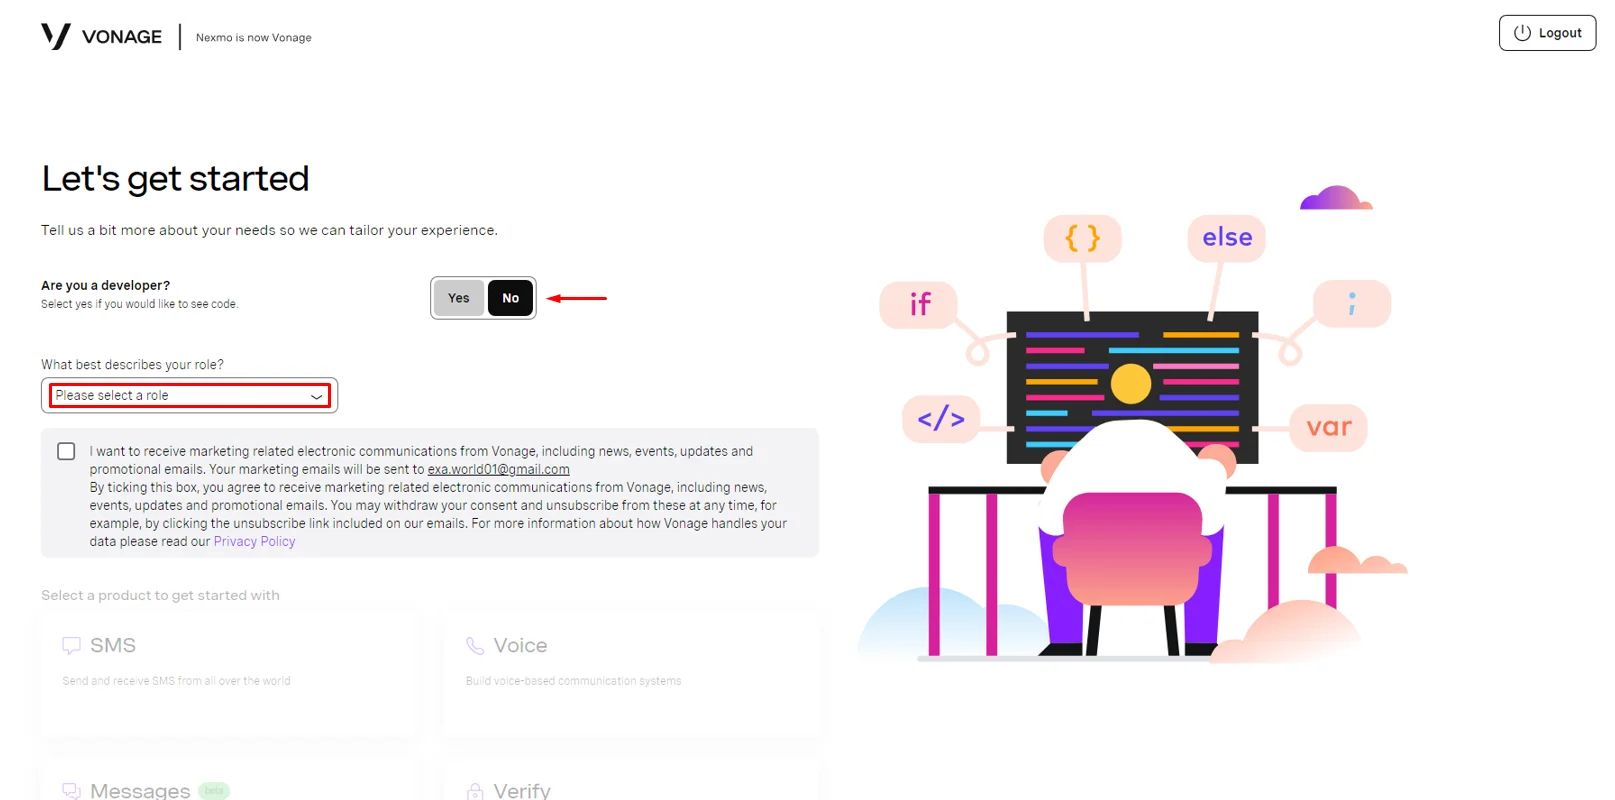
If you chose Vonage, click here to create a Vonage account. Once you create an account, you need to choose whether you are a developer or not. Then choose your role.
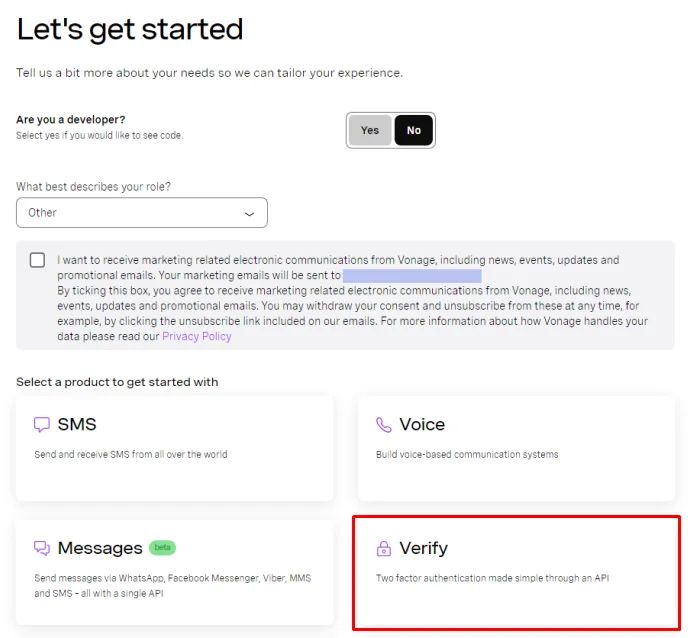
Choose the 'Verify' method.
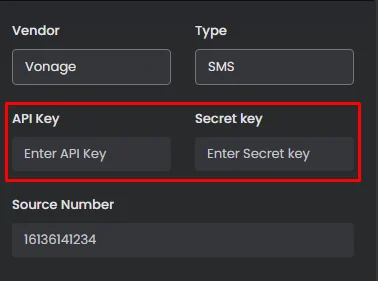
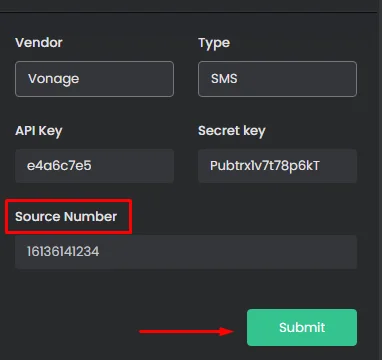
Then, the API Key and API Secret will appear to you.

Copy each one and paste it into their respective fields.
Enter the source number you purchased for mobile login registration. It must include the country code and be formatted without 0, +, spaces, or brackets (e.g., 15551234567).
And click ‘Submit.’
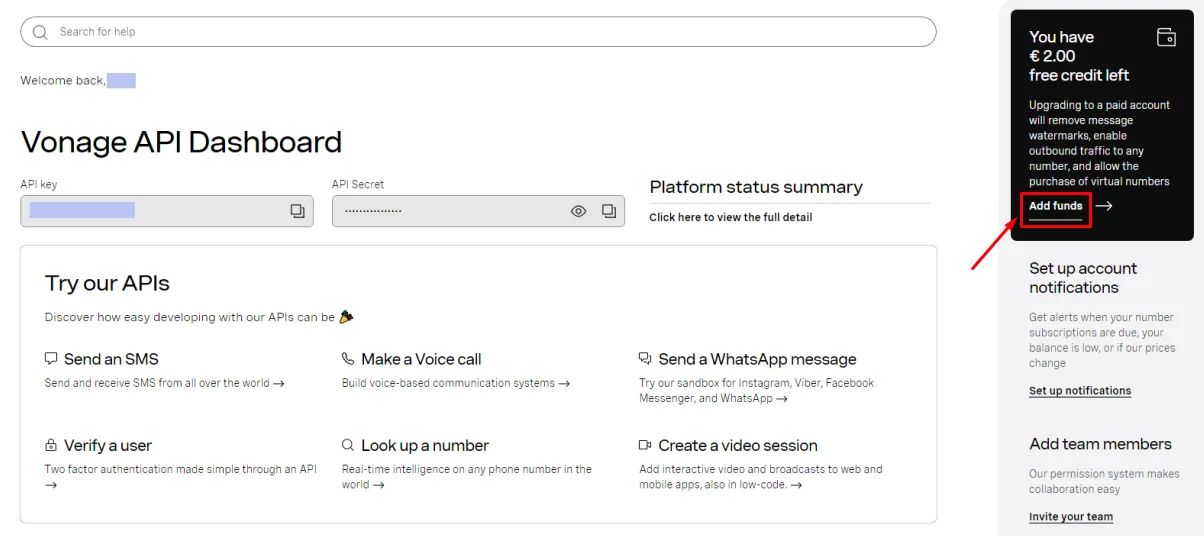
Note that Vonage provides you with a free balance of 2.00 euros to start your testing process.
To subscribe with Vonage, click 'Add funds.’
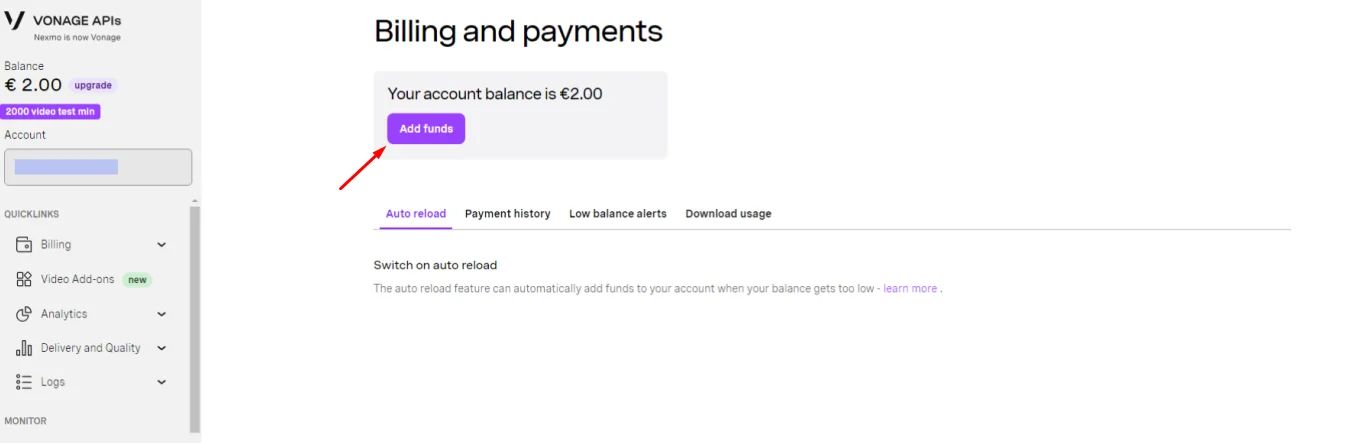
Click 'Add funds' again.
Then fill in your billing information to upgrade.
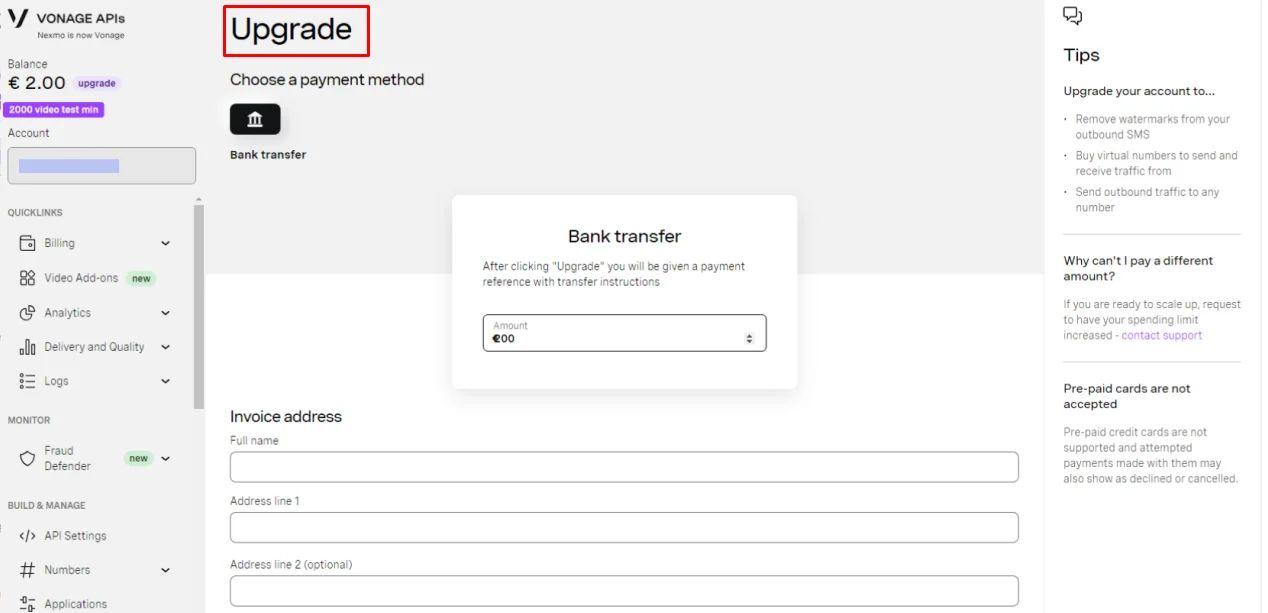
It will take 5 minutes to complete and activate the configuration steps.
Infobip
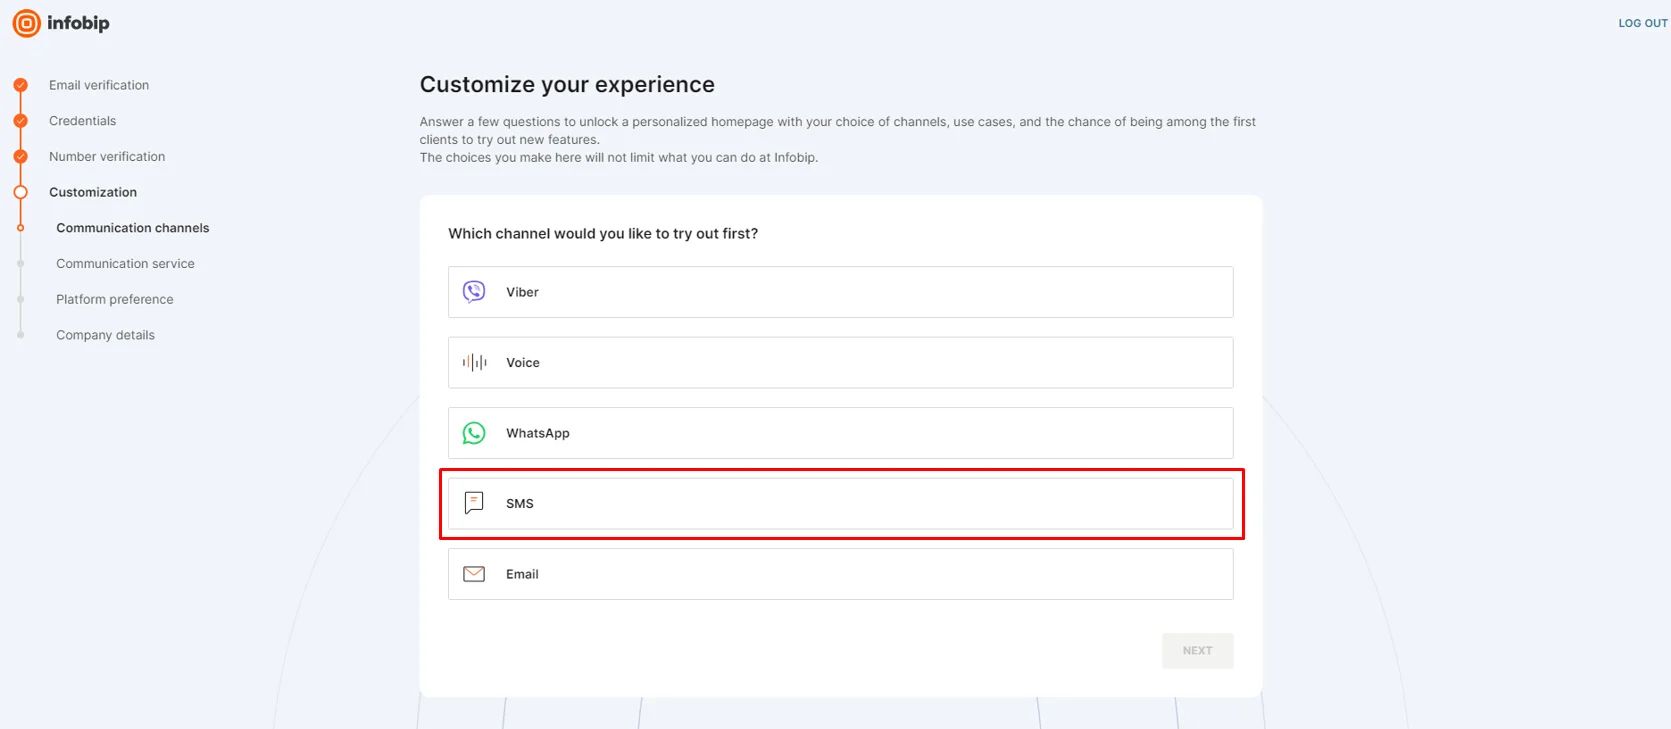
If you chose Infobip, click here to create an Infobip account. Once you create an account, go to the sign-up steps, then choose SMS in the Customize Your Experience section and click 'Next'.
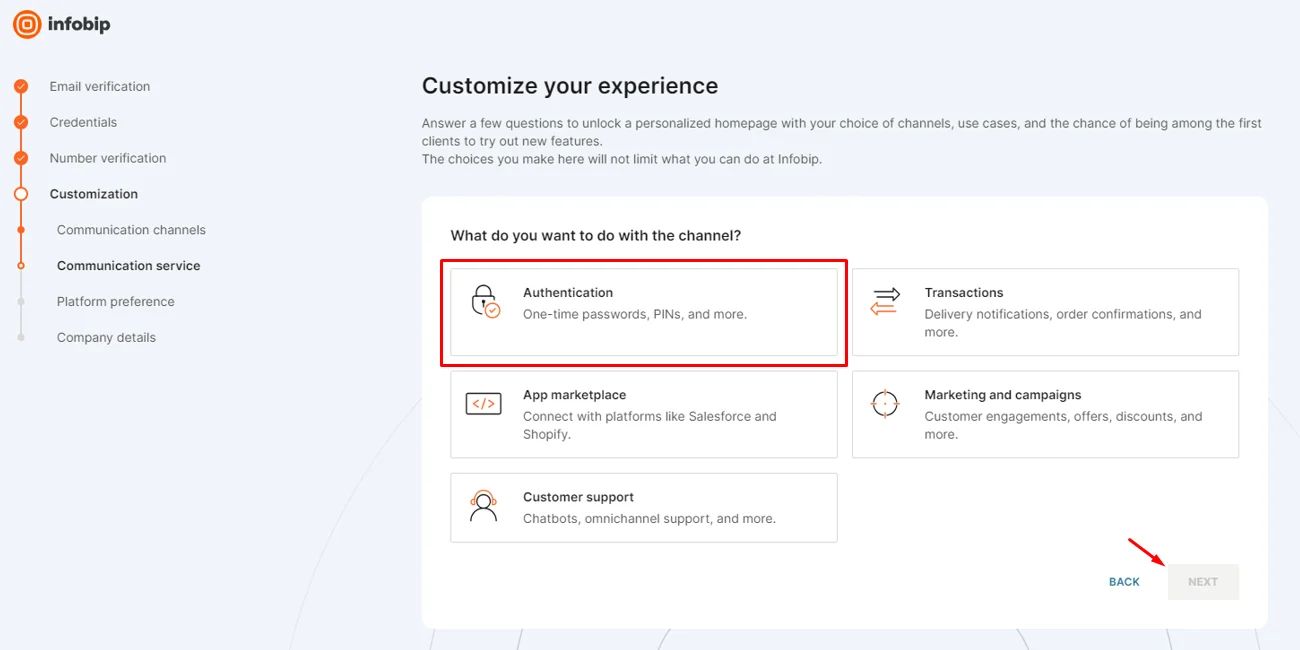
Then choose 'Authentication' and click 'Next.’
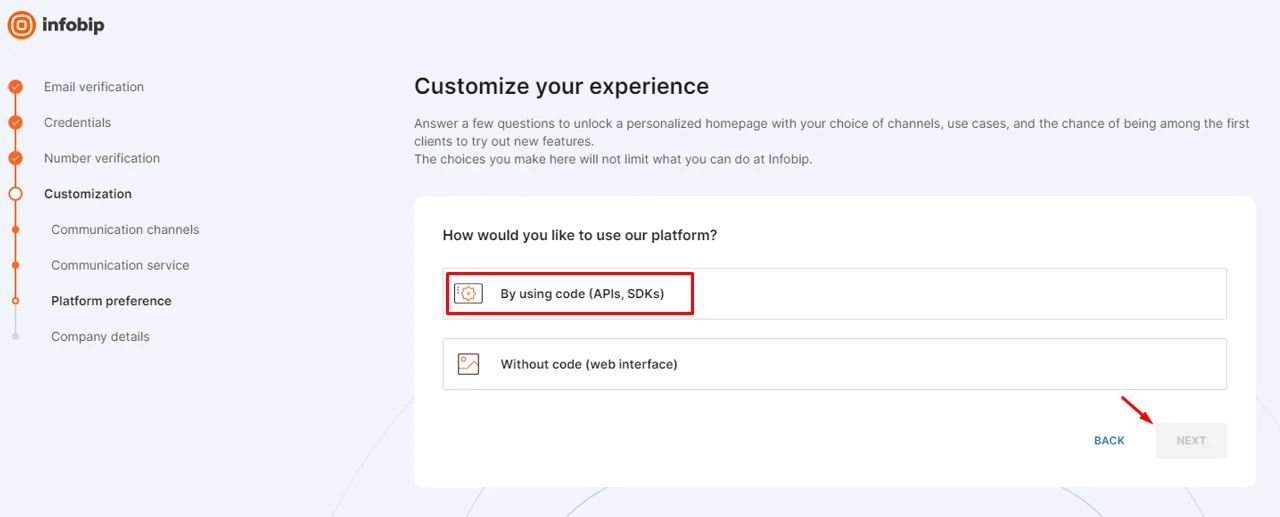
Choose 'By using code (APIs, SDKs).
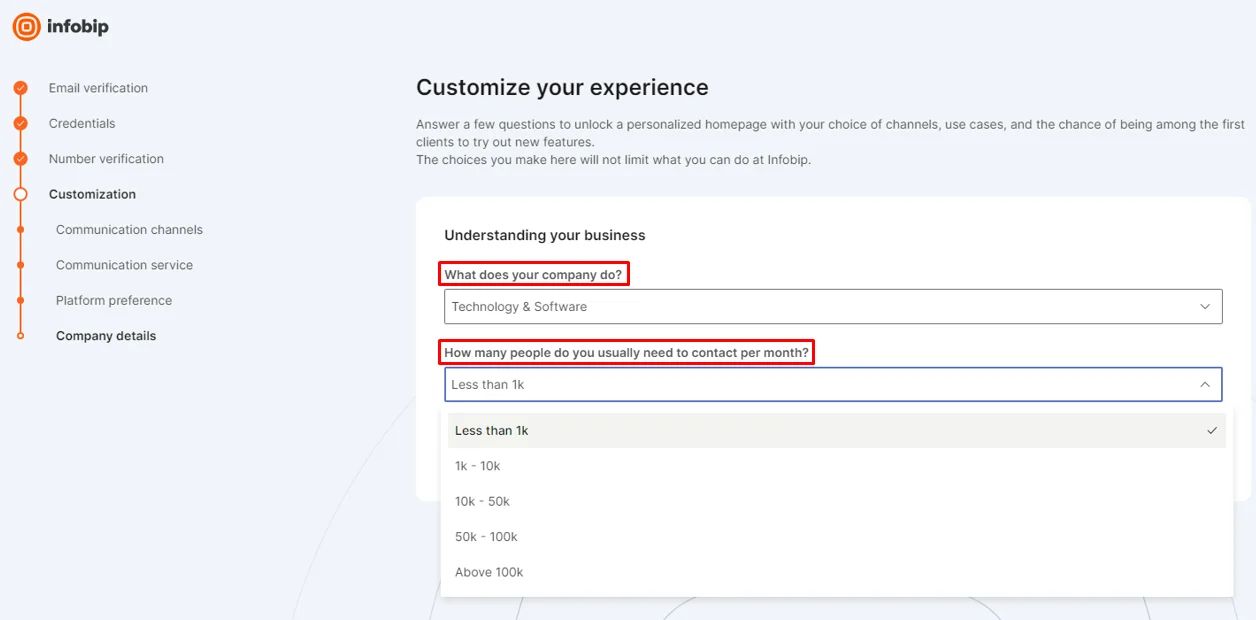
Choose your company category and how many users you contact per month.
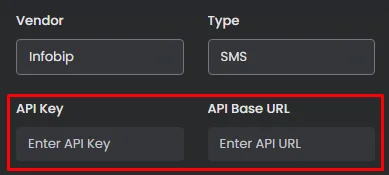
Then a screen will pop up with the API Key and the API Base URL.
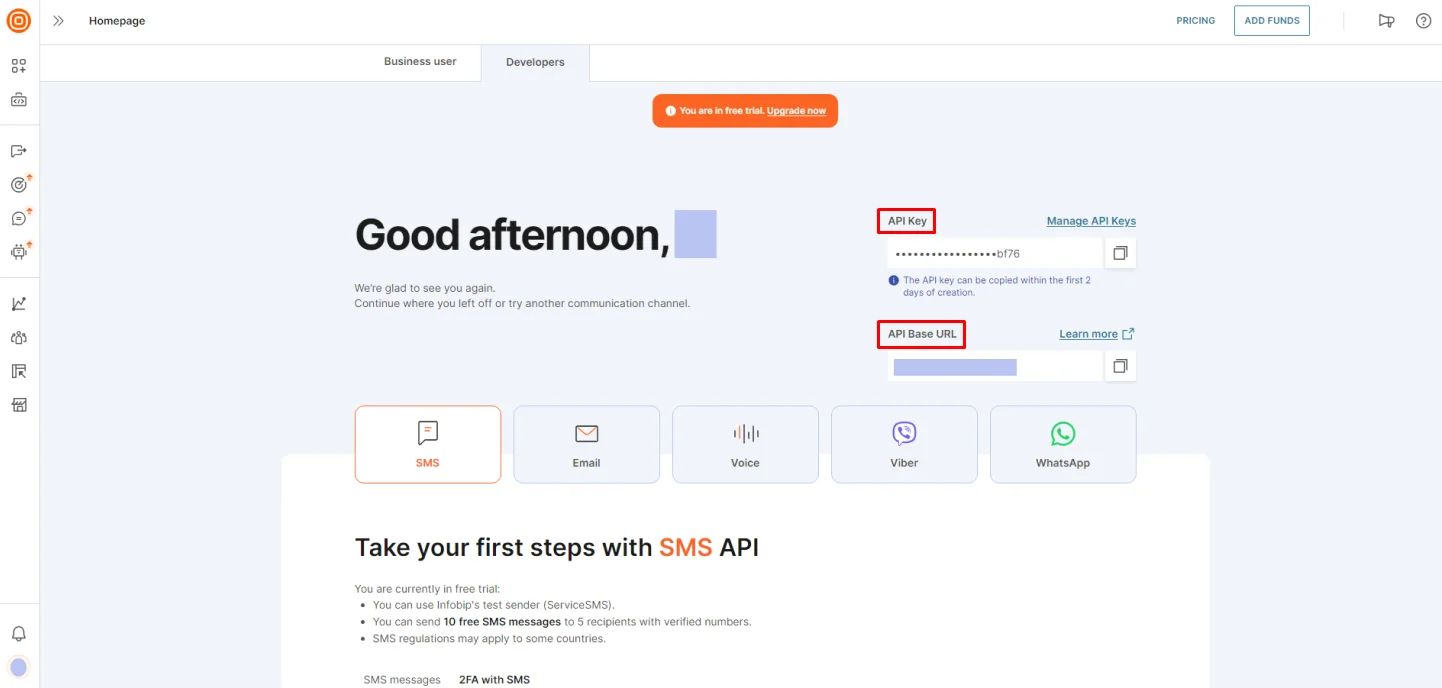
Copy each one and paste it into their respective fields.
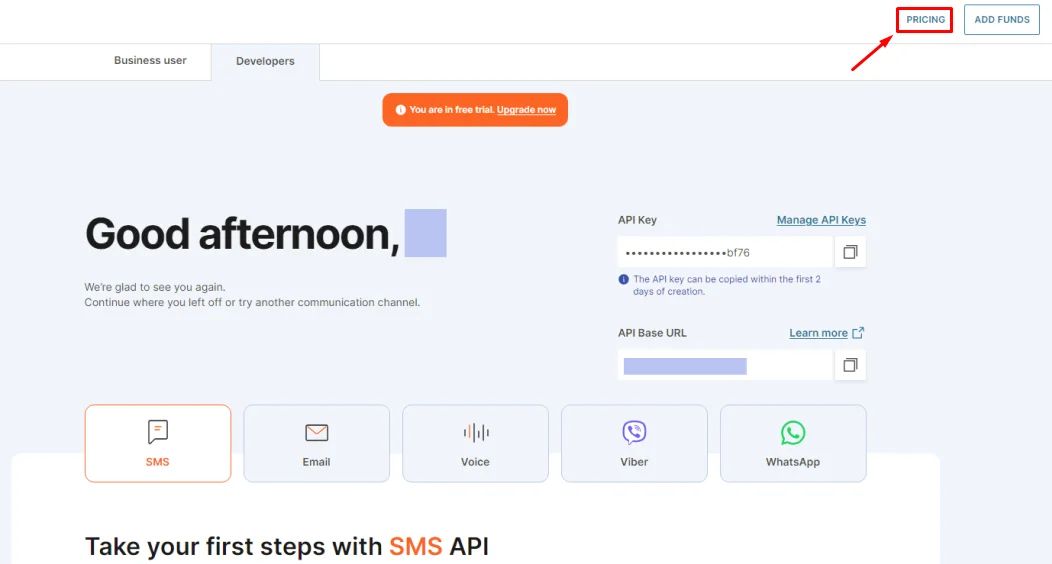
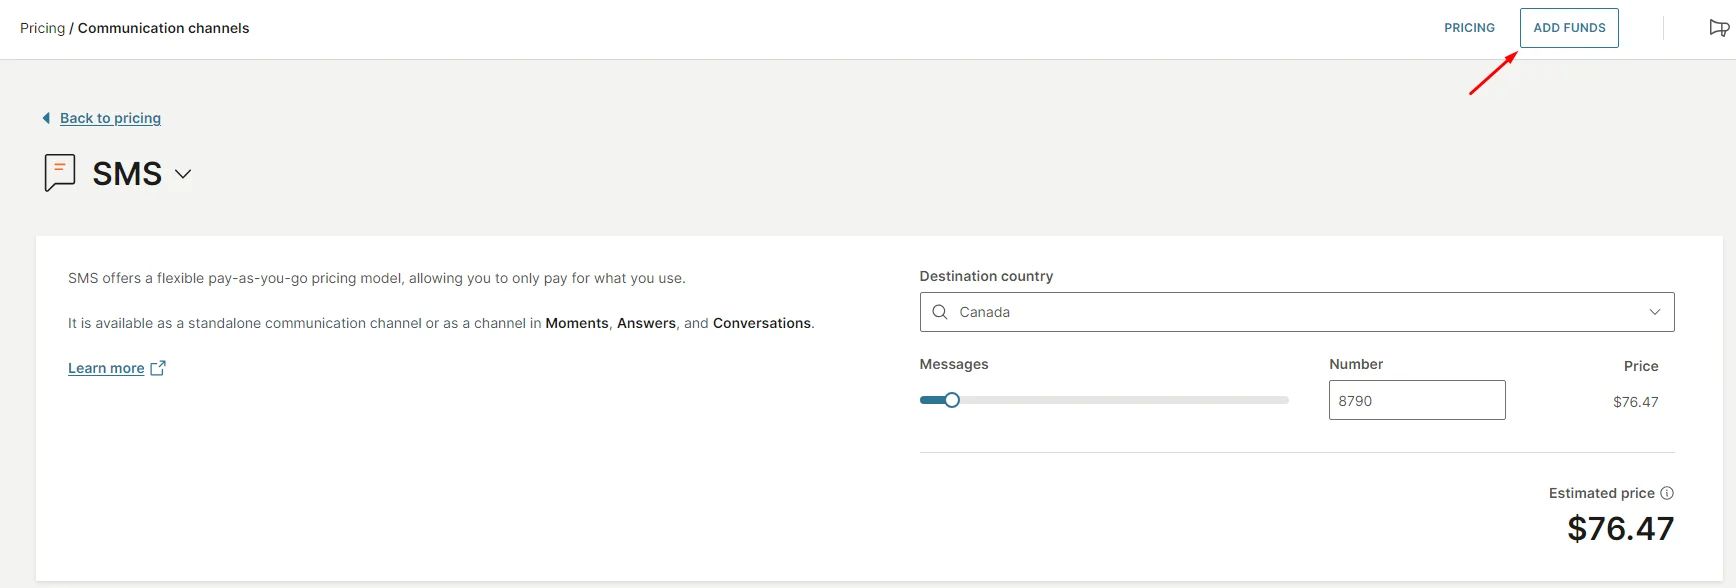
Now you need to subscribe with Infobip first to get the verification code. Click 'Pricing.’
Choose 'SMS.'
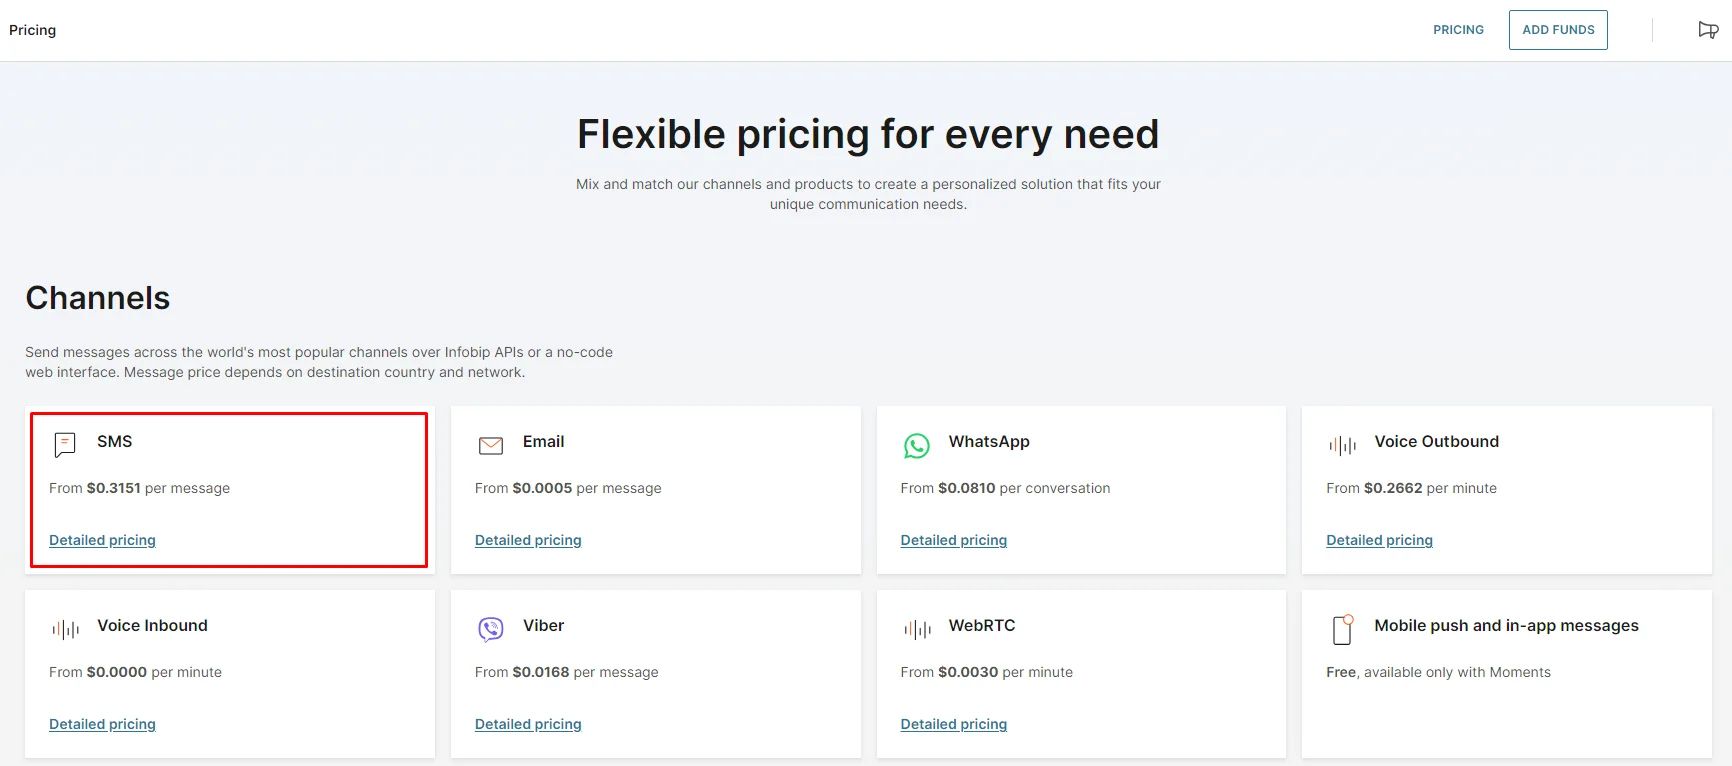
You will be prompted with a pricing calculator. You can select your country, control the number of messages, and it will generate the pricing for you.
Then, go to 'ADD FUNDS’.
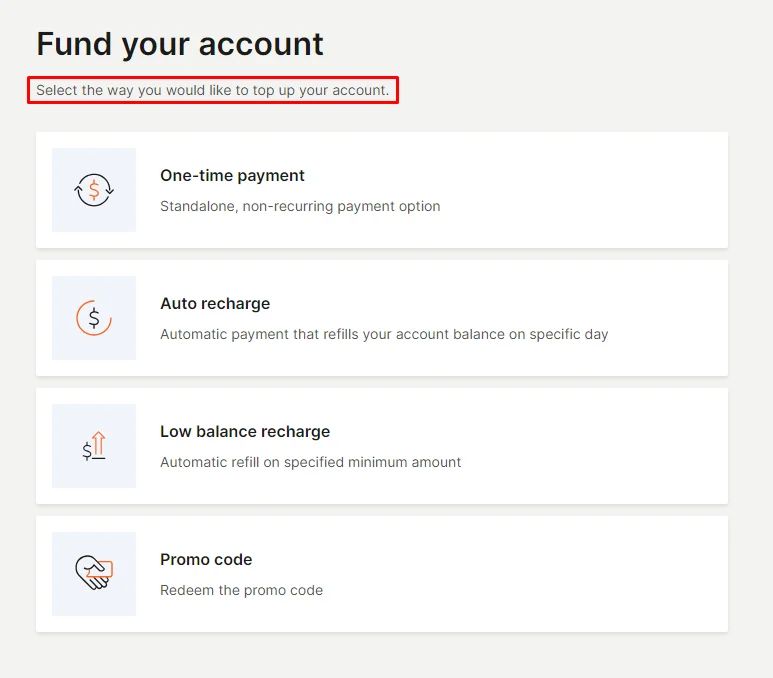
Select the suitable payment transaction for you.
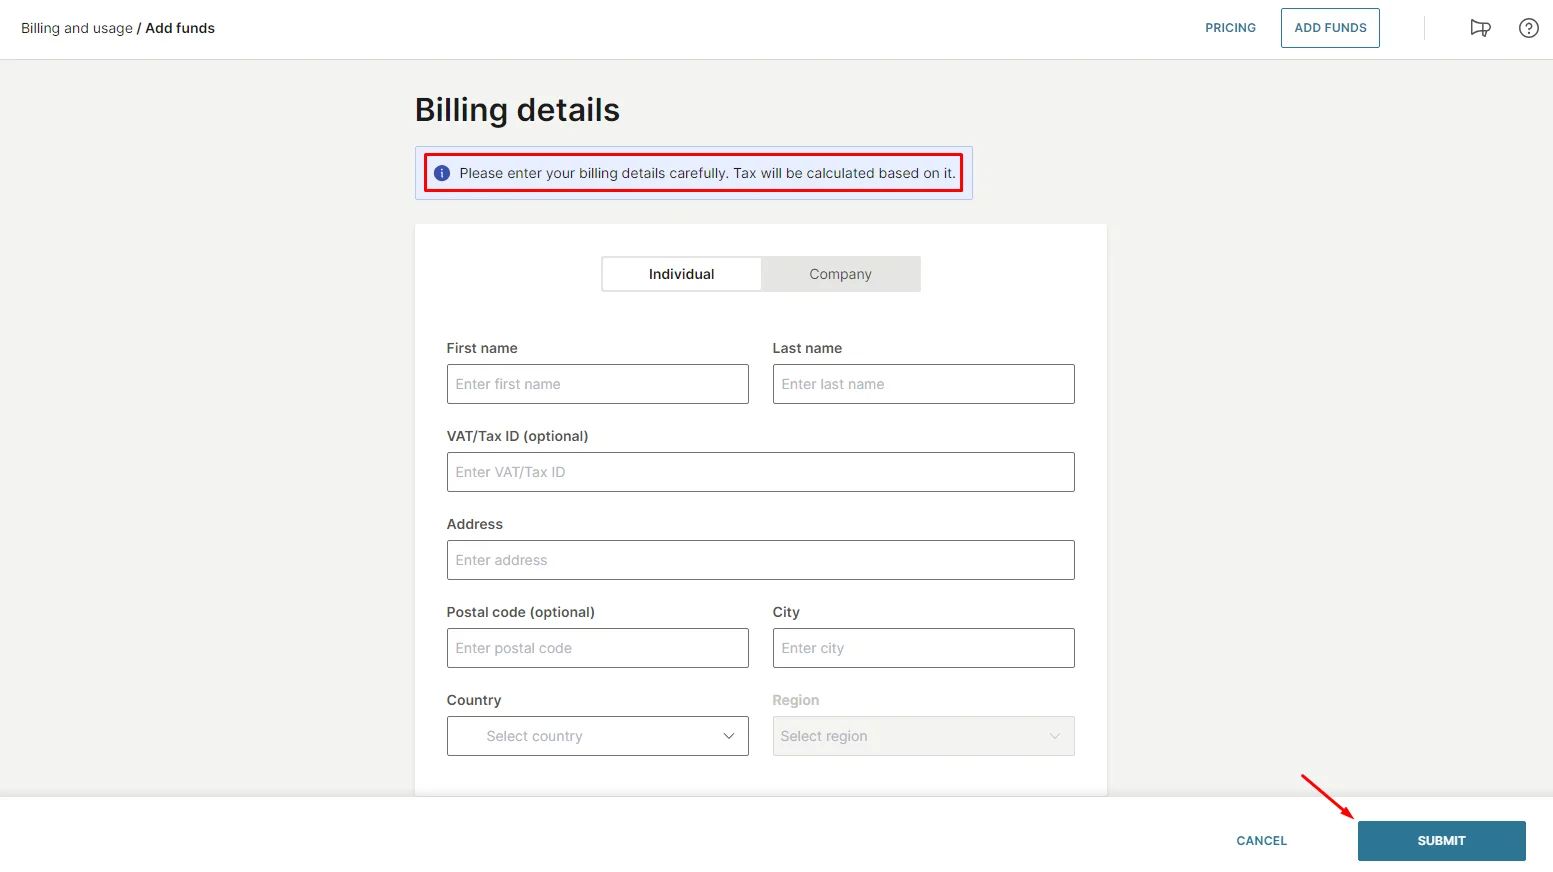
Fill in the billing details, then click 'Submit.'
Be aware that the configuration steps will take 5 minutes to be completed and activated.
Demo Account for App and Review:
Repeat the same process of the email login method if you want to use the mobile method and don't forget to click 'Verify.’
Ensure that the phone number you use is unique and not already registered in the app.
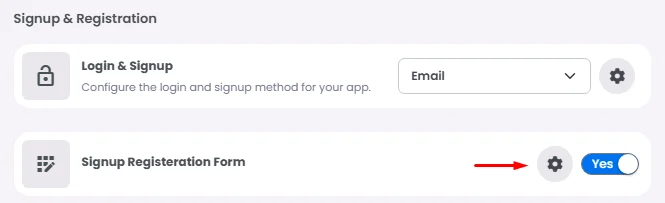
Signup Registeration Form
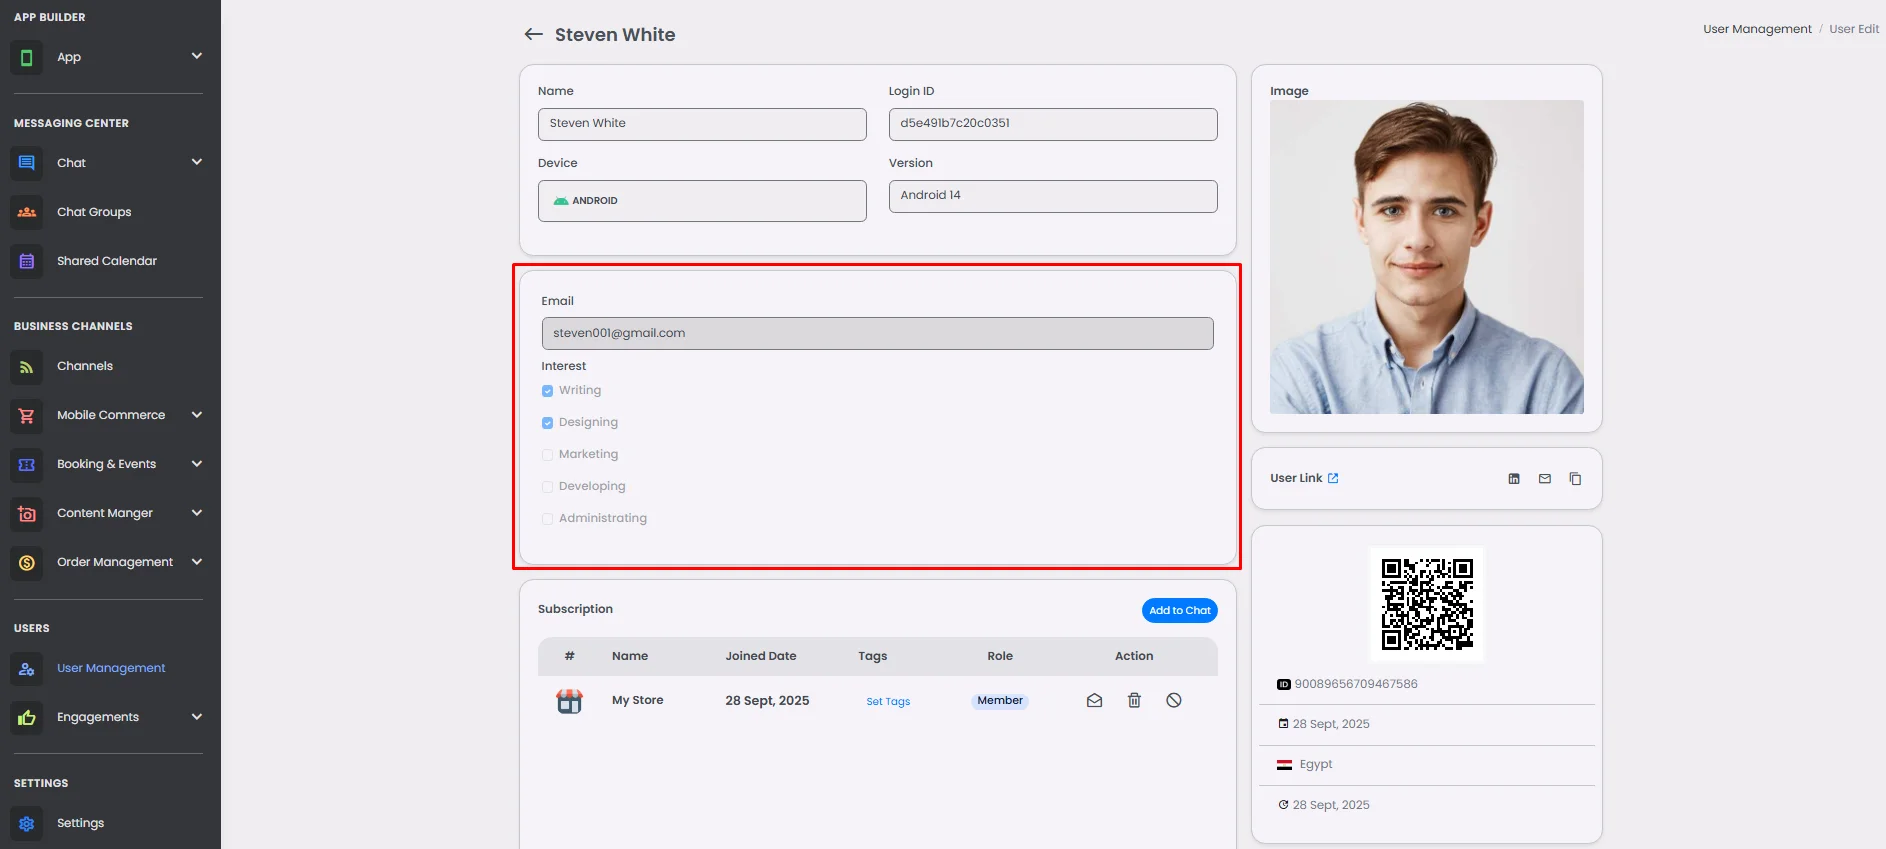
The Signup Registration Form allows app owners to collect additional user information during the signup process. After users log in through any verification method—whether by mobile number or email—app owners can present a customized registration form to capture extra details and gather more meaningful data, such as demographics, preferences, or business-specific information.
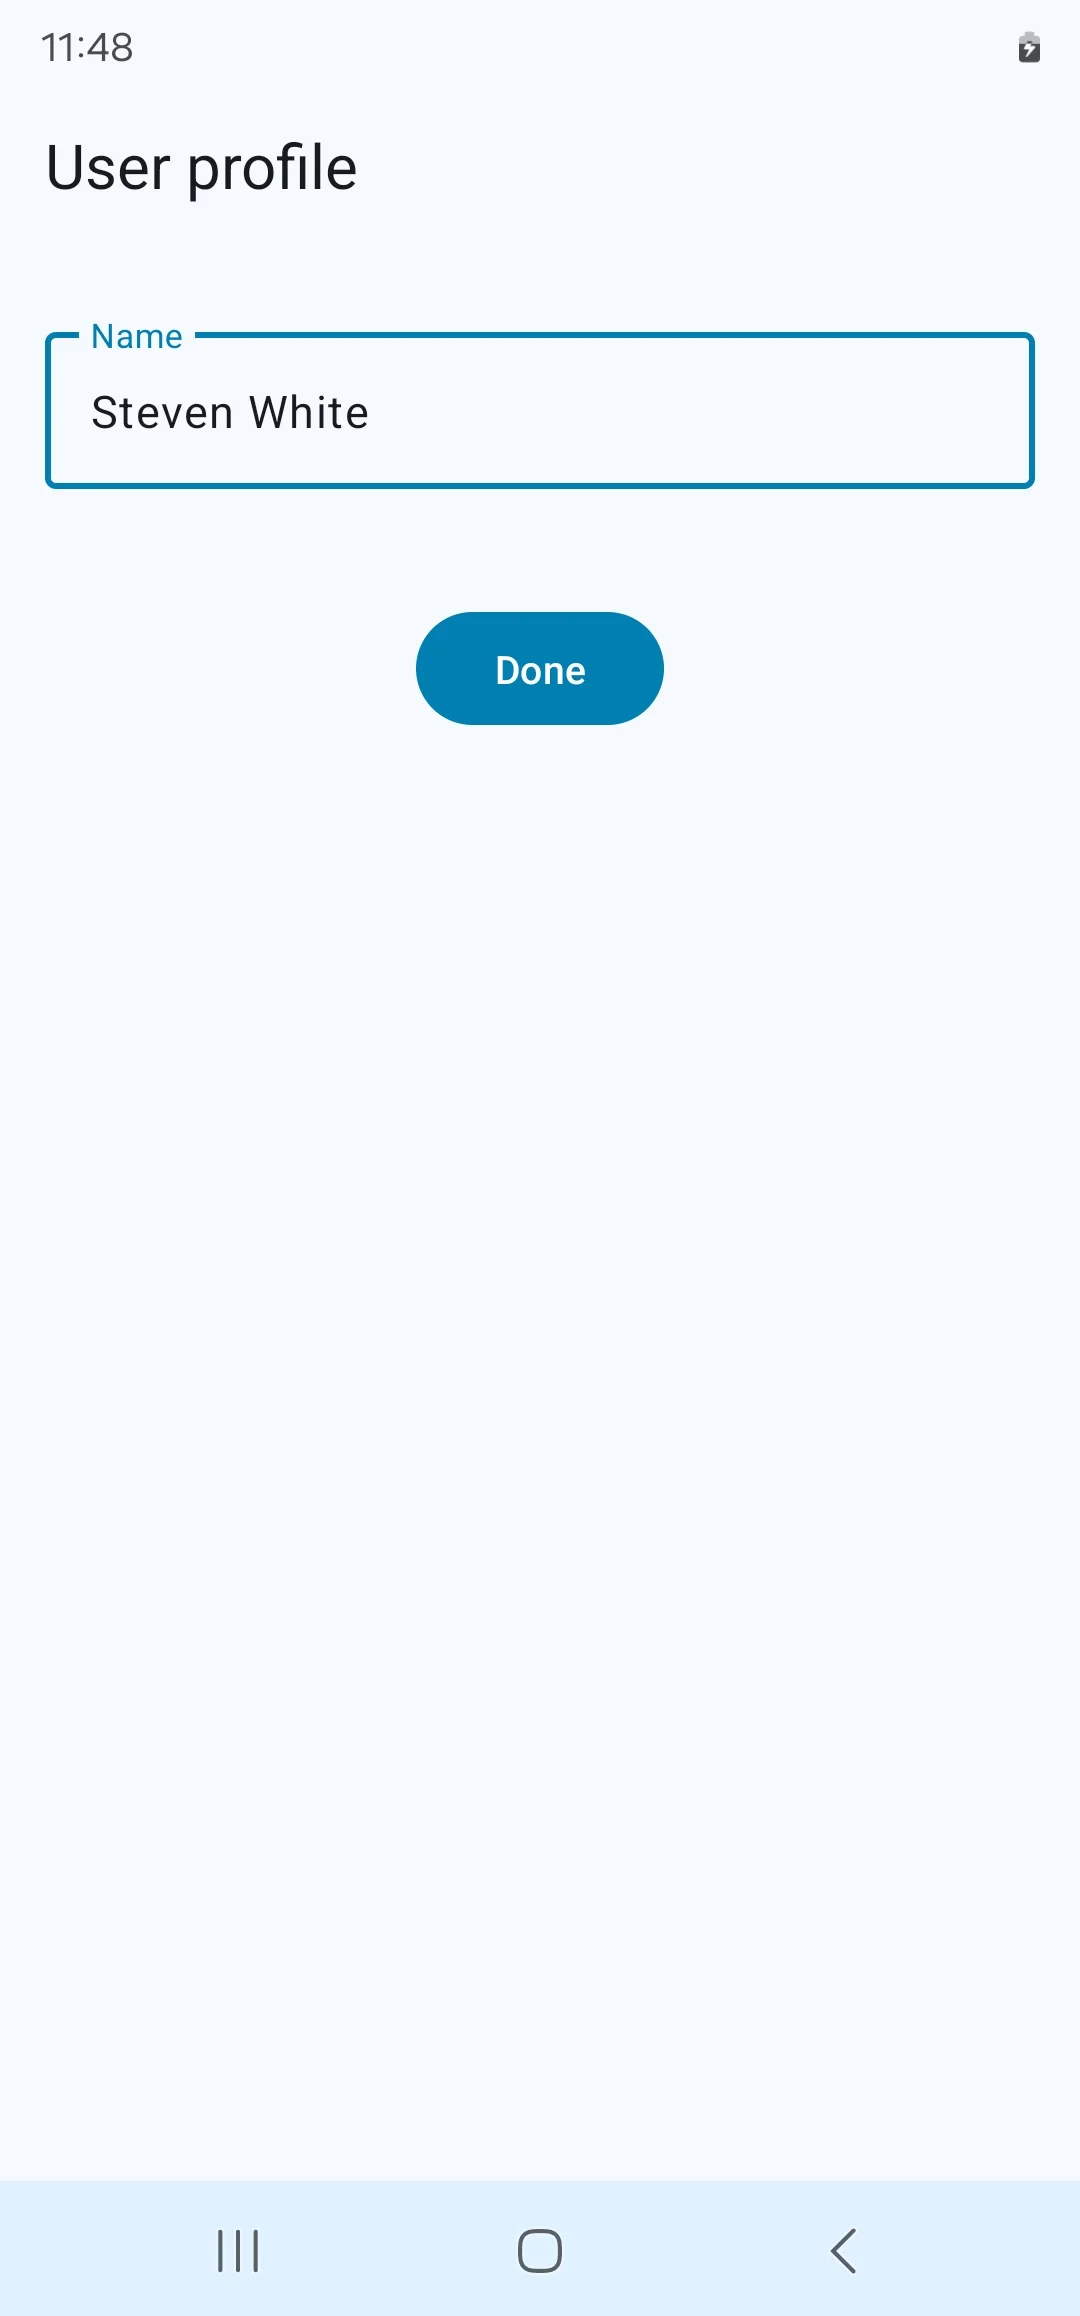
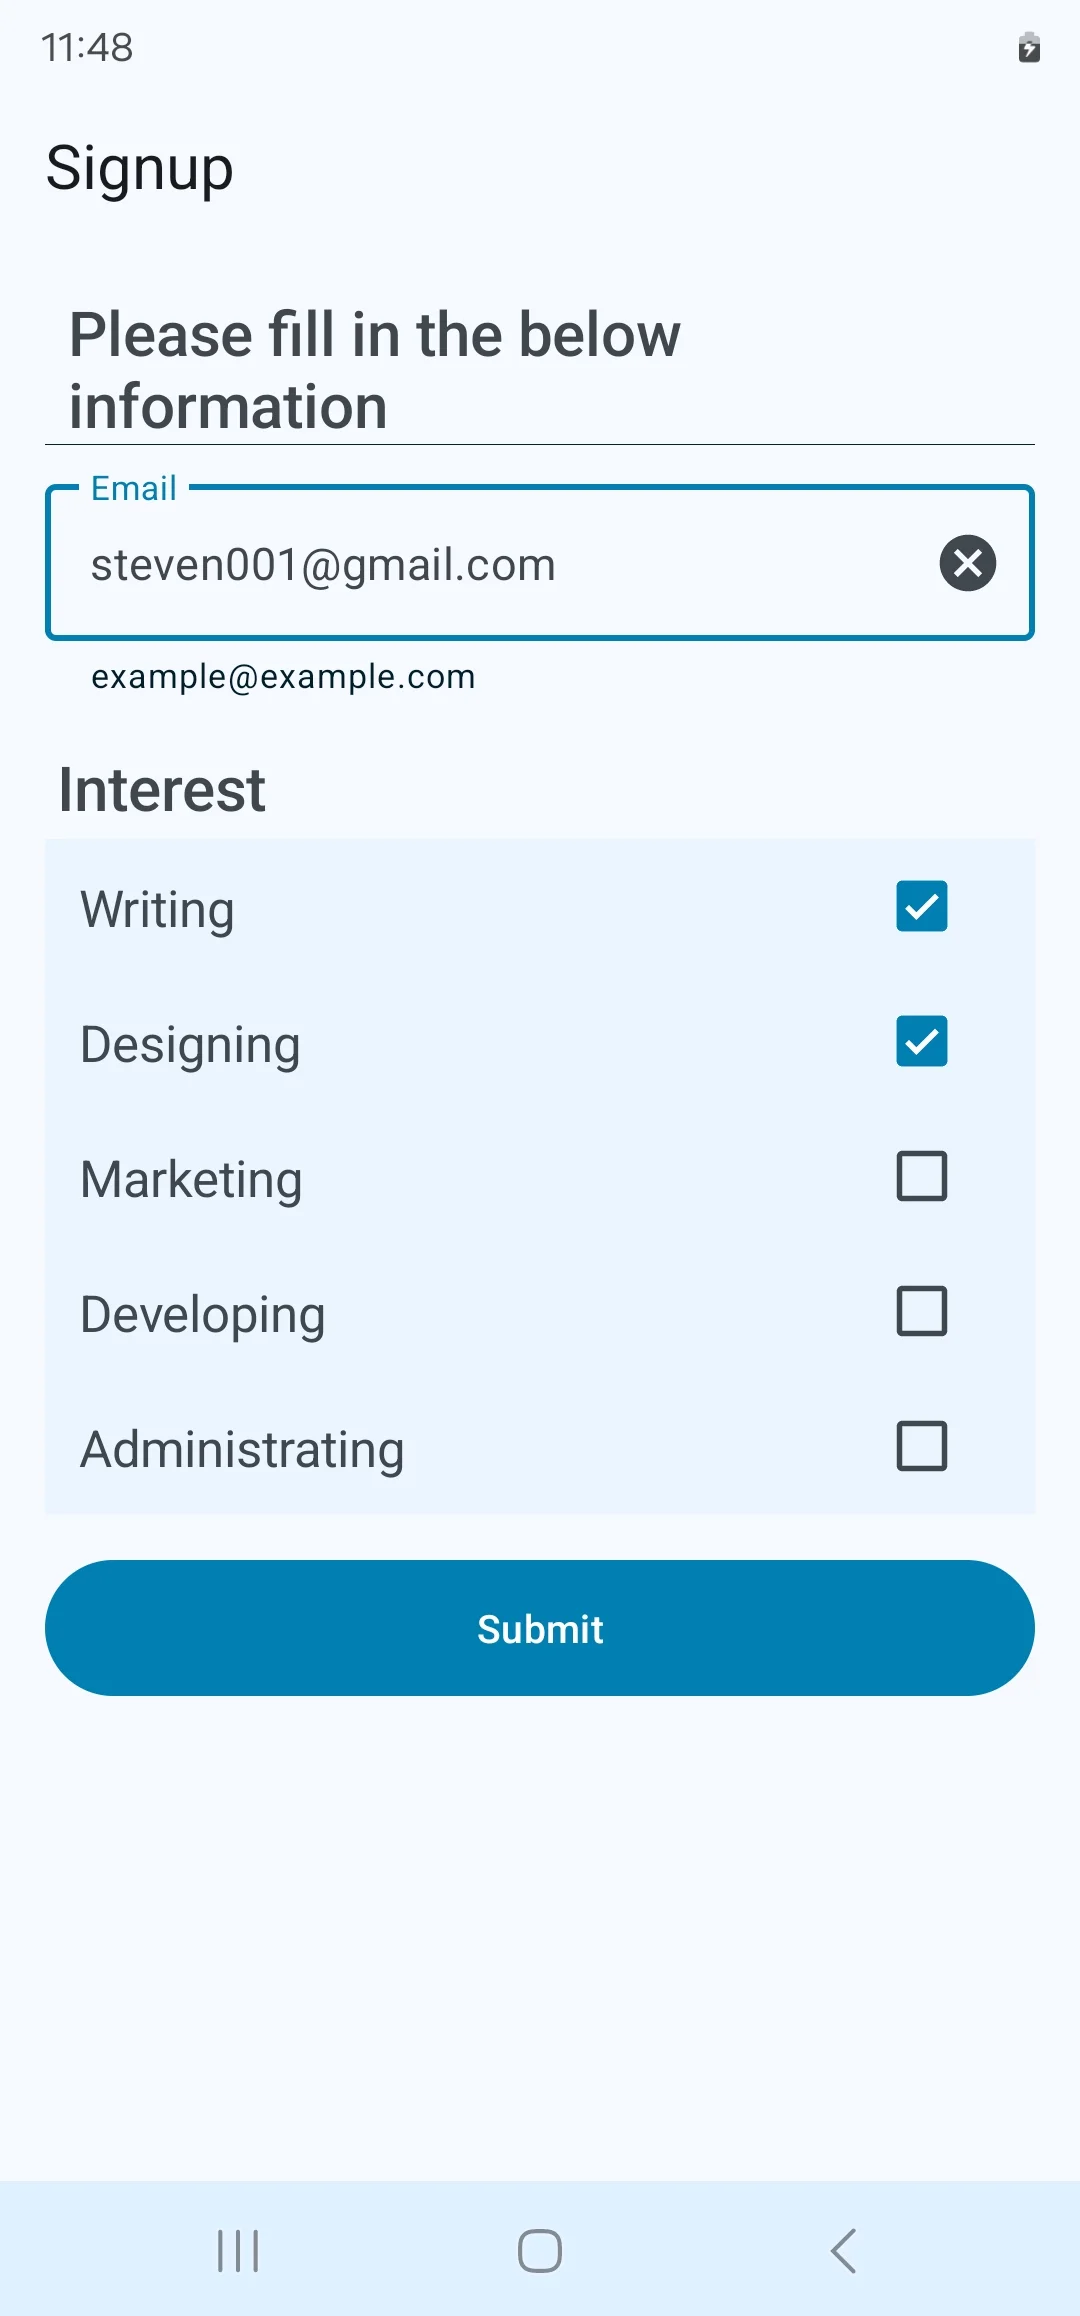
These extra fields will appear in each user’s profile.
You only need to turn the toggle on and click the settings icon.
This is where you design your registration form. Similar to creating a Custom Component, you can simply drag and drop elements into the form area to build the fields you need.
Fill in your form and click ‘Save App Config.’
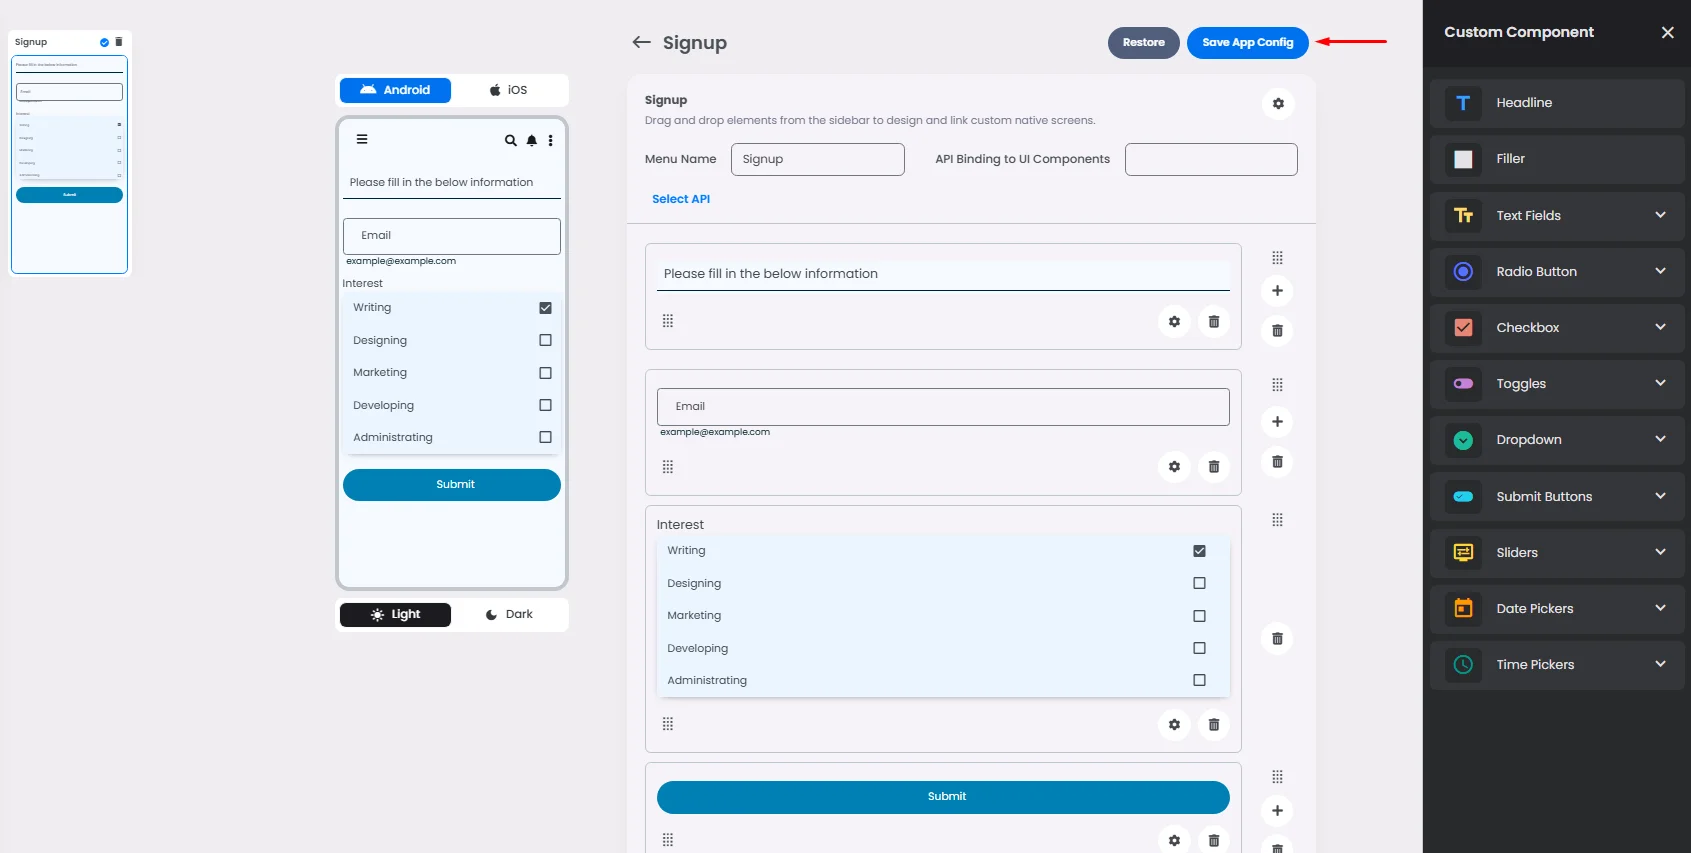
Learn more about Custom Components and explore how different elements can serve your design needs. By combining fields effectively, you can tailor the signup flow to capture exactly the information your app requires.
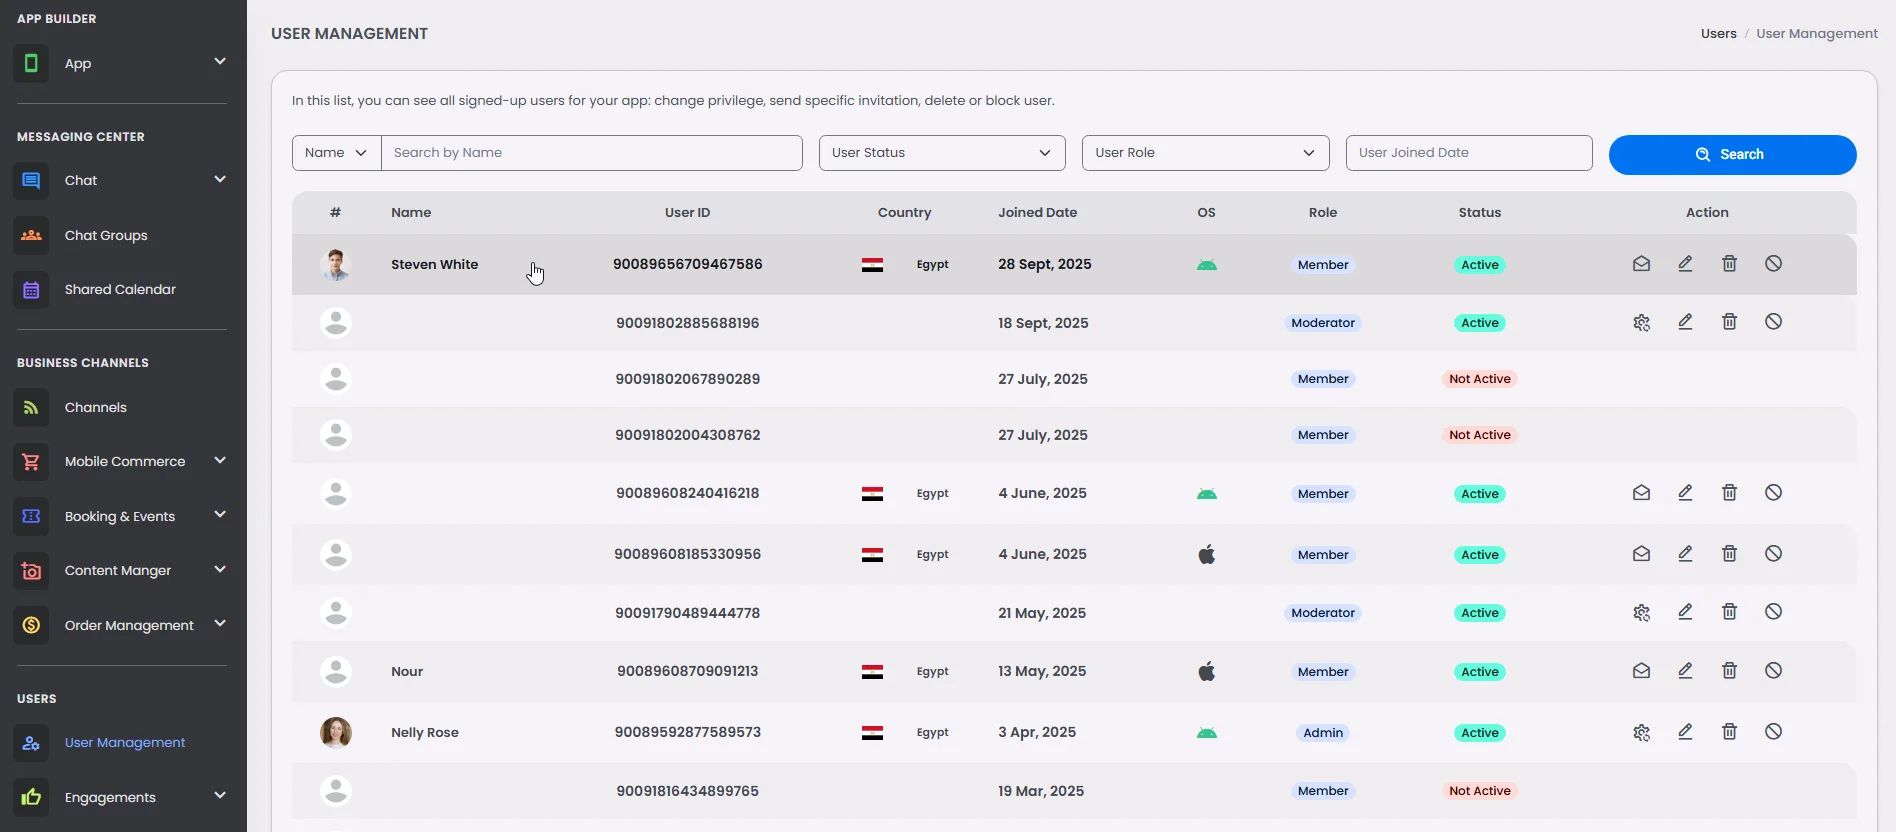
You will find the users signup information in the User Management section.
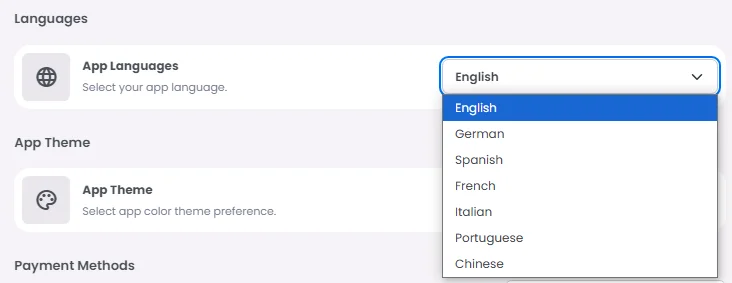
Languages
Pick the language that your app will support.
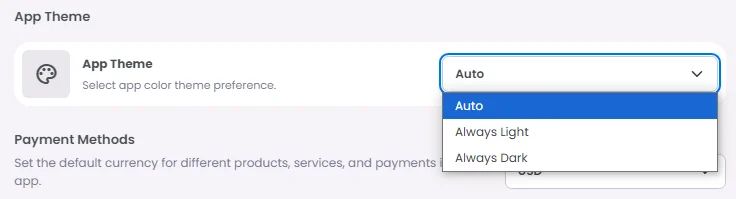
App Theme
Choose whether you want your app to be auto (both dark and light), always light or always dark.
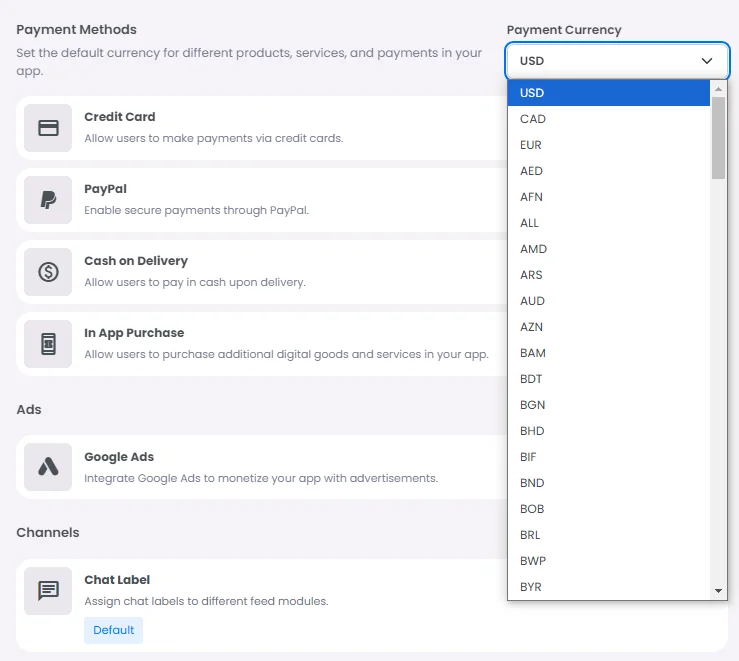
Payment Methods
This section will allow you to choose how your customers will pay for your app. Choose the currency that you want to charge users with, then choose your payment methods:
Credit Card (Stripe)
Stripe is one of the major payment gateways that will allow your customers to shop and buy your products using their credit or debit cards.
Turn on the toggle, click the gear icon to configure its settings, and then follow these steps.
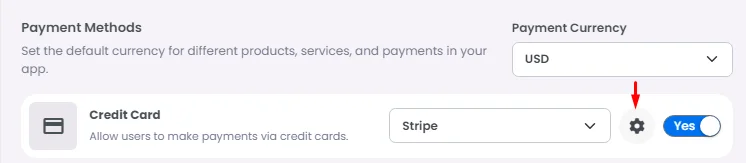
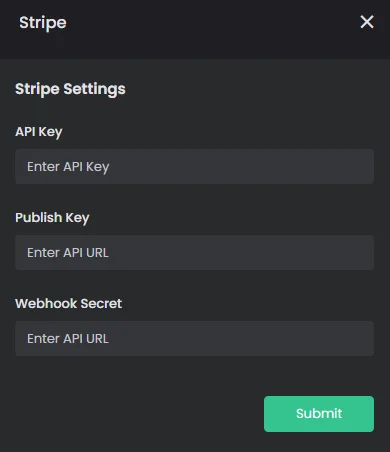
Turn on the toggle, click the gear icon to configure its settings, and then follow these steps.

Cash
If you would prefer to have your payment in person, you can also activate the cash option by turning the toggle on.

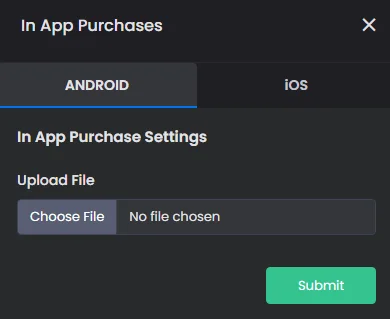
In App Purchases
Check out this documentation to understand how to create in-app subscriptions.

Google Ads
This section will enable you to activate Google AdMob in your app.

- First, create a Google AdMob account.
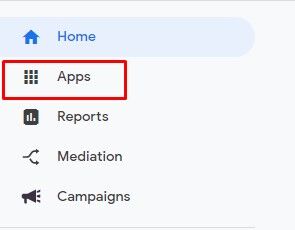
- From the navigation menu, click 'Apps.’
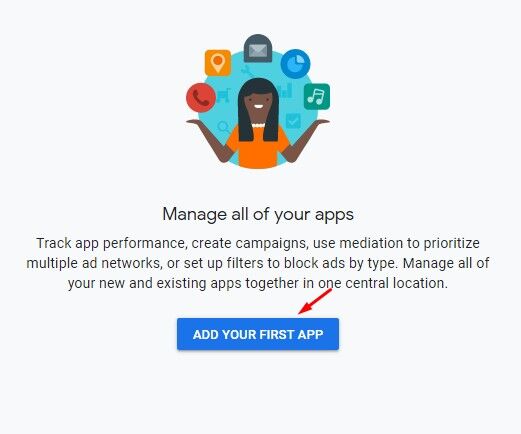
- Click 'ADD YOUR FIRST APP.’
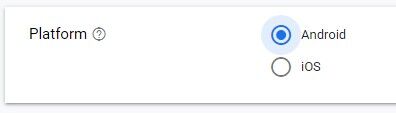
- Select the platform for your app.
- If your app is published on Google Play Store or App Store, select yes; if not, select no.

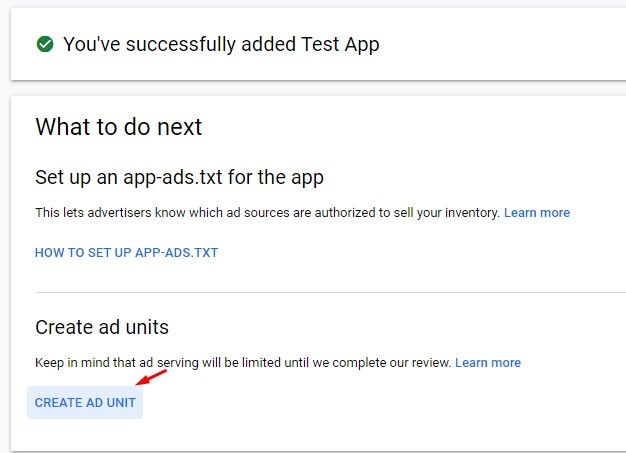
- Next, enter the app name and click 'Add App.’

- Click 'CREATE AD UNIT' to start creating ads.
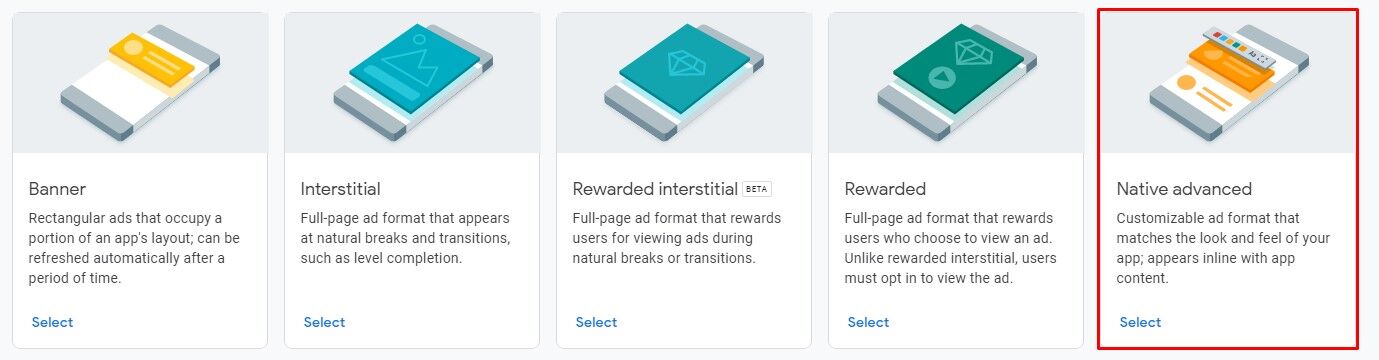
- Next, select the ad type. Currently, nandbox app builder supports the Banner and the Native advanced format.
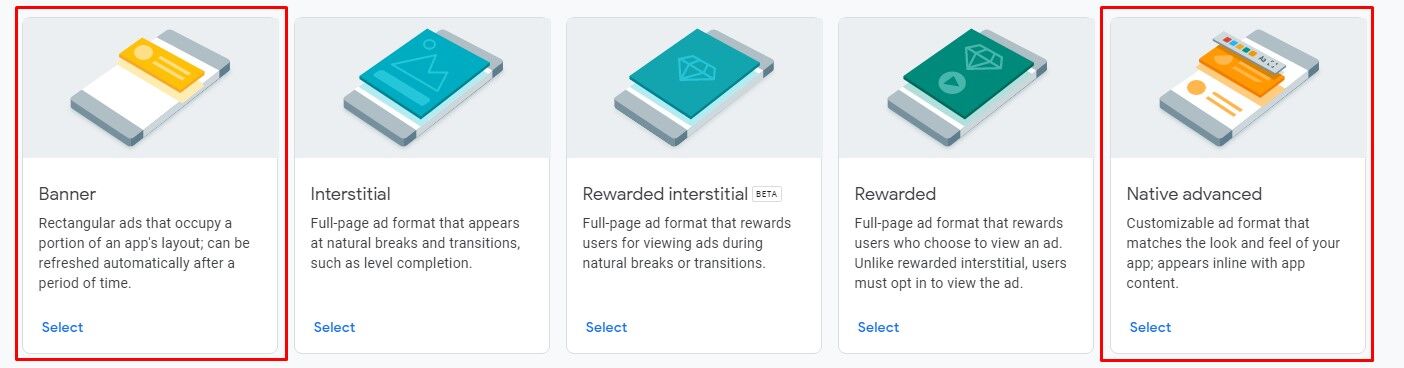
- Click the banner type, enter the ad name, and click 'Create ad unit.'
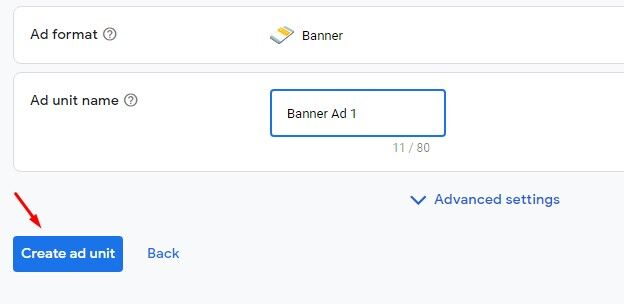
You will be prompted with two keys.

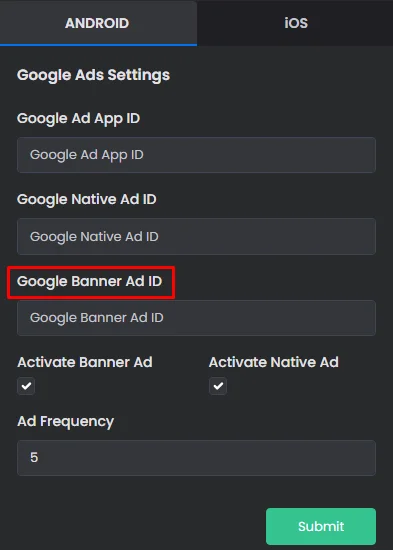
- Now go back to the Google Ads section to fill in the configuration.
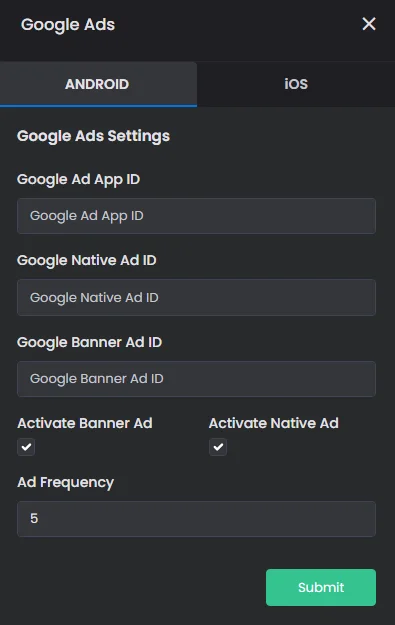
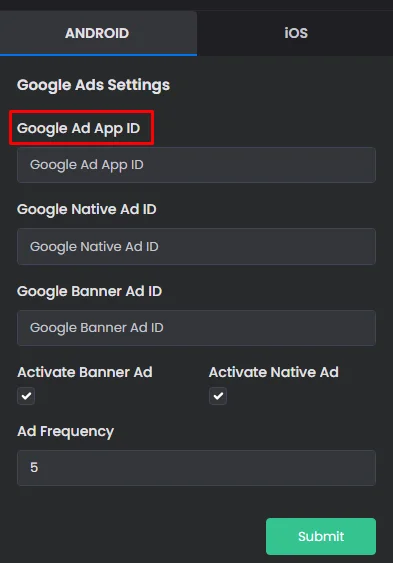
- Copy the first key (Google ad app ID).
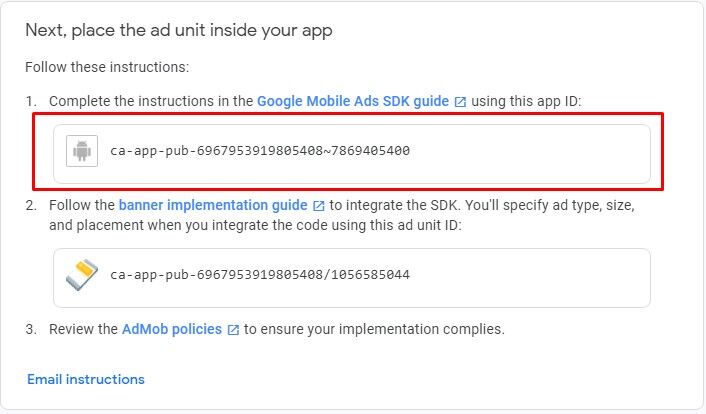
- Paste it in the Google Ad App ID box.
- Next, copy the second key (banner key).
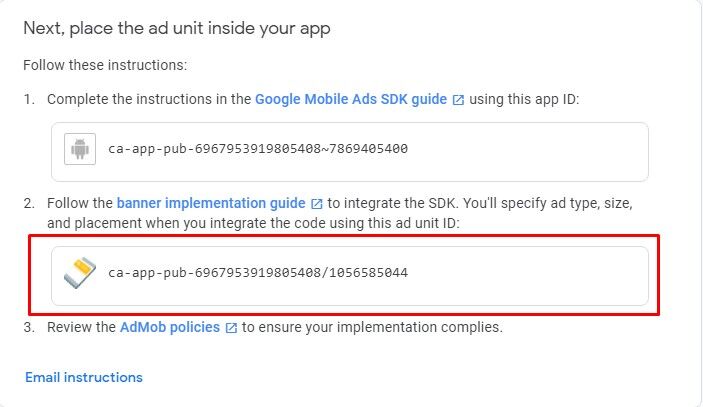
- Paste it in the Google Banner Ad ID box.
- Next, click ‘Create another ad unit.’
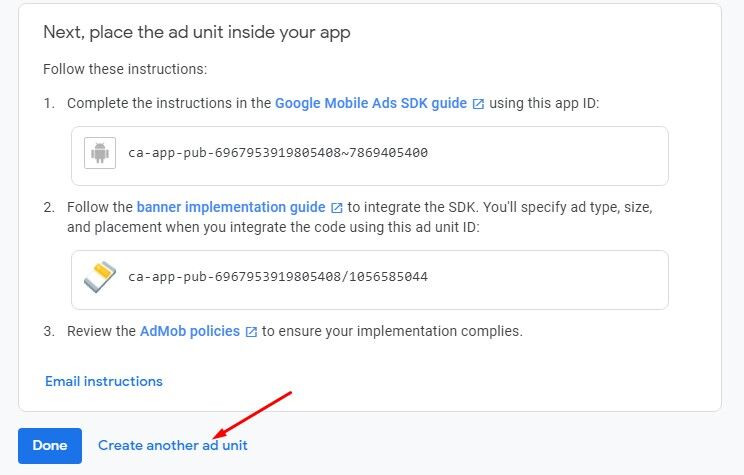
- Select Native advanced.
- Enter the ad name and click 'Create ad unit.’
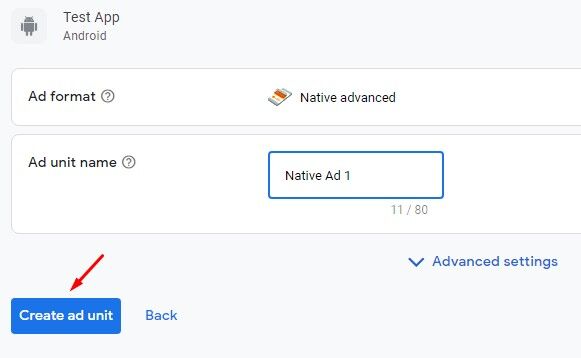
- Copy the second key (native key).
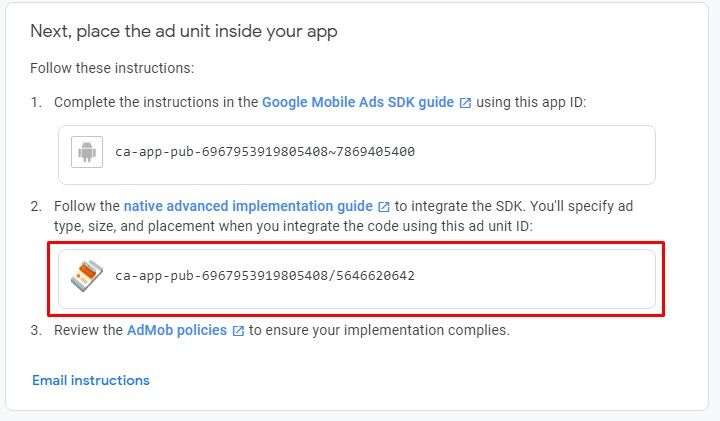
- Paste it in the Google Native Ad ID box.
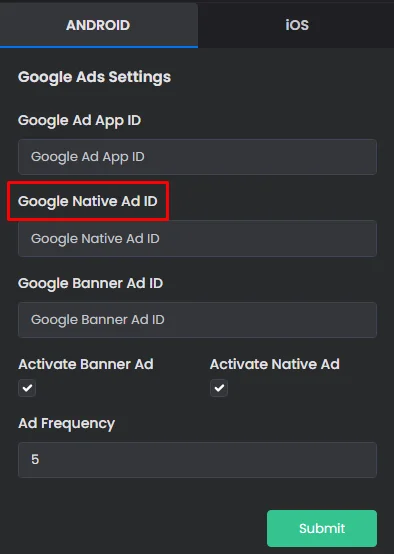
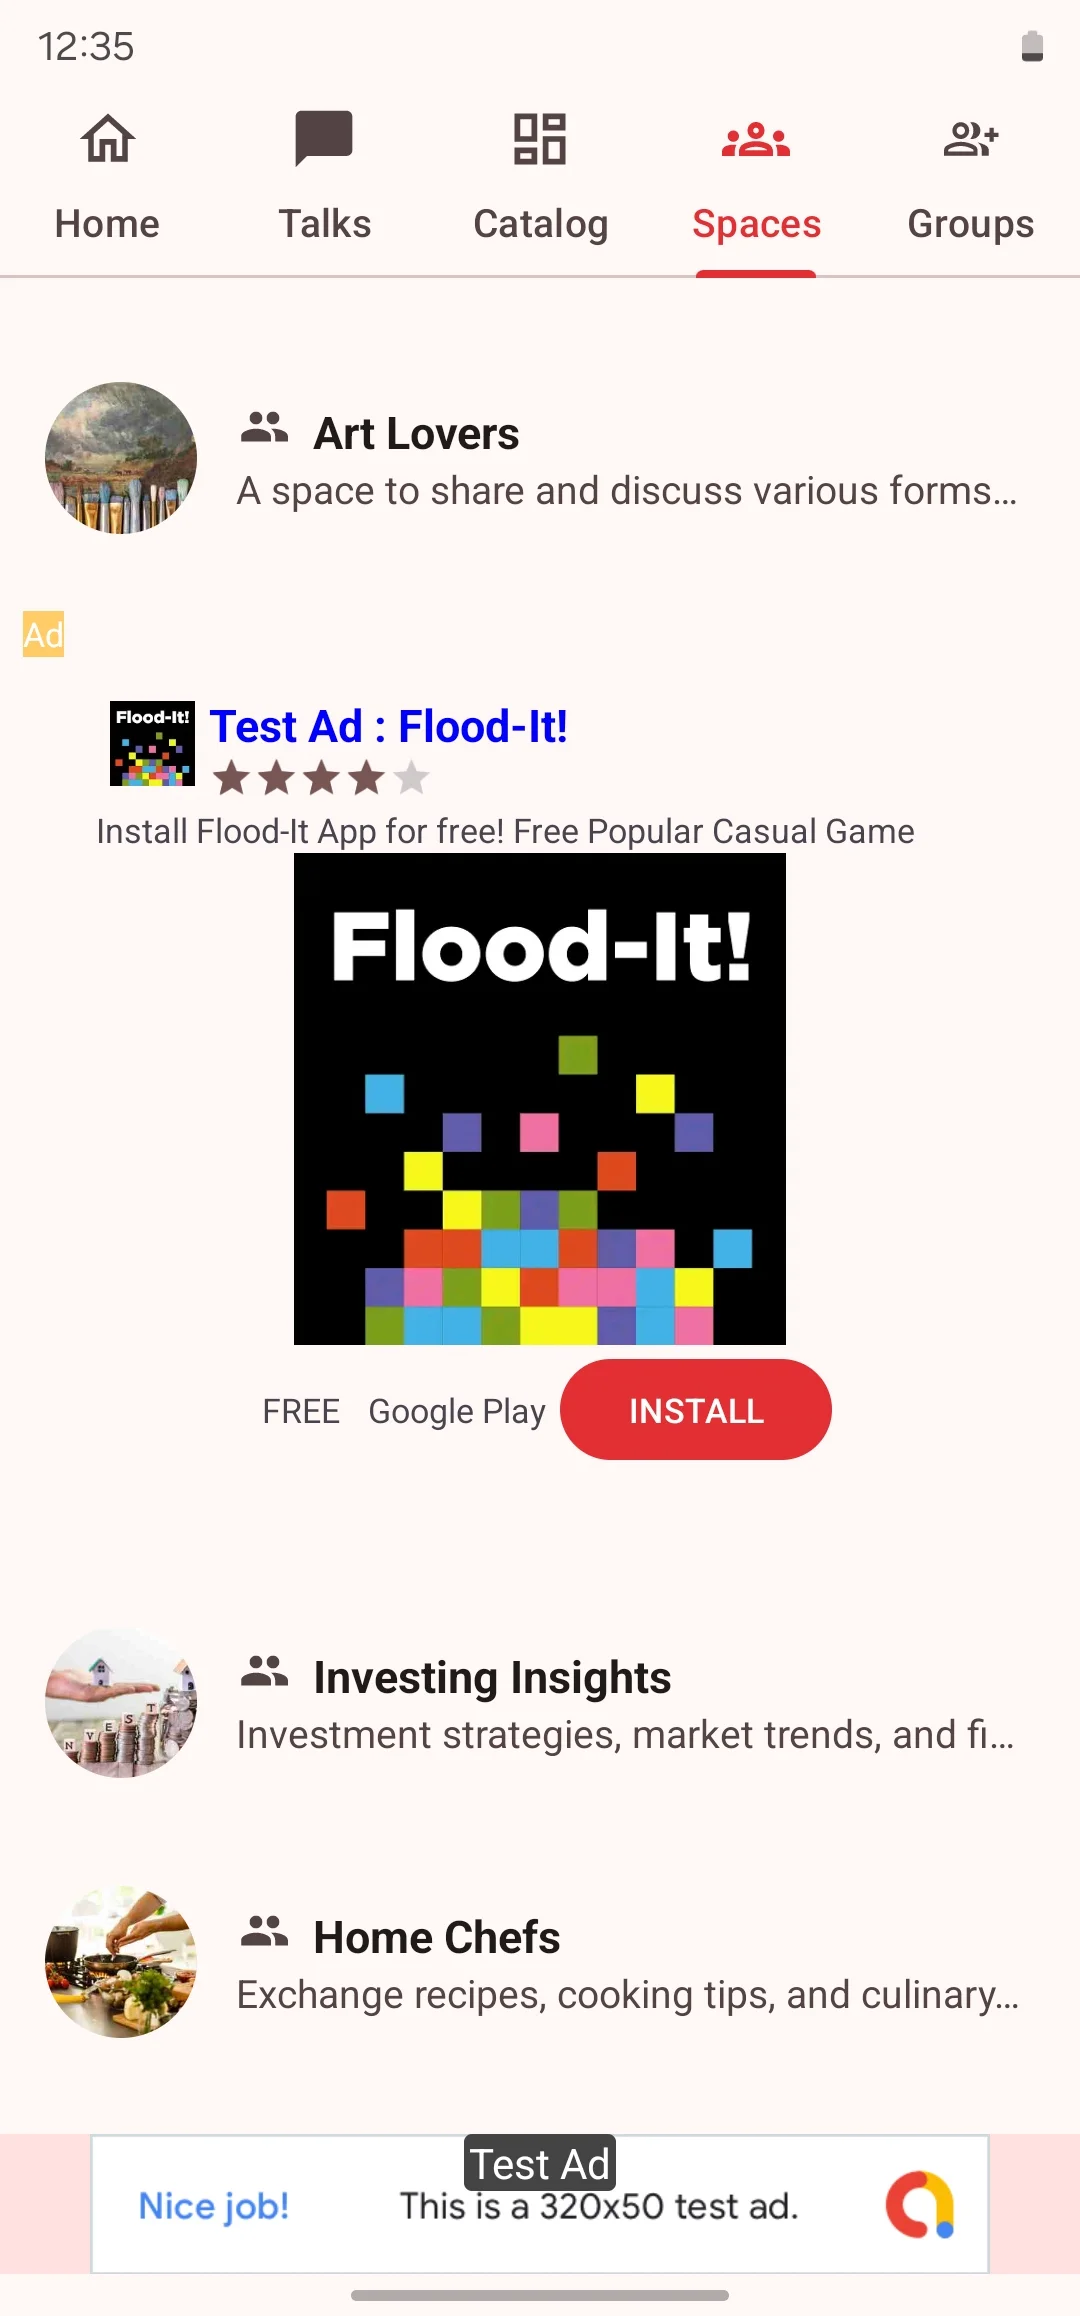
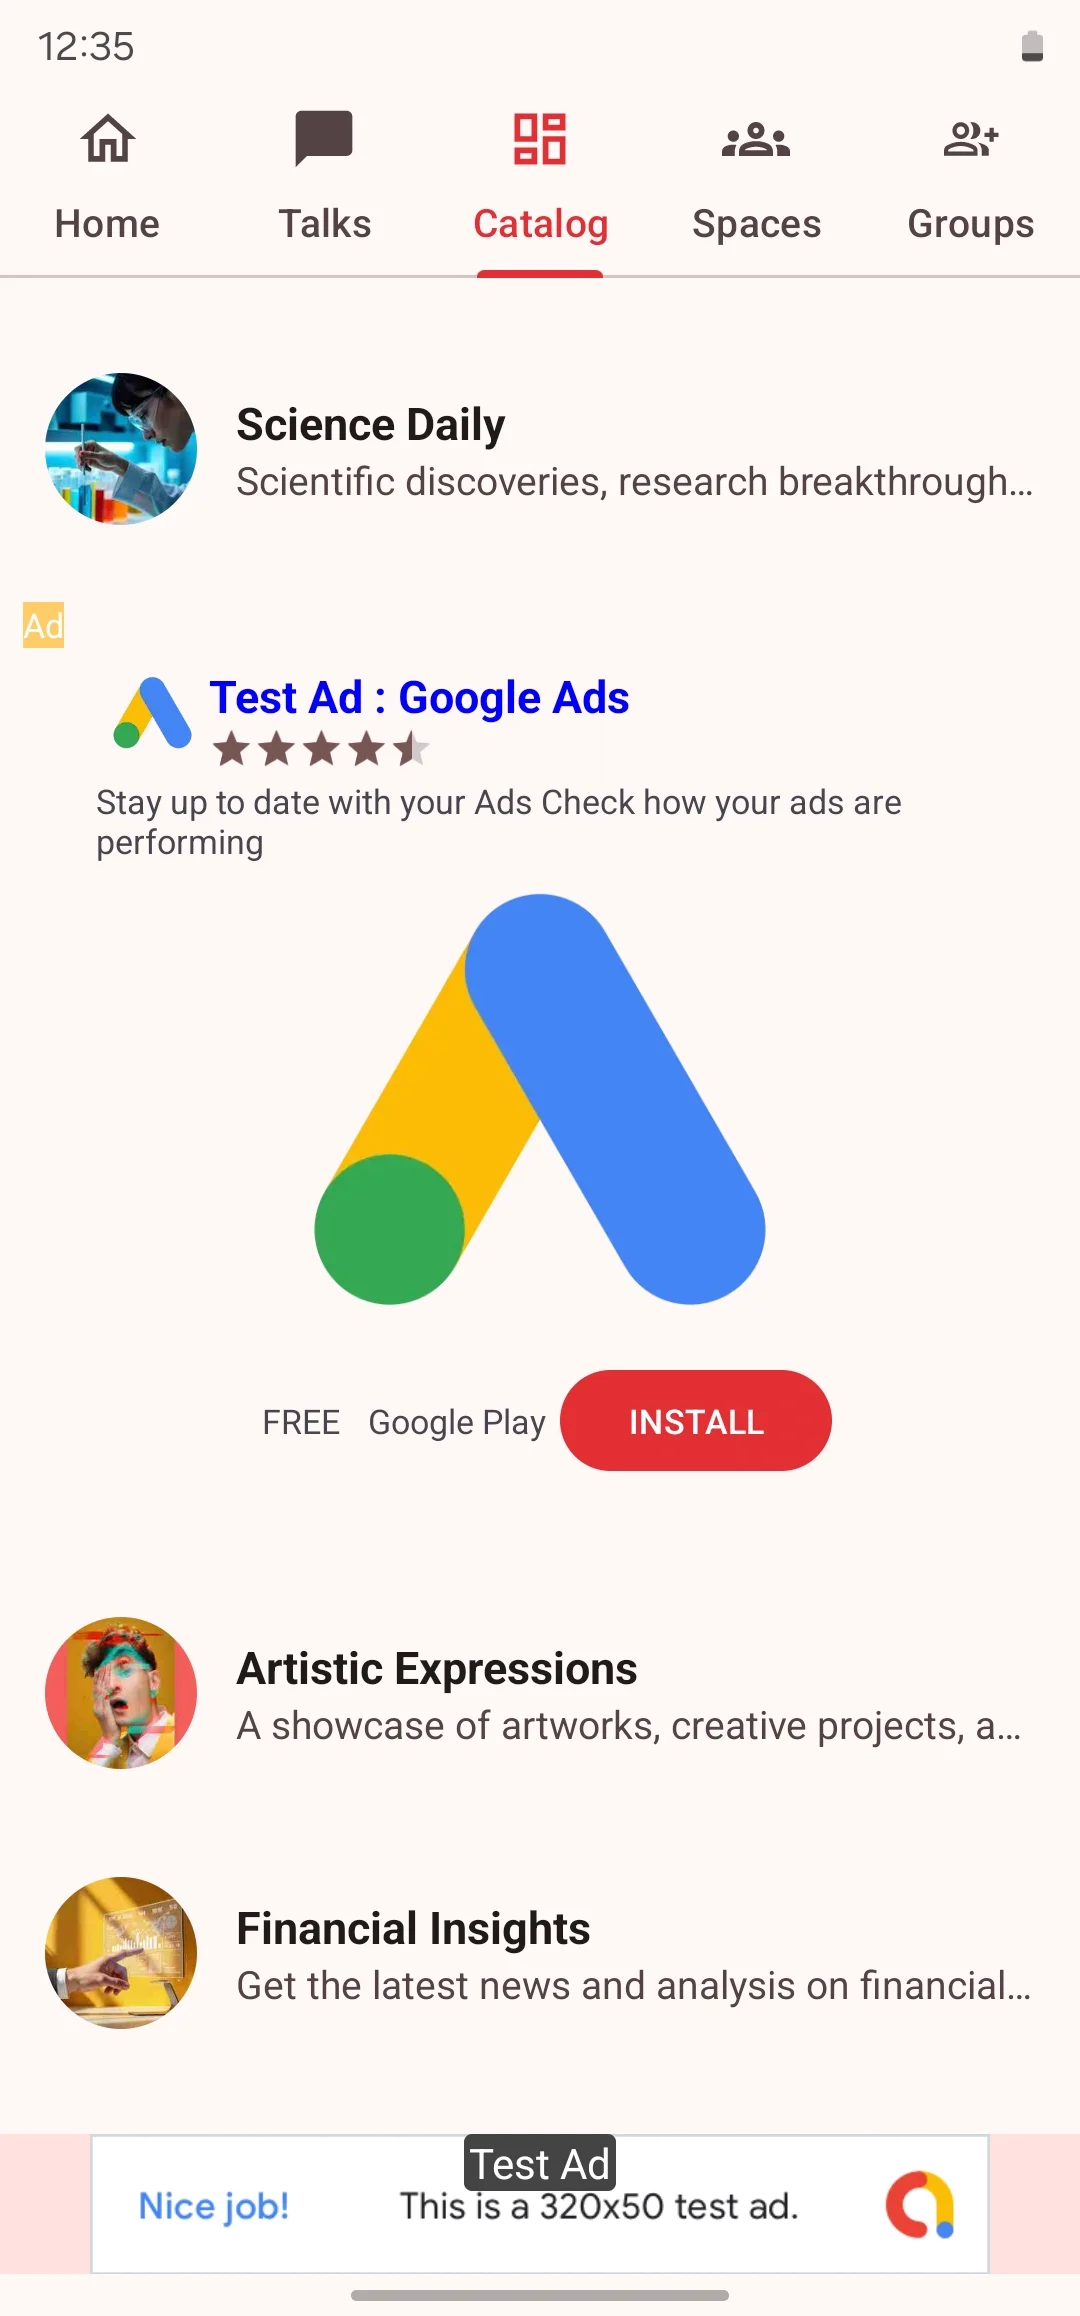
- Next, check the box of your preferred ad you wish to activate, enter the ad frequency, which is the number of posts after which an ad will appear, and then click 'Submit.’

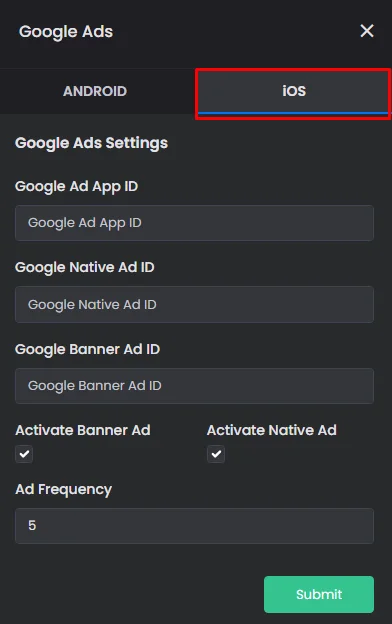
You can repeat the same process with the iOS version of your app.
Next, you need to activate the ads in the components that you've installed in your app.
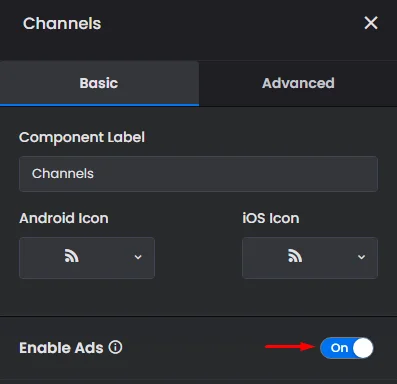
- Click the gear icon of the component.
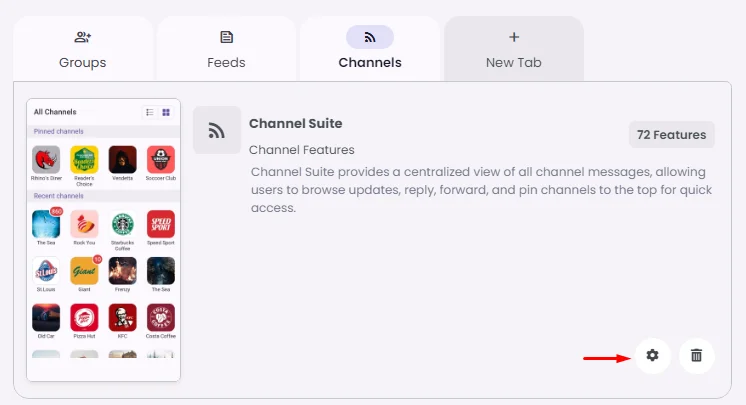
- Turn the toggle of 'Enable Ads' on and don’t forget to click ‘Save App Config’.
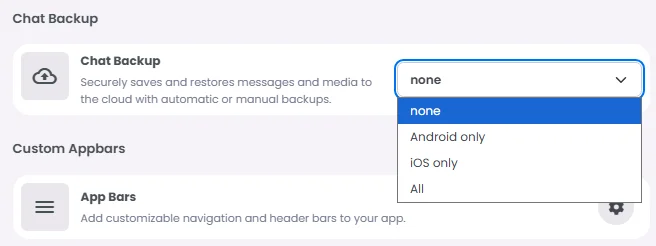
Chat Backup
You have the option to activate the chatting backup feature for Android only, iOS only or both of them.
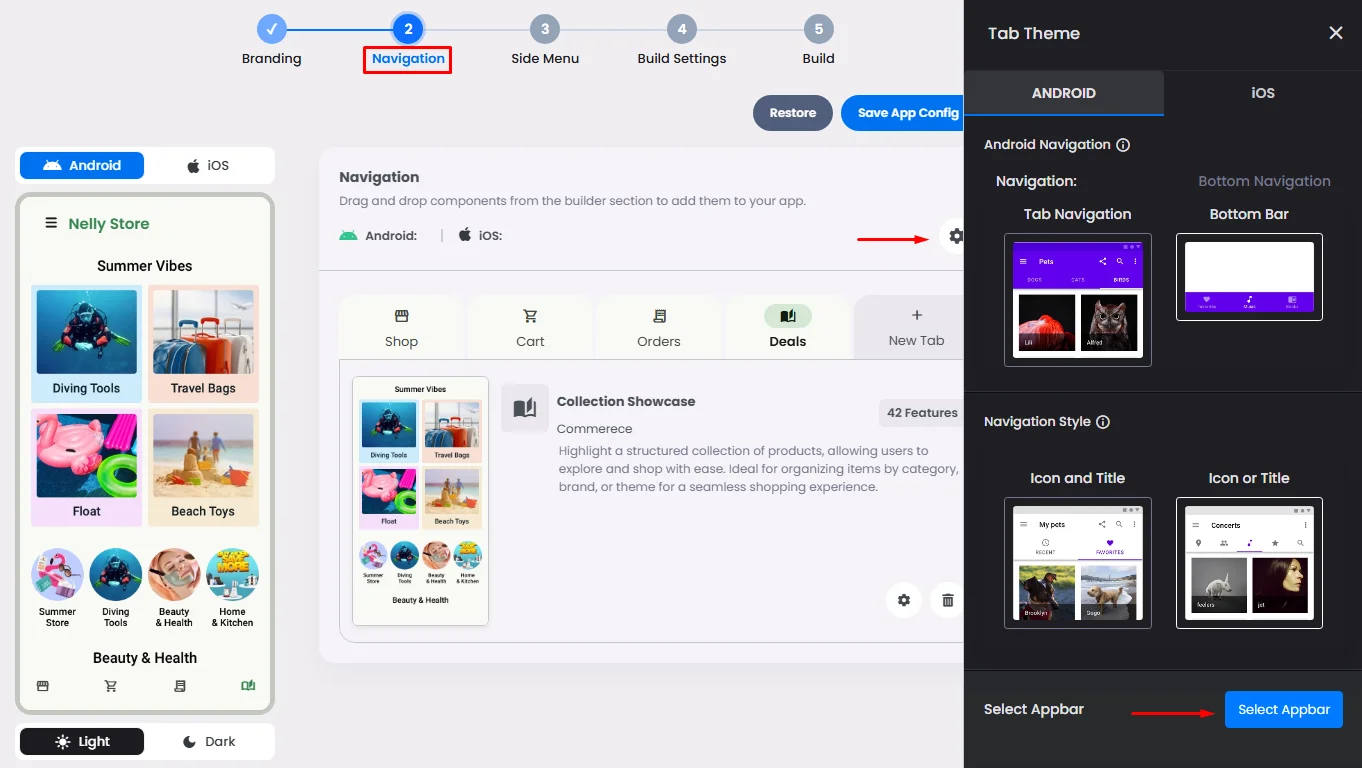
Custom Appbars
The Appbars feature lets you design and customize top or side navigation bars for your app. You can set them per tab or across the entire app, with platform-specific implementations for Android and iOS. As the app owner, you decide how your app bar looks and works, from button icons to context menus and assign specific actions that bring seamless navigation and interactivity to your users.
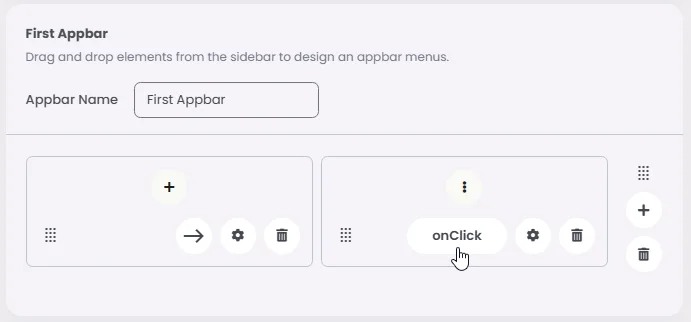
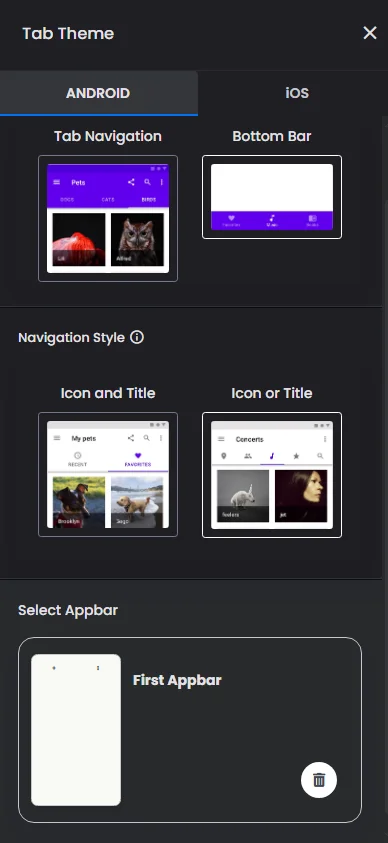
Click the gear icon to start creating your app bars.

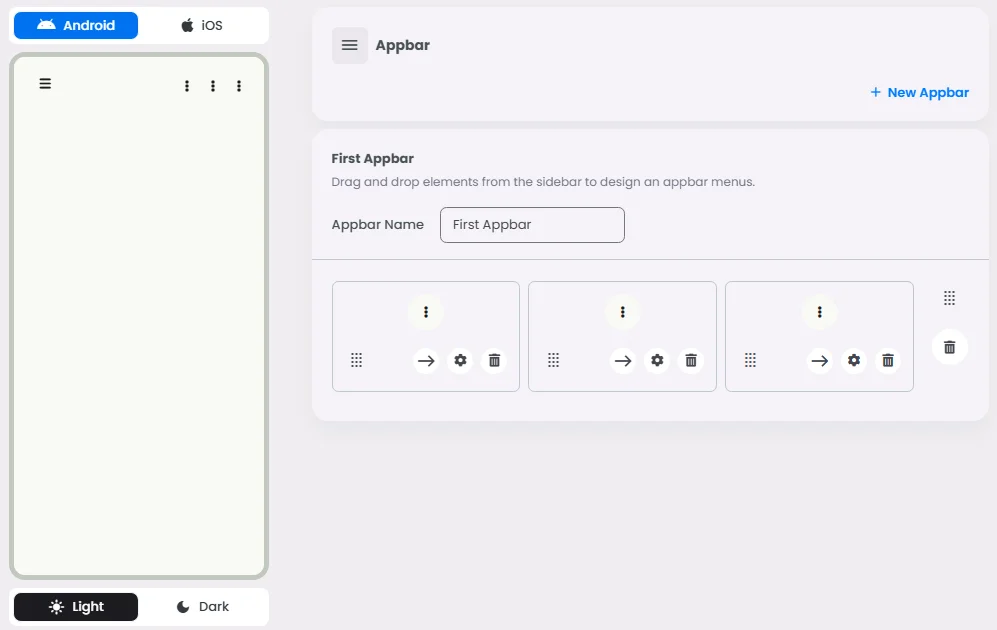
Drag and drop the elements you want.
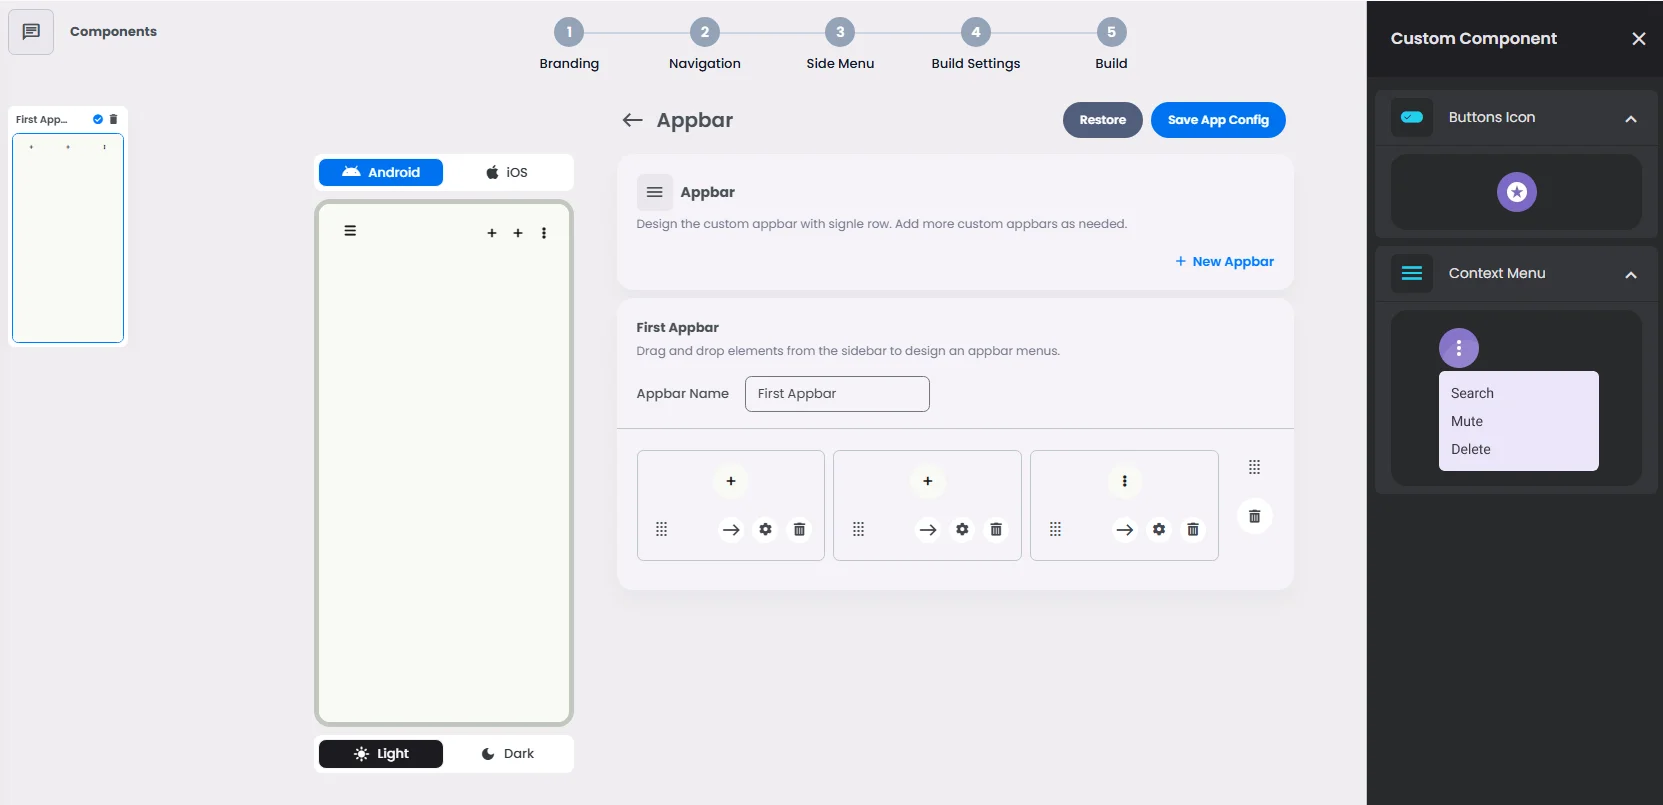
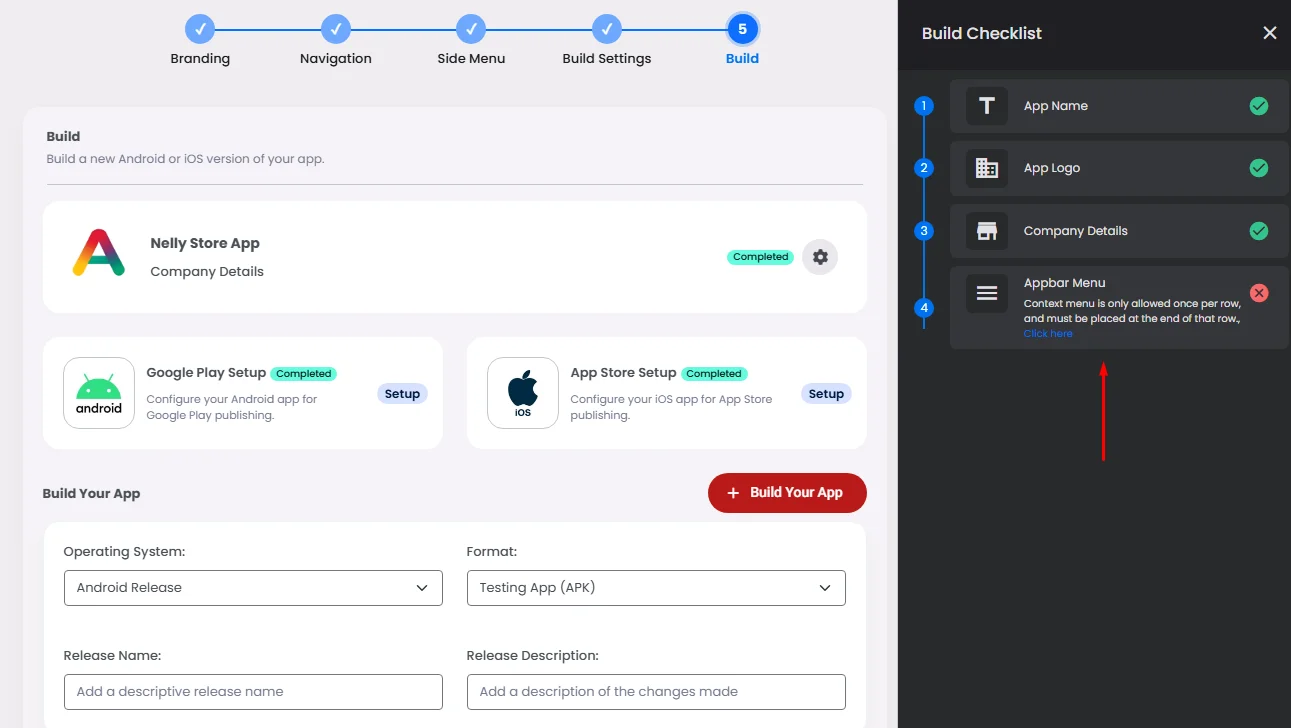
Keep in mind that the context menu can only appear on the right side or by itself. The app builder won't let you create a build at this stage, so you can't add a button icon to the right side of the context menu or put two/three context menu elements close to each other.
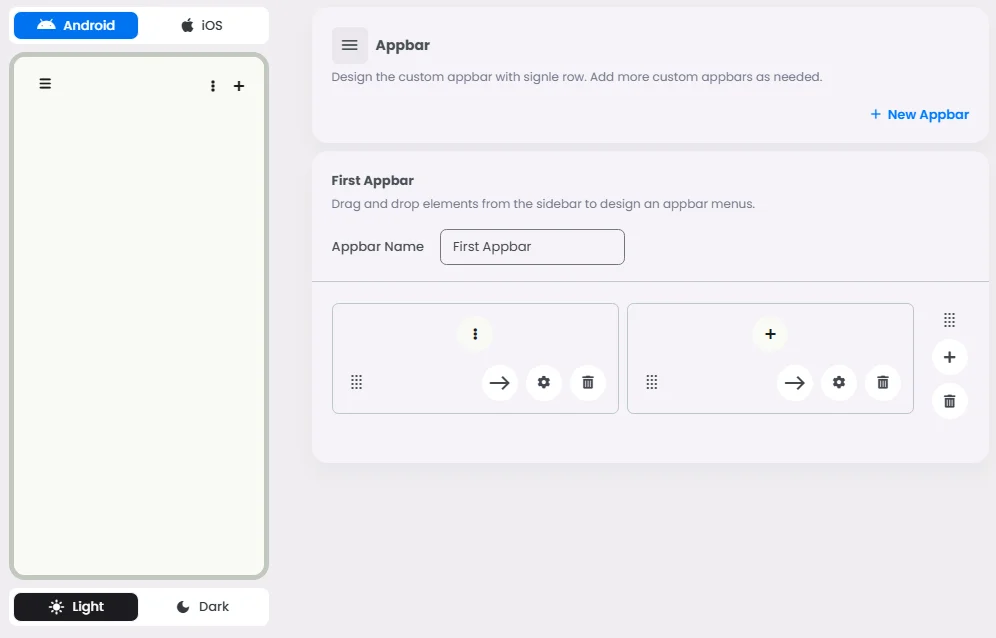
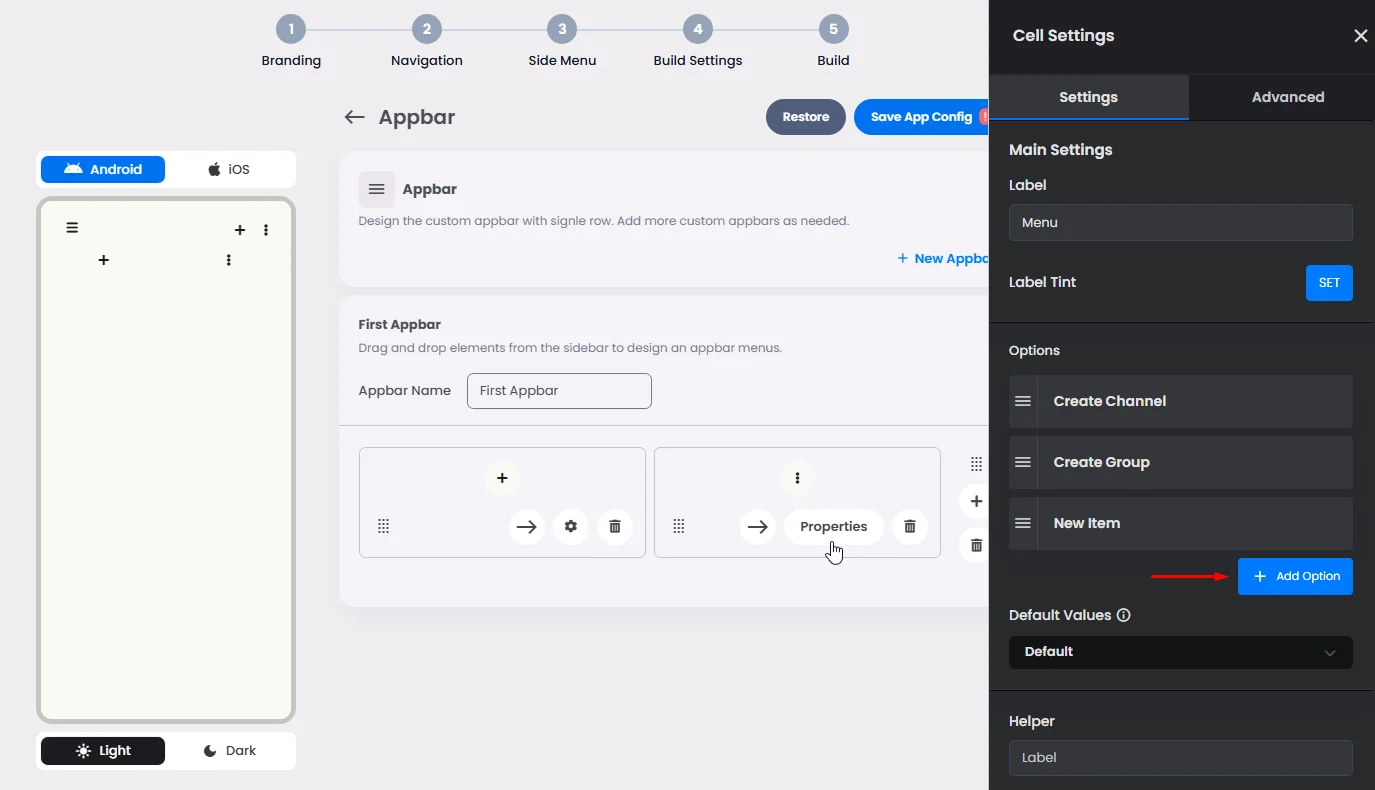
The button icon can have only one action to assign.
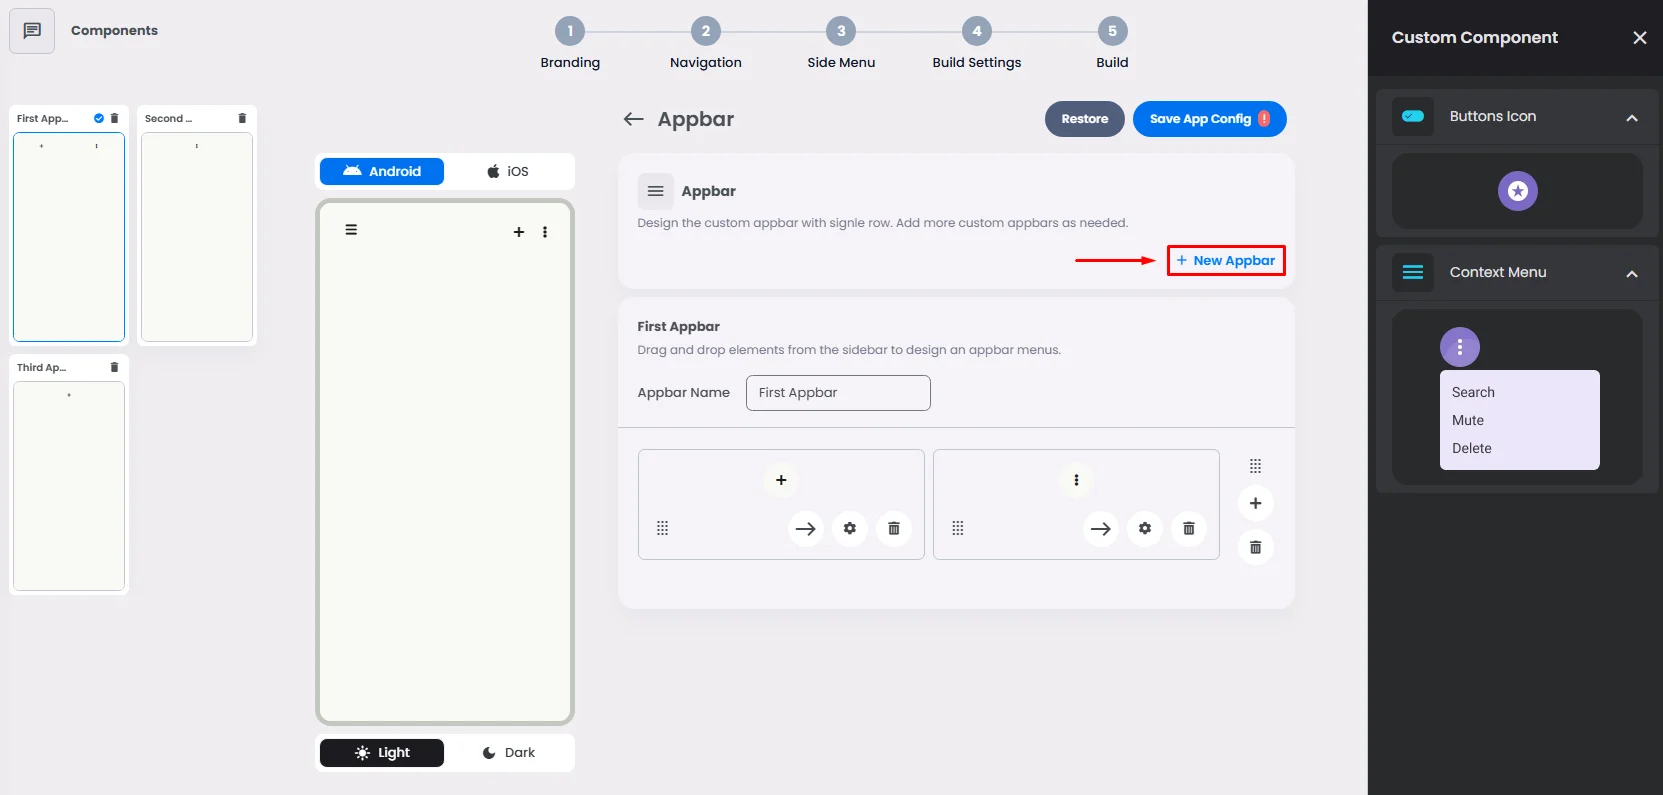
While the context menu can have up to six actions to assign. Make sure you add the extra options you want. Click the gear button and begin adding and renaming options.
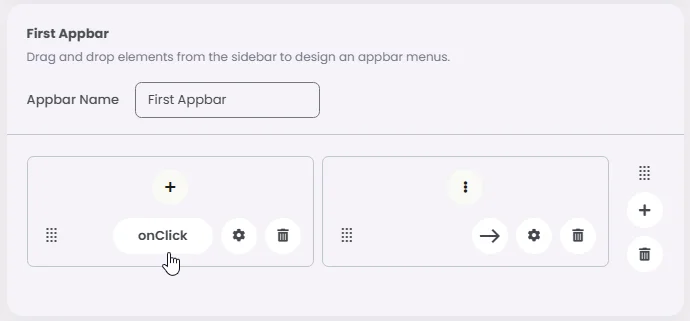
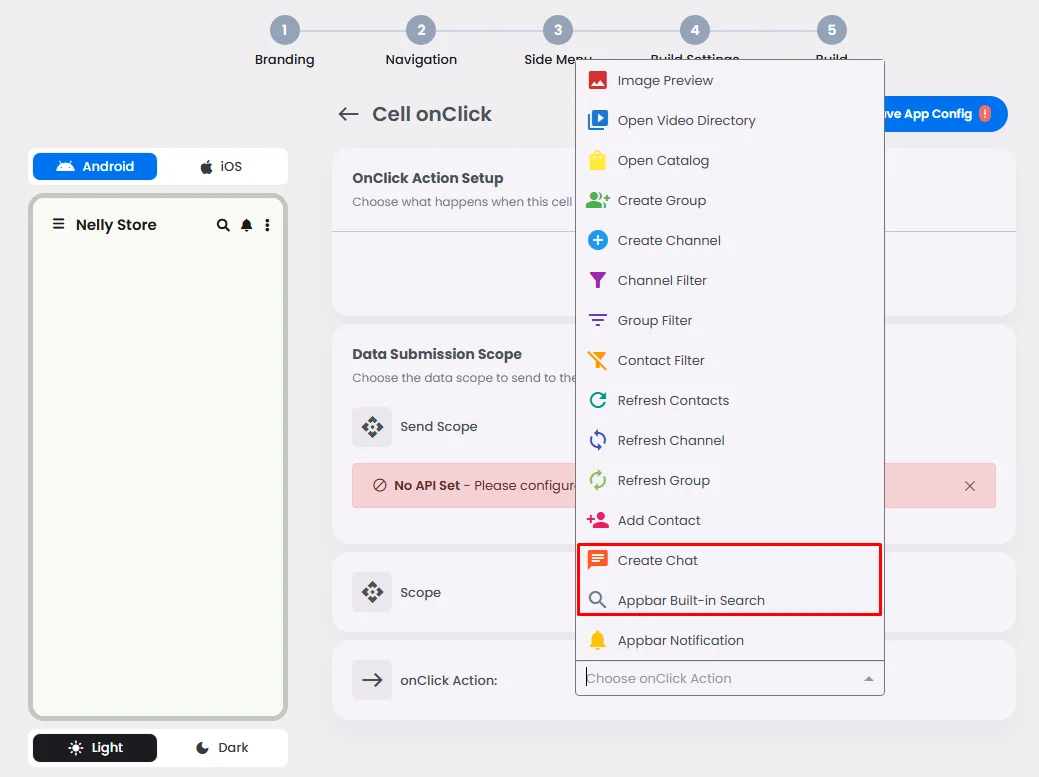
Action onClick
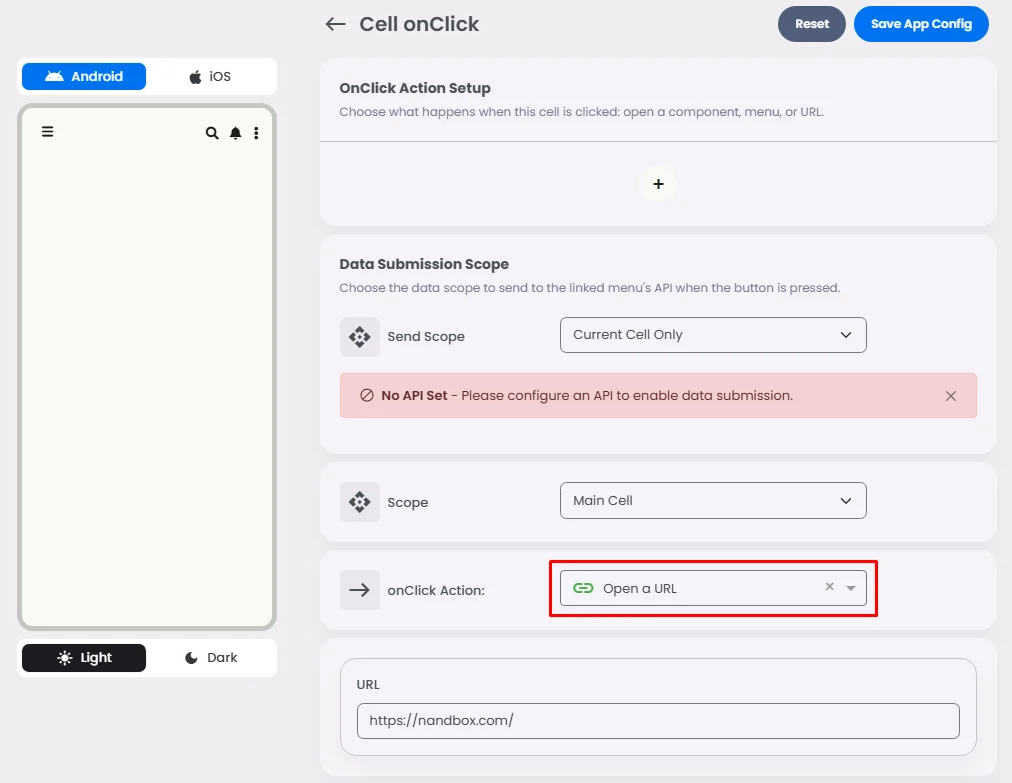
Start to assign each option with the action you want.
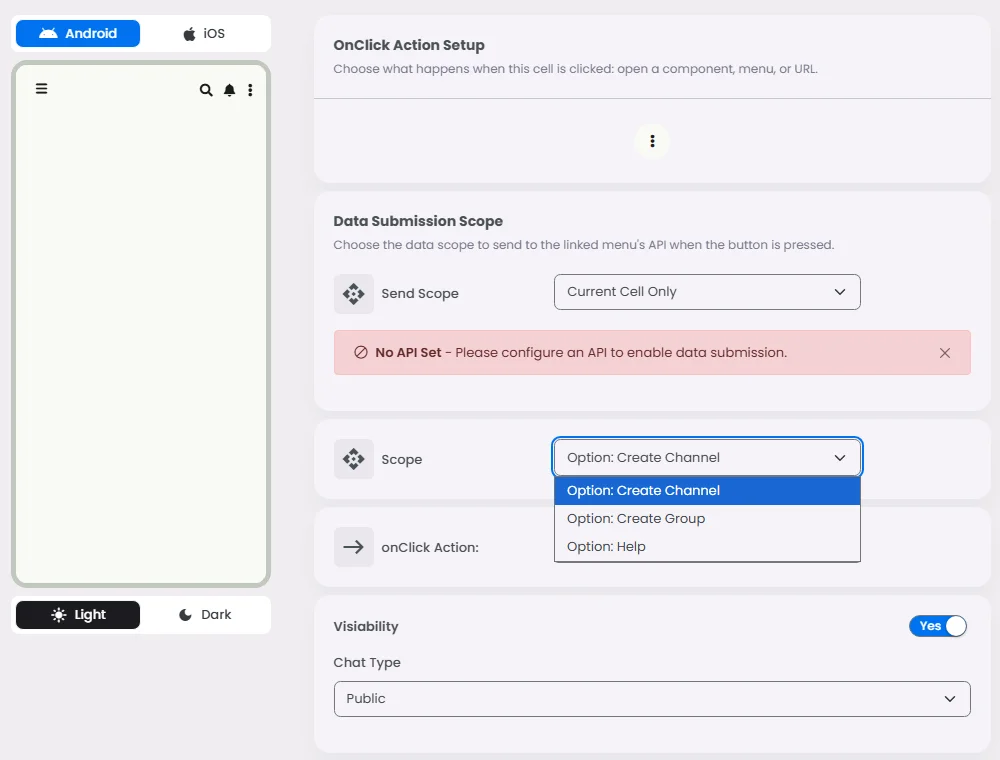
There’s a variety of actions you can assign to your options or to your button.
Check out this guide to learn how actions work.
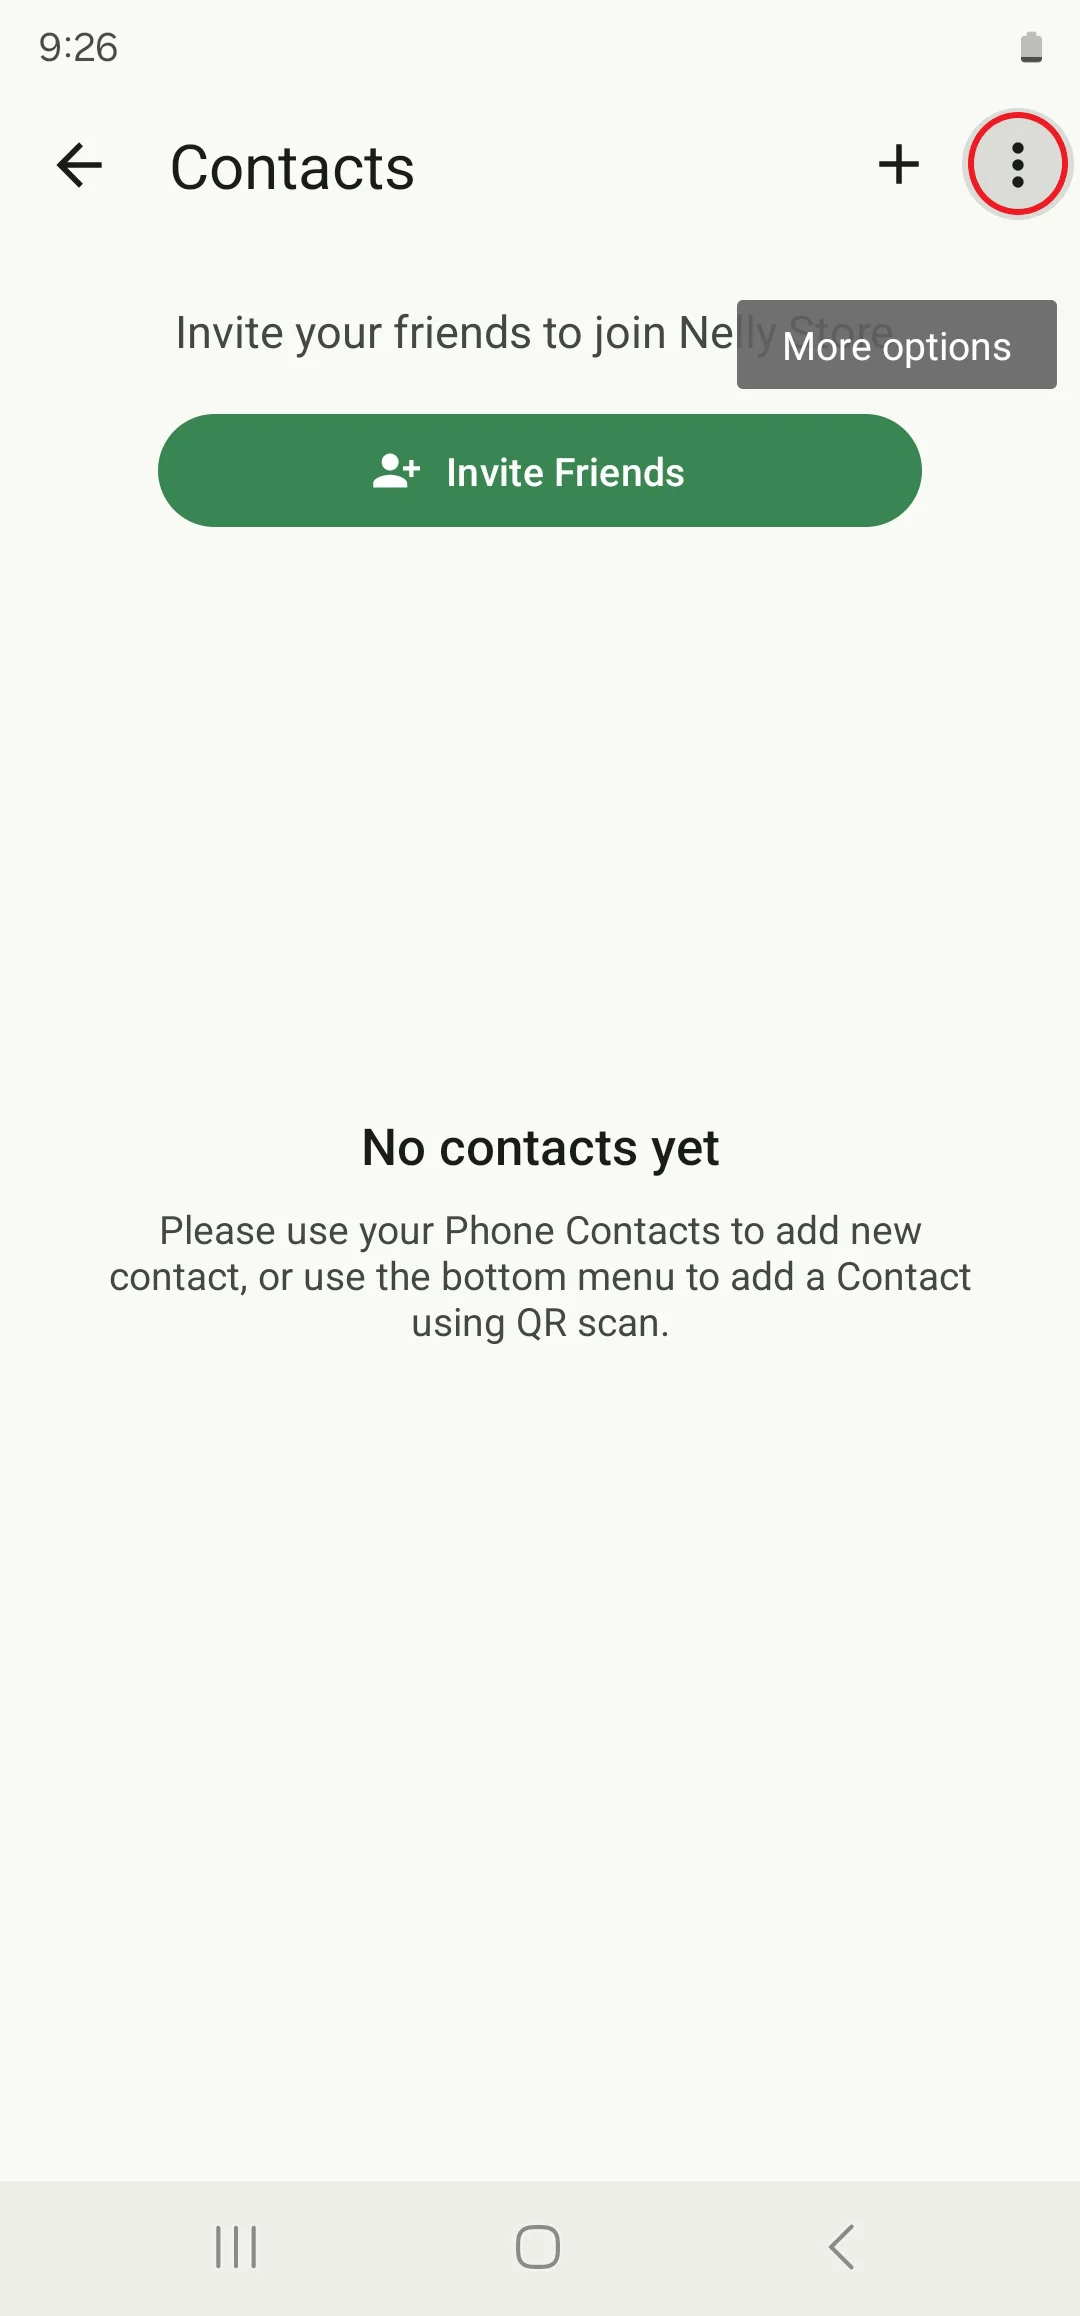
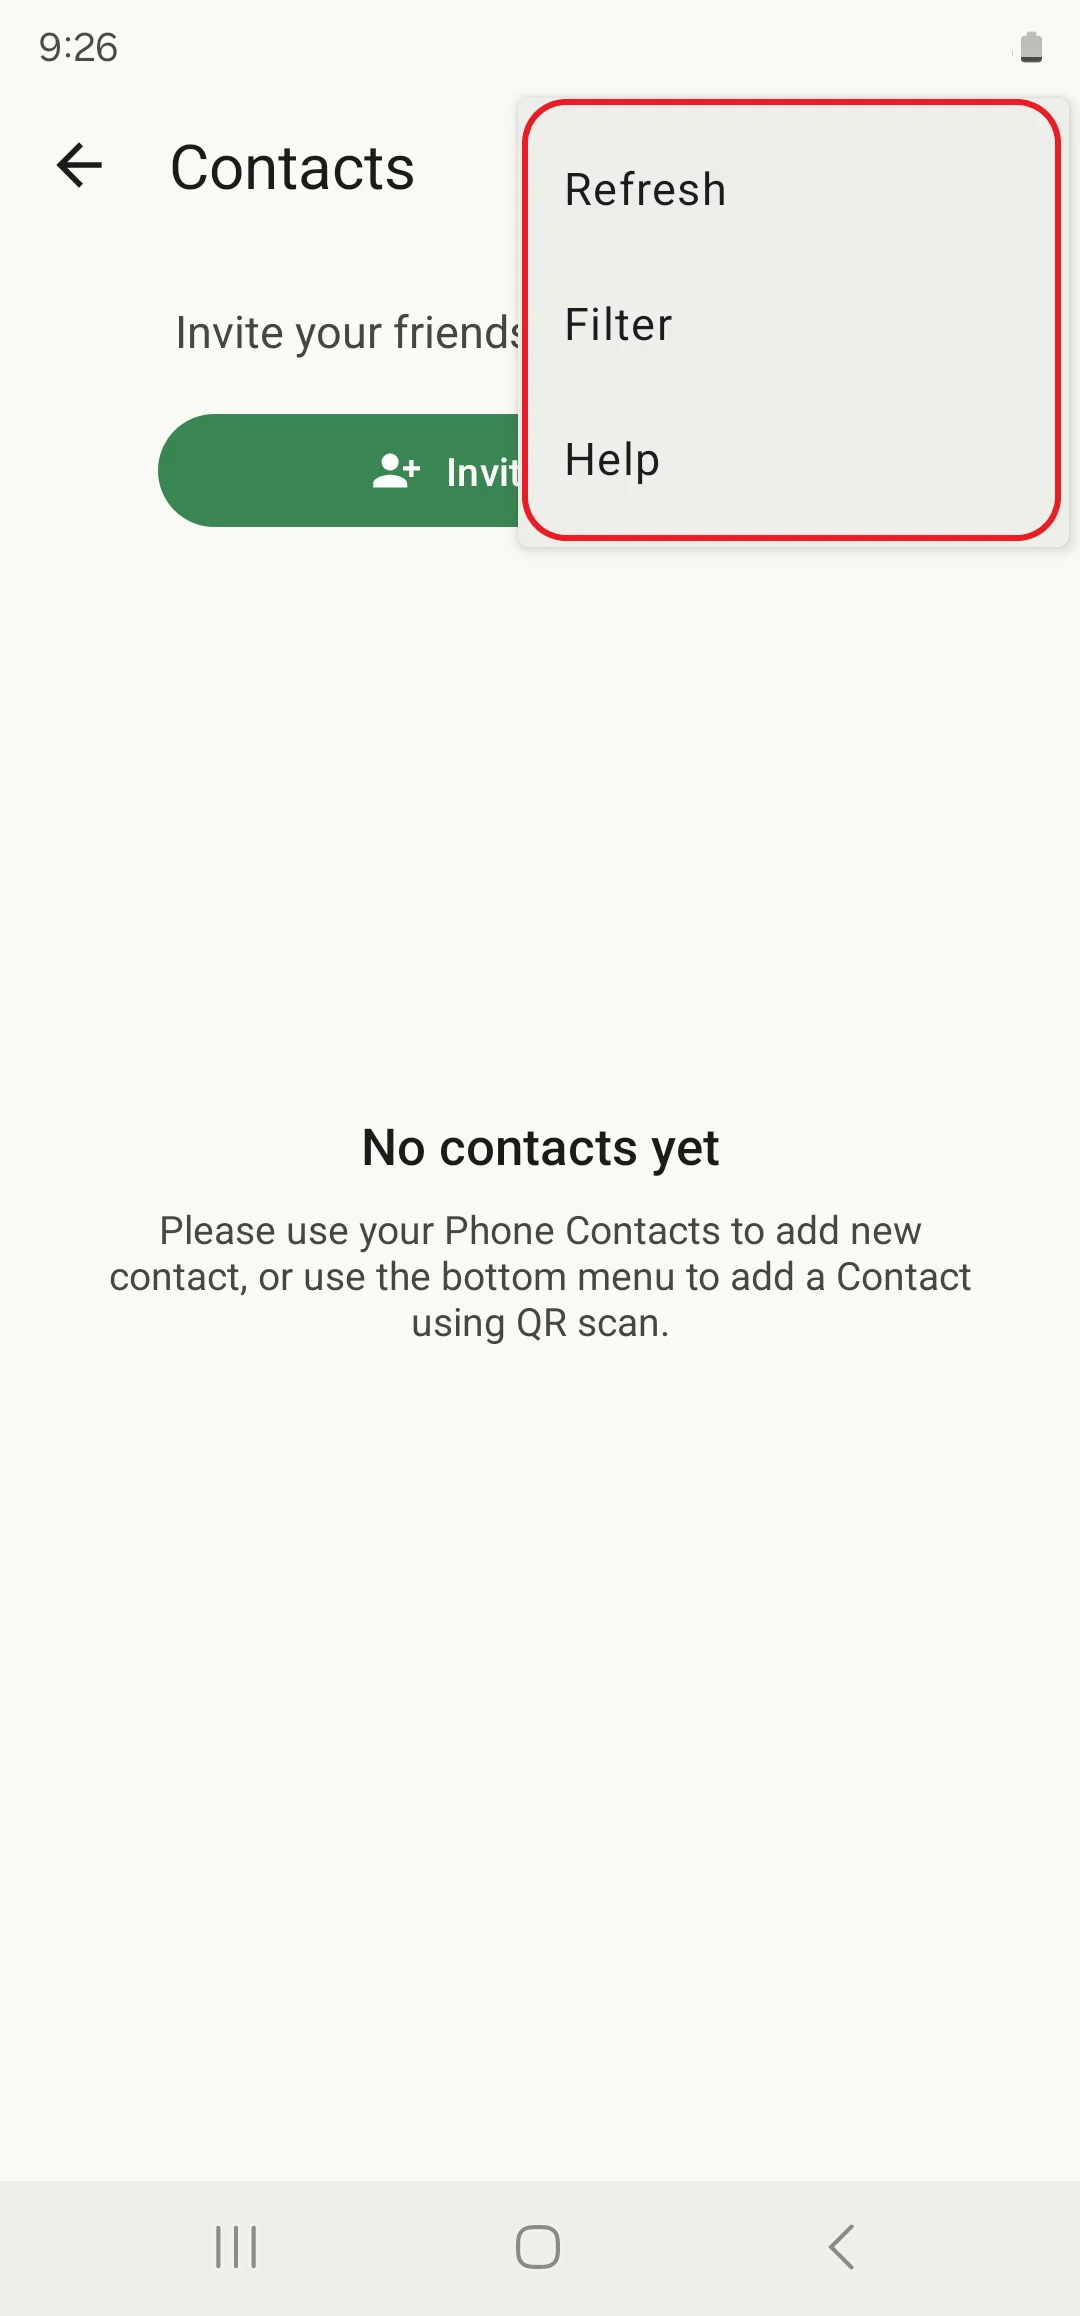
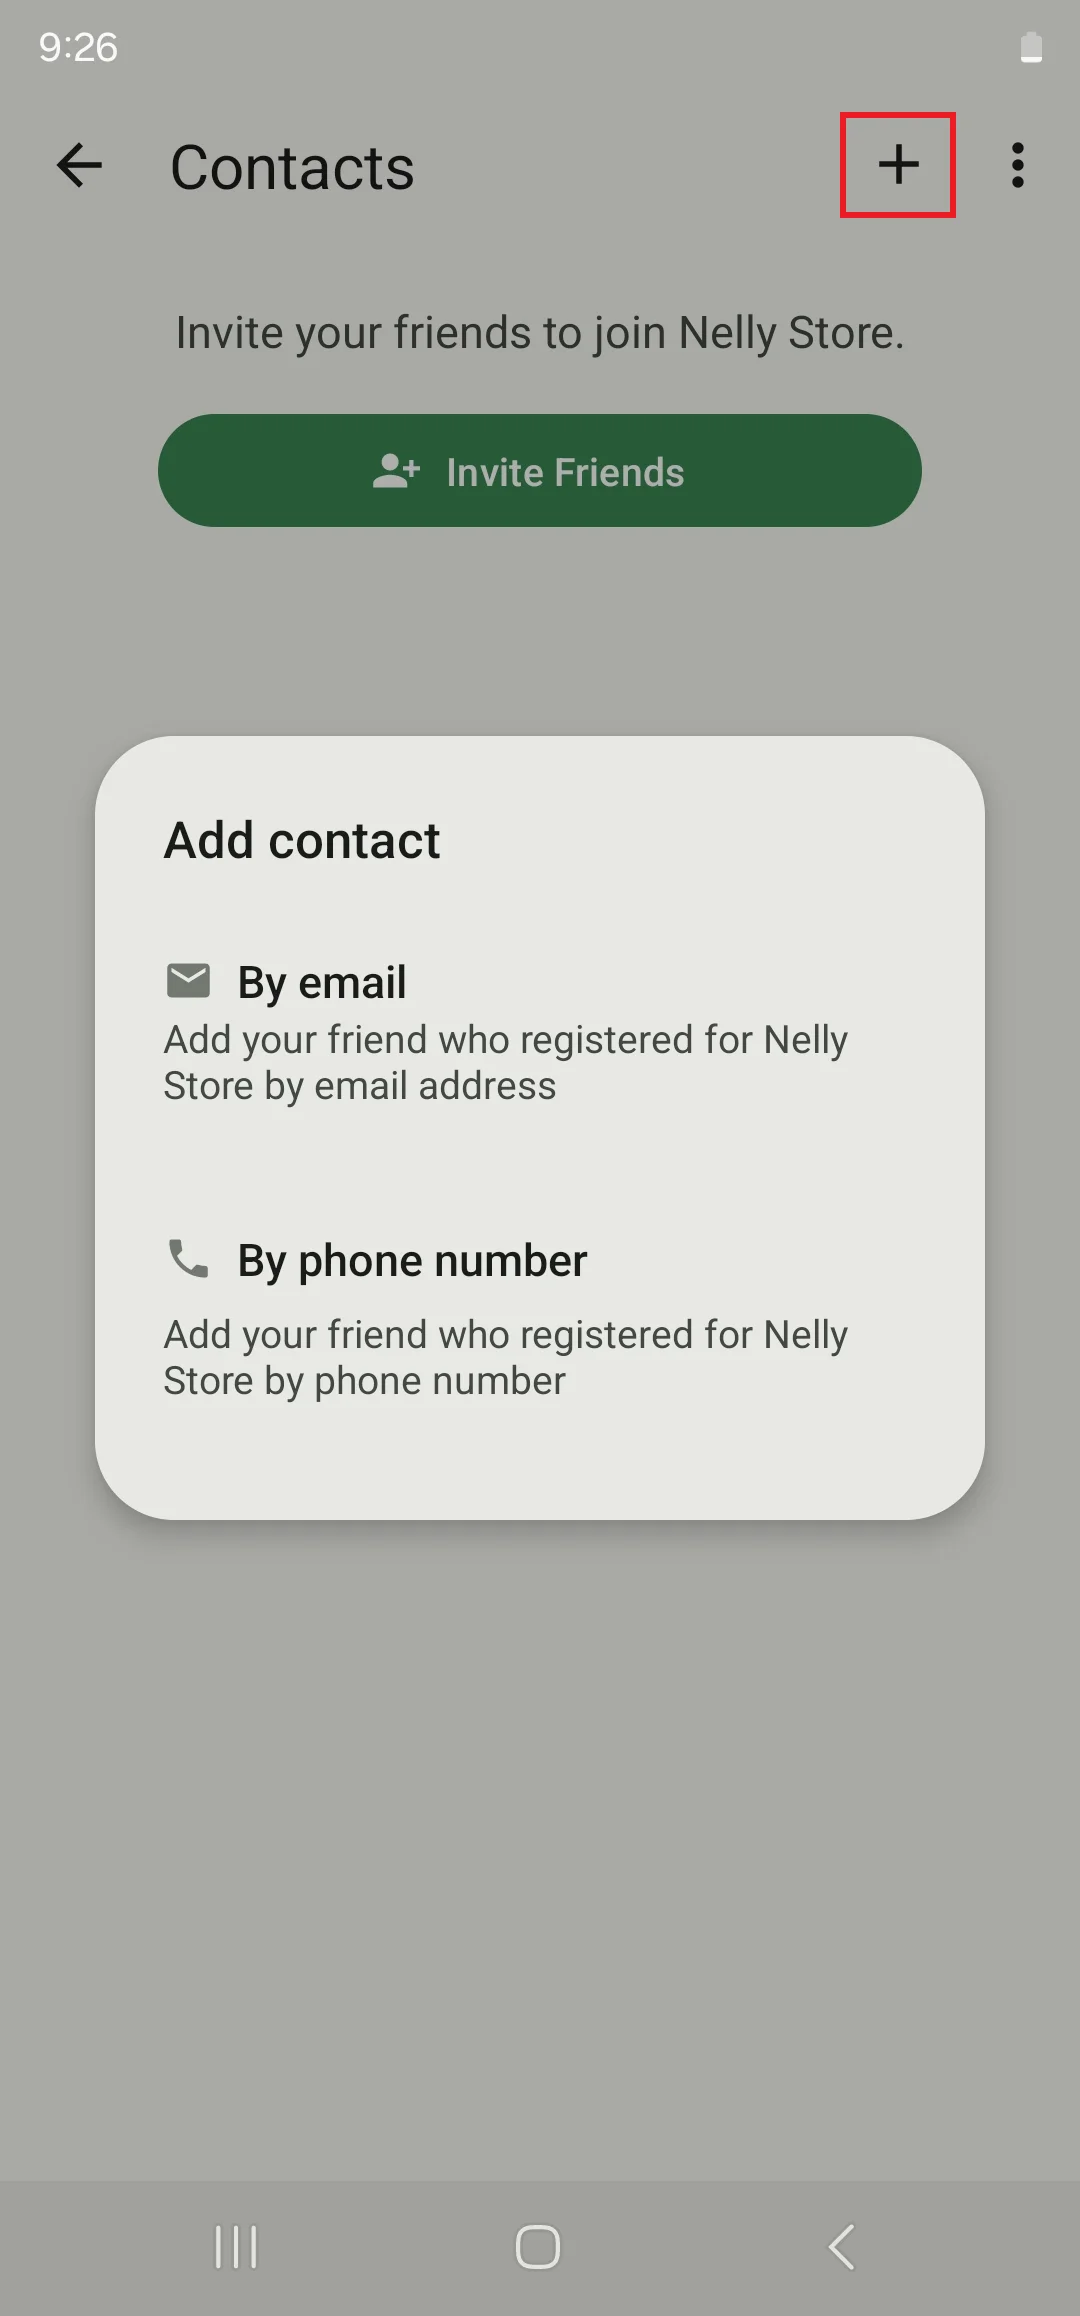
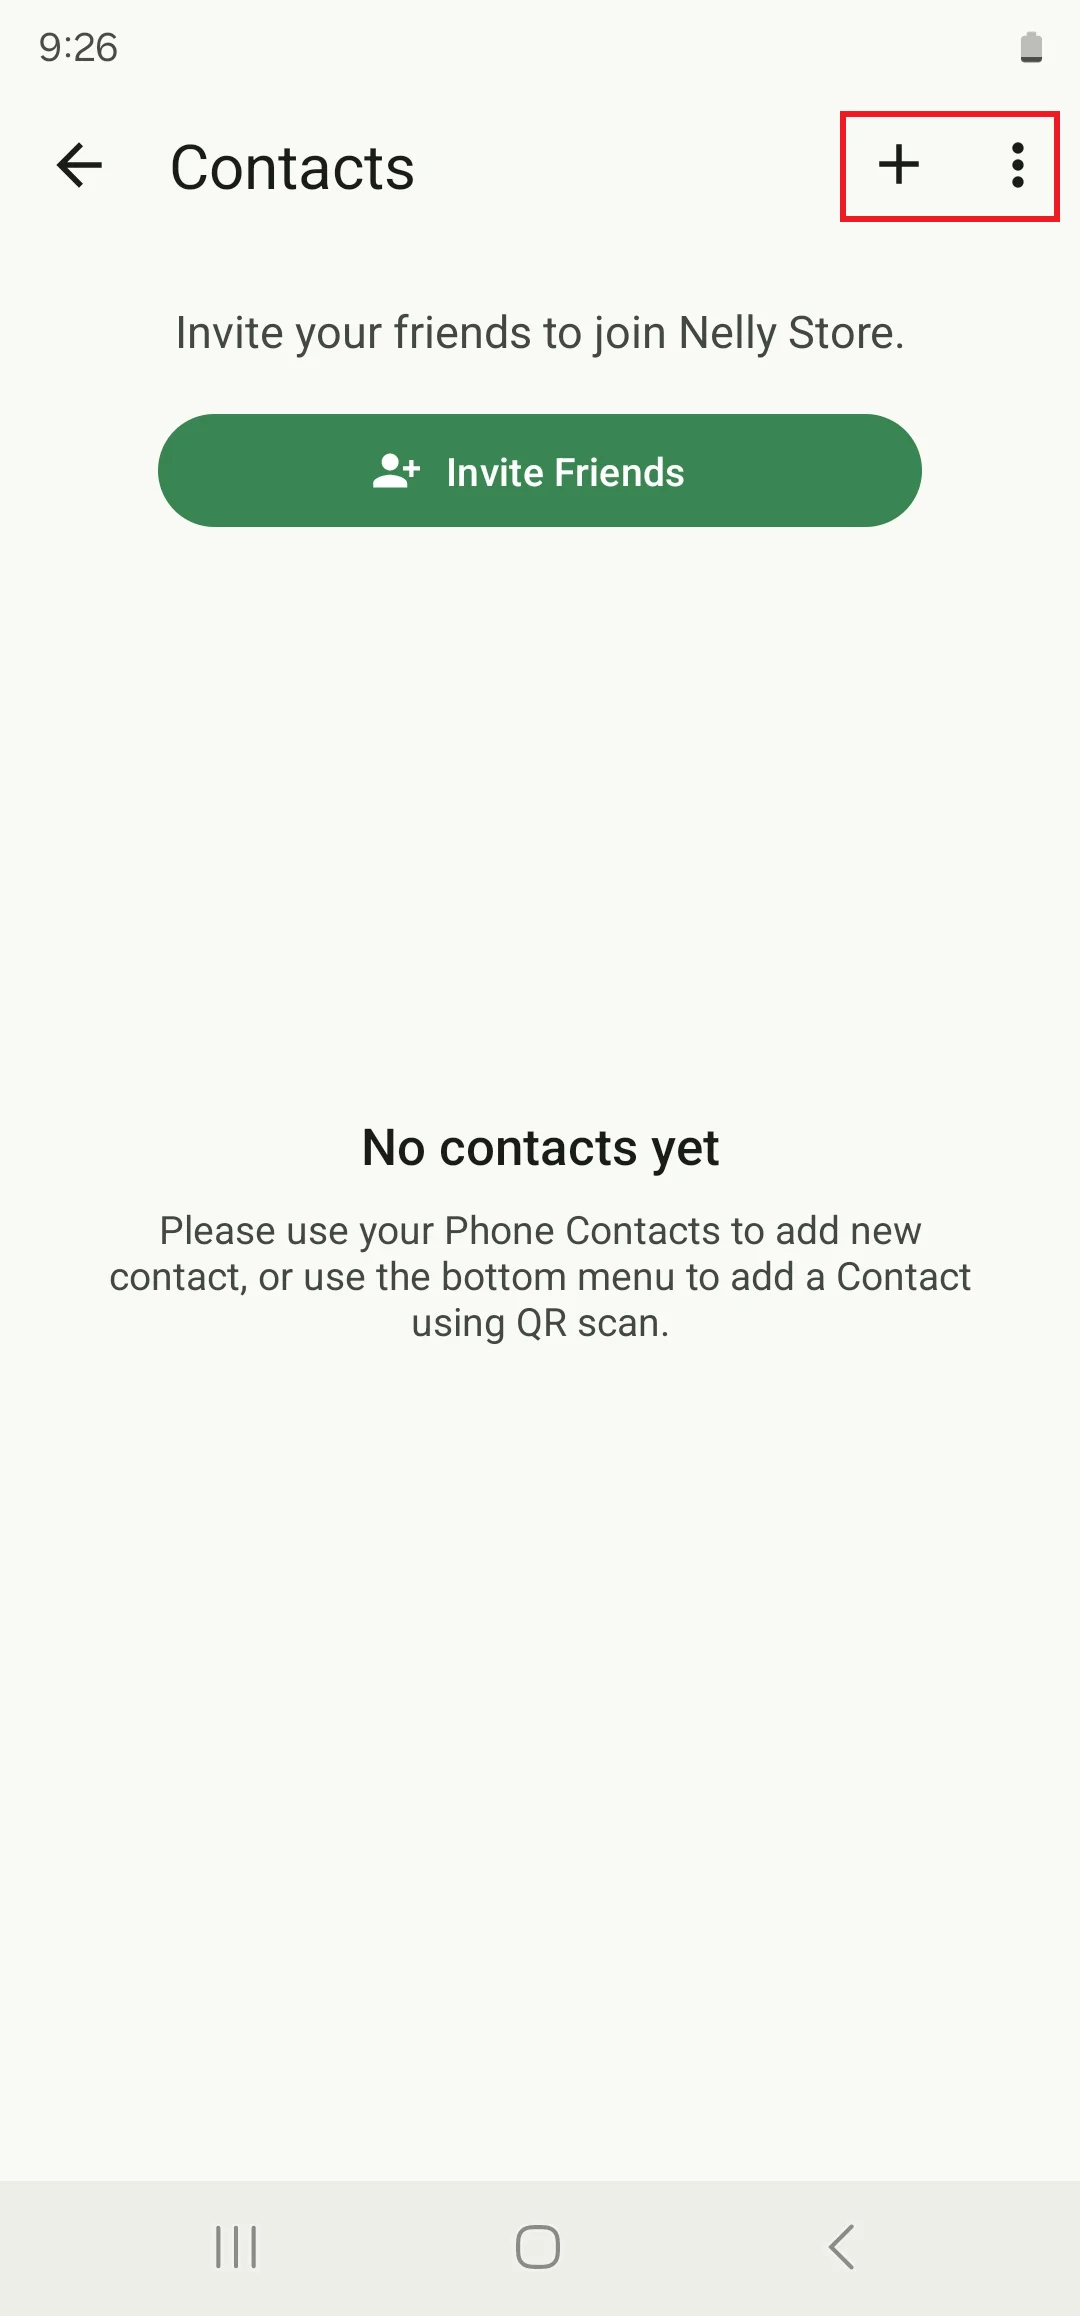
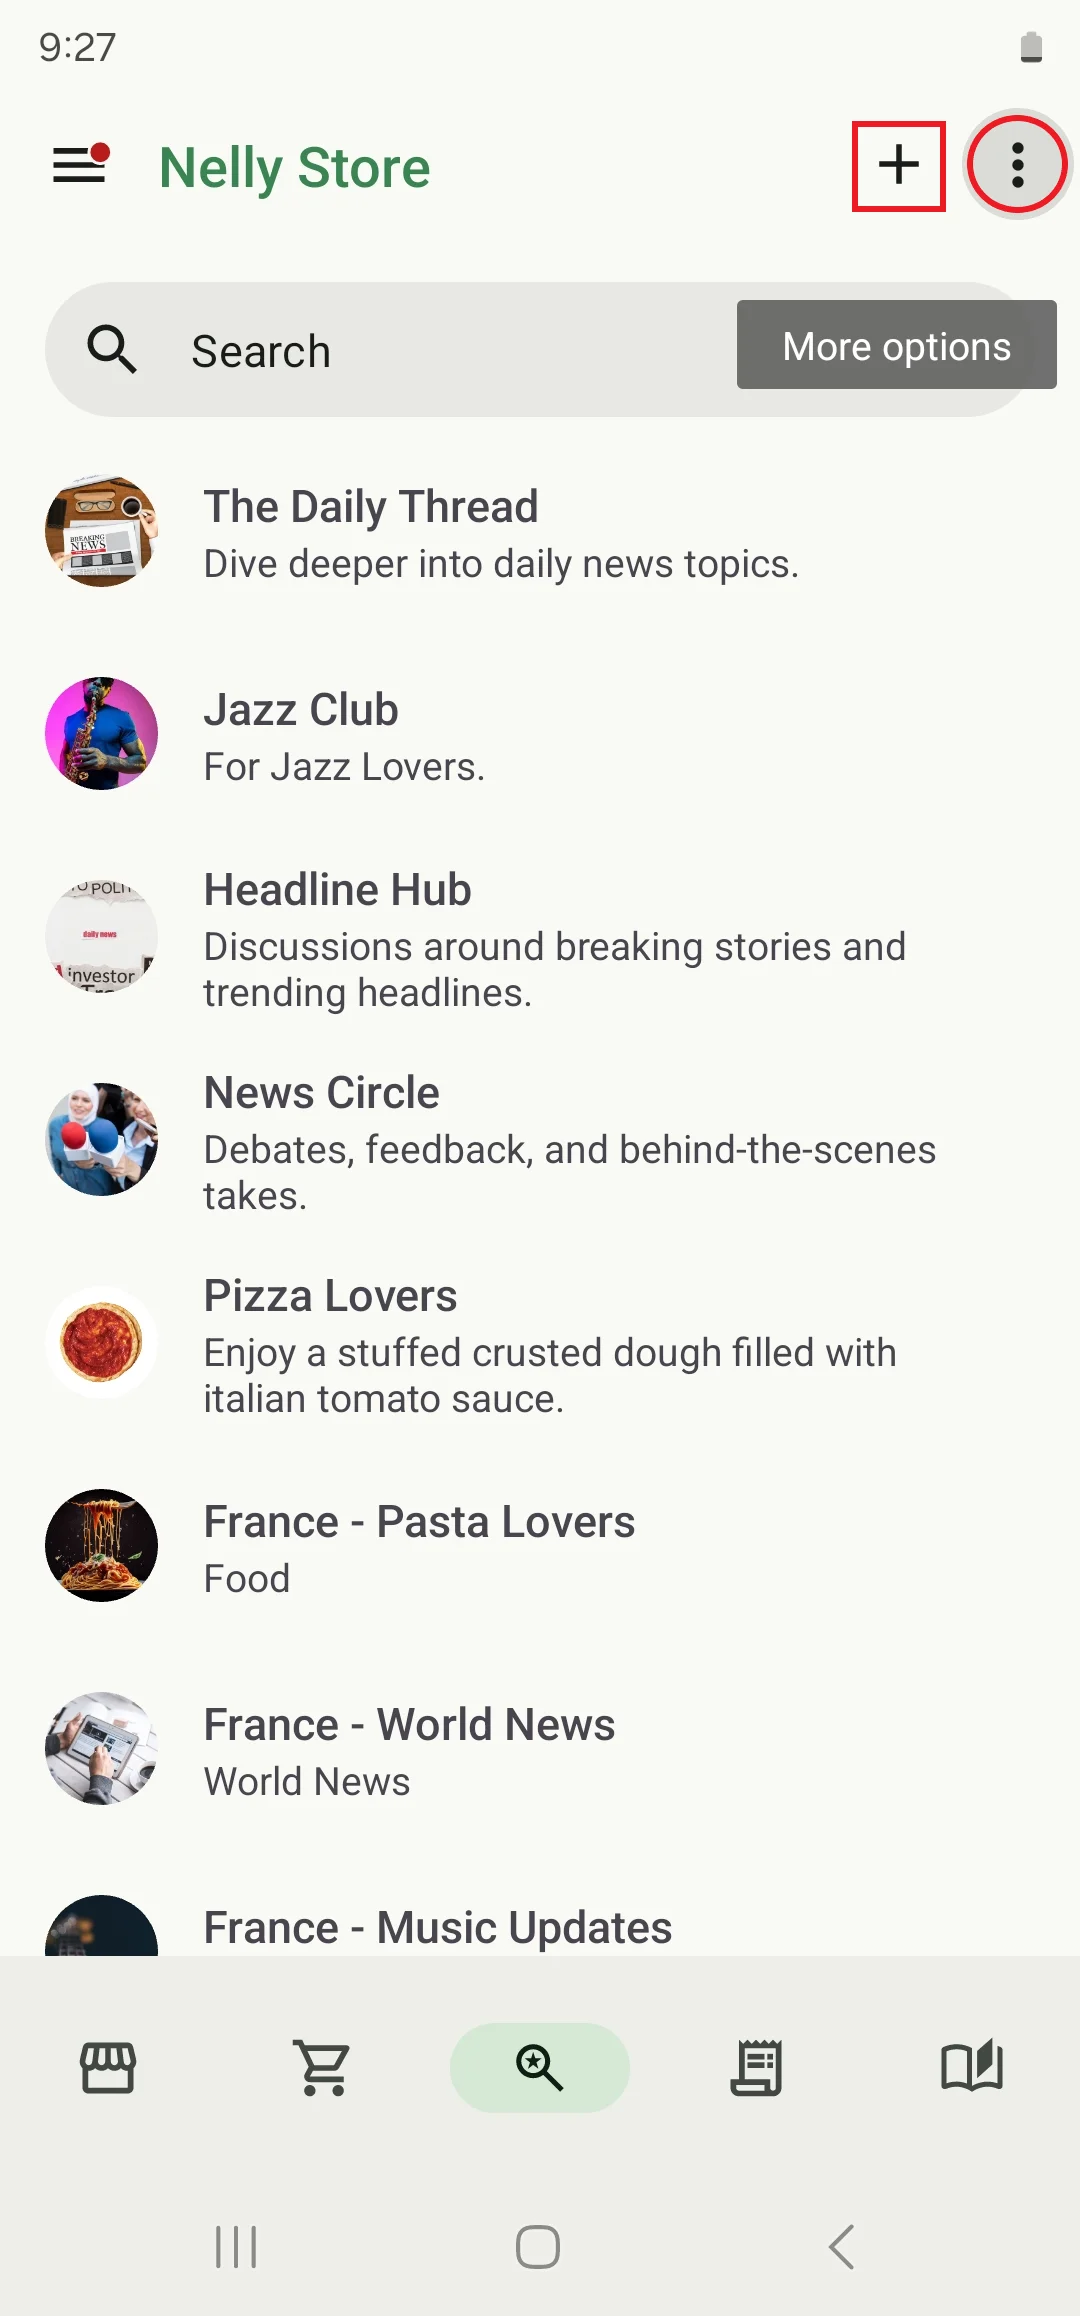
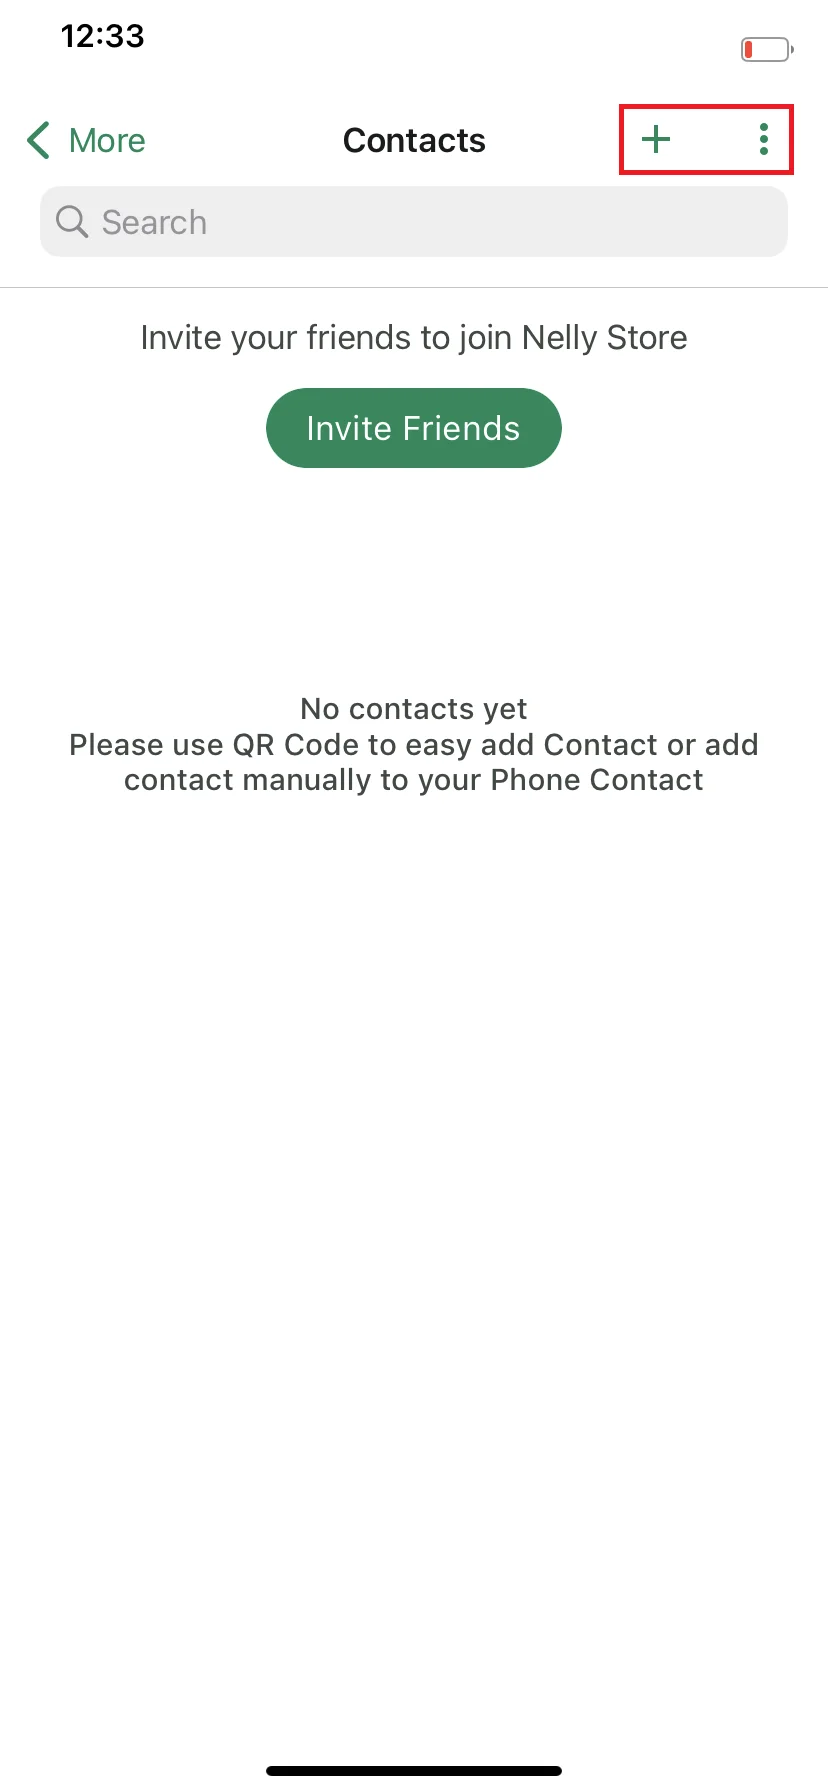
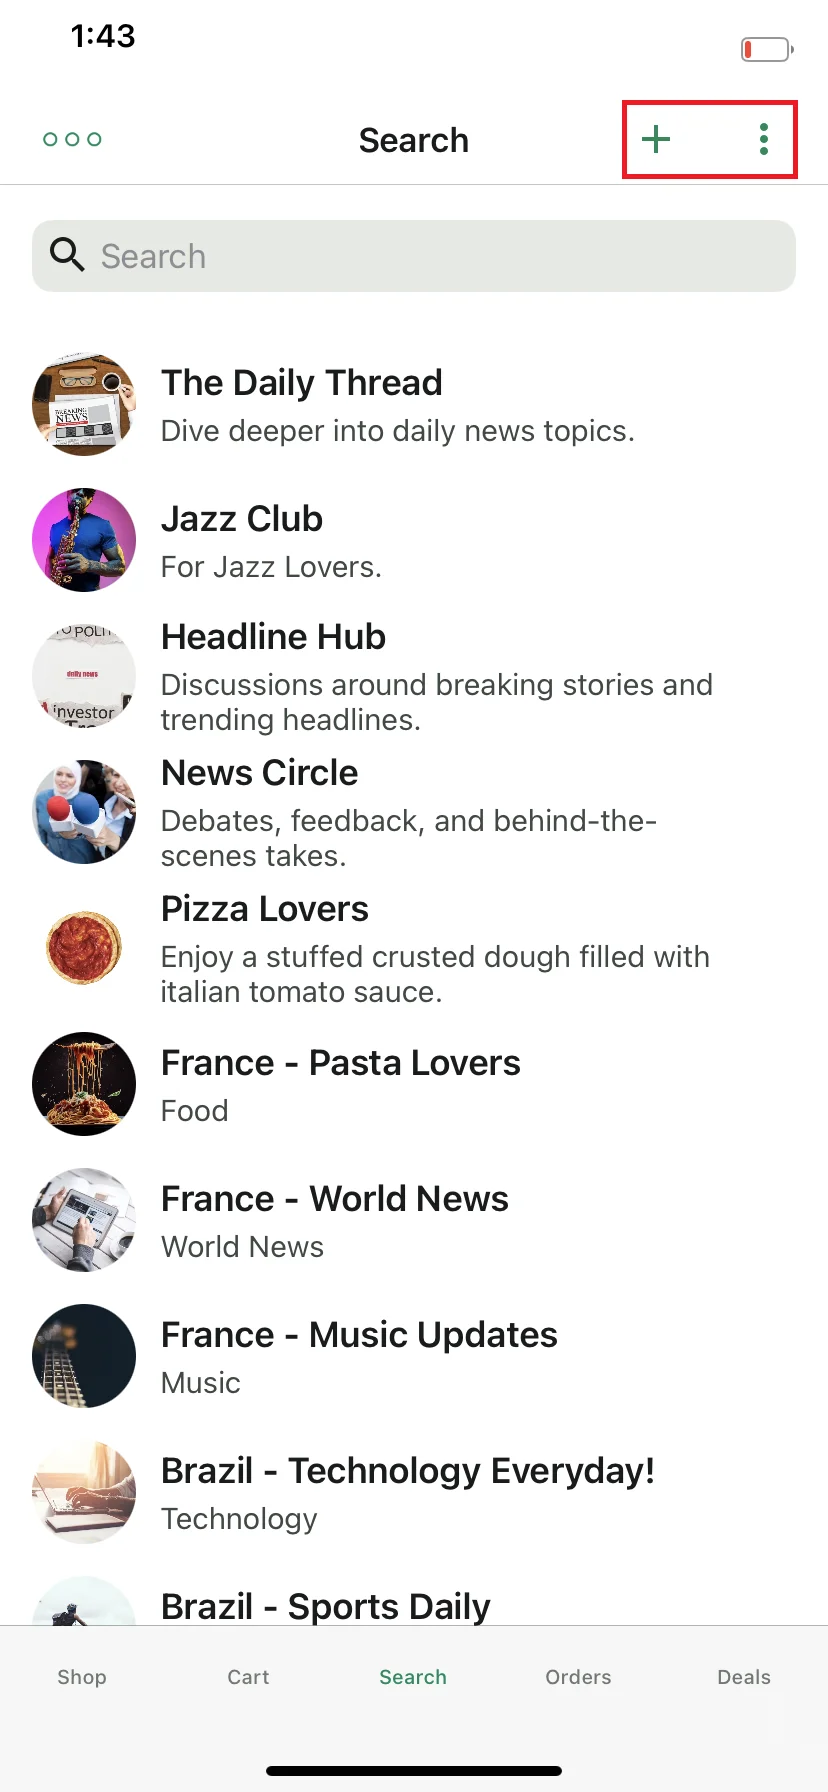
Make sure to choose the right options for the context menu or button icon. For example, you want to assign the appbar to a Contacts Manager Component, you need to add relevant options like Refresh Contact, Contact Filter, Add Contact, etc.
You can create different app bars for different tabs in your app. And don’t forget to save your progress.
Note that ‘Create Chat’ and ‘Built-in Search’ are only available for Android
Android Implementation
Navigation Menu
The Appbar can only be set for the whole navigation bar.
Assign your appbar then click ‘Save App Config.’
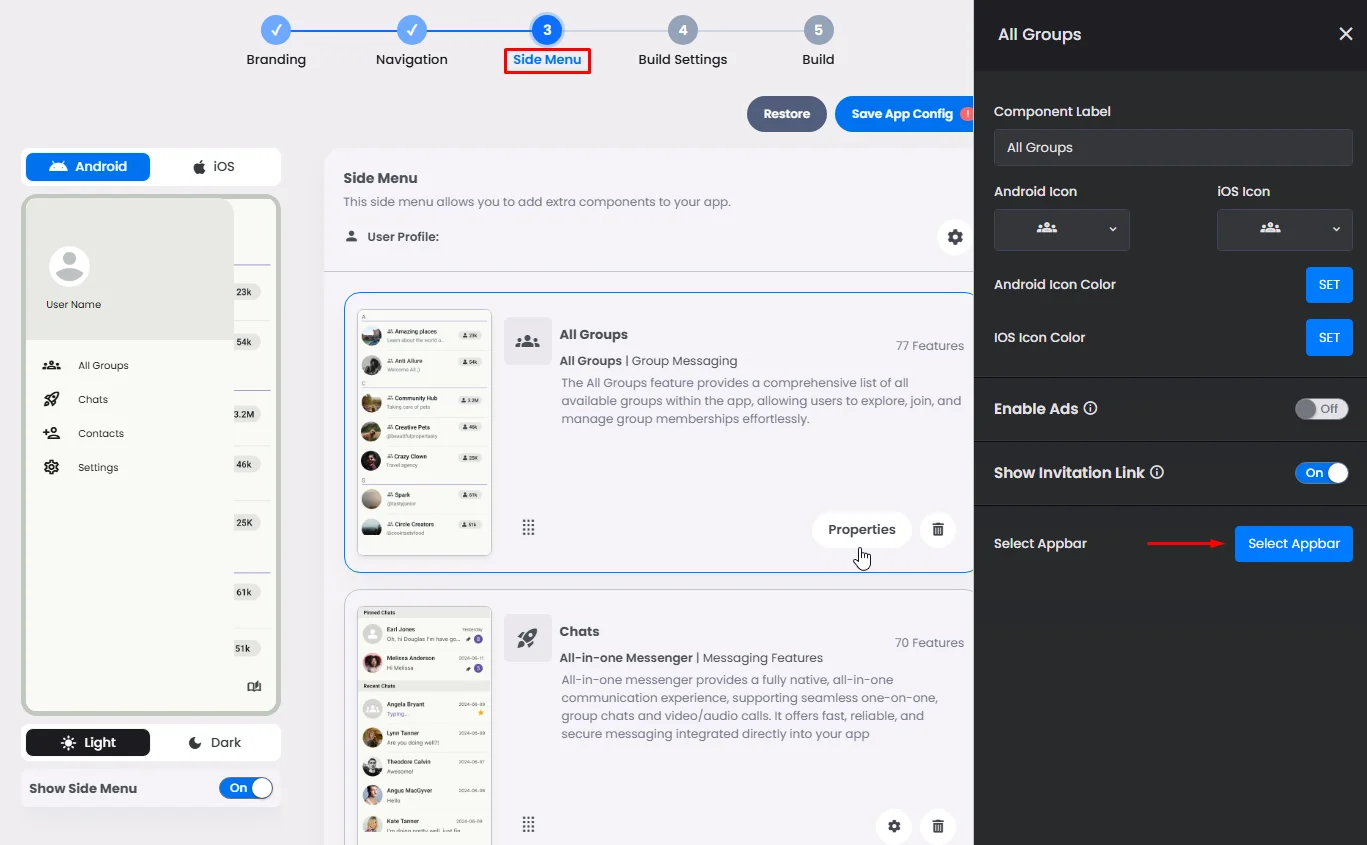
Side Menu
The Appbar can be set for specific tabs:
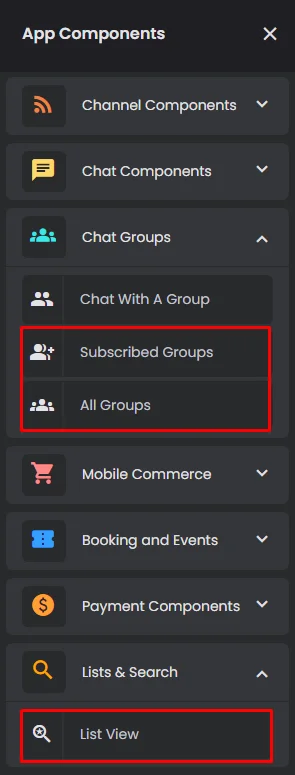
- Custom Component
- Contacts Manager
- Subscribed Channels
- All Groups
- Subscribed Groups
- List & Search
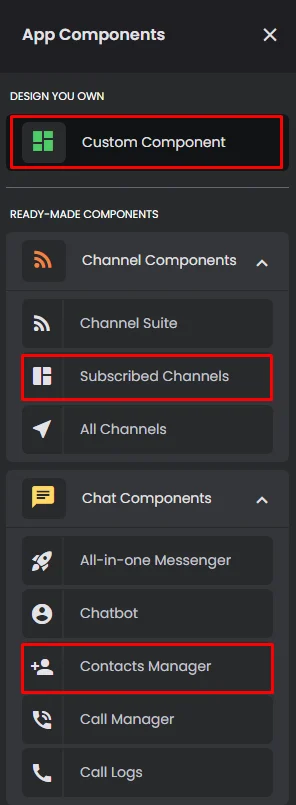
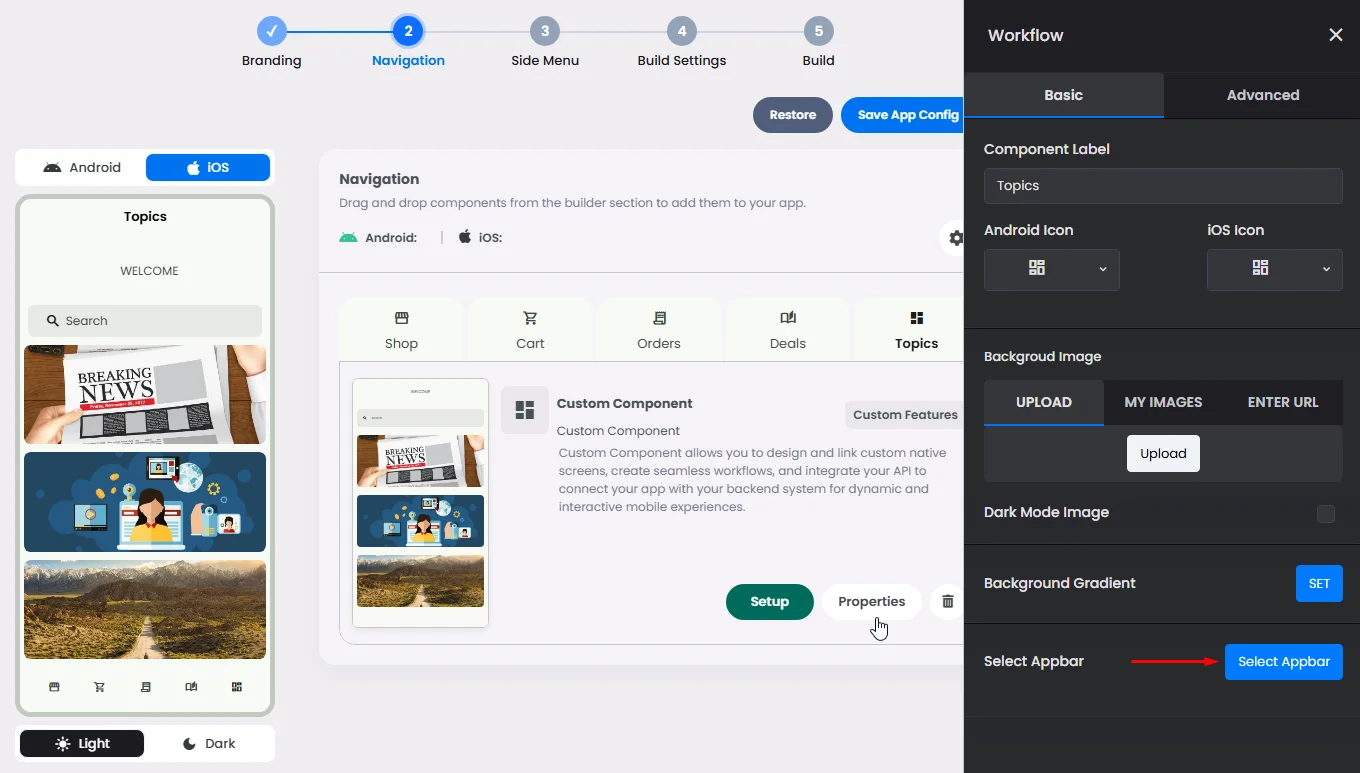
Click the gear icon of the component and assign the app bar to it.

iOS Implementation
Navigation & Side Menu
The Appbar can be set for specific tabs:
- Custom Component
- Contacts Manager
- Subscribed Channels
- All Groups
- Subscribed Groups
- List & Search


Click the gear icon of the component and assign the app bar to it.
Channels
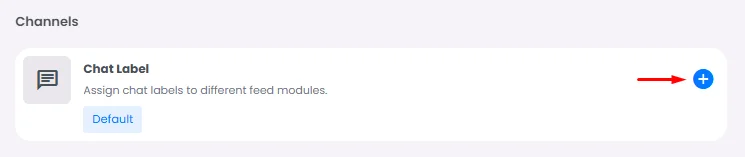
Chat Label
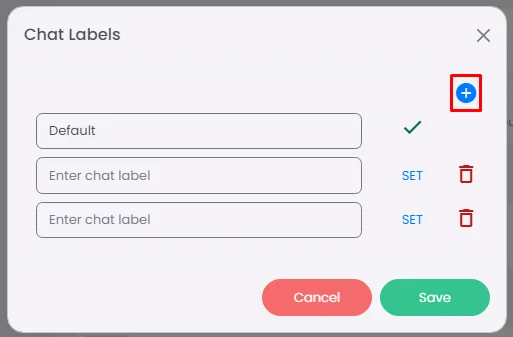
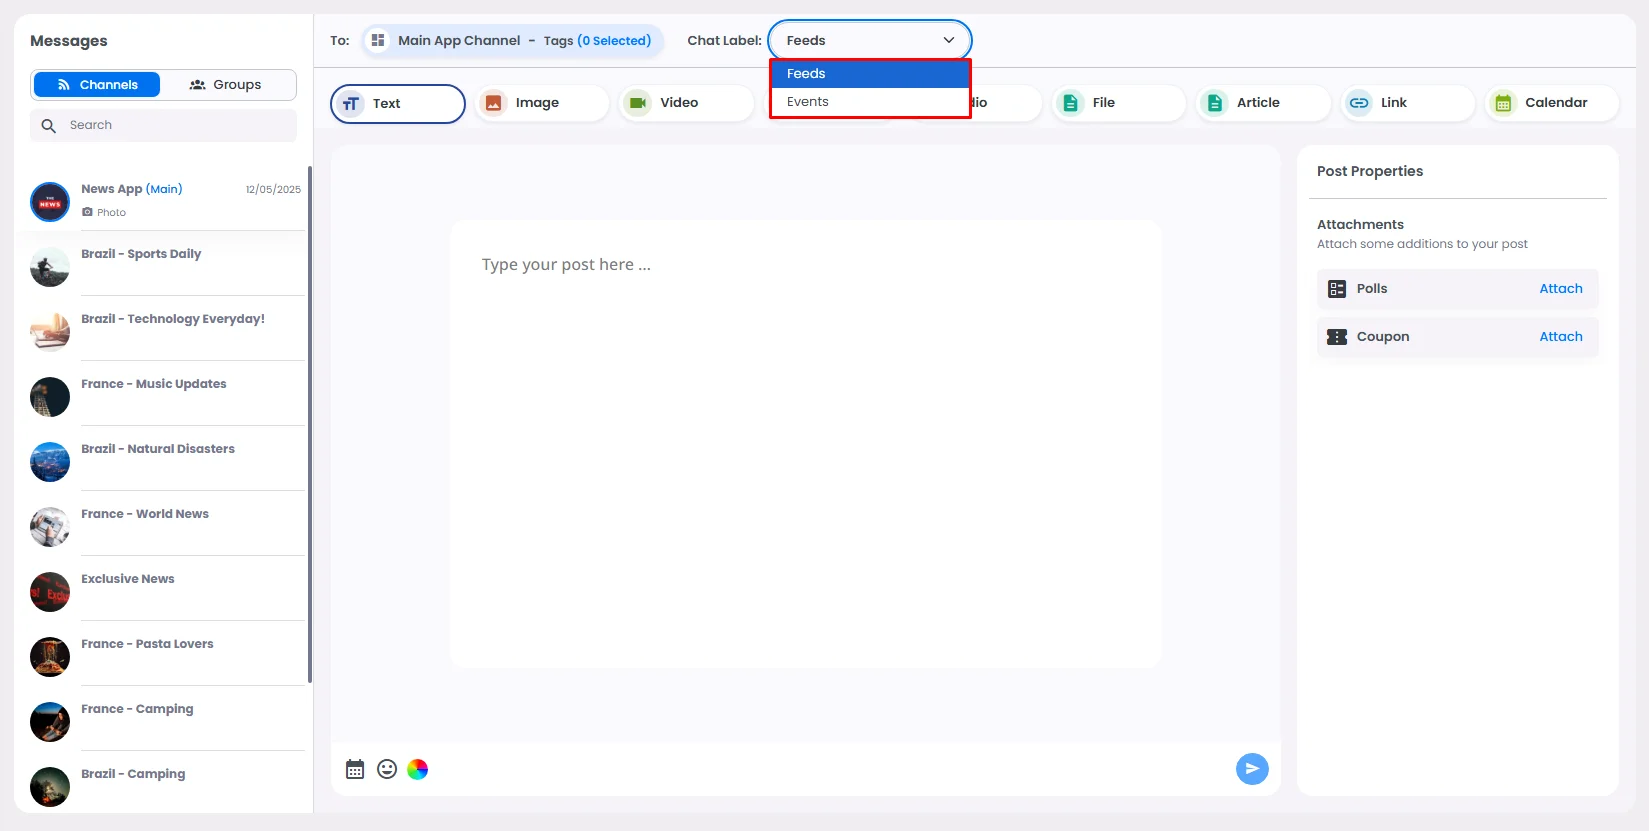
This option is related to assigning specific posts to a feeds tab based on its label if your app has numerous feeds components. Click ‘+.’
Then start to add your labels, and you can add more by clicking the + icon or delete them. You can also click ‘SET’ if you want a specific tab to be your default tab.
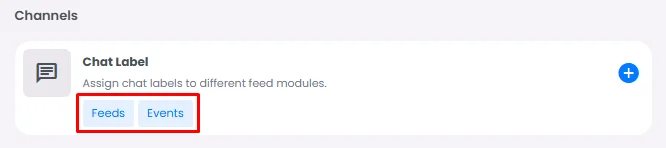
Now go back to your feed tabs and assign your labels.
To prevent confusion, make sure your app has two Feed Centers and rename them according to their chat label names.
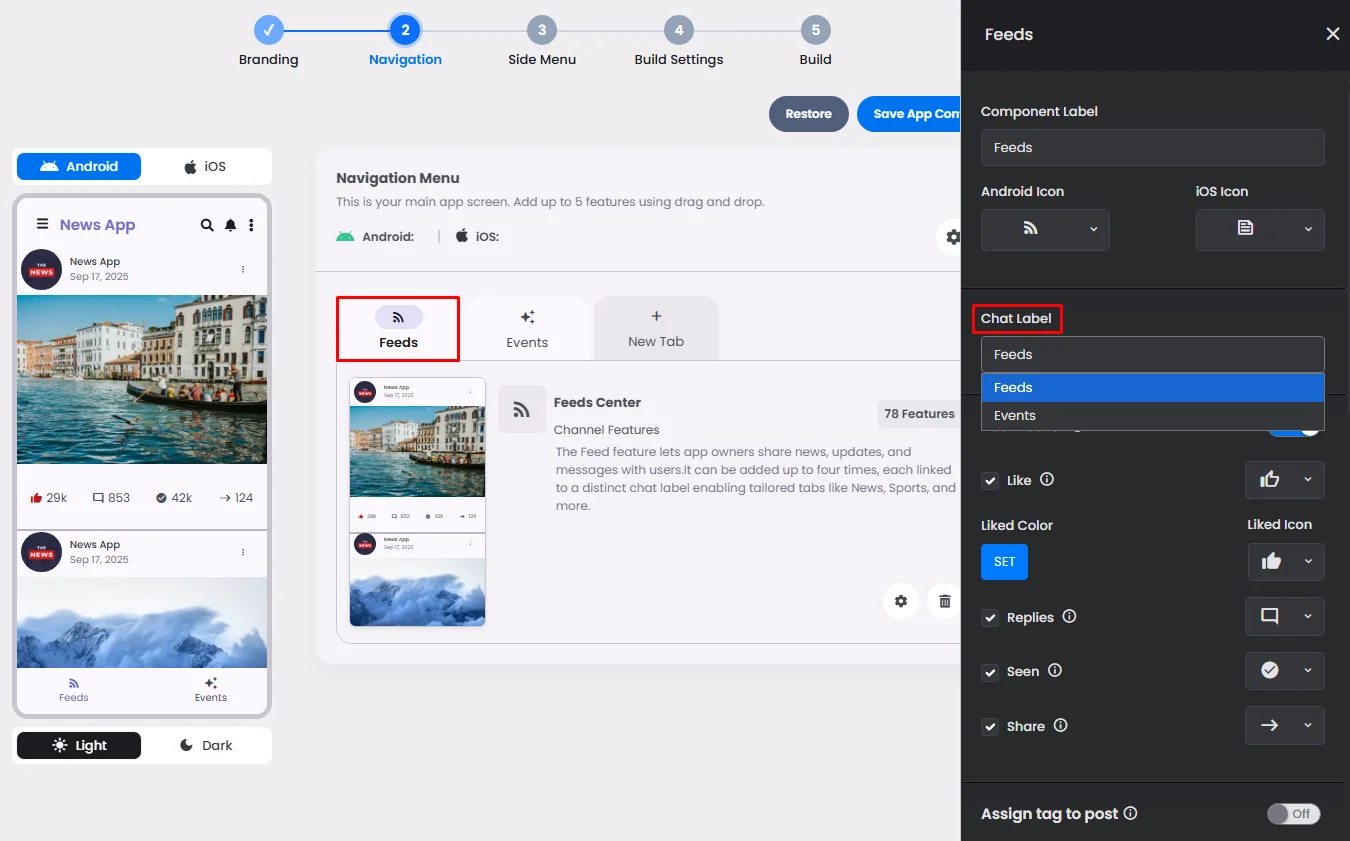
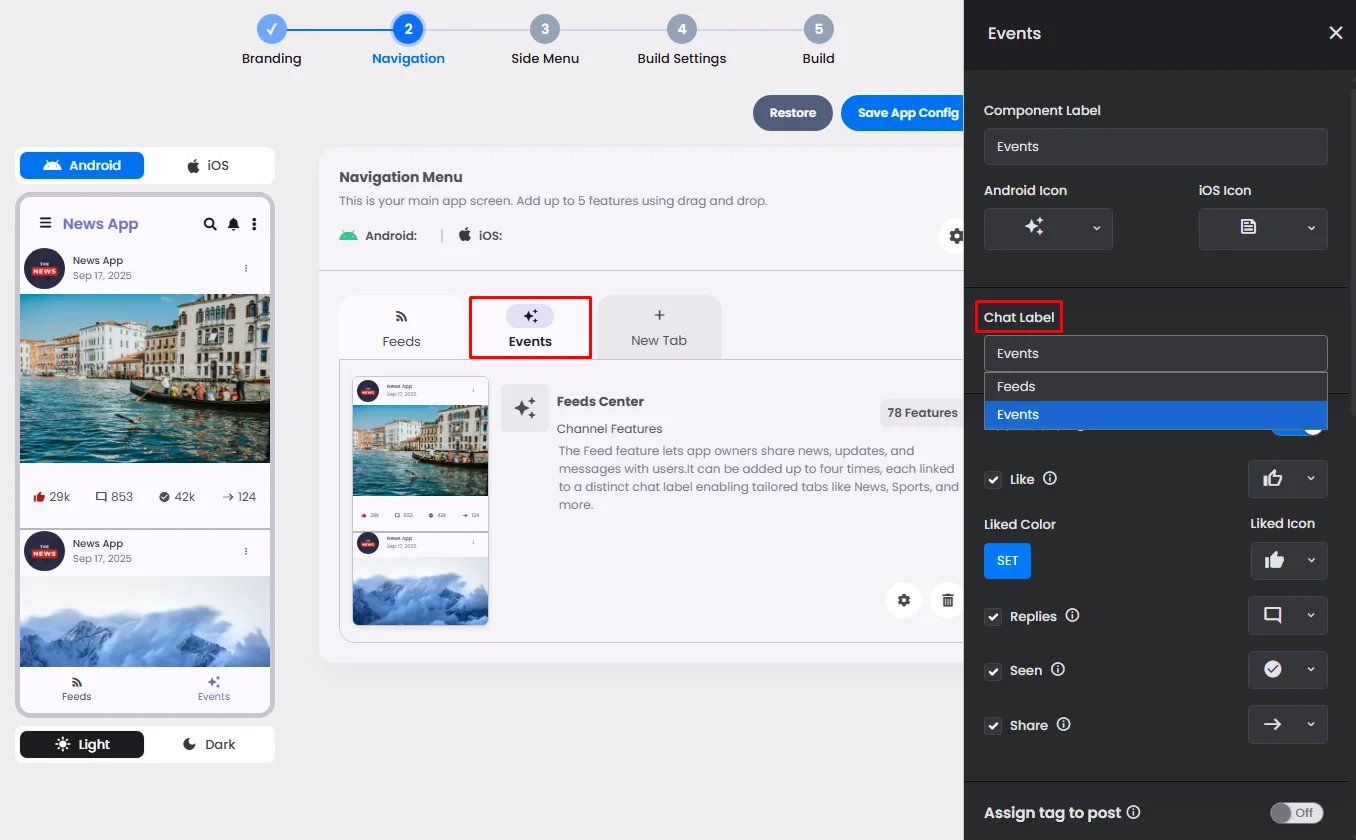
When you create a post, you will find the chat labels you created. If your app has more than one section and each one has its type of post, this feature will help you prevent confusion.
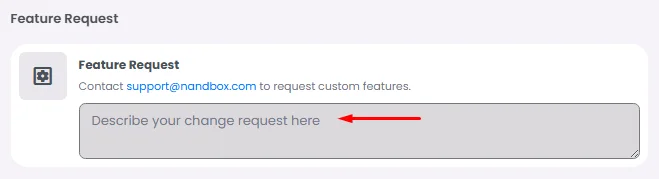
Feature Request
You can always email support@nandbox.com to make changes or ask for specific customizations to be made to your app. Your request will then show up here.
❓ FAQs
Q: What app settings can I customize without knowing how to code?
A: Absolutely everything you need to run your app! You can fully personalize your app’s core features right from the App Settings page—no tech background needed. Set up how users sign up, choose your app’s language and look, connect payment options like PayPal or Stripe, enable Google Ads, and even manage chat labels or backups. It’s all click-based and visual.
Q: How do I set up login and signup options?
A:
You’ve got options! You can let users:
- Sign up with email (with or without SMTP setup),
- Use mobile verification via Vonage or Infobip
- Or go with no login at all if you want your app open to everyone.
You’ll be guided through each option visually, with fields to enter your preferred messaging and API keys. You can also create a demo account (email or mobile) for Google and Apple reviewers when you submit your app for publishing.
Q: Can I collect more user info during signup?
A: Yes! You can create a custom Signup Registration Form to gather extra details like preferences or demographics. Just toggle it on and drag-and-drop the fields you need. It’s perfect if you want to get to know your users better—especially useful for apps with member profiles or user segmentation.
Q: Can I change the app’s language or appearance?
A:
Totally. You can:
- Choose a default language for your audience.
- Set your app to light mode, dark mode, or let it auto-switch based on the user’s device.
It’s all visual—no coding needed.
Q: How do I add payments to my app?
A:
You can accept payments in multiple ways:
- Credit/Debit Cards using Stripe
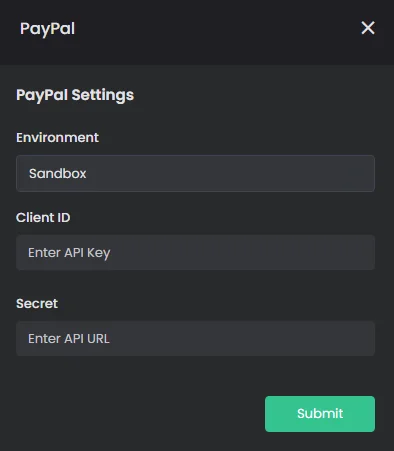
- PayPal for wallet-based checkouts
- Cash on Delivery
- In-App Subscriptions (great for channels or premium content)
Just turn on the payment method you want, click the settings gear, and follow the step-by-step guide for setup.
Q: Can I show ads in my app?
A:
Yes! You can integrate Google AdMob for ads:
- Set up your AdMob account and create Banner or Native Advanced ad units.
- Paste the provided keys into your nandbox builder’s Ads section.
- Choose how often ads appear and activate them in the specific components you want.
It’s a great way to monetize your app passively.
Q: Is there a way to back up chat conversations?
A: Yes, you can turn on Chat Backup for Android, iOS, or both. This gives your users peace of mind if your app includes messaging features.
Q: How do I add a navigation bar or top bar to my no-code app?
A:
With nandbox, you can design your own Appbars without coding. They let you:
- Add a top navigation bar or side menu
- Use button icons for single actions (like search or create chat)
- Add a context menu with up to six actions (like refresh, filter, add contact, etc.)
- Apply them per tab or across the whole app
Just click the gear icon in the builder, drag the elements you want, and assign the actions. Android and iOS each have their own setup, and the builder walks you through both.
Q: Can I customize the actions in my app’s navigation bar?
A:
Totally. You decide what your app bar does:
- A button icon can have one action (like “open search” or “create chat”).
- A context menu can have up to six actions you choose.
- Different tabs can have different app bars — for example:
- Contacts tab: Add Contact, Refresh, Filter
- Groups tab: Join Group, Search
This way, each part of your app gets the shortcuts that matter most to users.
Q: How do chat labels work?
A: If you’re using multiple feed tabs, Chat Labels help keep things organized. You can label your posts (like "News" or "Promotions") and assign each label to a specific feed tab. It’s a clean way to structure content and improve user navigation.
Q: What if I need a feature that’s not listed in the settings?
A: No problem—just head to the Change Request section in the builder and email support@nandbox.com with your request. Our team will review it and help you implement what you need.