
Messenger App
Messenger App
Messenger apps have revolutionized communication by instantly establishing connections between individuals worldwide. These apps make it simple for users to communicate with one another via text messages, phone or video calls, multimedia files, and even group chats.
This documentation serves primarily as a source of inspiration and a demonstration of potential ideas and features. It is not an actual template that you can directly implement.
How Messenger app will benefit my business
Messenger apps allow for immediate, real-time conversations with your customers, which can boost customer satisfaction and help resolve issues quickly. With instant messaging, you can provide personalized, one-on-one customer service.
Messenger apps can be a cost-effective marketing tool. You can send promotional messages, product updates, and special offers directly to customers who have opted in to receive these messages. By integrating your messenger app with a shopping feature, customers can browse products and make purchases directly within the app.
Overall, incorporating messenger apps into your business strategy can lead to enhanced communication, improved customer service, increased sales, and a stronger connection with your customers.
Main features of messenger apps and how they foster communication and collaboration
In order to achieve a good communication experience with your messenger app, we will suggest some features, give a few tips and tricks, and give hints that will help you organize your messenger app.
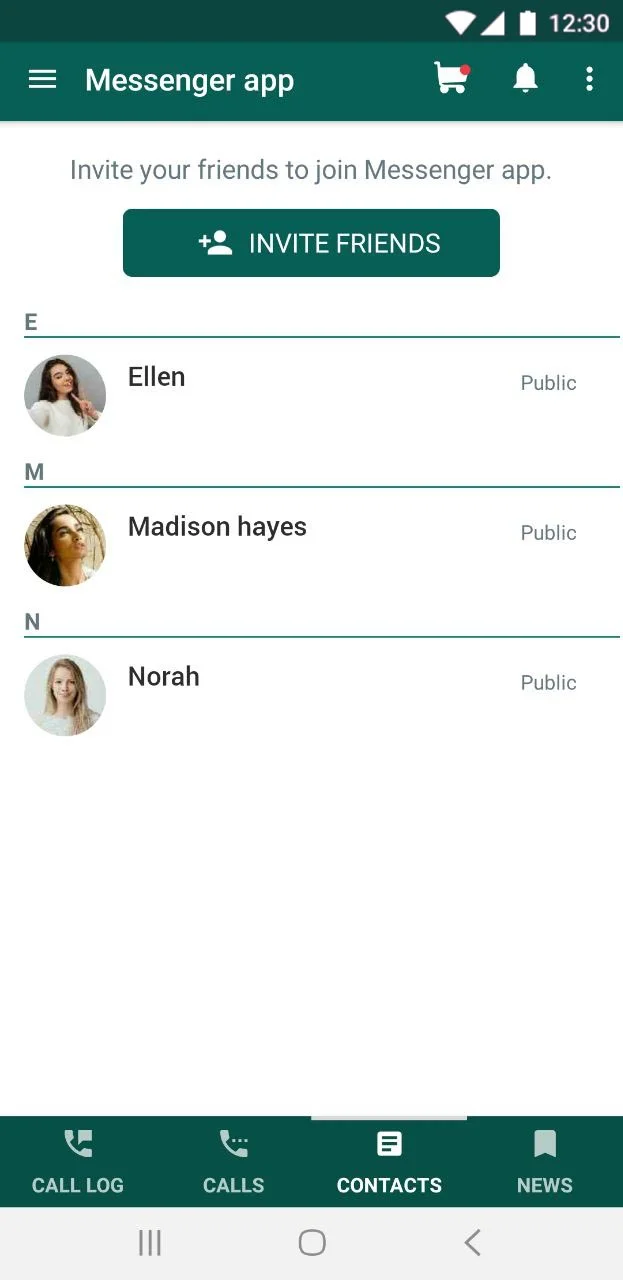
Communication tools:
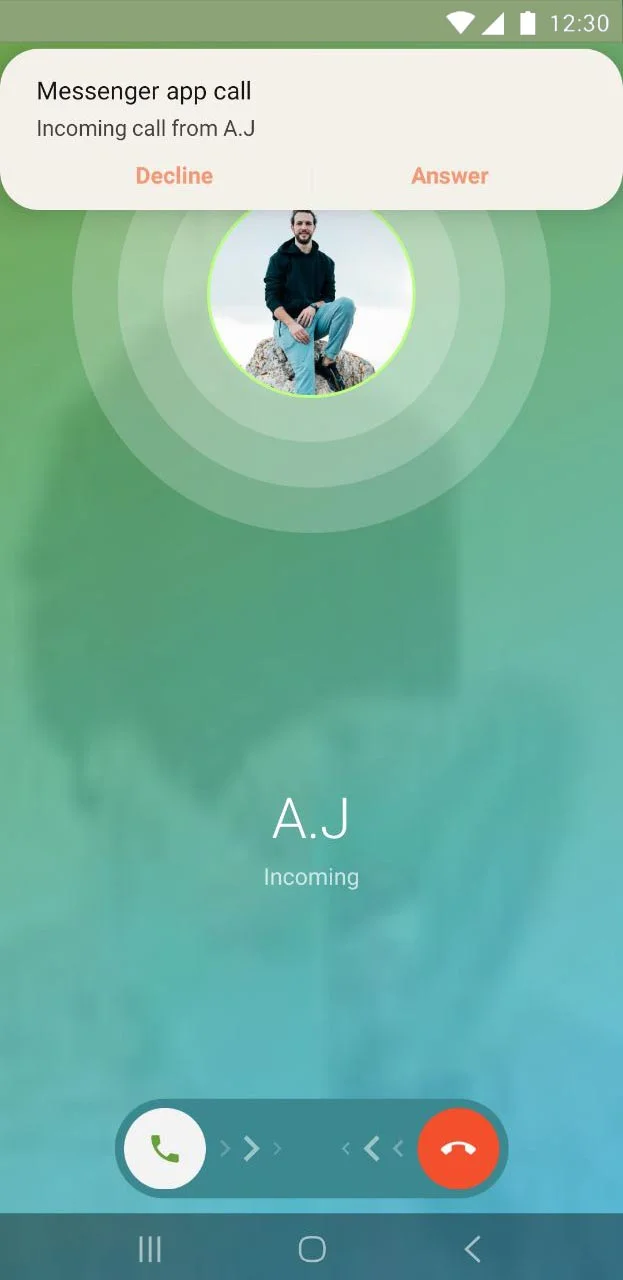
Make sure that your messenger app has contacts, call log and the chatting feature itself: You can decide whether you want your messenger to just support chat or to support chat including voice and video calls.
Tips:
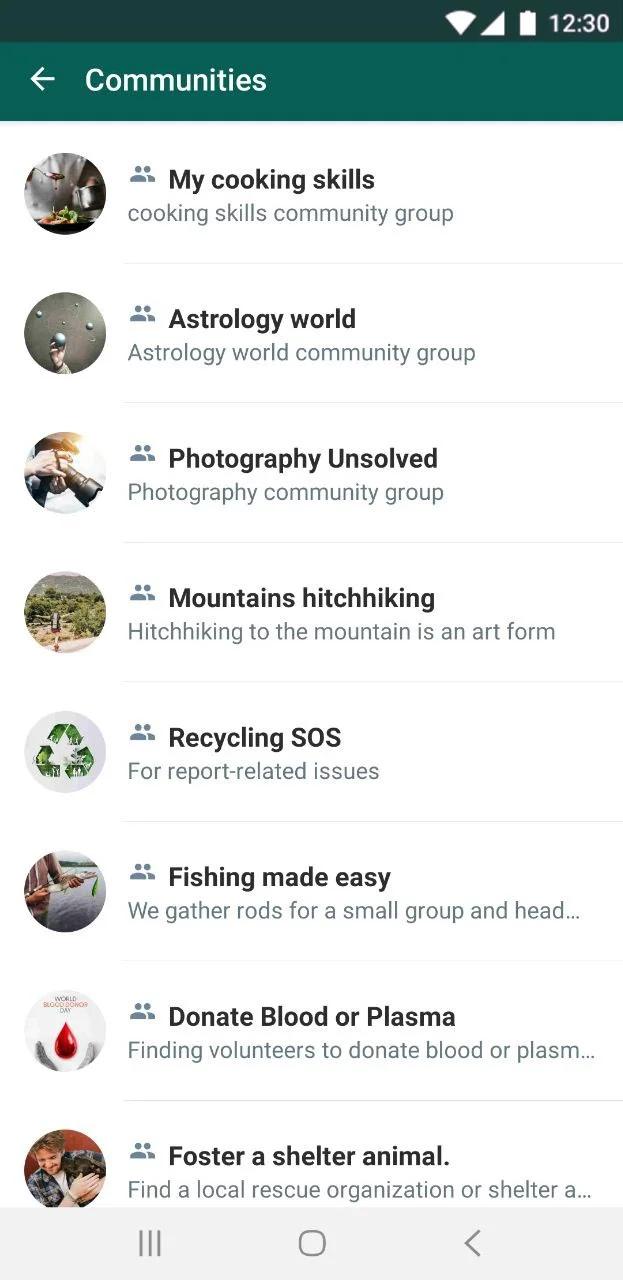
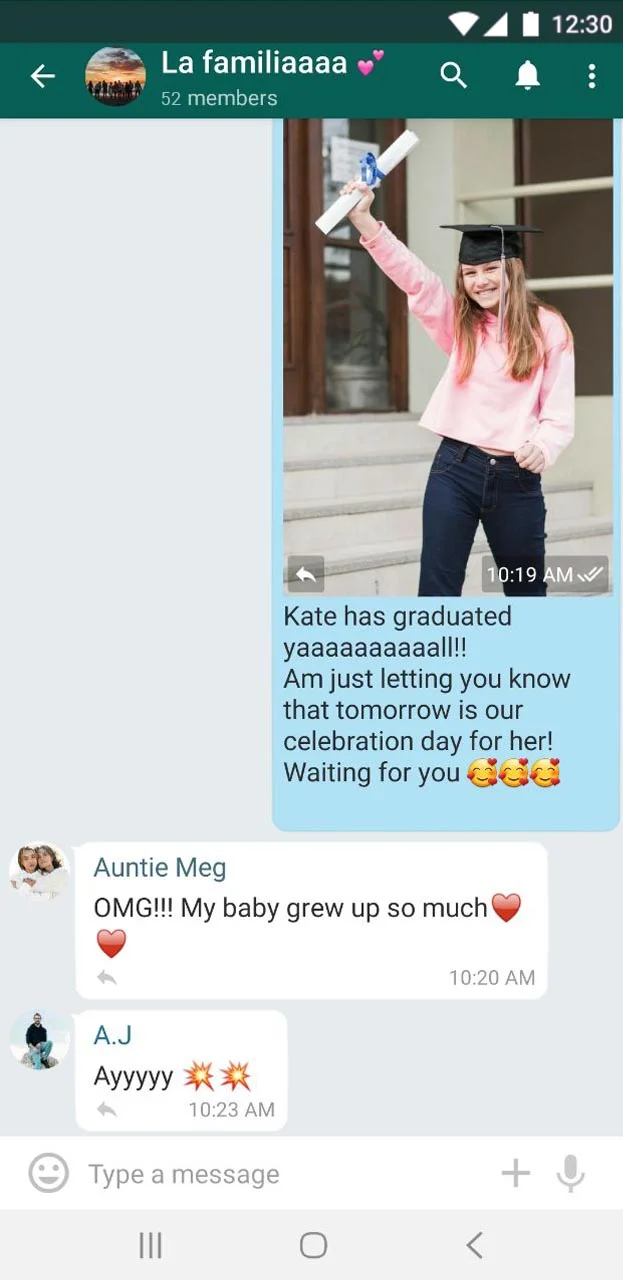
- Adding the group feature helps in building up communities in your app; it also serves business matters and personal communications like family and friend groups.
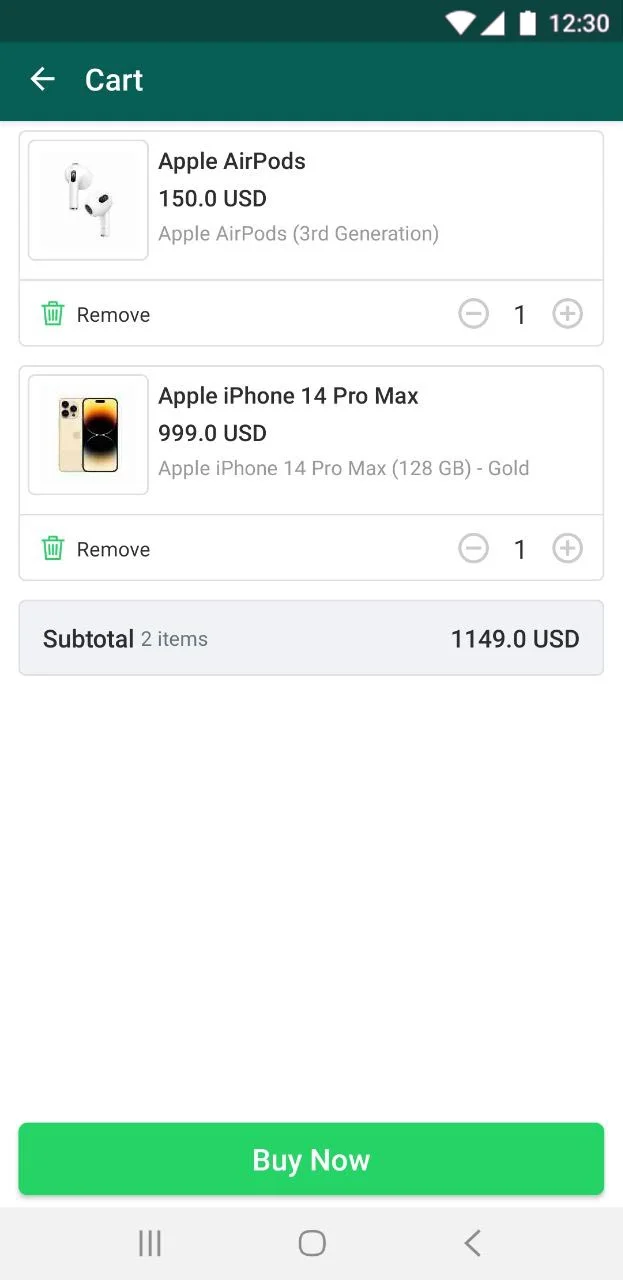
Commerce Messenger App:
When it comes to commerce, messenger apps may be a great asset to your company as they increase sales, attract potential clients, and encourage customer engagement. Including a store in your app enables you to build your own marketplace where you can sell your products and communicate with users to get their feedback.
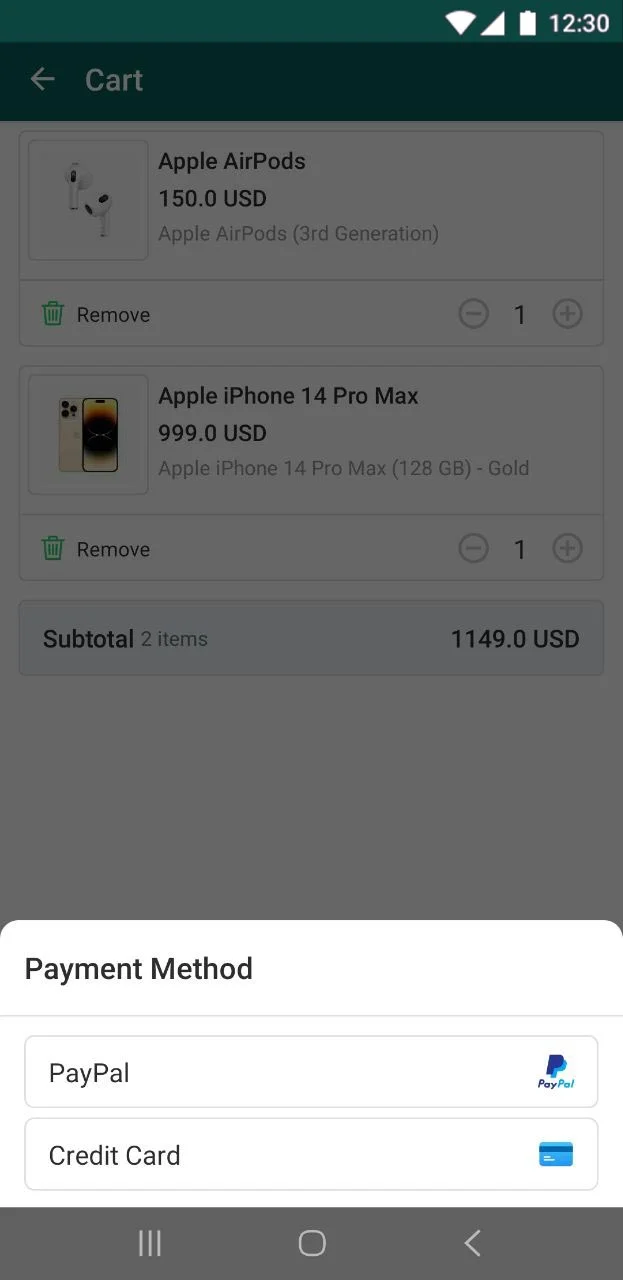
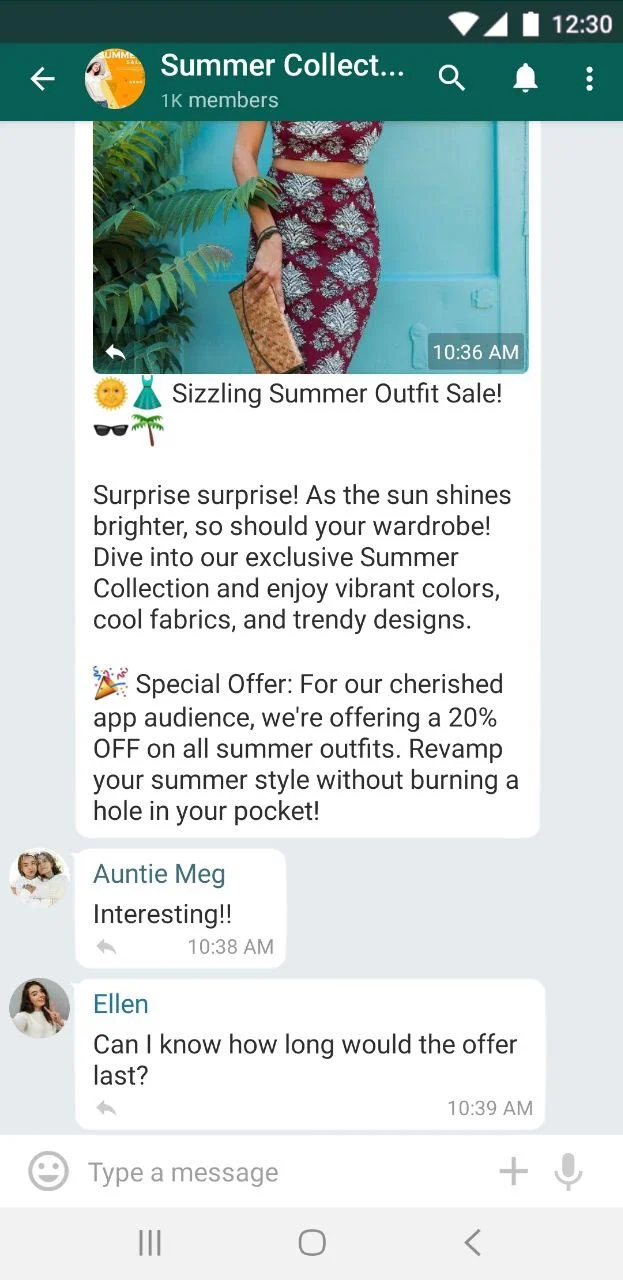
Tips:
- You can set up groups to request feedback from your audience regarding specific shopping experiences, announce sales offers, or promote new product collections.
- Track the number of users who downloaded your app via their emails by integrating MailChimp. You can now start promoting your business with targeted campaigns that will be used to deliver announcements to your clients' mailboxes, thanks to the assistance of your MailChimp account.
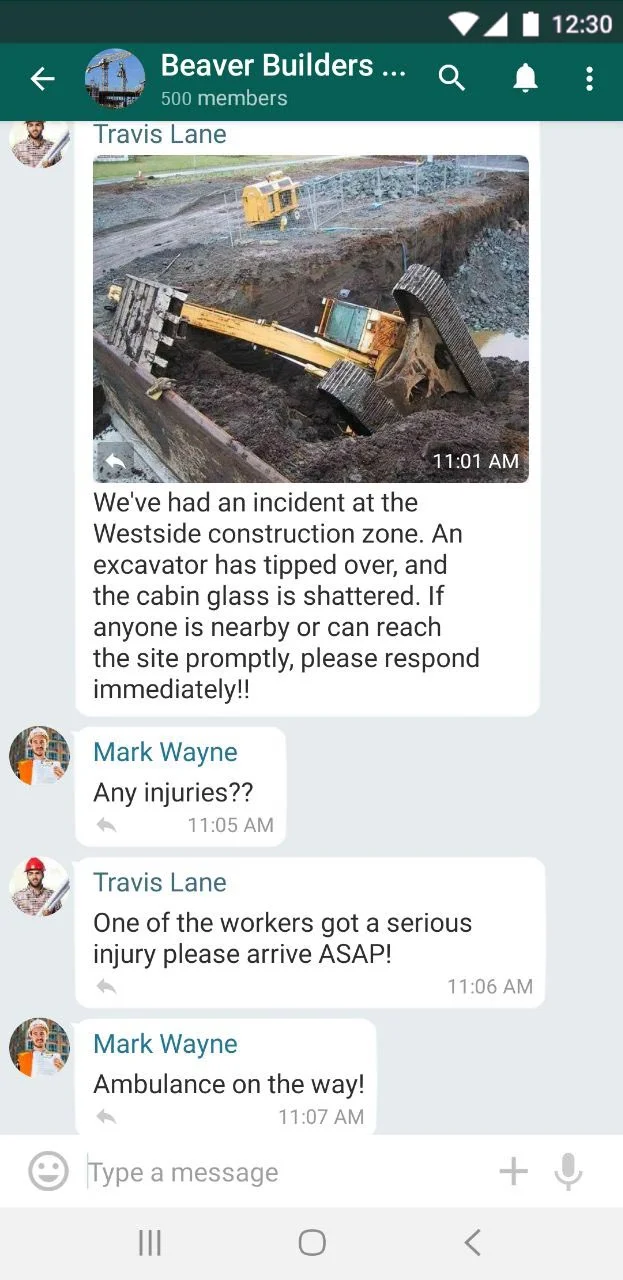
Do messaging apps only allow for social interaction?
Business Messenger Apps are a different category of communication app that can be made for staff members. The Messenger app, if you have one, will make it easier for employees to communicate with one another. Recycling businesses can use it to share personnel locations, and engineers can use it to alert colleagues to a problem at a particular site.
Tips:
- You can lock down your company's community using the whitelist. Since it is exclusively accessible by your staff, this stops outsiders from using your app and ensures that your content is secured and confidential.
With this guide in hand, you're all set to embark on your journey to implement these features and craft an exceptional messenger app. Let's get started!
Updated 3 months ago