
Home & Side Menu
Home & Side Menu
Your app consists of three sections: the home menu, the side menu, and the app settings.
The home menu is the main section for configuring the app, where you can add, modify, and delete modules.
Home Menu
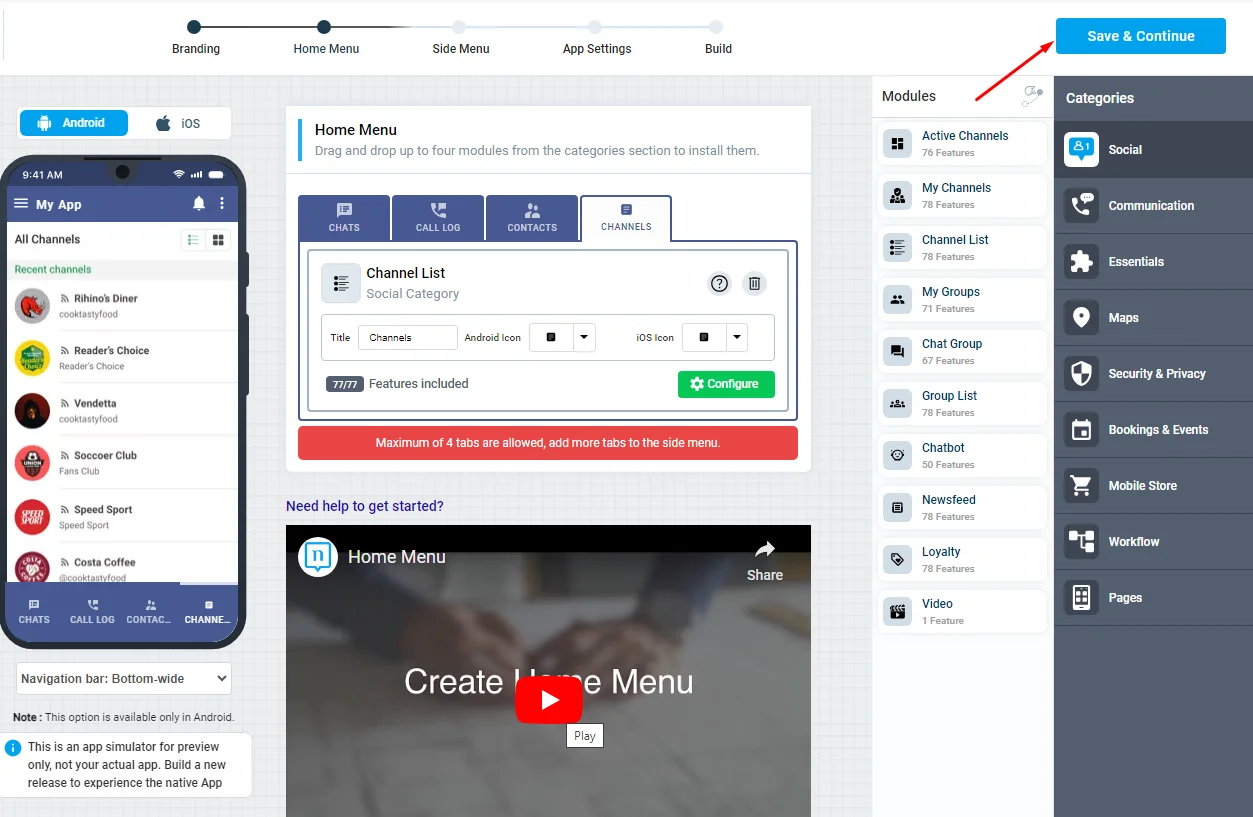
On the home menu page, you will find:
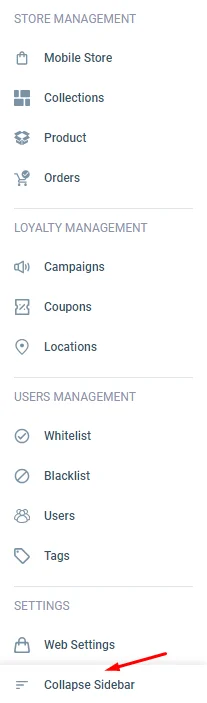
1.) The admin's menu on the left-hand side allows you to utilize your modules.
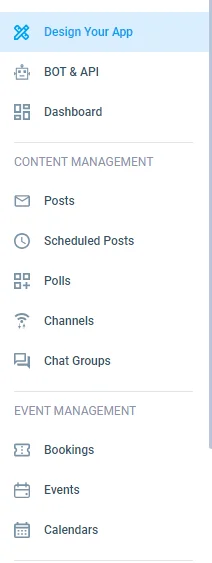
You have the option to collapse it

2.) The step-by-step navigator that allows you to customize your app and add modules to each section of your app until you build your app and publish it.

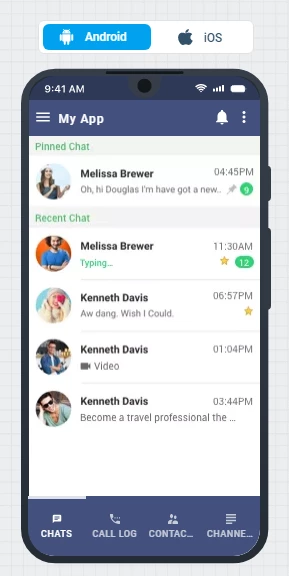
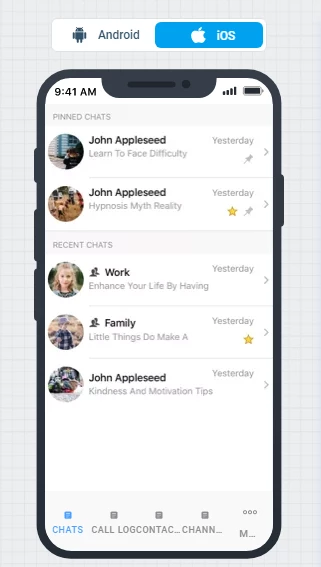
3.) How your app will be displayed on Android and iOS; you can switch to see both.
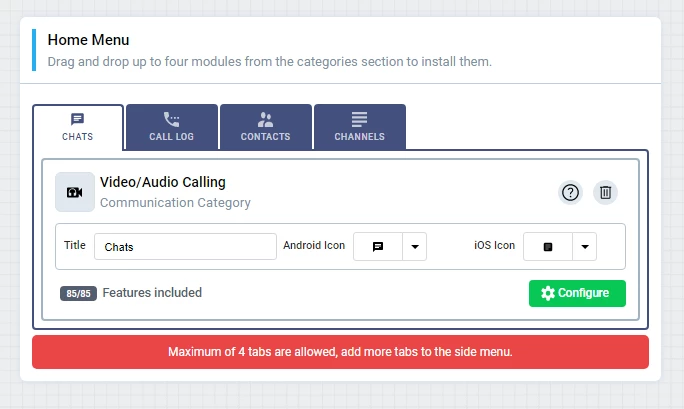
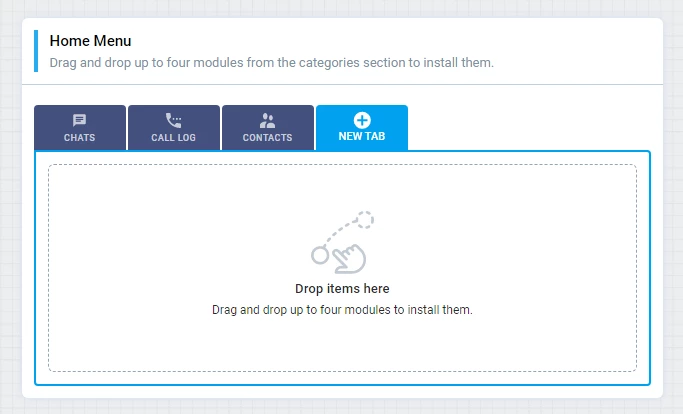
4.) Your home menu area where you can add up to 4 modules to install them.
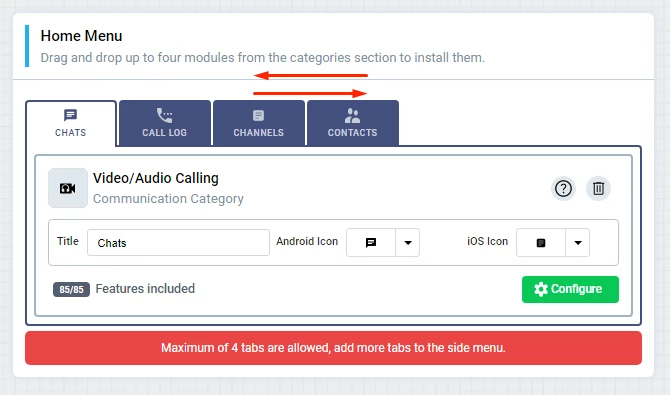
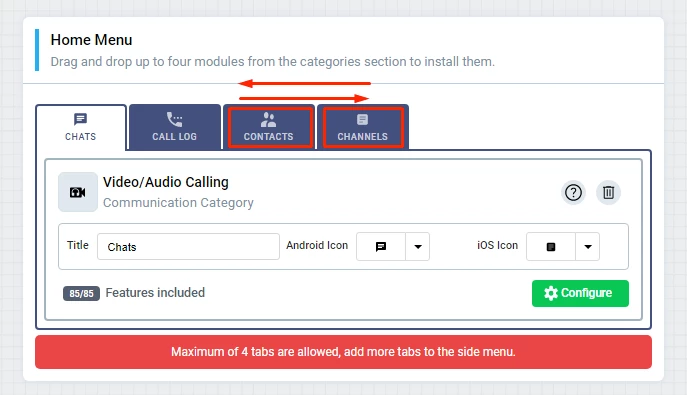
You can also move tabs to arrange your modules by holding the module and dragging it right or left.
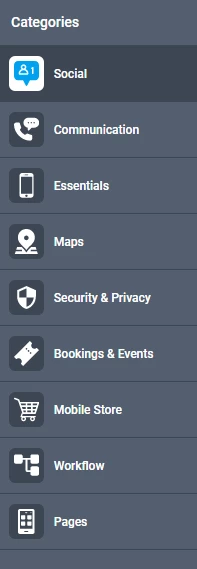
5.) The categories section, where you can browse through the listed module categories and choose what best fits your app.
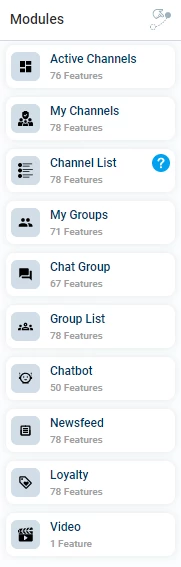
6.) The modules section, where all the modules in the category you chose are displayed.

A module is a set of features that work together to fulfill specific functions. Each module has its own configuration section.
7.) On the top right-hand corner of the page, you will see five icons:

- Upgrade button: Where you can upgrade or subscribe to a plan.
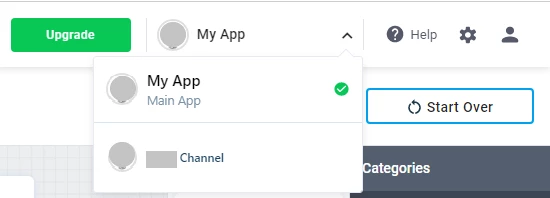
- My App Icon: Where you can switch between your main app and sub-channels, you can also log out.
Please note that all your channels you created will be represented below the "My App" tab, as you can switch between your sub-channels.
- Help icon: where documentation will be represented if you need help with a specific page on the builder.
- Gear icon: Where you can check your billing
- App owner icon: Where you can log out.
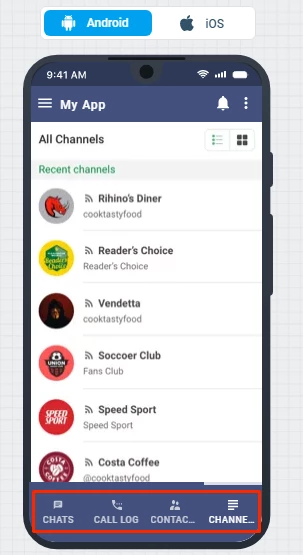
The home menu is displayed at the bottom of the screen for Android users.
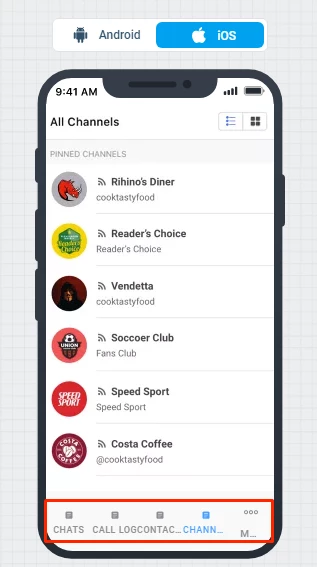
And at the bottom of the screen for iOS users.
A maximum of four modules can be added to the home menu; you can always add more to the side menu.
Module Installation
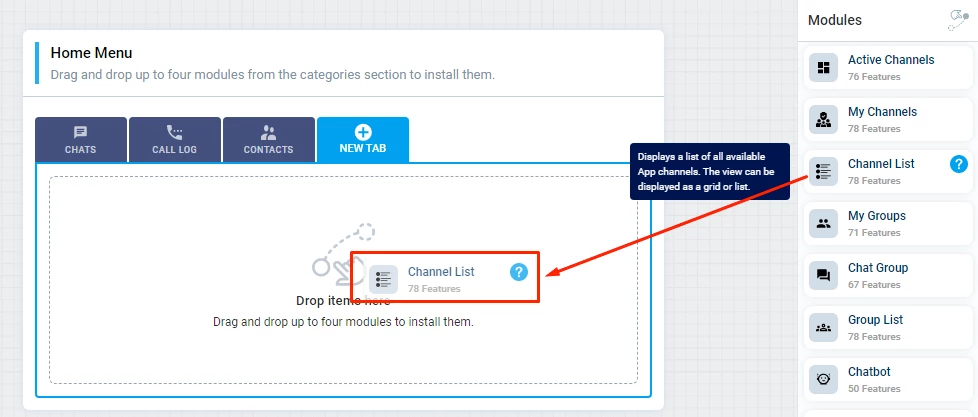
1.) In order to install the module, click on one of the module categories, placed on the right. You can choose from 30+ modules that serve different functions.
2.) Drag one of the modules and drop it into your Home Menu's setup area.
3.) If you want to add another module to the home menu, click 'NEW TAB'.
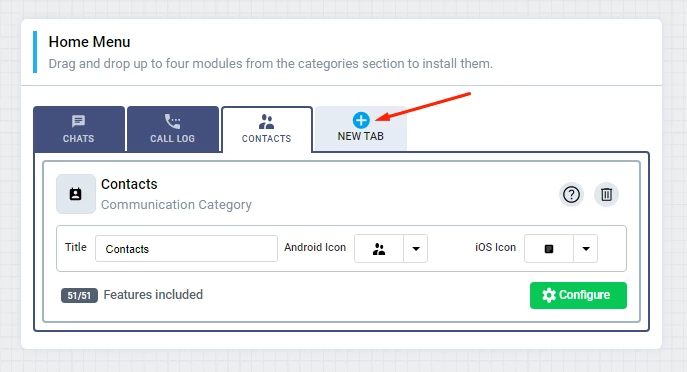
Then drag and drop the module.
4.) That's it! Your module is now installed.
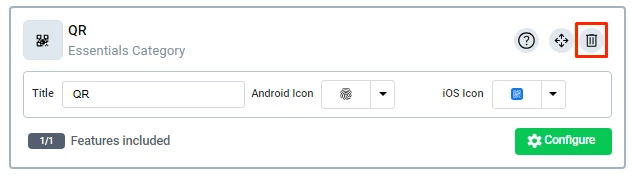
Once you installed the module, you can choose an Android and an iOS icon for it, You can also configure it by clicking on the gear button.
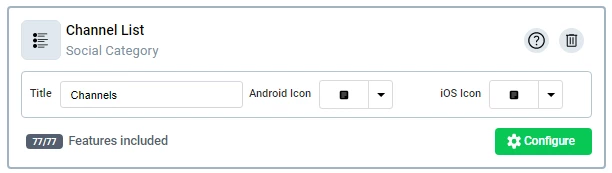
and you can delete the module by clicking on the delete button.
When you are done setting up your home menu, click save and continue.
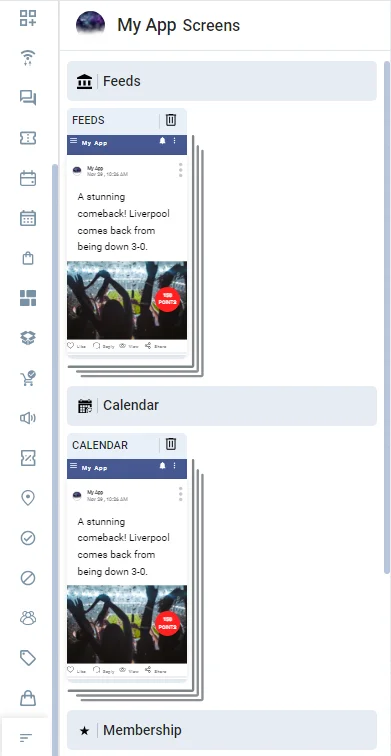
5.) On the left-hand side, you will find the screens of the home menu so you will be able to see every screen as you create your app.
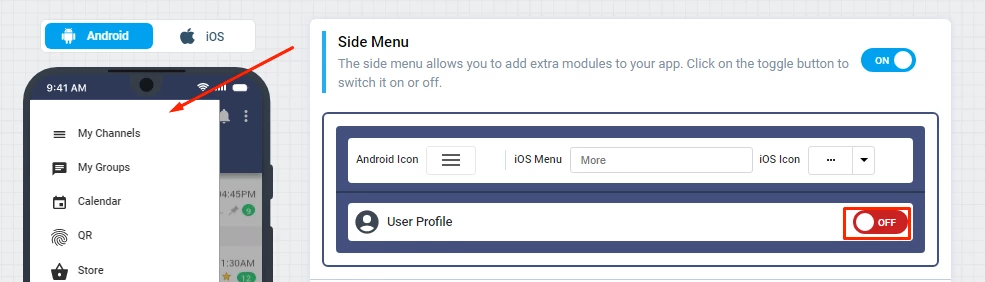
Side Menu
The side menu allows you to add more modules. Install modules via the same drag-and-drop method.
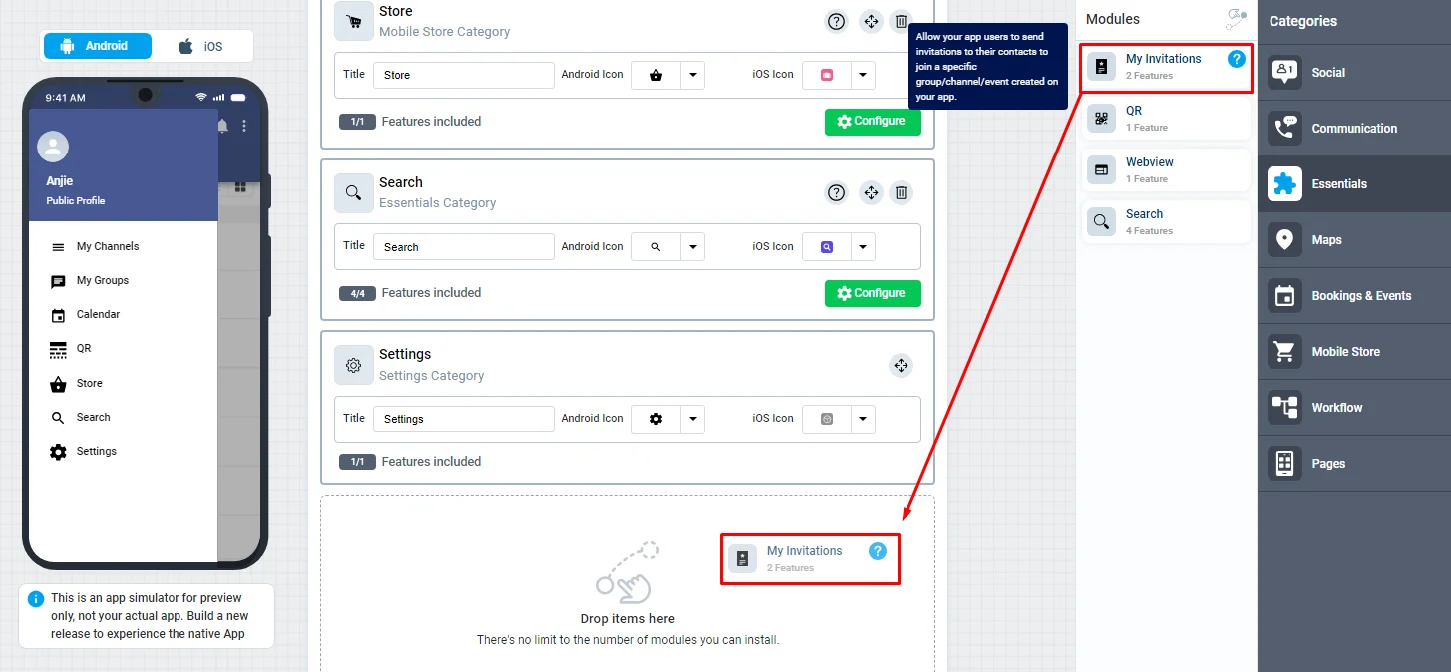
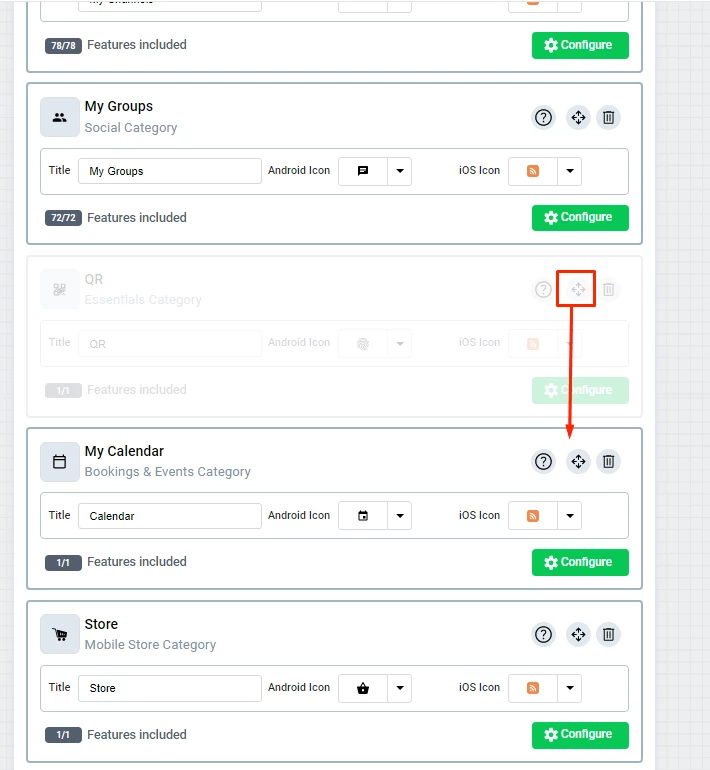
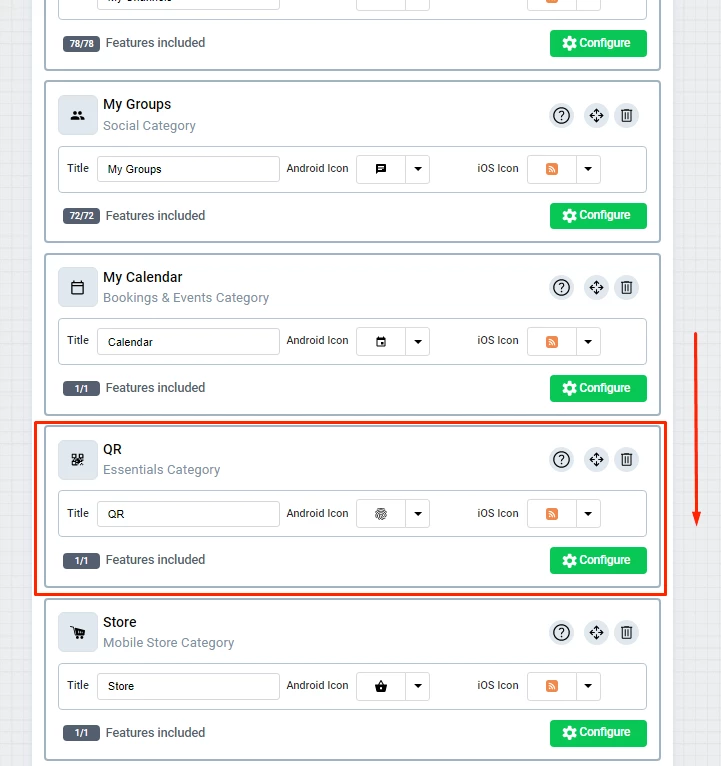
You can also move modules to arrange them by holding the (+) icon and dragging it up and down.
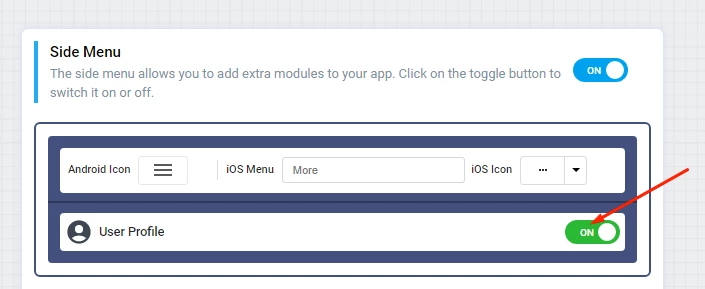
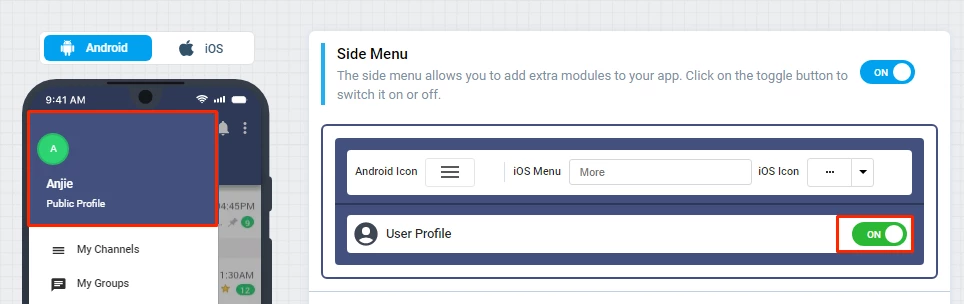
You can choose whether you want your user profile to be shown on the app or not by clicking the toggle for the ON/OFF option.
Note that the Android side menu icon is standard. While iOS is customizable as you can choose its side menu icon, the 'More' button is standard according to Apple guidelines for iOS interfaces.
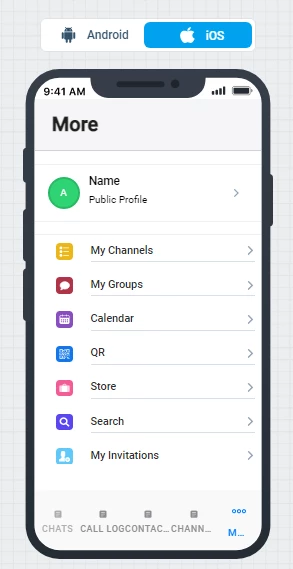
ON mode preview
OFF mode preview
There is no limit to the number of modules that you can add, however, make sure to add modules that best serve your app.
The side menu is displayed in the Android version as follows:

And in iOS, it is displayed as follows:
Updated about 1 year ago