
Booking & Events App
Booking & Events App
Events and appointments can be planned, scheduled, and managed using apps for booking and events. These apps streamline and improve the experience for both organizers and attendees, whether it's for purchasing concert tickets, setting up a business meeting, or scheduling a doctor's appointment.
This documentation serves primarily as a source of inspiration and a demonstration of potential ideas and features. It is not an actual template that you can directly implement.
How booking & event app will benefit my business
A booking system reduces the need for manual scheduling that requires physical resources (like paper tickets or booking forms) and the potential for errors, which will lead to significant cost savings.
It also improves the customer experience, especially with the option of 24/7 availability, as it allows your customers to purchase tickets outside of normal business hours, increasing opportunities for sales.
Main features of booking & events apps and their role in streamlining event management and reservations
In order to achieve a good reservation experience with your booking app, we will suggest some features, give a few tips and tricks, and give hints that will help you organize your booking app.
Scheduling system:
If you are a health center, adding a booking system will help your patients see in real time which health care workers are available, book appointments that work with their schedules, and get confirmation right away, all without the help of staff.
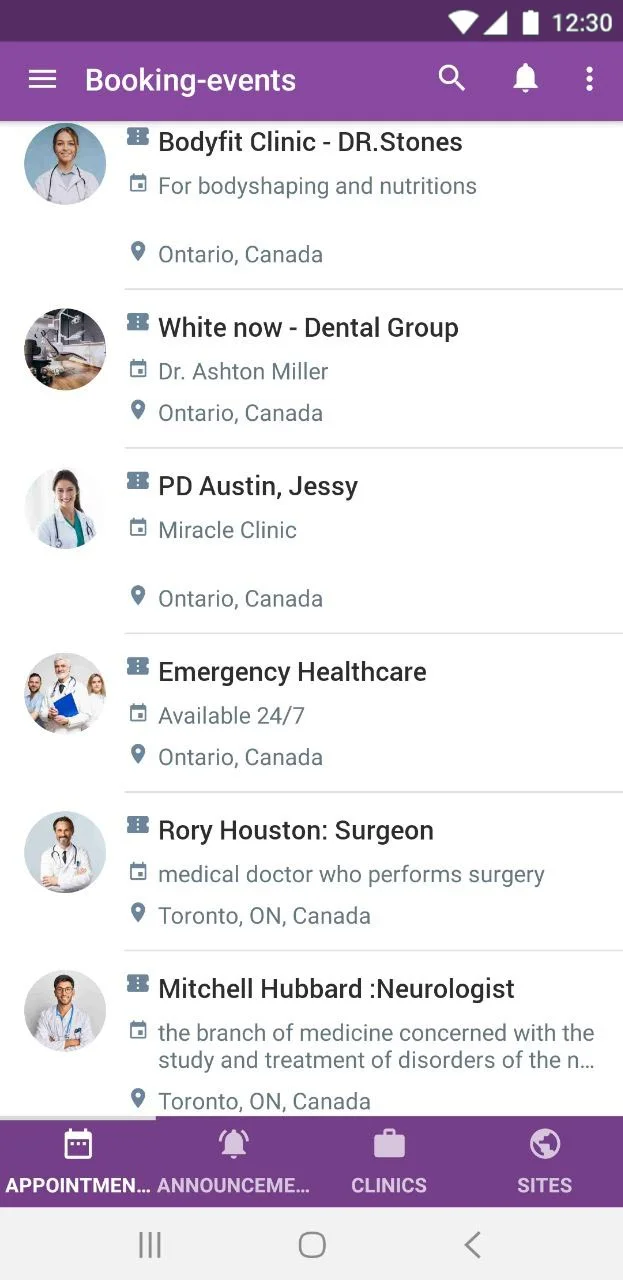
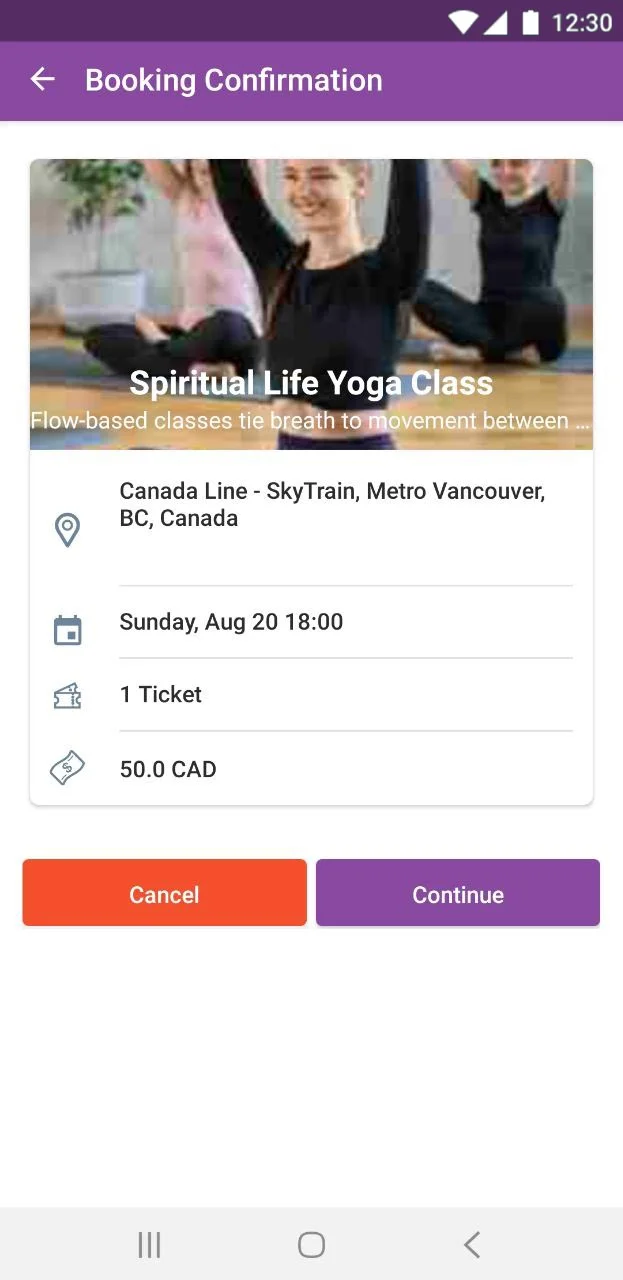
For yoga centers, customers can book a yoga class, reserve a slot in a spin class, or even secure time with a personal trainer.

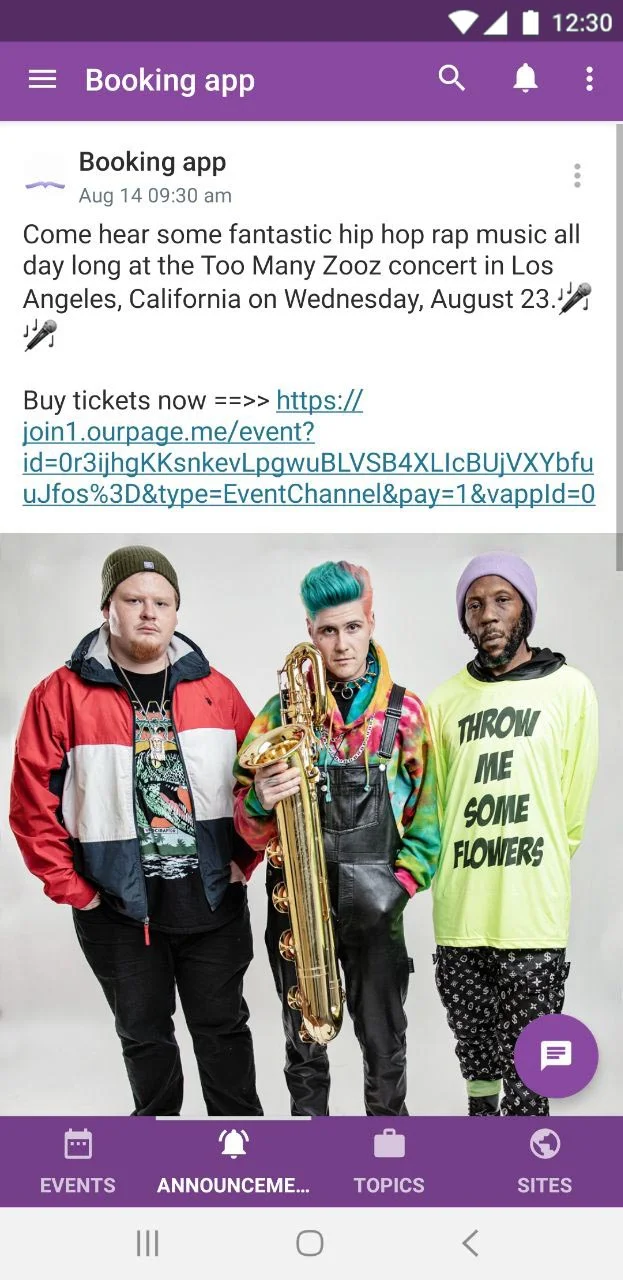
It is useful for event organizers as well because they can inform their audience about upcoming events, give them the option to verify the event's specifics, and let them purchase concert tickets online.
Tips:
- Including a calendar helps organize your users bookings or events, sending them reminders through push notifications of events and booking dates.
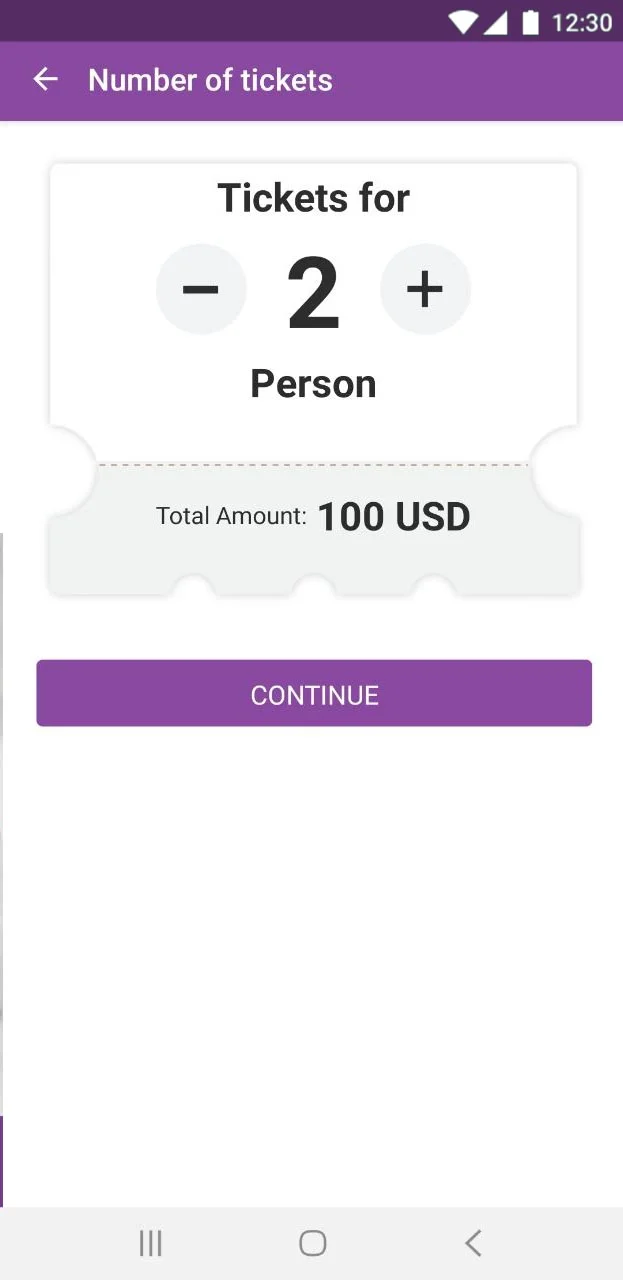
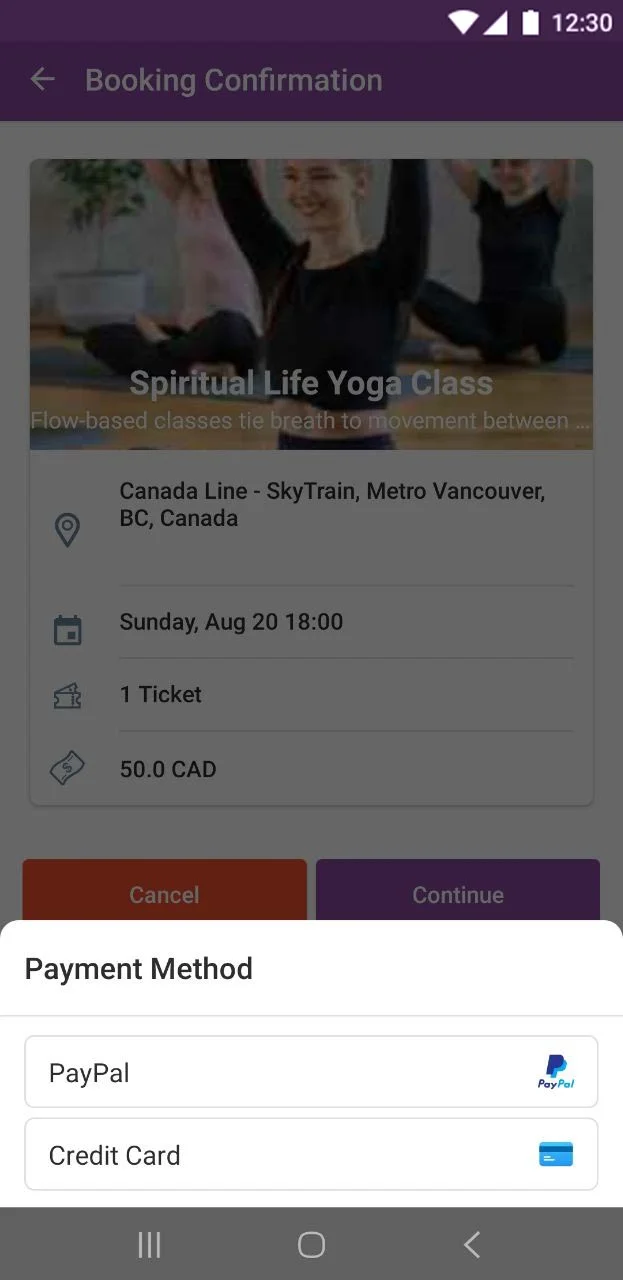
Online ticket purchasing:
Since the booking system is not limited to accessing appointment details and the scheduling transaction itself, your clients can pay online for a doctor's appointment or yoga class by integrating a payment system in your app, as they can pay with PayPal or Credit card Stripe.
Tips:
- It's better to include a section in your app for announcing your events news; putting out sneak peeks or teasers. You can promote the profiles of special guests or well-known speakers who will be at your events, notify your audience if an event's location changes, or delete a specific event.
Tickets validating & redeeming:
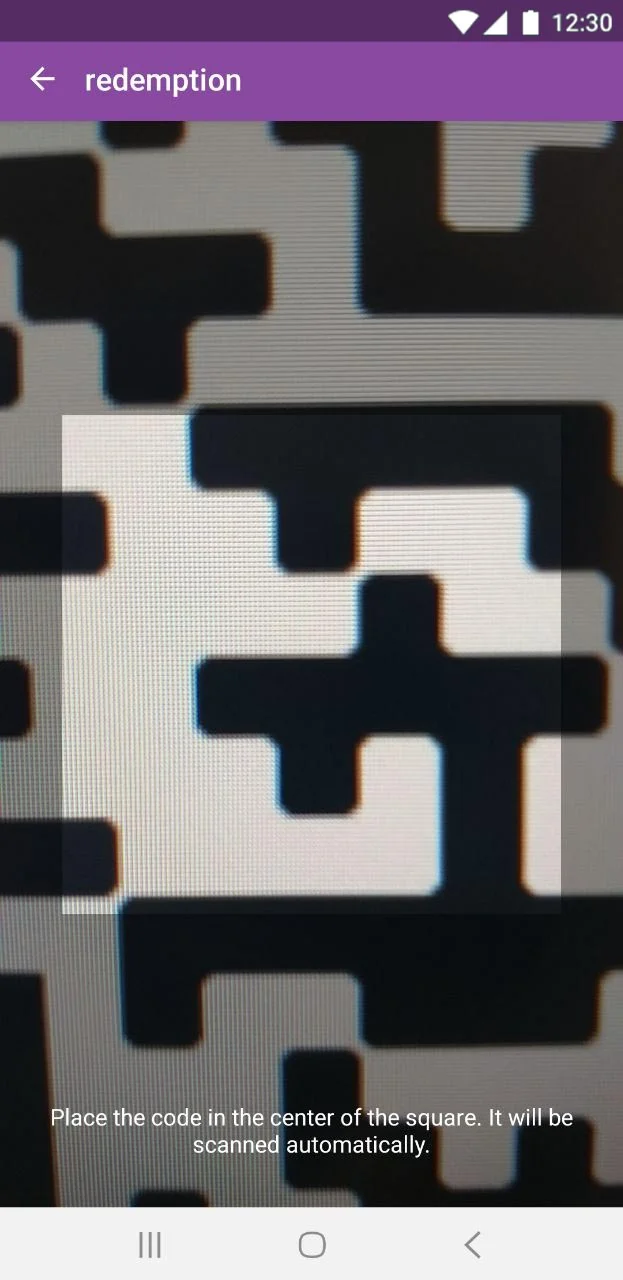
If you're announcing a music event, people will buy tickets through your app. Each person will get a unique QR code. At the event, the staff uses a QR code reader, which is usually just a smartphone with the right app. This method is quick, cuts down on lines, and gets rid of the need for paper tickets. When a ticket is scanned, the system automatically marks it as used. This helps keep track of attendees in real time and prevents ticket fraud.
Tips:
- Tickets can be redeemed for things like concert tickets or doctor's appointments, while they can also be validated to check if they have expired for further protection.

Explore location:
Users can use map search to see open bookings in a given area and visually explore the location of your event or clinic. Users may easily view an event's location by scrolling over a map of the event.
- If your clinic has numerous branches, you can make a channel for each one, connecting each one to its own location. Knowing that your audience will be informed of the schedules that are accessible in particular locations may make the booking process easier.
With this guide in hand, you're all set to embark on your journey to implement these features and craft an exceptional booking app. Let's get started!
Updated 3 months ago