
Mobile Store
Mobile Store
The goal of mobile store integration for your e-commerce app is to improve the user experience and increase sales. With this new technology, small business owners can set up a full-fledged mobile shop right inside their app. Use our advanced workflow features to set up interactive buttons, organize your product groups, and give your customers a shopping experience that is better than ever. Follow these instructions to use the Mobile Store feature to its fullest and change the way you do business online.
The mobile store module will allow you to:
- Manage your store: Follow payment orders, release your newly released products, spread your collections, segment your customers for promotional campaigns, and update your product listings from your nandbox dashboard wherever and whenever you want.
- Offer multiple payment options: nandbox App Builder is ready with multiple payment gateways, including PayPal and Stripe. You only need to set up the payment gateway of your choice, set your credentials, and enjoy tracking your profit.
Installation
You can install this module in your app in the following places:
- App's Home Menu ✓
- App's Side Menu ✓
You can find the MSTORE module in the Mobile Store category. Click or drag and drop the module into your home or side menu to install it.
Duplicability
This module can be installed on your home and side menus.
Configuration
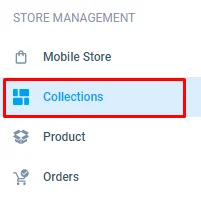
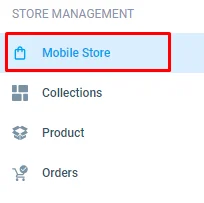
The store management menu appears in the admin menu like this:
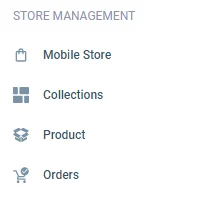
- Mobile Store: This is where you can create your stores. You can have one main store within one tab and many workflow buttons.
- Products: This is the products section, where you can create new products with their full configuration and add them to your store.
- Collections: This is where you collect certain products under one category and assign them to your store.
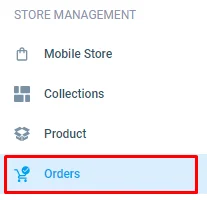
- Orders: This is where you can monitor your clients' orders and transactions.
To prevent getting lost, you must complete these instructions in the same order.
Setting Up Your Products
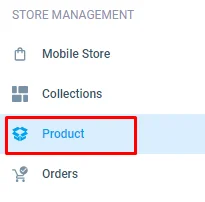
1.) From your left admin menu, click 'Product.
2.) Click 'Create.

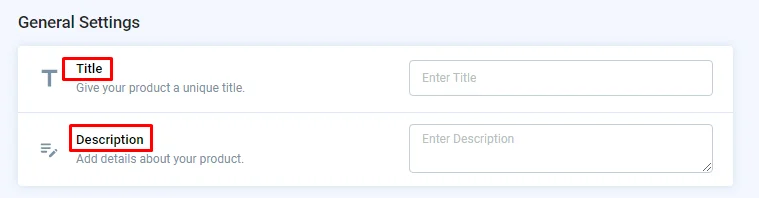
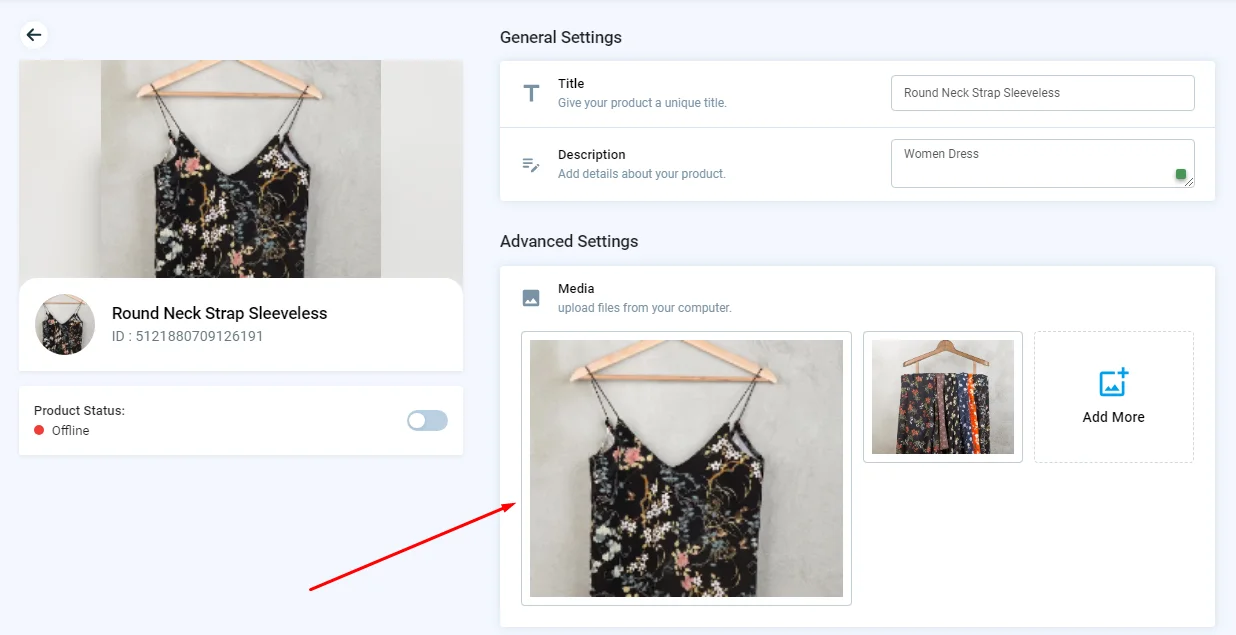
3.) Add your product's title and description.
4.) Now add your product images by clicking 'Add image.
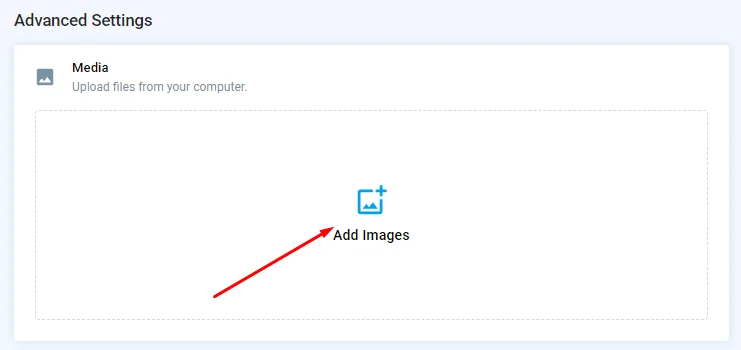
and start adding your media. With just one click, you can add more than one picture to your product.
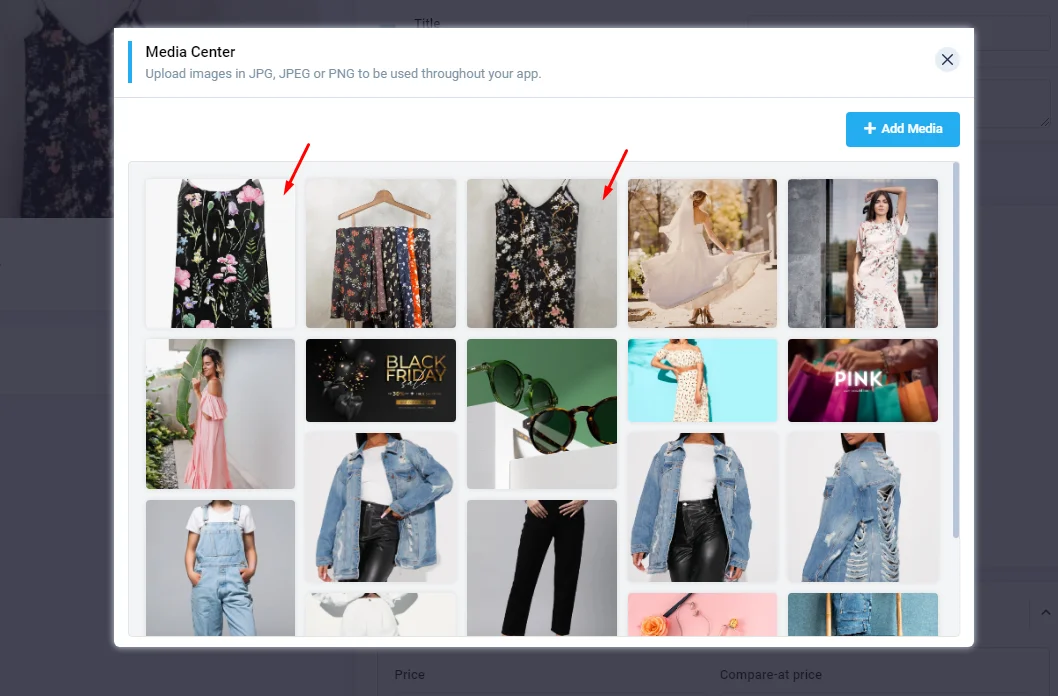
and they will all appear at once in the image area.
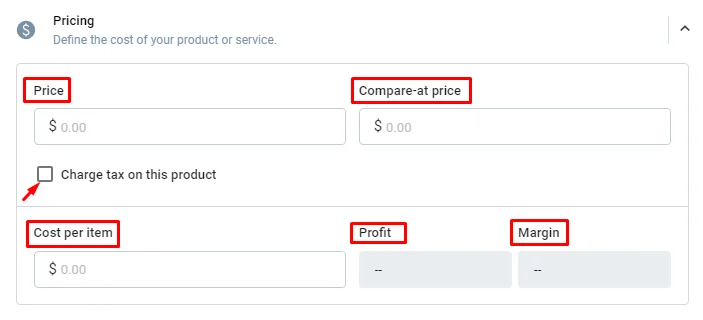
5.) Now we go to the pricing section:
- Price: Add the selling price you want to use.
- Compare-at price: If you want to see how your product looks before and after a discount, this part is for you. Add your product price before the discount.
The discounted price will be calculated and displayed to users as a percentage.
-
Mark 'Charge tax on this product' if you charge tax.
-
Cost per item: Add your product's original price.
-
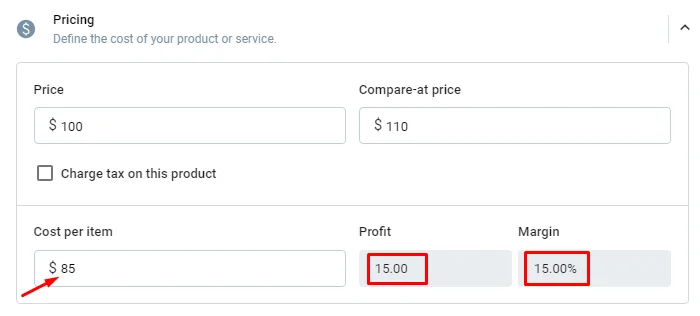
Profit and Margin will be calculated automatically once you add the cost per item.
For instance, if a product costs $85 to produce but costs $100 to sell, the profit and margin will be calculated automatically to demonstrate to the business owner how much progress he has made.
Note that cost per item, Profit, and Margin are only for the business owner, as users won't be able to see these choices as it calculates and tracks how much money you have made with your business.
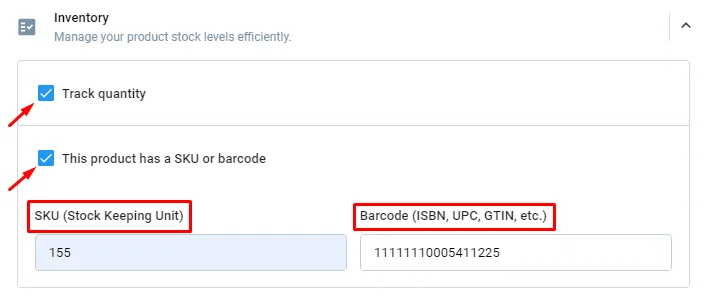
6.) Next, the inventory section:
-
Mark 'Track quantity To determine how much money you made from selling.
-
Mark, 'This product has a SKU or barcode, if your product has one. You may also only include one of each.
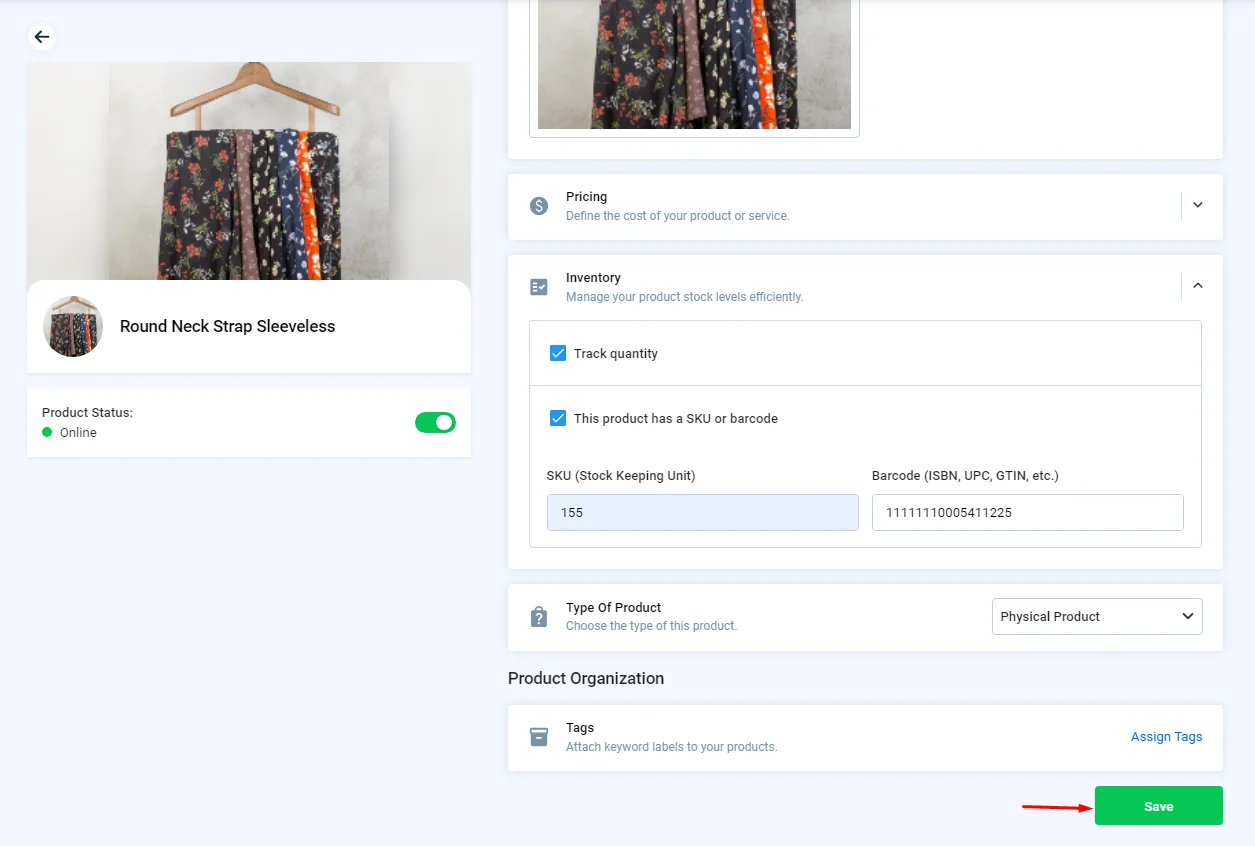
7.) Select the type of your product.

8.) You can also assign tags to your product if you have multiple categories.

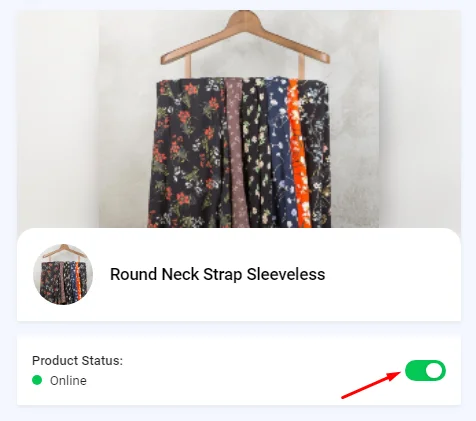
9.) Your created products will always appear offline in the beginning. To be online and visible on your app, make sure the toggle is turned on.
10.) Then, click 'Save' to continue with the rest of the configurations.
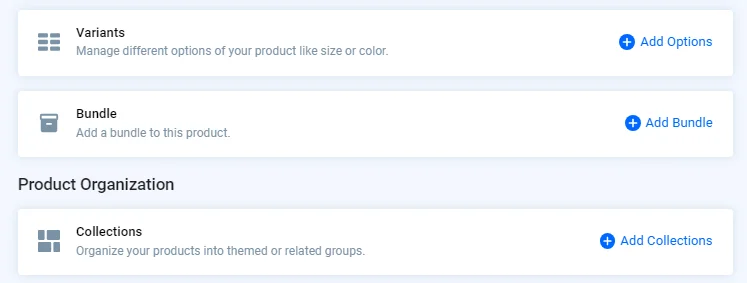
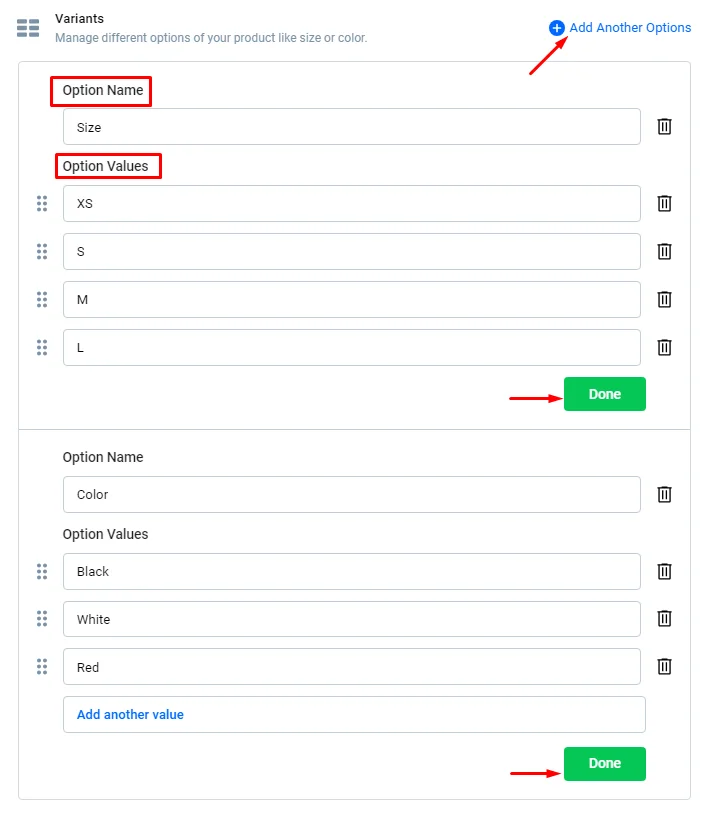
11.) The variants section gives your user the option to choose from multiple pre-selected items—think of small, medium, and large-sized dresses—and the user gets to choose their size, their color, or both:
-
Option Name: Add the category name of your choices.
-
Option Values: Add your choices
-
You can add another option by clicking the (+) icon, and once you're done, click 'Done' to save your settings.
You can move your selection by grabbing the choice bar, or delete it by clicking the trash icon.
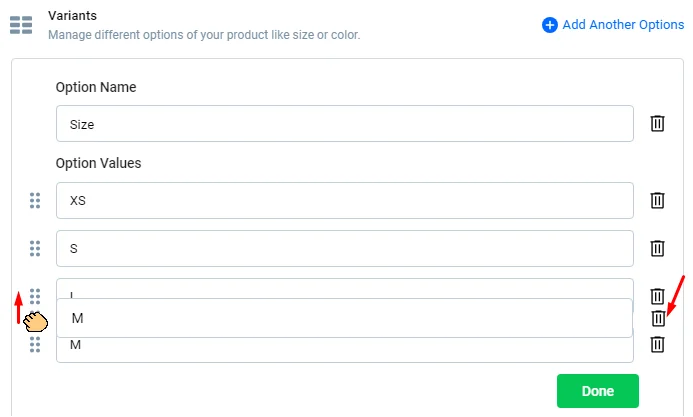
You can delete a specific choice by selecting the arrow to move your options and choosing to delete the selected ones.
12.) You can add a bundle.

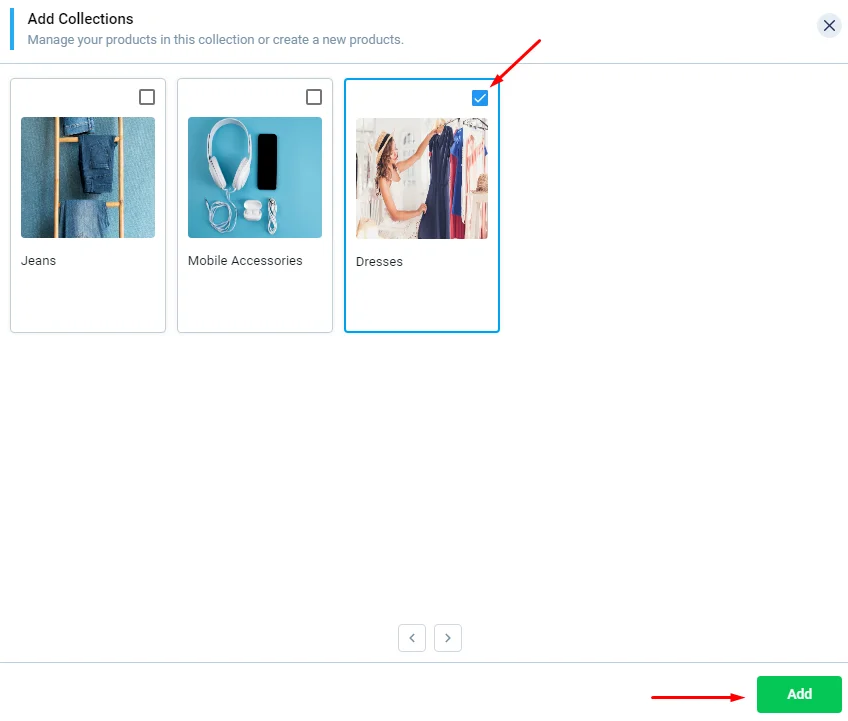
13.) Next, click '(+) Add Collections' to list your product under the created collection it belongs to.

Select your collection and click 'Add'.
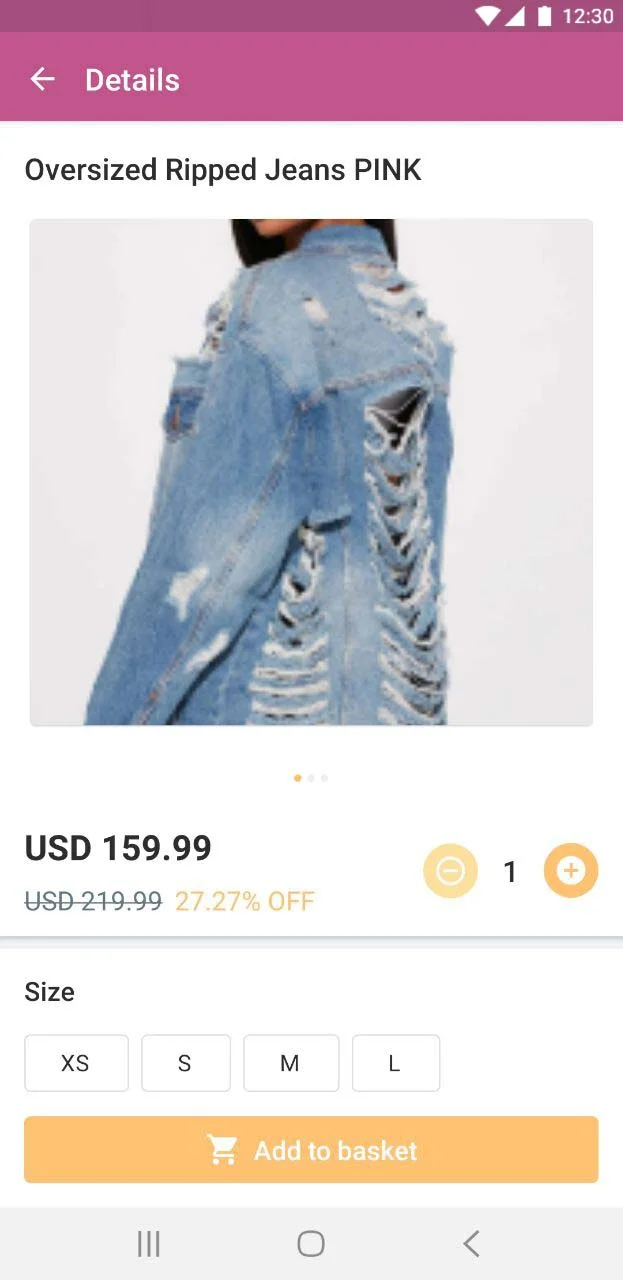
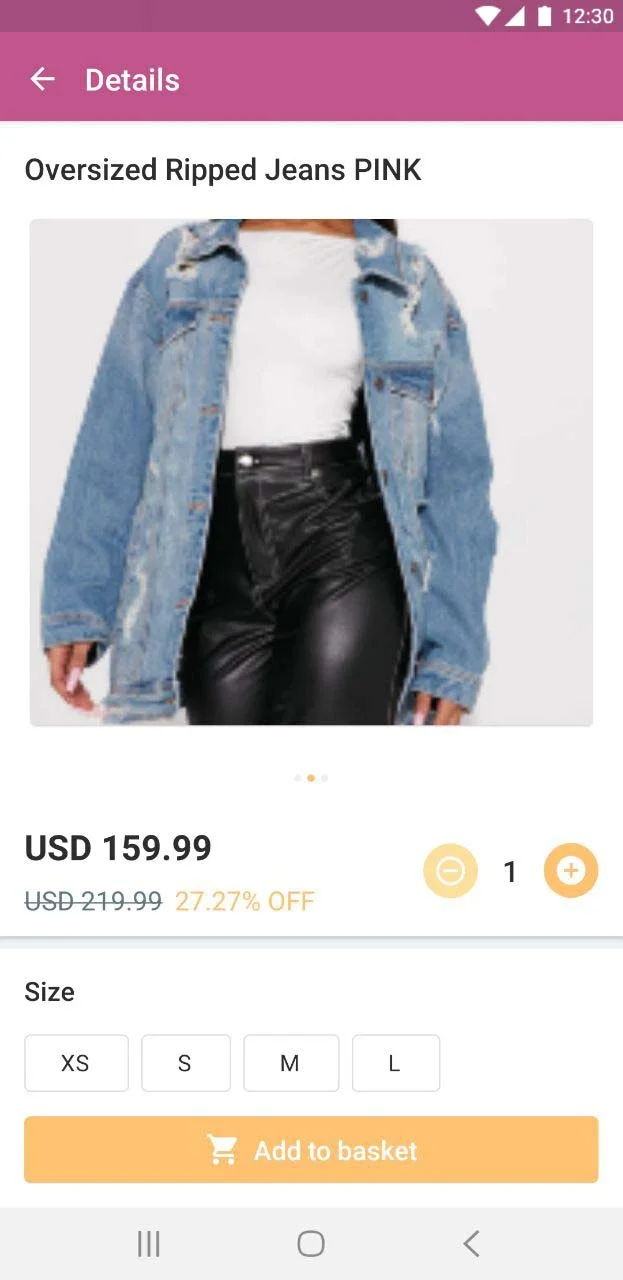
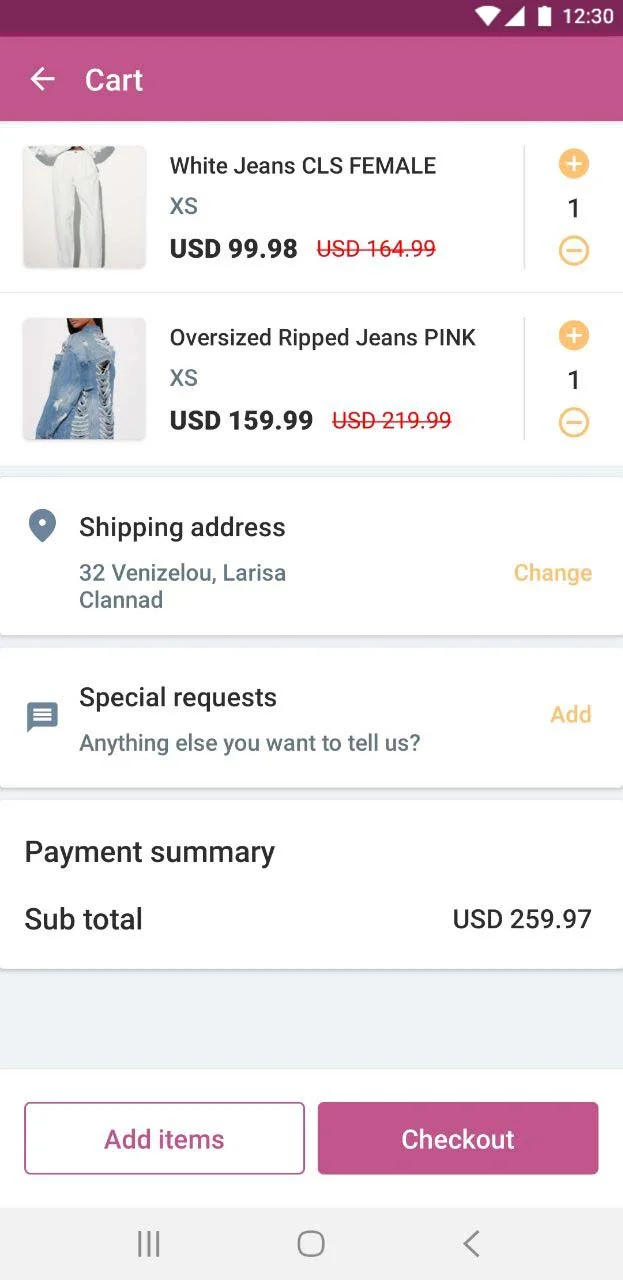
This is how the product will appear, including before and after pricing [discount], variants, and multiple product images:
Creating a Collection
A collection represents a folder with a category name that holds all the goods that belong to that category. For example, you can put all your jeans products, in all their different styles, into one collection called "Jeans."
1.) From the left admin menu, click 'Collections'.
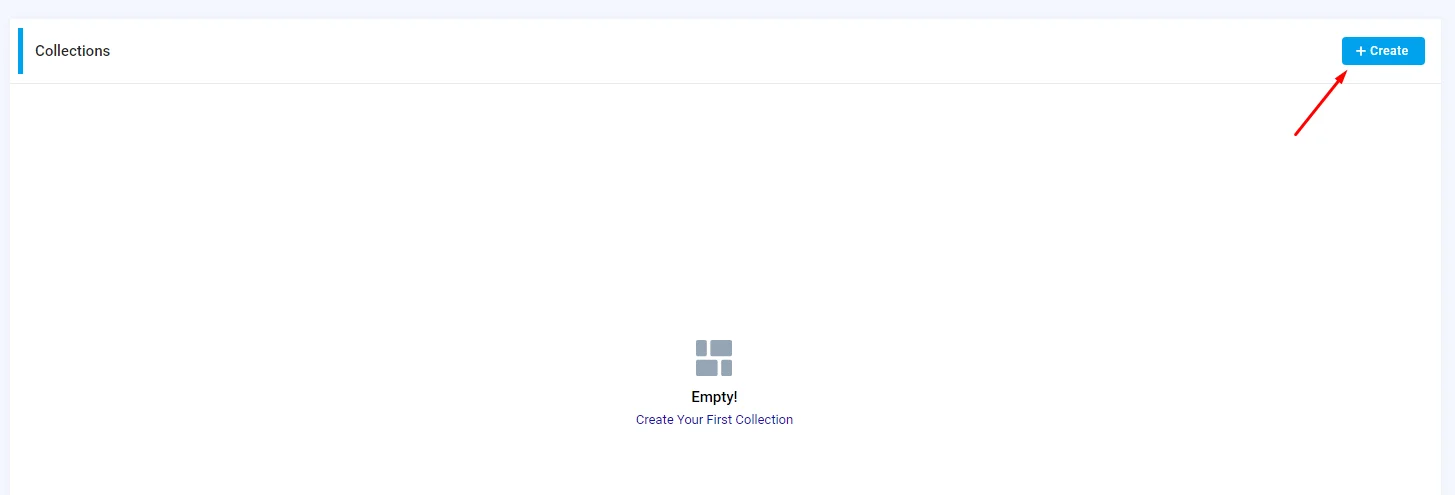
2.) Click 'Create.
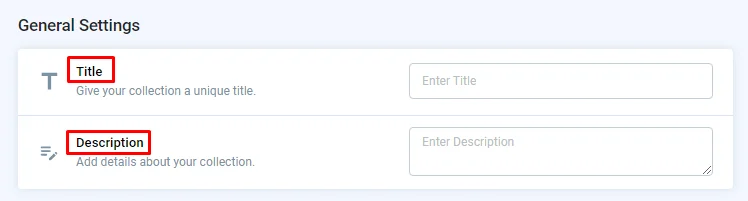
3.) Add a title and description for your collection.
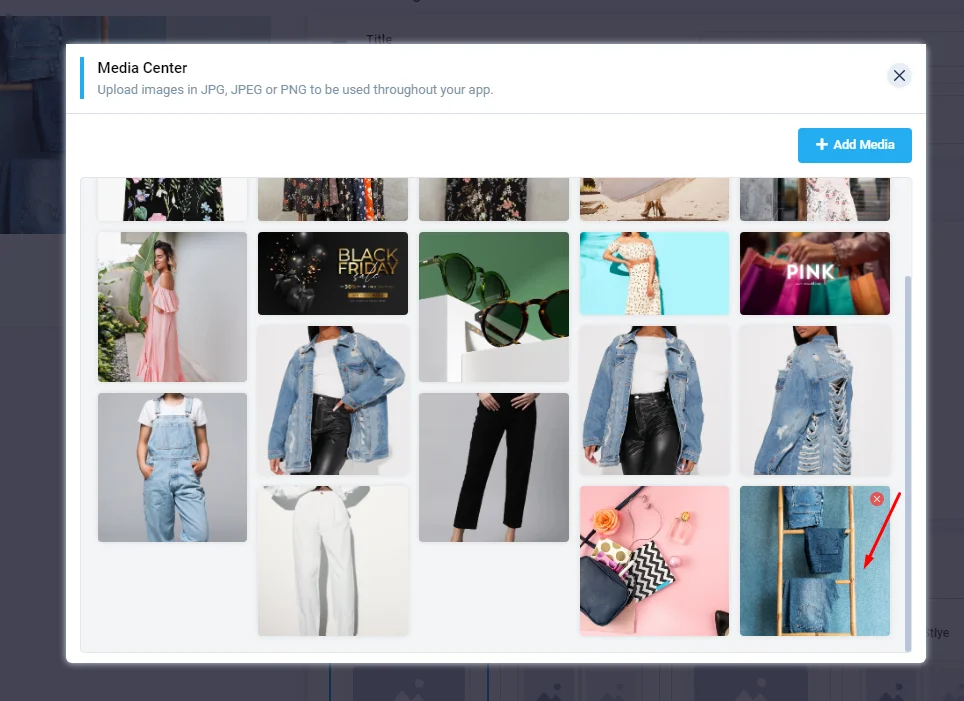
4.) Next, add an image to your collection by clicking 'Add image.
Then upload one and select it.
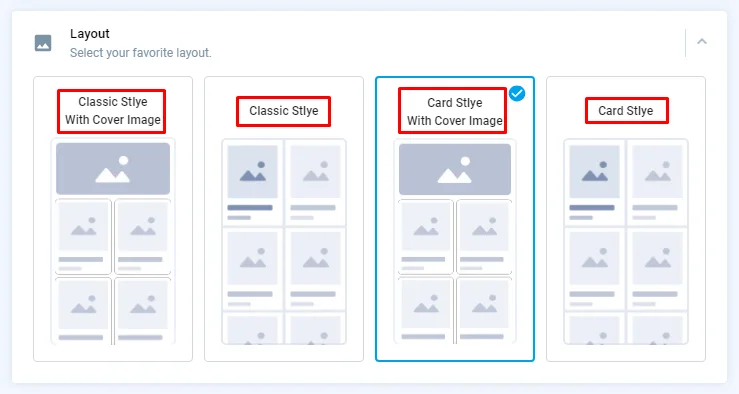
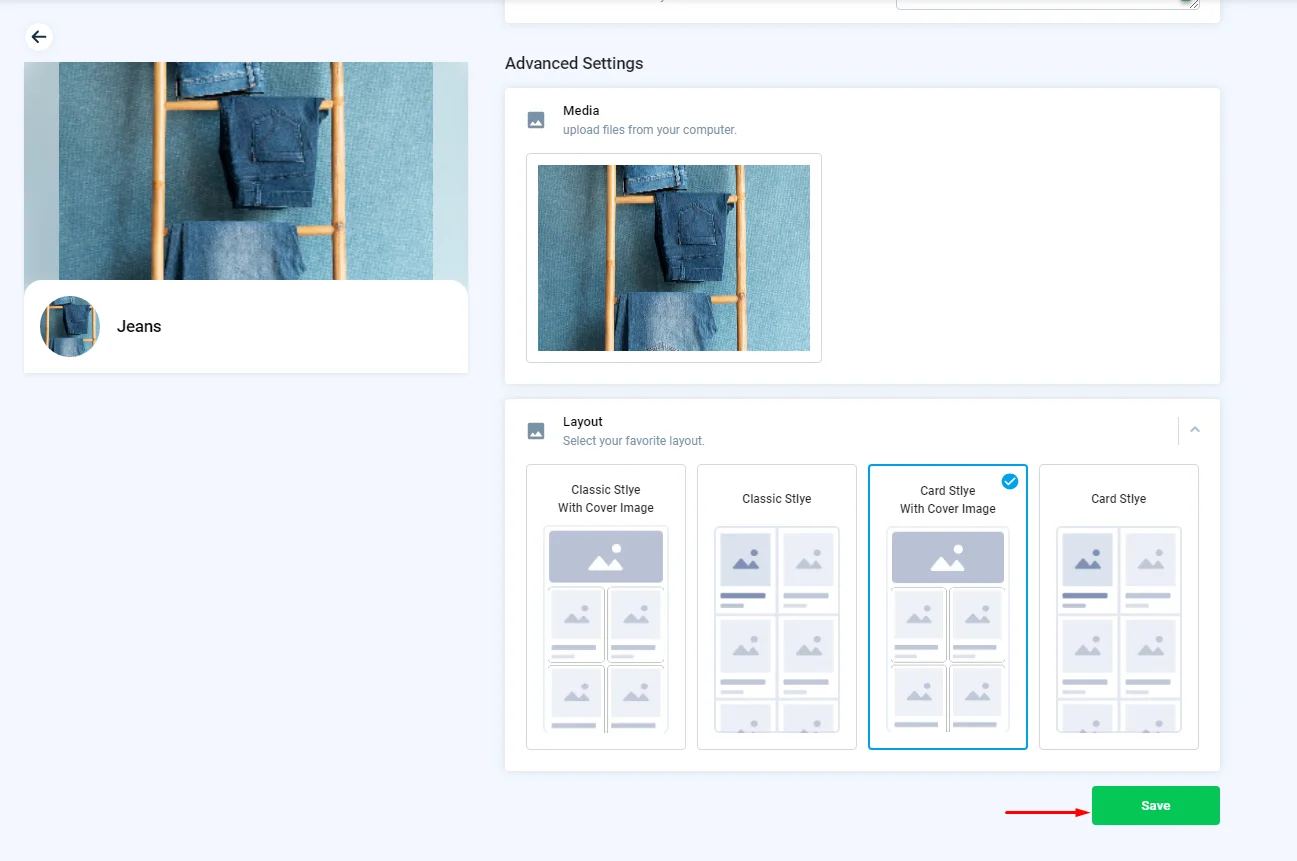
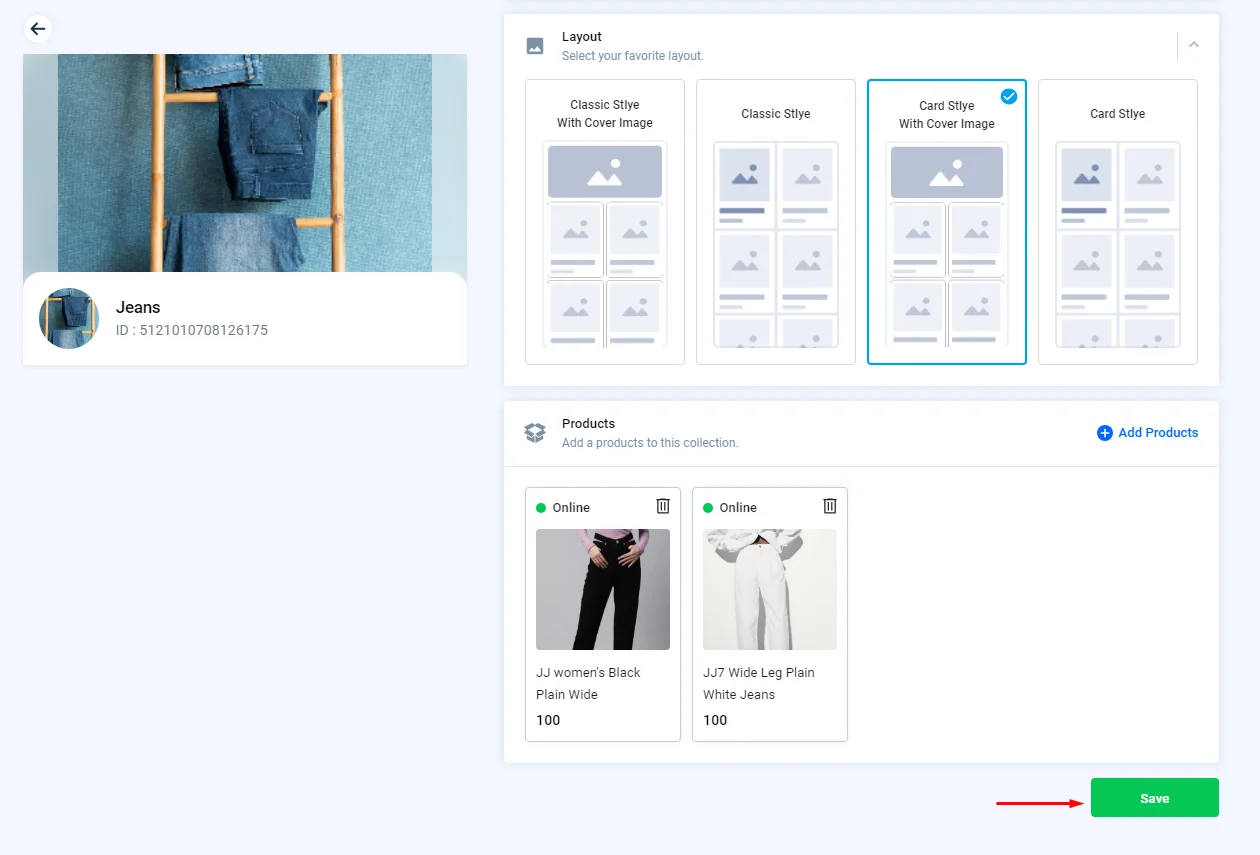
5.) Next, choose your desired layout for your collection.
6.) Then, click 'Save to continue with the rest of the configurations.
7.) Now, assign all your jeans products to this collection by clicking '(+) Add Products.

Choose your jeans products and click 'Add.
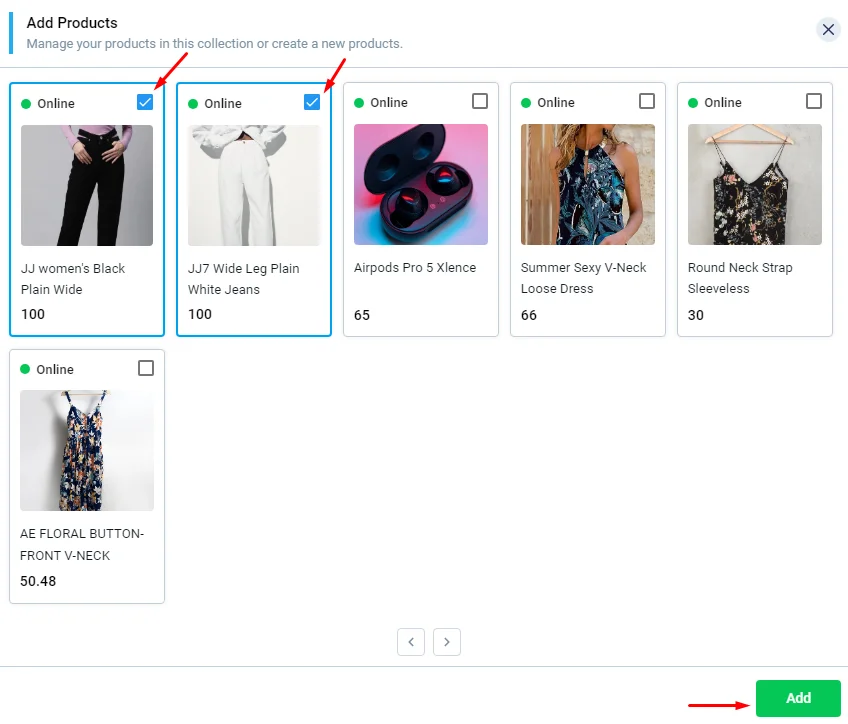
Don't forget to click 'Save.
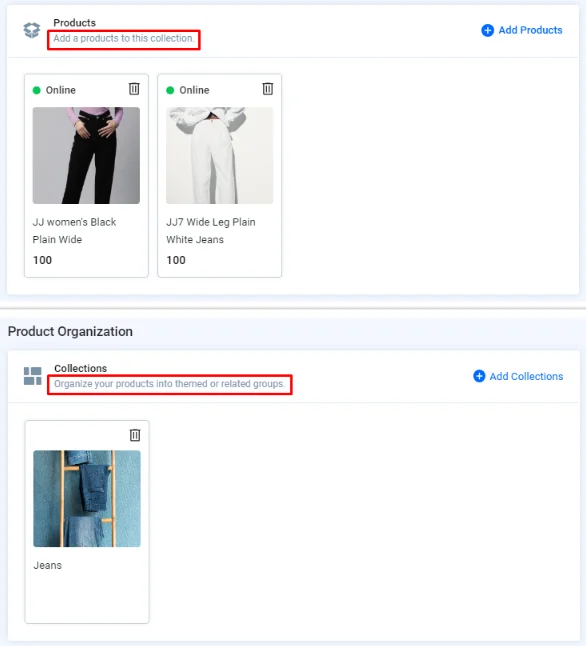
Keep in mind that there are two ways to add a product to a collection: you can either add the product to the collection section or assign the collection to the product section.
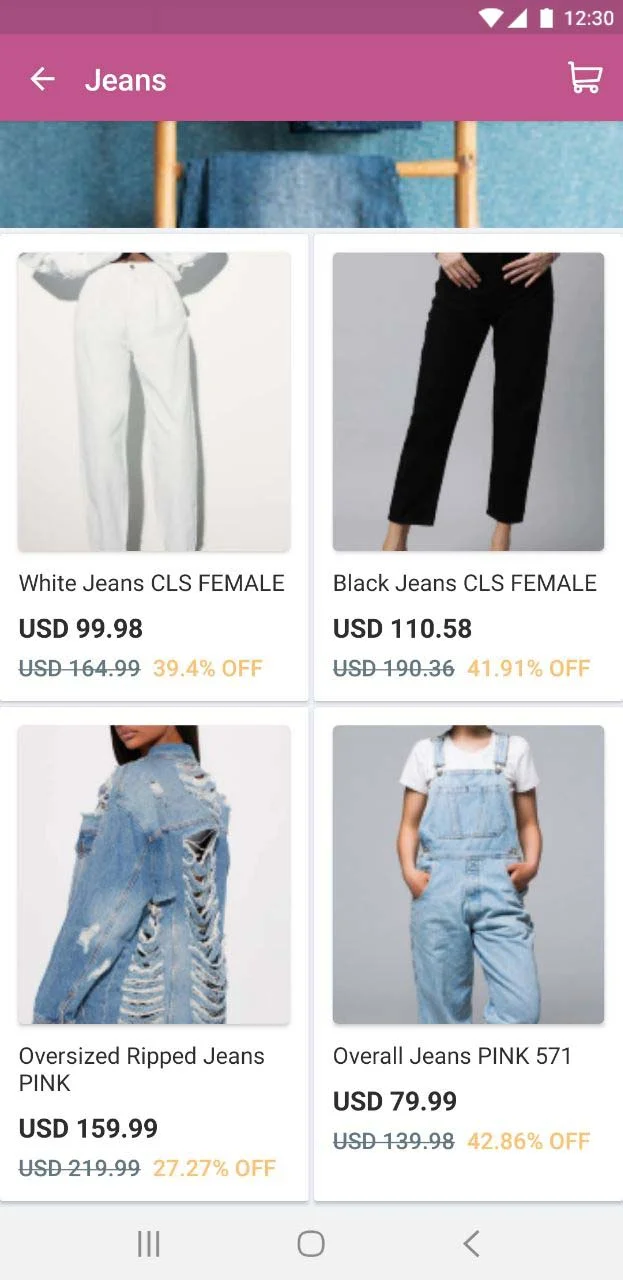
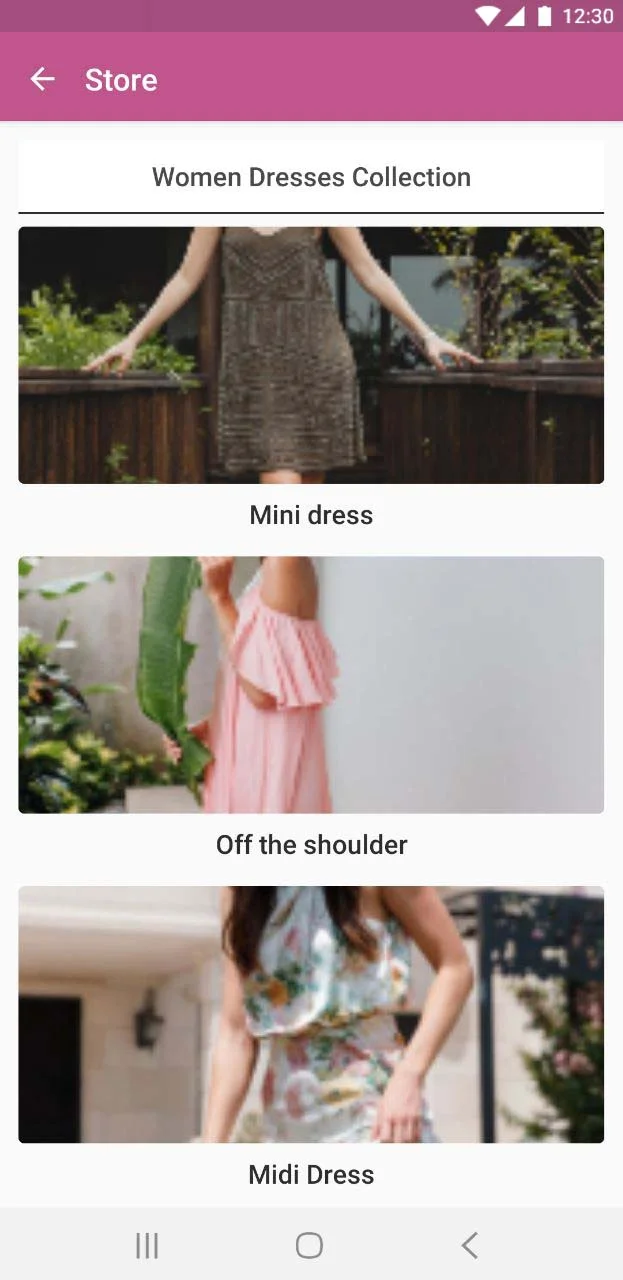
This is how collections are viewed on a device, including all your assigned products:
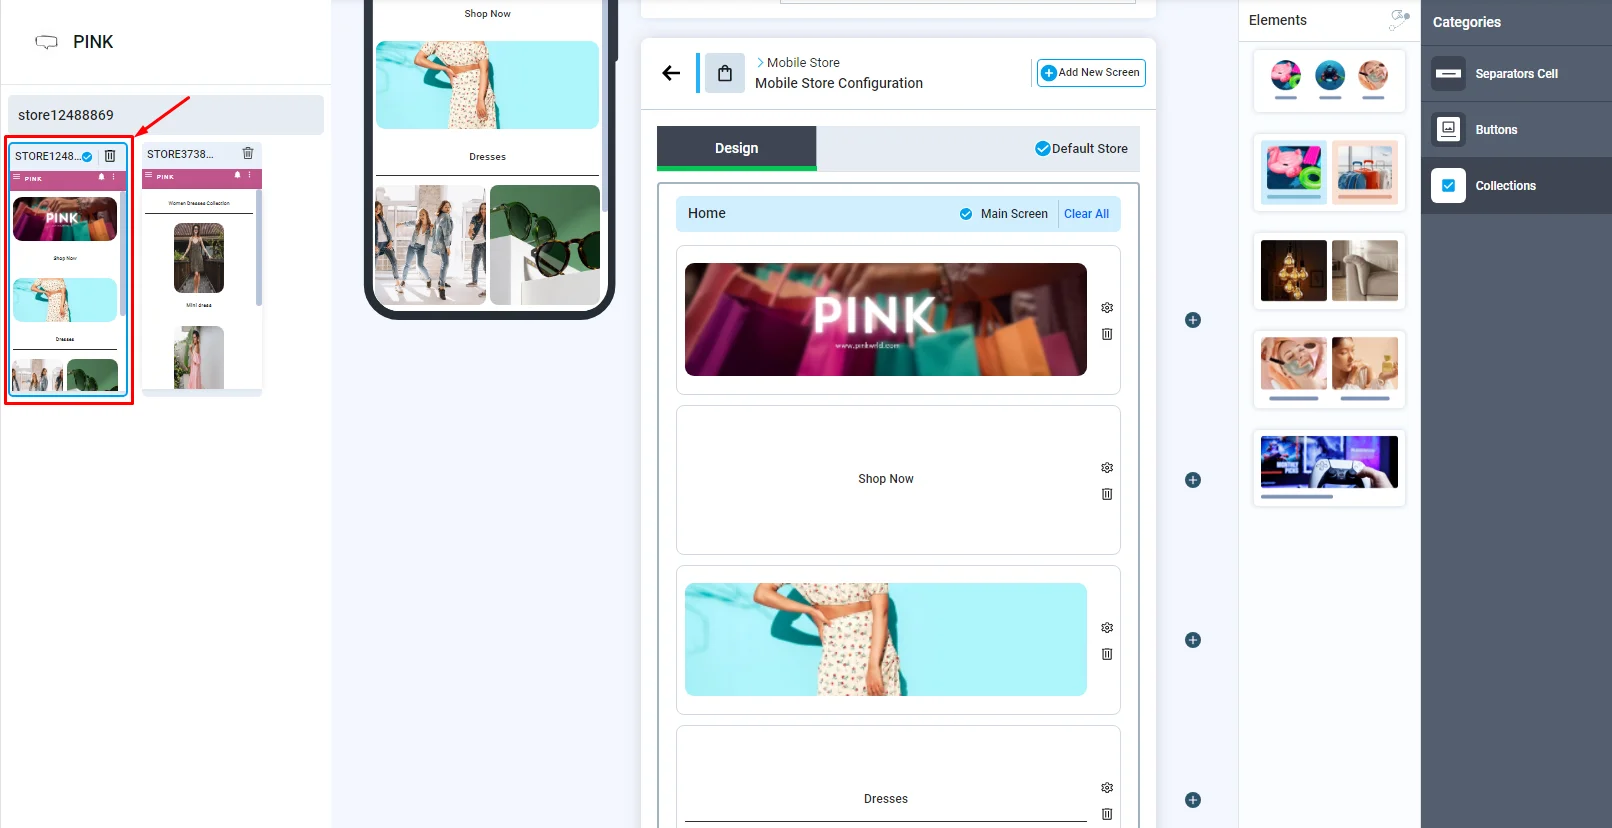
Setting Your Main Mobile Store
1.) After you are done configuring your collections, from the left admin menu, click 'Mobile Store'
2.) Click '+ Create'
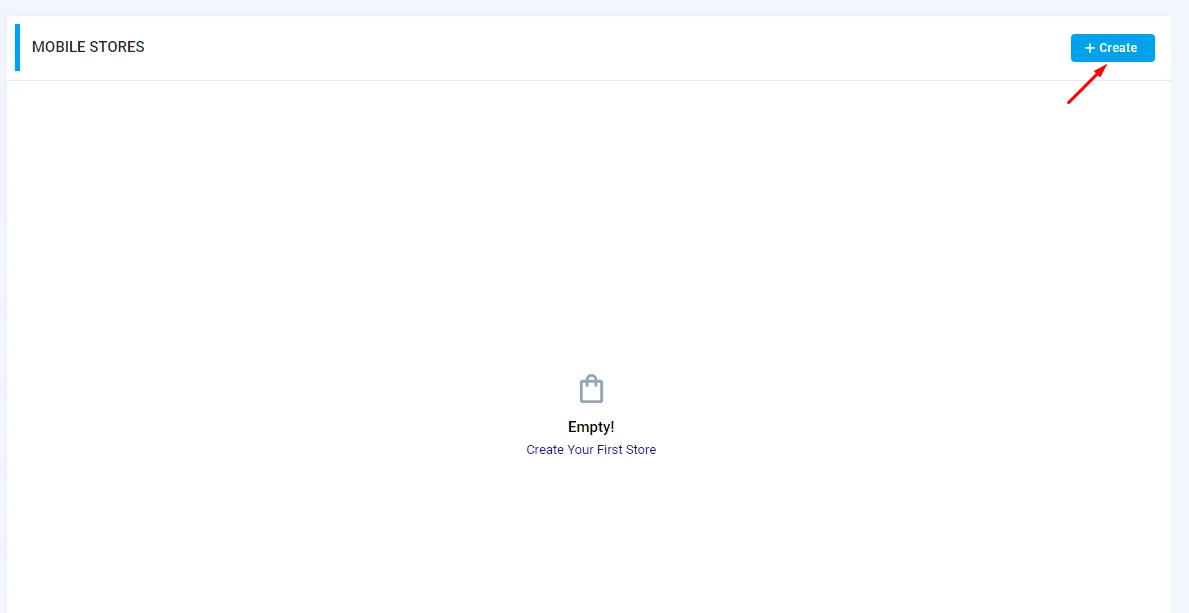
You will be directed to this page.
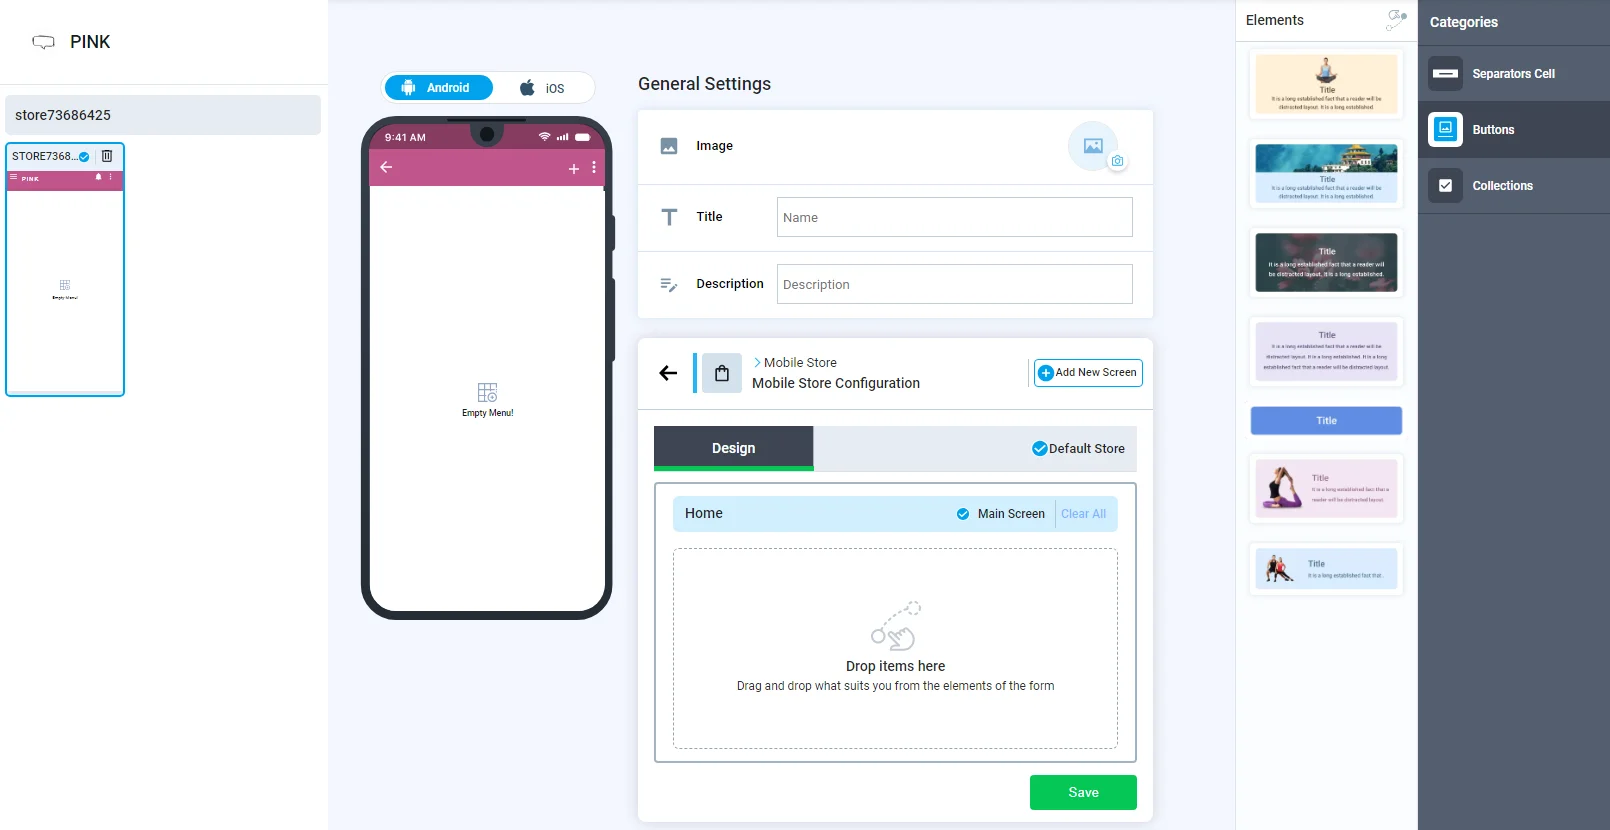
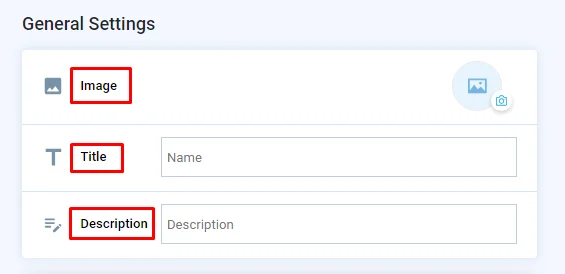
General Settings
First, you need to set up your store details. Add an image, title, and description for your store. This step is important to reduce confusion if you have multiple stores in your app. With this information, you can distinguish your stores from each other.
Separator Cells
Separator cells are for designing the shape of your store. You can use it to separate buttons and add text. Click or drag and drop a separator cell of your choice into your module to install it.

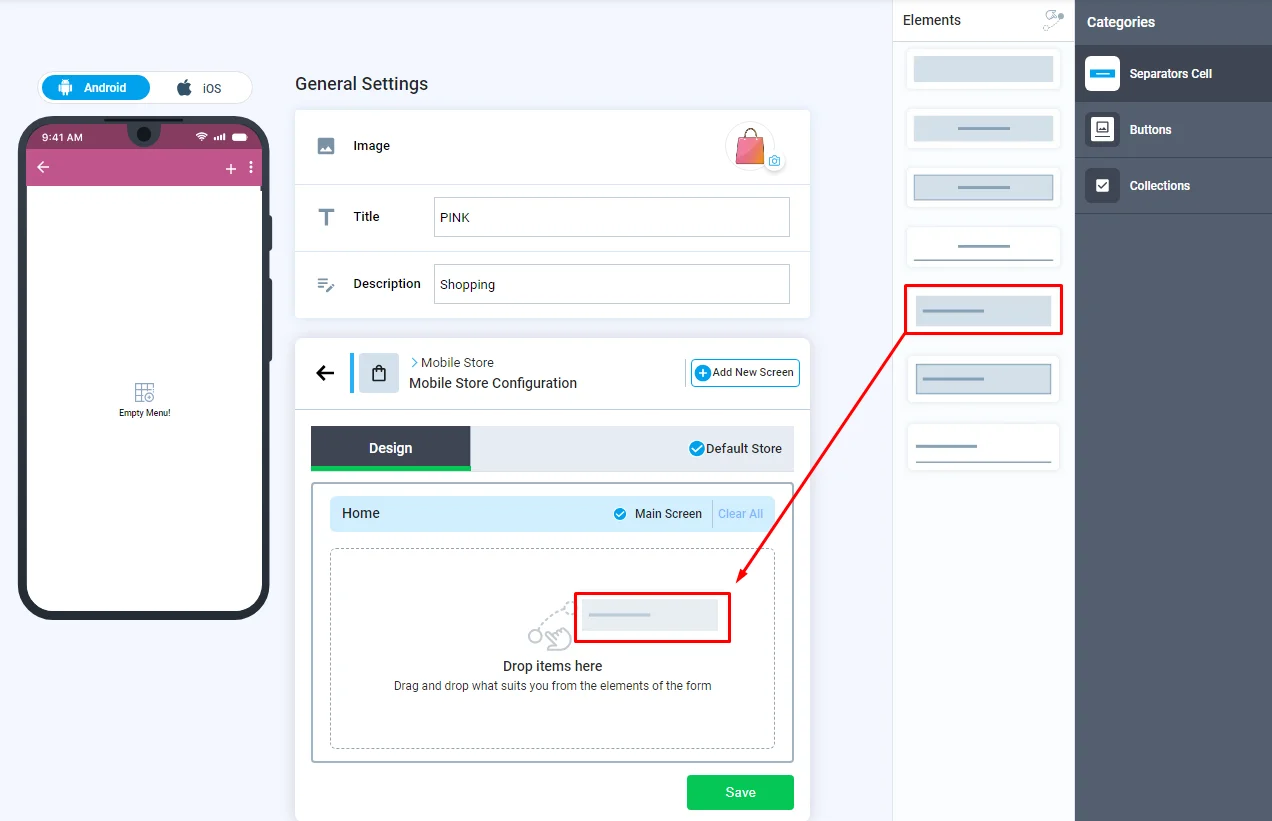
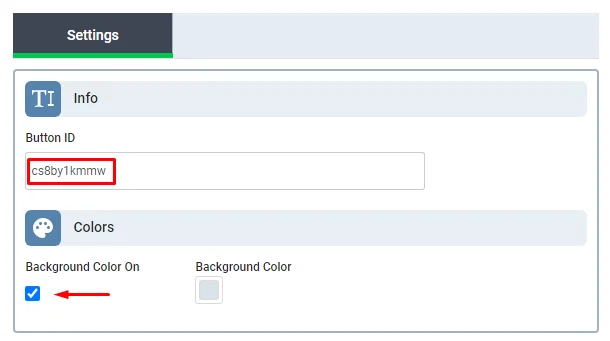
Click the cell to configure its settings.
The button ID has to do with developers; if you have a backend system and are a developer, you can order a particular button by its ID. Note that all separator cells, buttons and collection buttons have the same option of button ID.
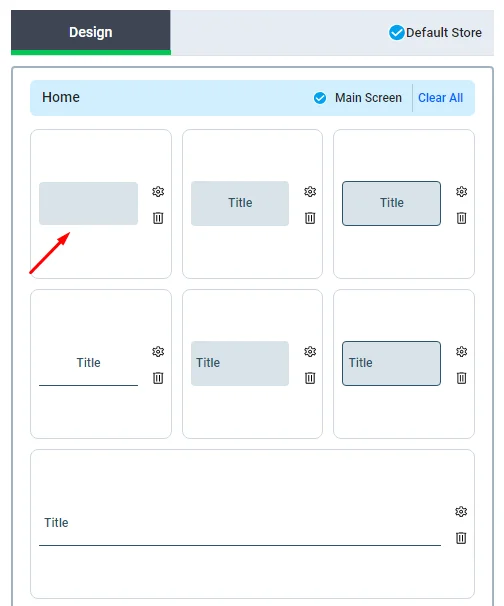
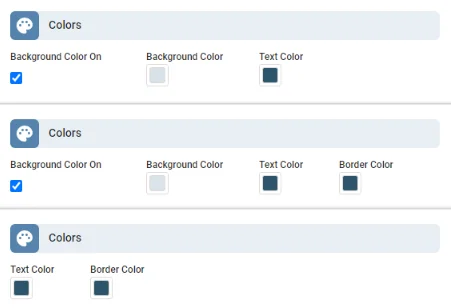
Each cell has its own design. You can always choose if you want your separator cell to have a background or not.
You can check each one and pick the ones you want.
Buttons
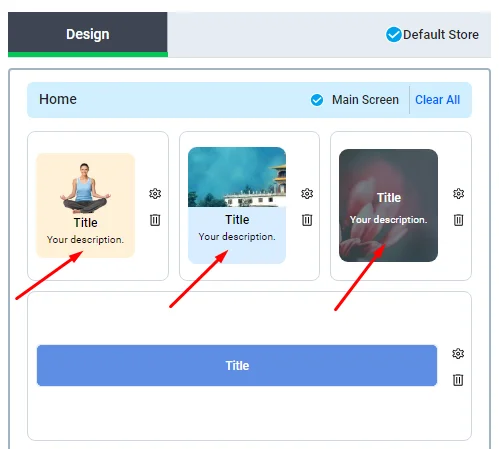
Click or drag and drop a button of your choice into your module to install it. And drop it in your home menu.
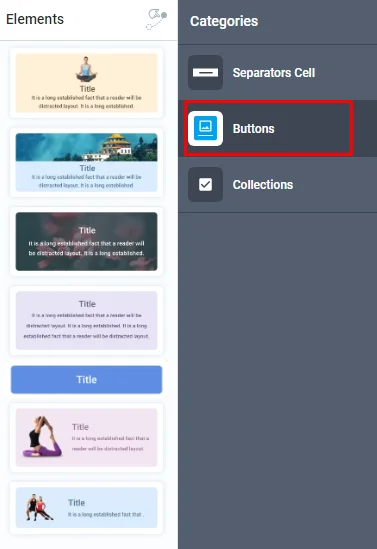
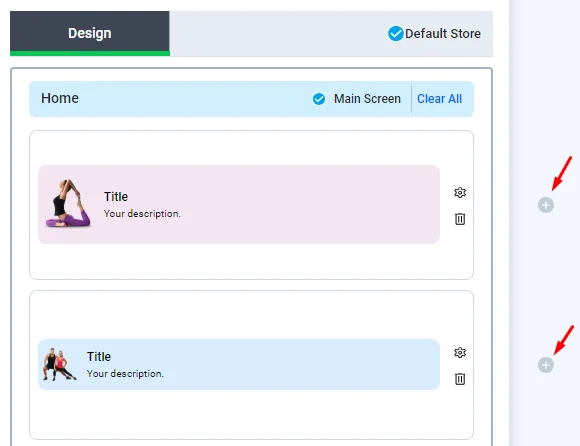
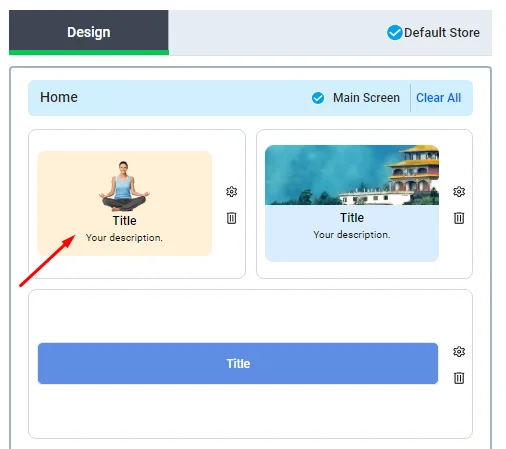
You can add up to three buttons or cells in each row.
Note that these two buttons can only be inserted on their own.
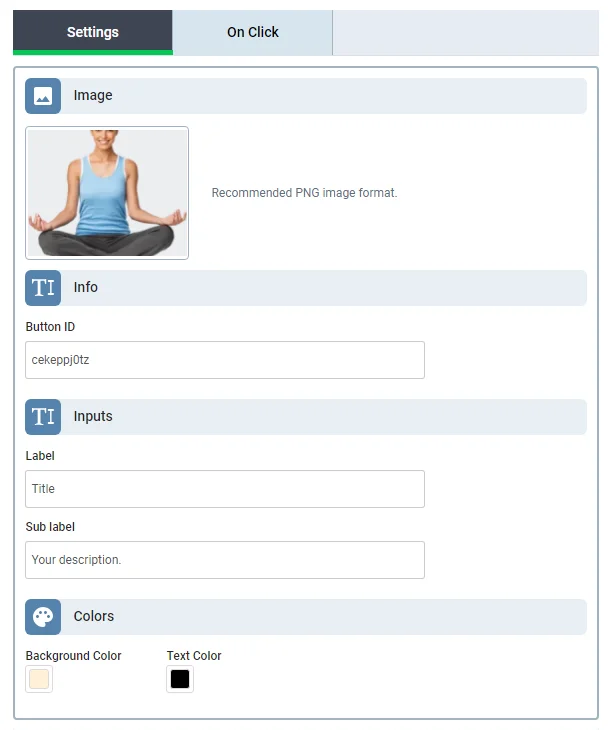
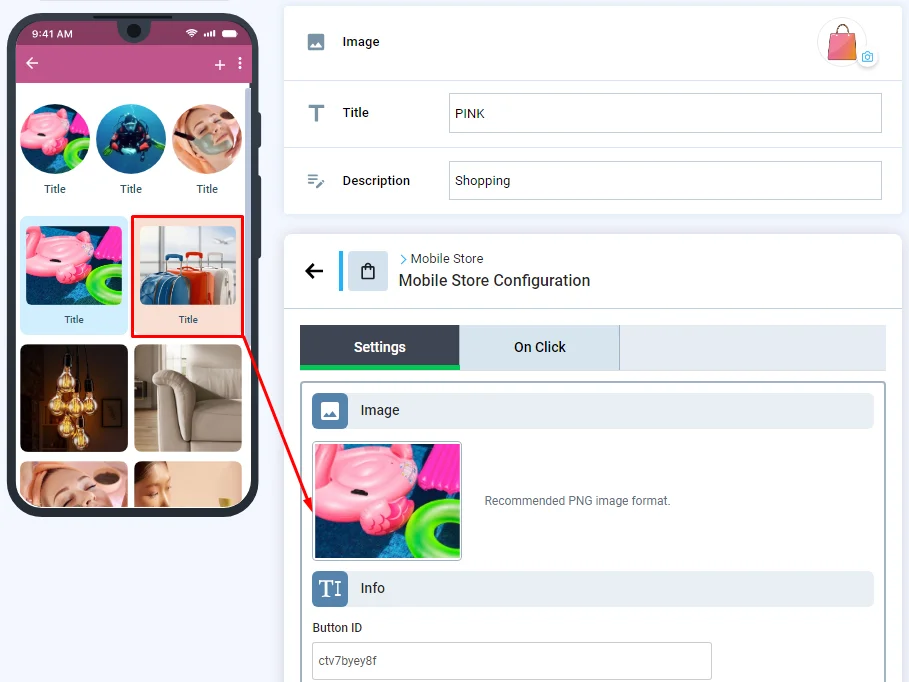
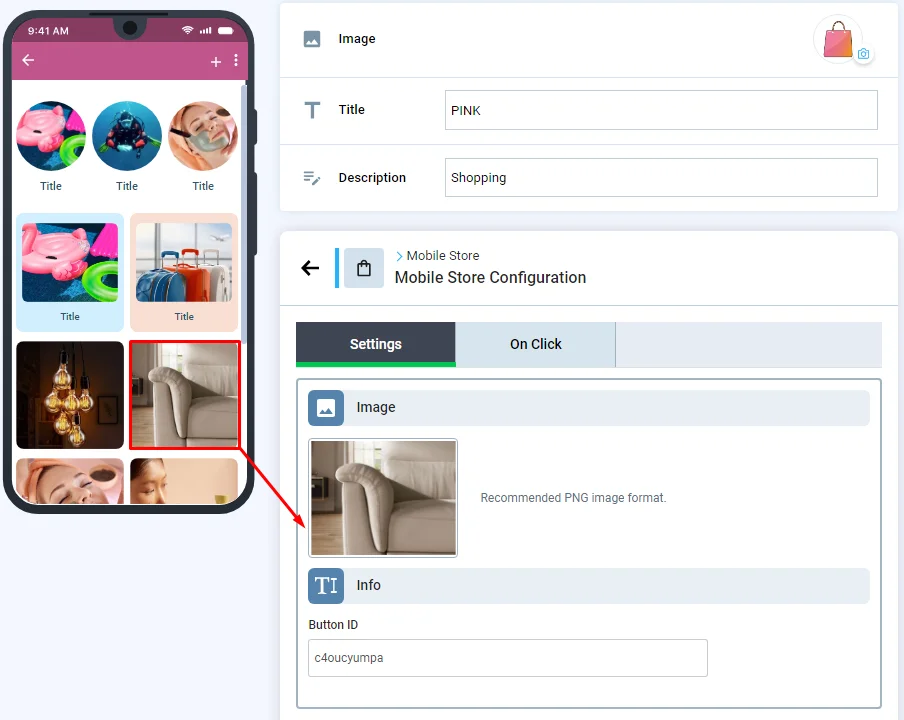
Click the button to open its configuration.
In the settings tab, you can get the button ID and customize your button's layout: change the button's image, add background and text color, and add text and description.
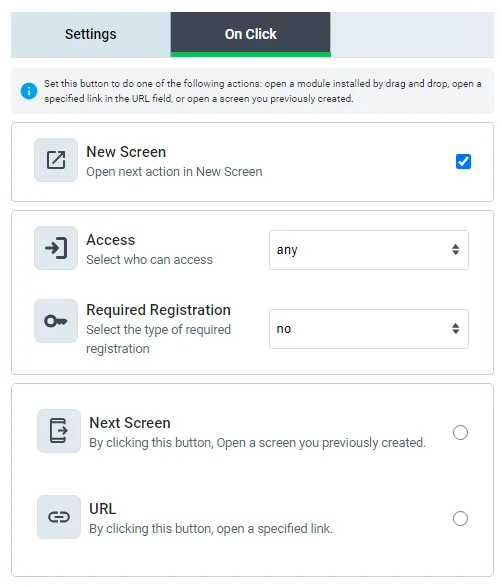
In the On Click tab, you can find the following:
-
Access
-
Required Registration
-
Next Screen
-
URL
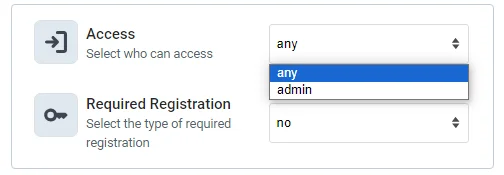
1.) Access
You can design a button that is accessible to all app users or just admins.
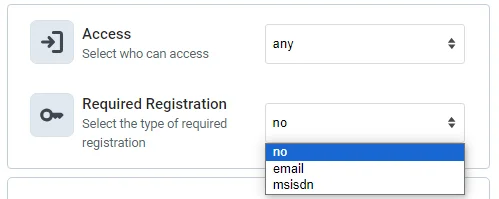
2.) Required Registration
A button can be used for restricted transactions on your app. For example, users can navigate through your shopping app without the need to sign up, but if they want to complete their purchasing process, this button will restrict them and ask them to register first. Users can register via Email or msisdn.
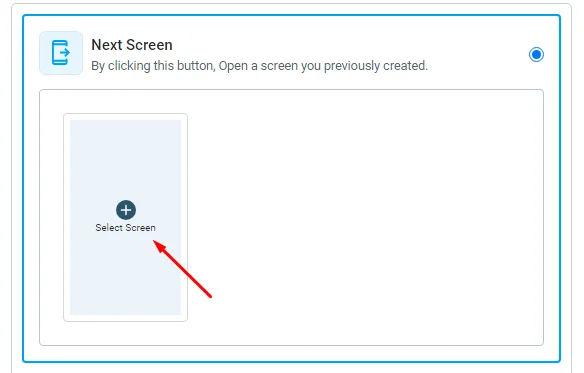
3.) Next Screen
This is where you add another screen (submenu) to be represented once you tap on the button. Don't forget to mark 'Next Screen' to continue with your chosen option.
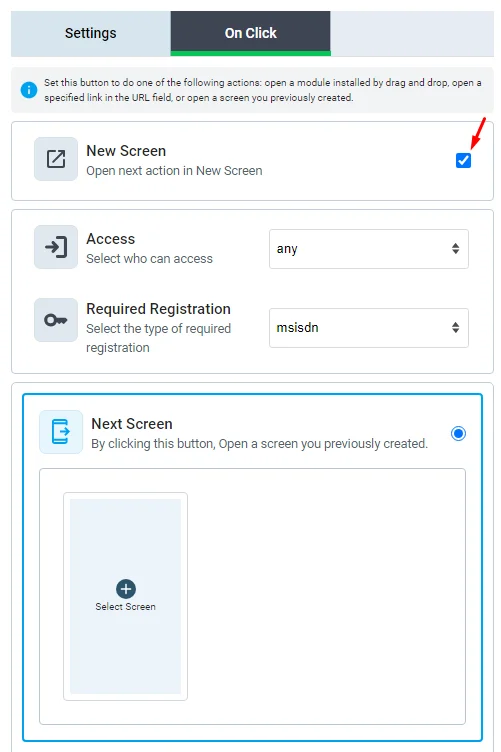
For example, let's add a screen (submenu) to this button.
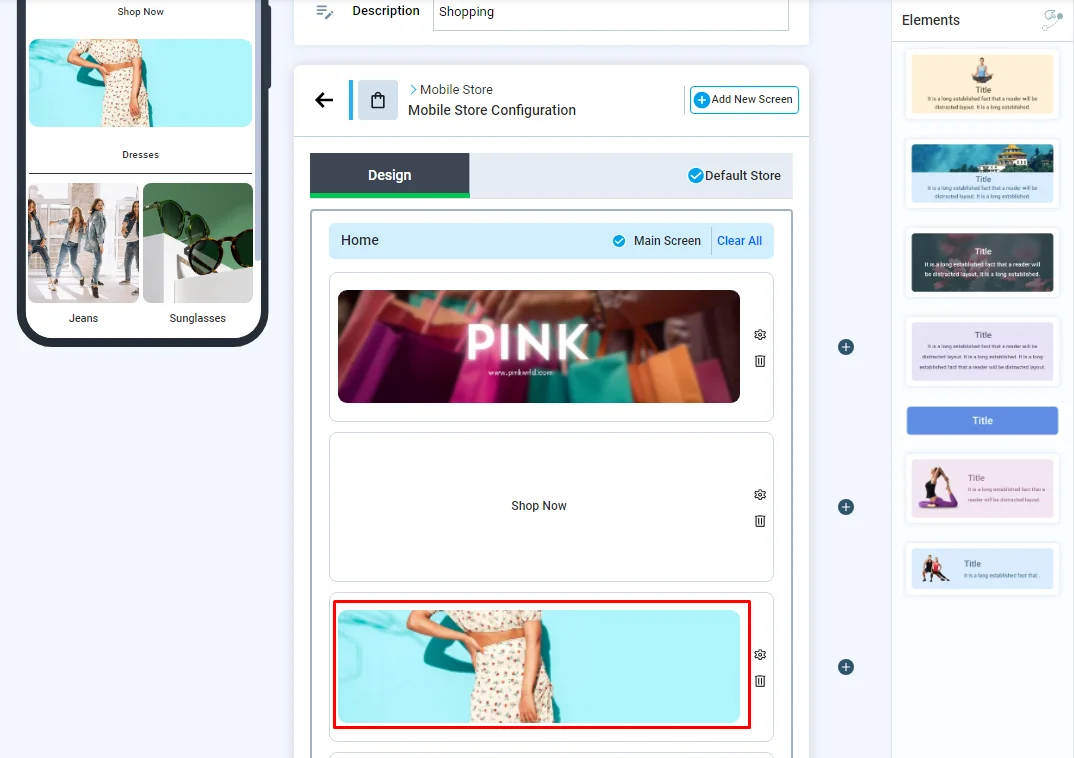
First, create your screen (submenu) and click "Add New Screen".
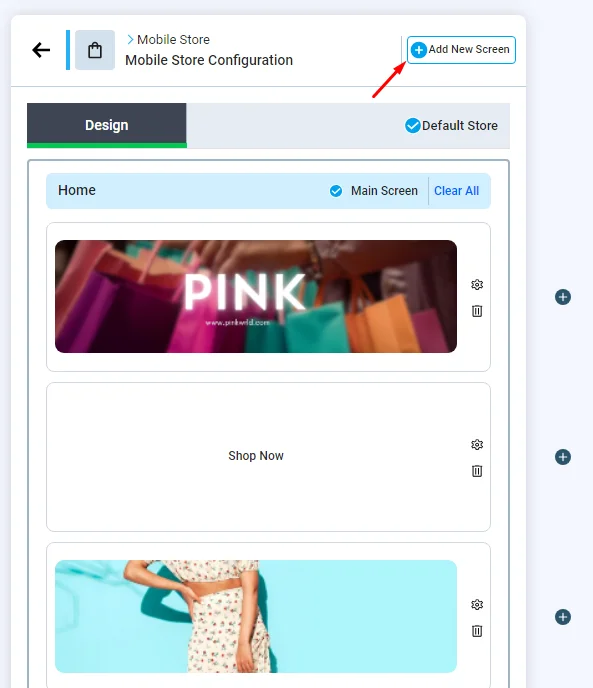
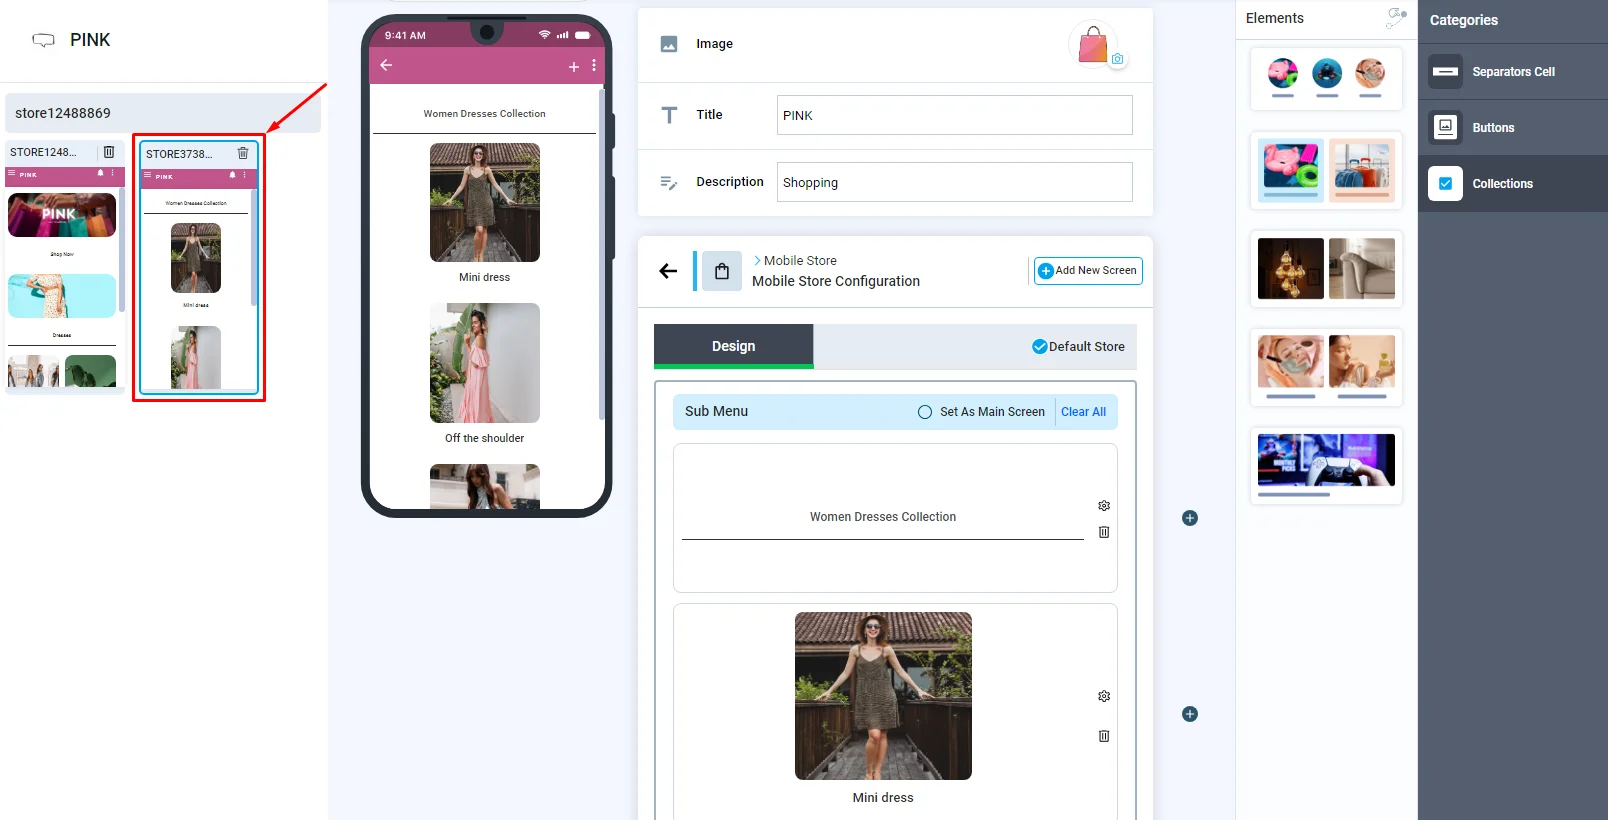
Design the submenu, and don't forget to click Save. Then, the newly created screen will be displayed on the left App Screens menu.
Now go back to the main menu by clicking on the screen and clicking the button.
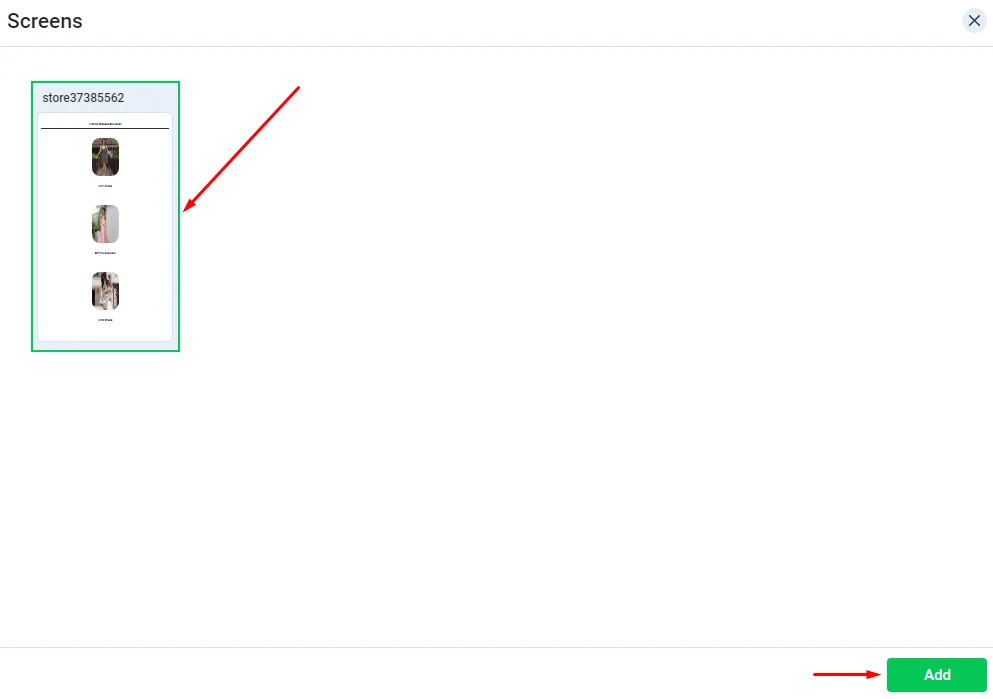
Click 'Select Screen.
Choose the screen you created and click 'Add.
You have the option to replace the screen with another one, or you can delete it. Once done, don't forget to save.
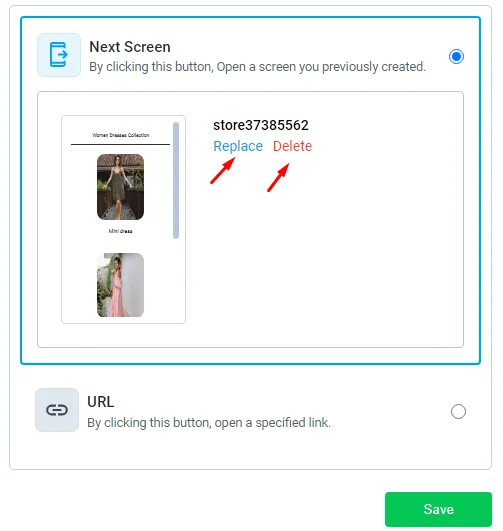
Your button now represents this screen (submenu), and when your app user clicks on it, it'll direct the user to the screen you added.
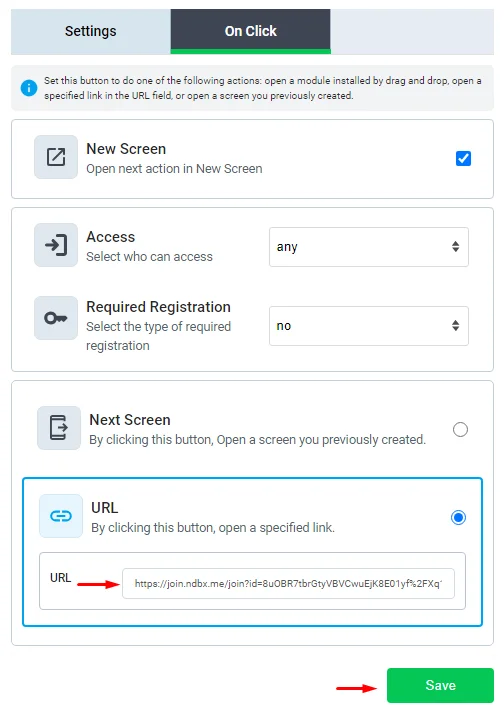
4.) URL
You can add a website's URL or a link to a specific channel, chat group, or event. Note that this feature can only work with channels, chat groups, and events.
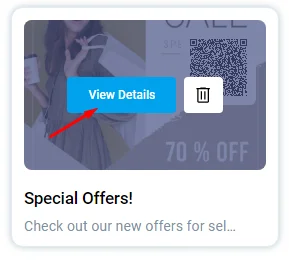
From the left admin menu, go to channels and click on the channel 'View Details' button.
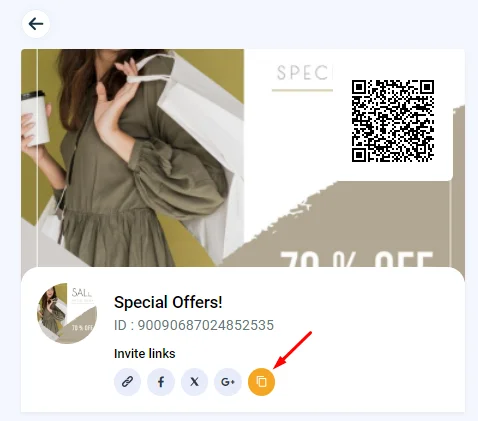
and you will find the channel link on the left. Copy the channel link.
Go back to your workflow, paste the channel link in the URL section, and don't forget to save.
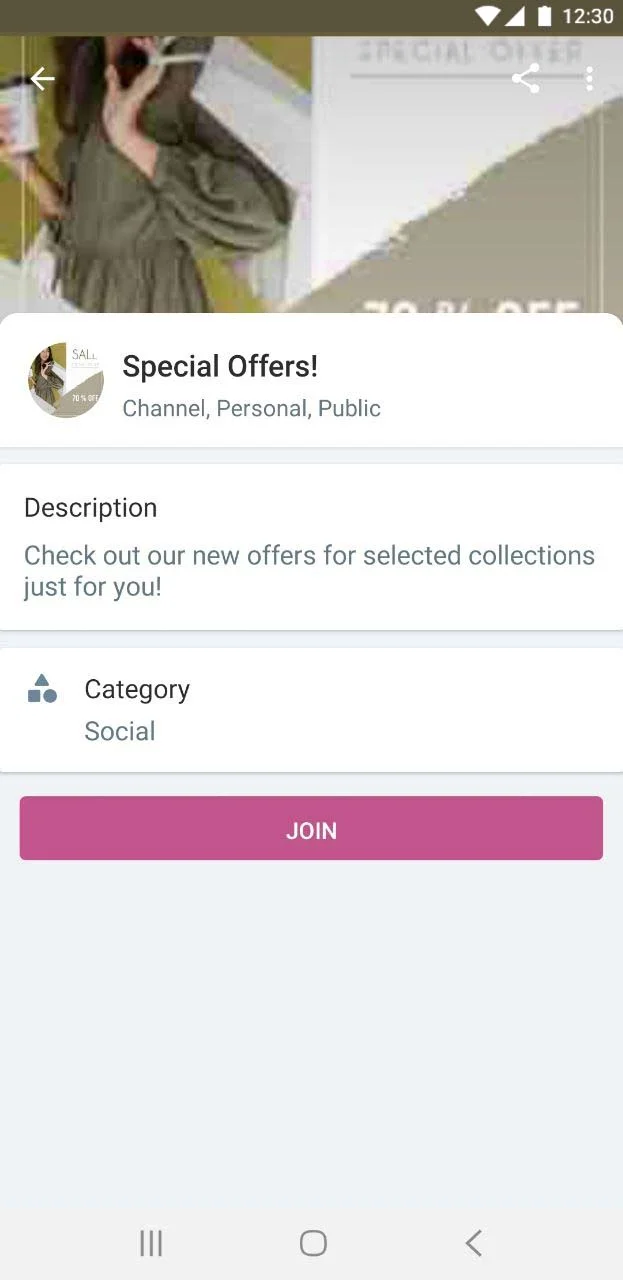
Your button now represents this channel, and when your app user clicks on it, it'll direct the user to this channel:
Collections
Click or drag and drop a collection button of your choice into your module to install it. This is where your users will find their desired categories.
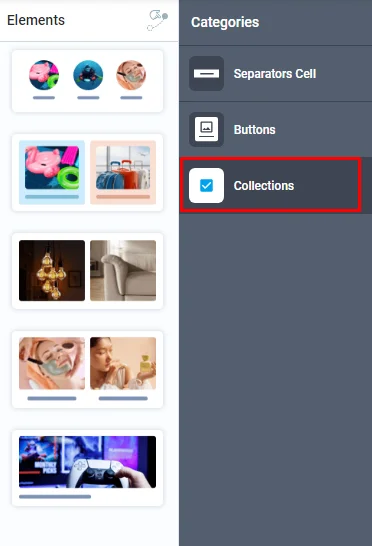
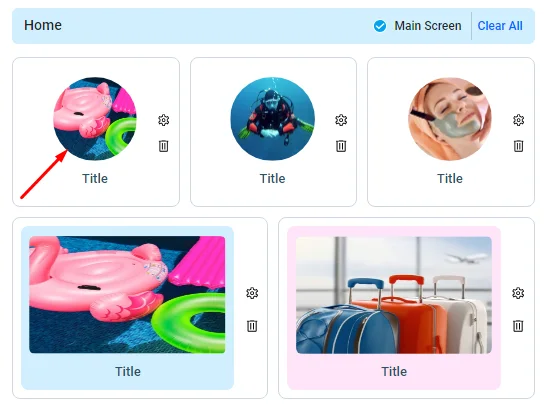
There are various buttons in collections with various layouts available for you to select from, depending on your preferences.

Click the button to customize its design.
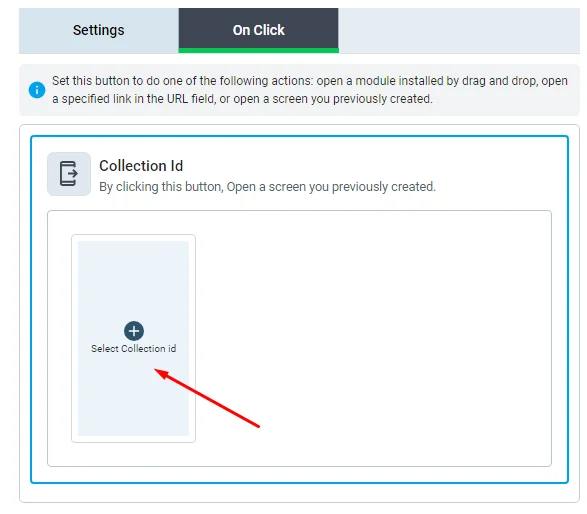
In the settings tab, you can get your button ID and customize your collection button layout: change the button's image, add text color, and add a title.
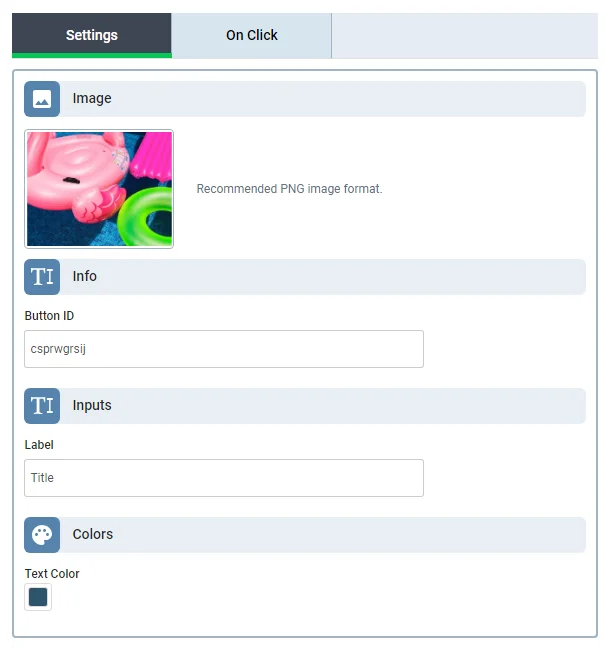
In the On Click tab, you can assign a specific collection to this button. click 'Select Collection id.
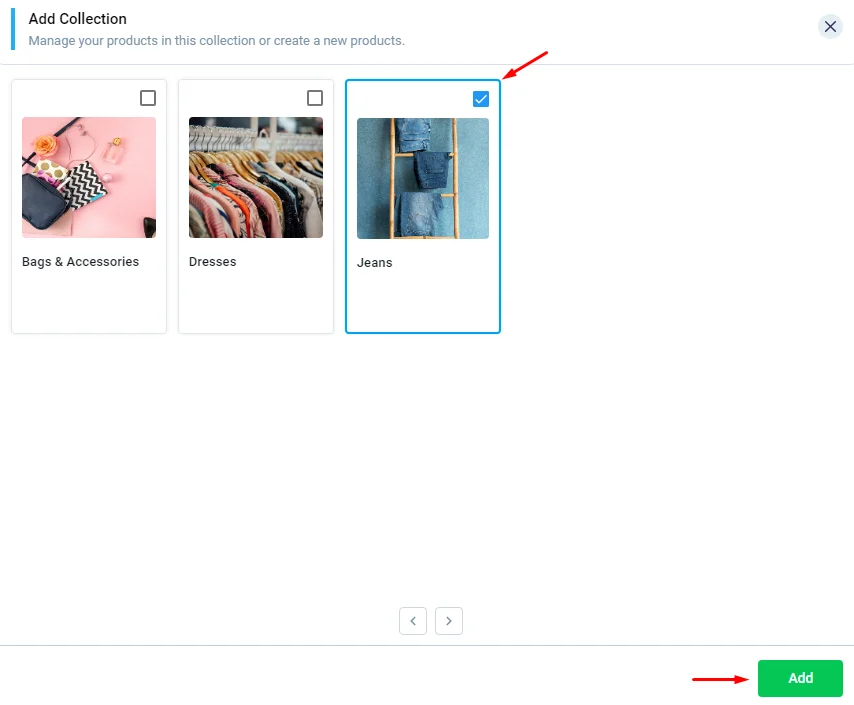
Choose the collection you want to assign and click 'Add.
You have the option to replace the collection you assigned with another one, or you can delete it.
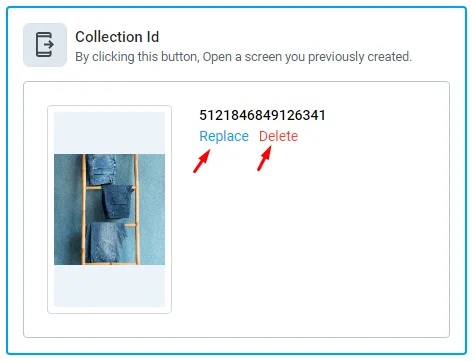
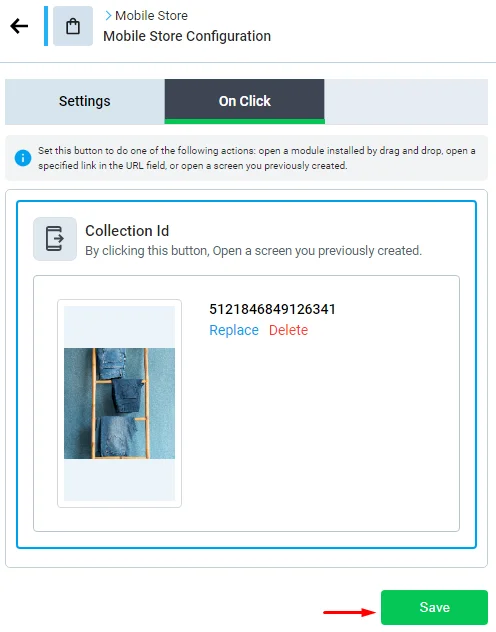
Once done, don't forget to save.
The rest of the collection buttons are set up the same way, but their layouts are different. Some buttons can only be used to add an image, while others have an extra choice to change the background color.
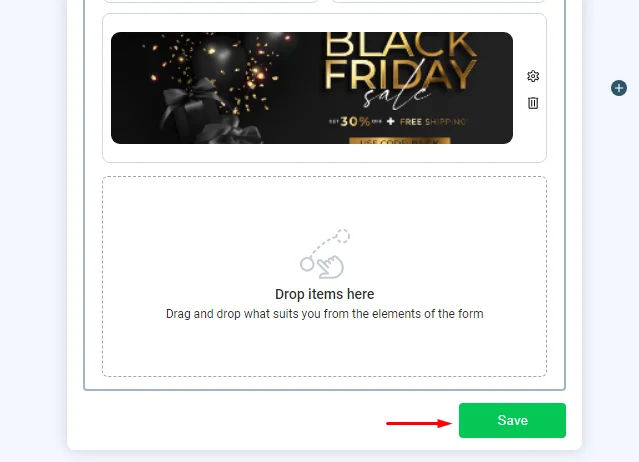
When you finish your store, click 'Save'
Setting Up Your module
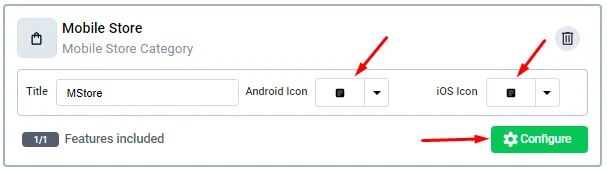
After you are done configuring your collections, go back to your home or side menu and click or drag and drop the Mobile Store module.
You can rename the module, choose an Android and an iOS icon for it, and click the 'Configure' button to start managing your store settings:
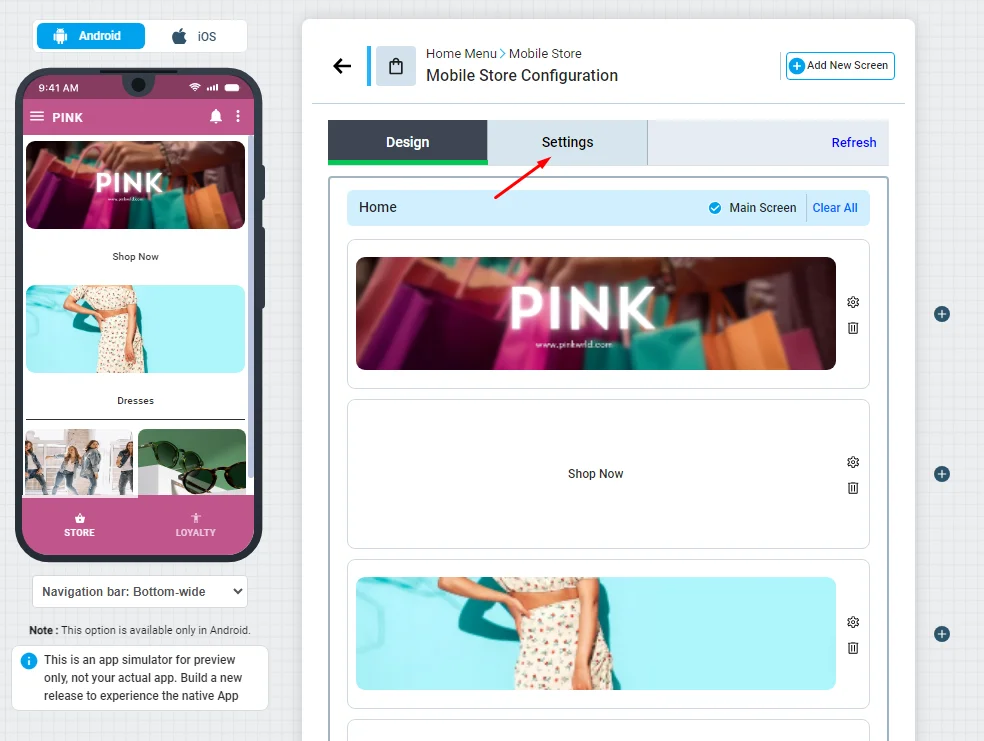
Click the settings tab.
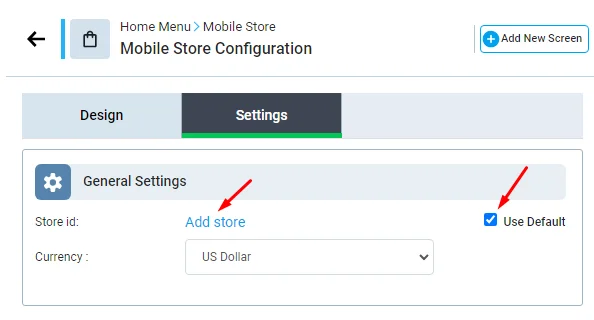
- If you only made one store, it would be added by default, and you would find the 'Use Default' button automatically marked.
- If you made more than one store, you can choose which one to give to this module. Click 'Add store.
Note that if you don't assign a specific store, the first one you create will be added by default.
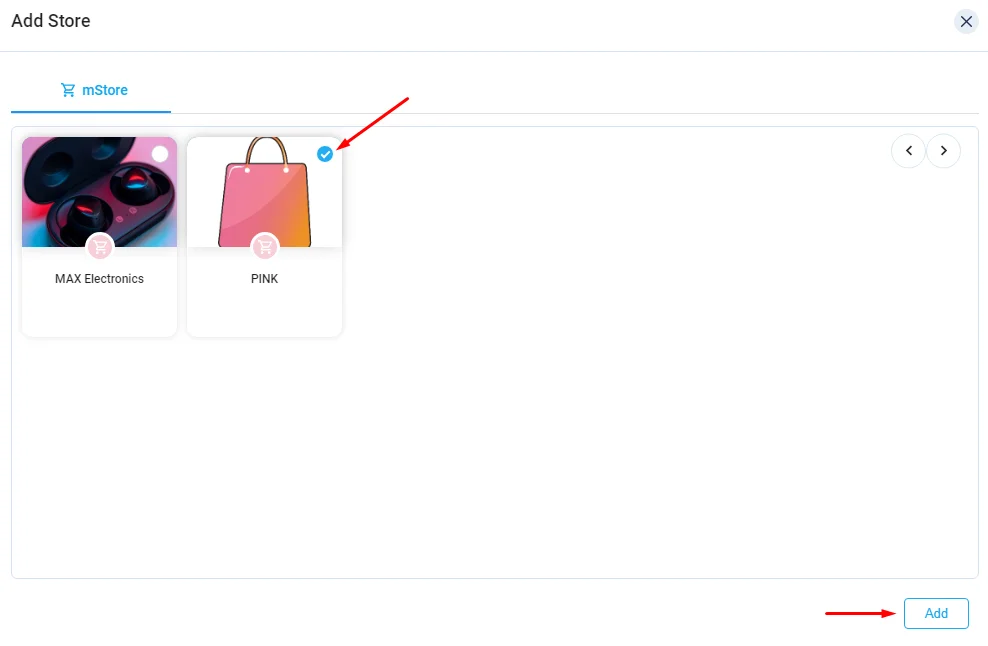
Choose the store you want to assign, and click 'Add'.
Now you need to choose the currency you want to charge your users with.
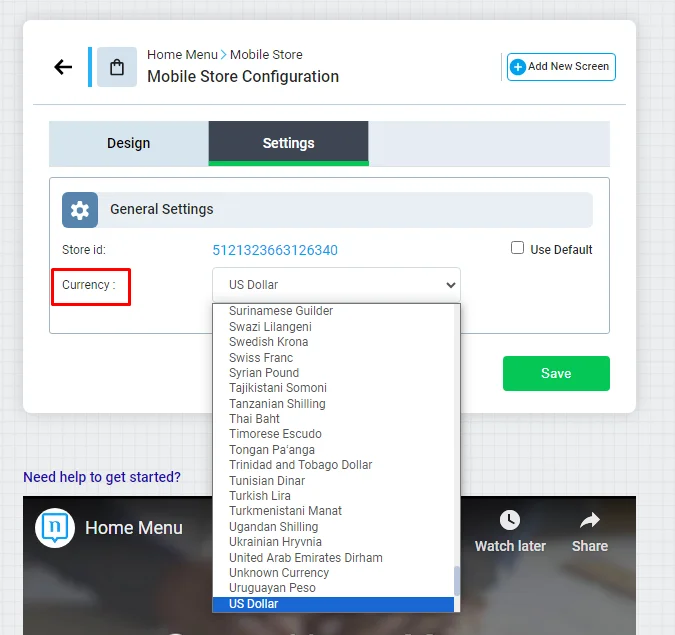
Then, click "Save," and your store is ready to be shown to the public.
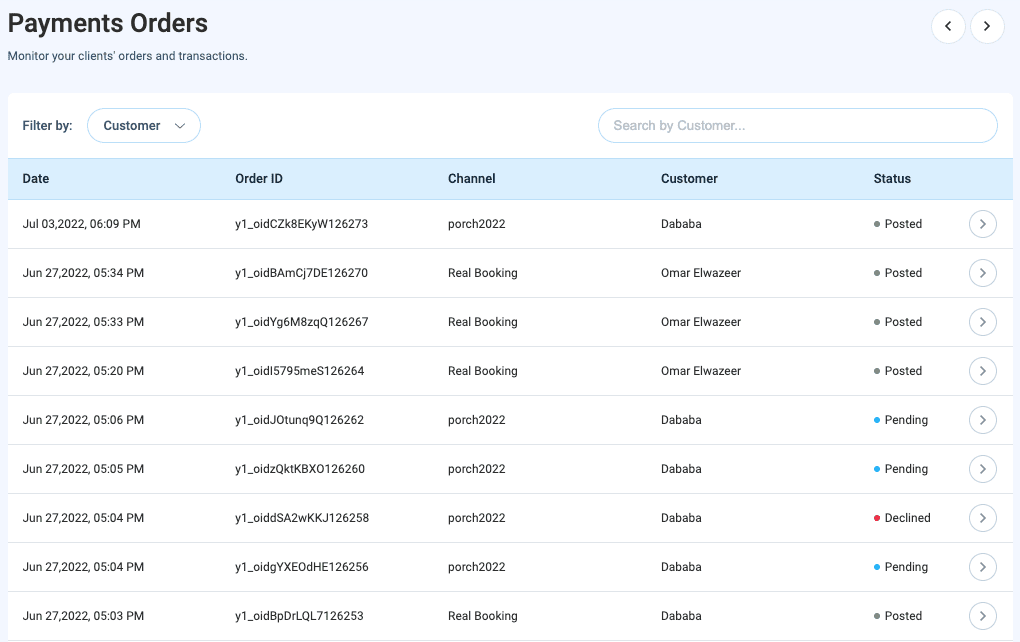
Orders
This is where you can monitor your clients' orders and transactions.
From the admin menu, click 'Orders',
And you will be prompt to the orders page where you can check all the details of your users' orders.
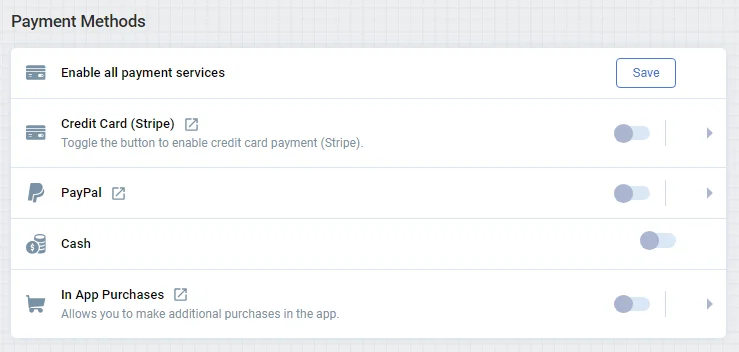
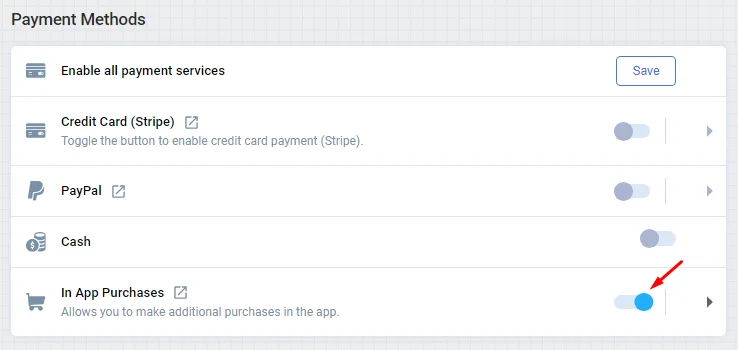
Payment Gateways
This section will allow you to choose how your customers will pay for your app.
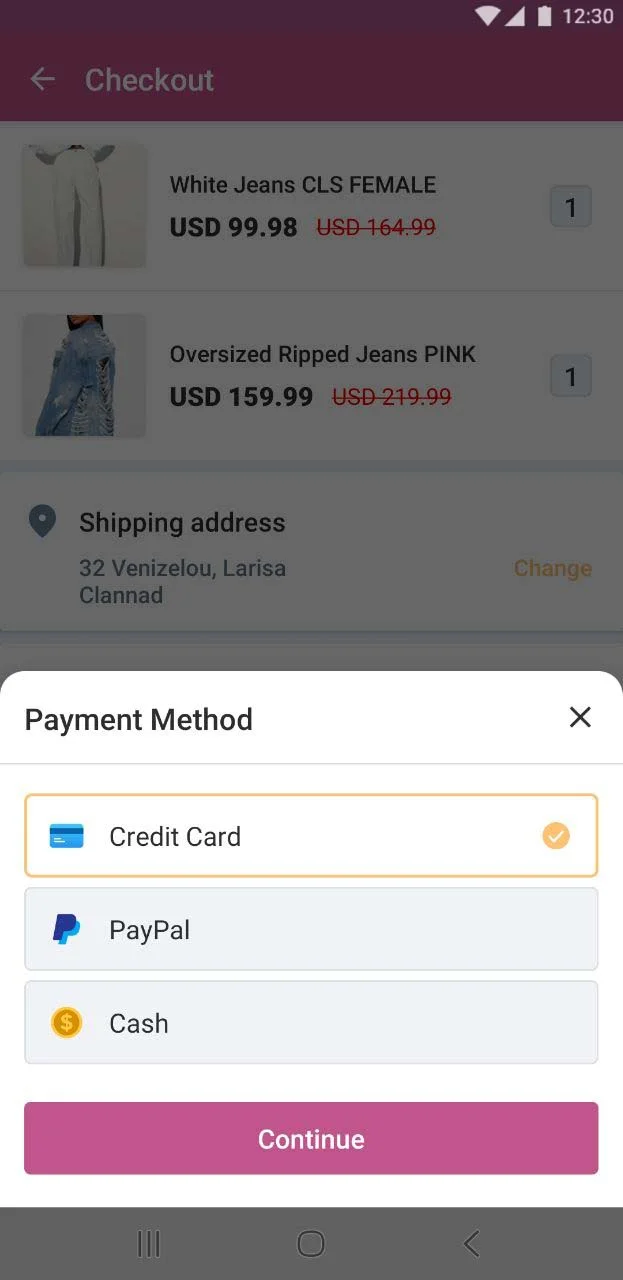
Go to the 'App Settings' page.

Scroll down to find the payment options.
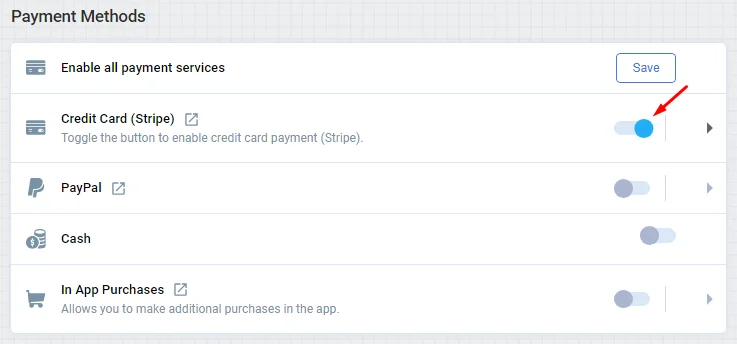
Credit Card
Users can pay with a credit card using one of the following payment gateways:
Stripe is one of the major payment gateways that will allow your customers to shop and buy your products using their credit or debit card.
Follow the steps in this article to integrate your app with Stripe.
Follow the steps in this article to integrate your app with PayPal.

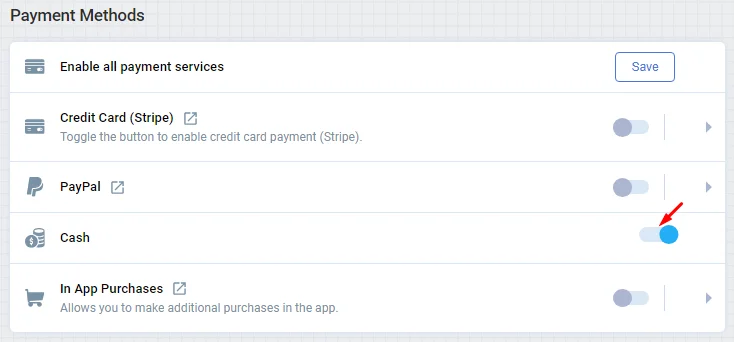
Cash
You can also enable the cash option.
In-App Purchases
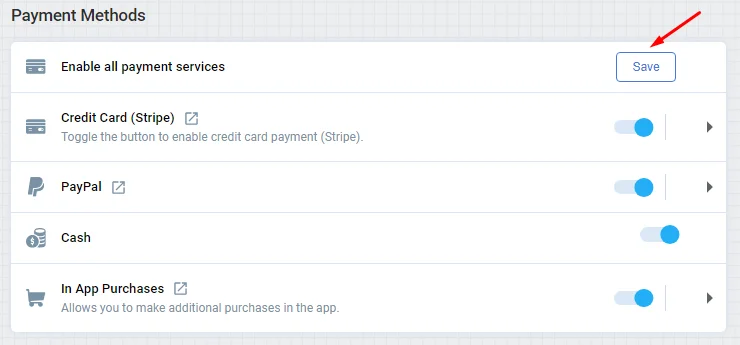
In-App purchases allow your customers to make additional purchases in your app. Follow the steps in this documentation to enable in-app purchases in your app.
You can enable them all by clicking the 'Save' button.
Updated about 1 year ago