
Smart Calendar Component helps the app owner easily add a fully functional scheduling program. This component gives a structured view of event planning, appointment booking, or handling a program agenda (ex: school calendar, trip information, etc.). You can make a calendar fit a specific booking or event by adding date and time slots, explaining the whole schedule, and keeping track of your availability.

This component is the best for Activity, School and any type of Services apps.
Included Feature
- Structured Event & Booking Agenda:
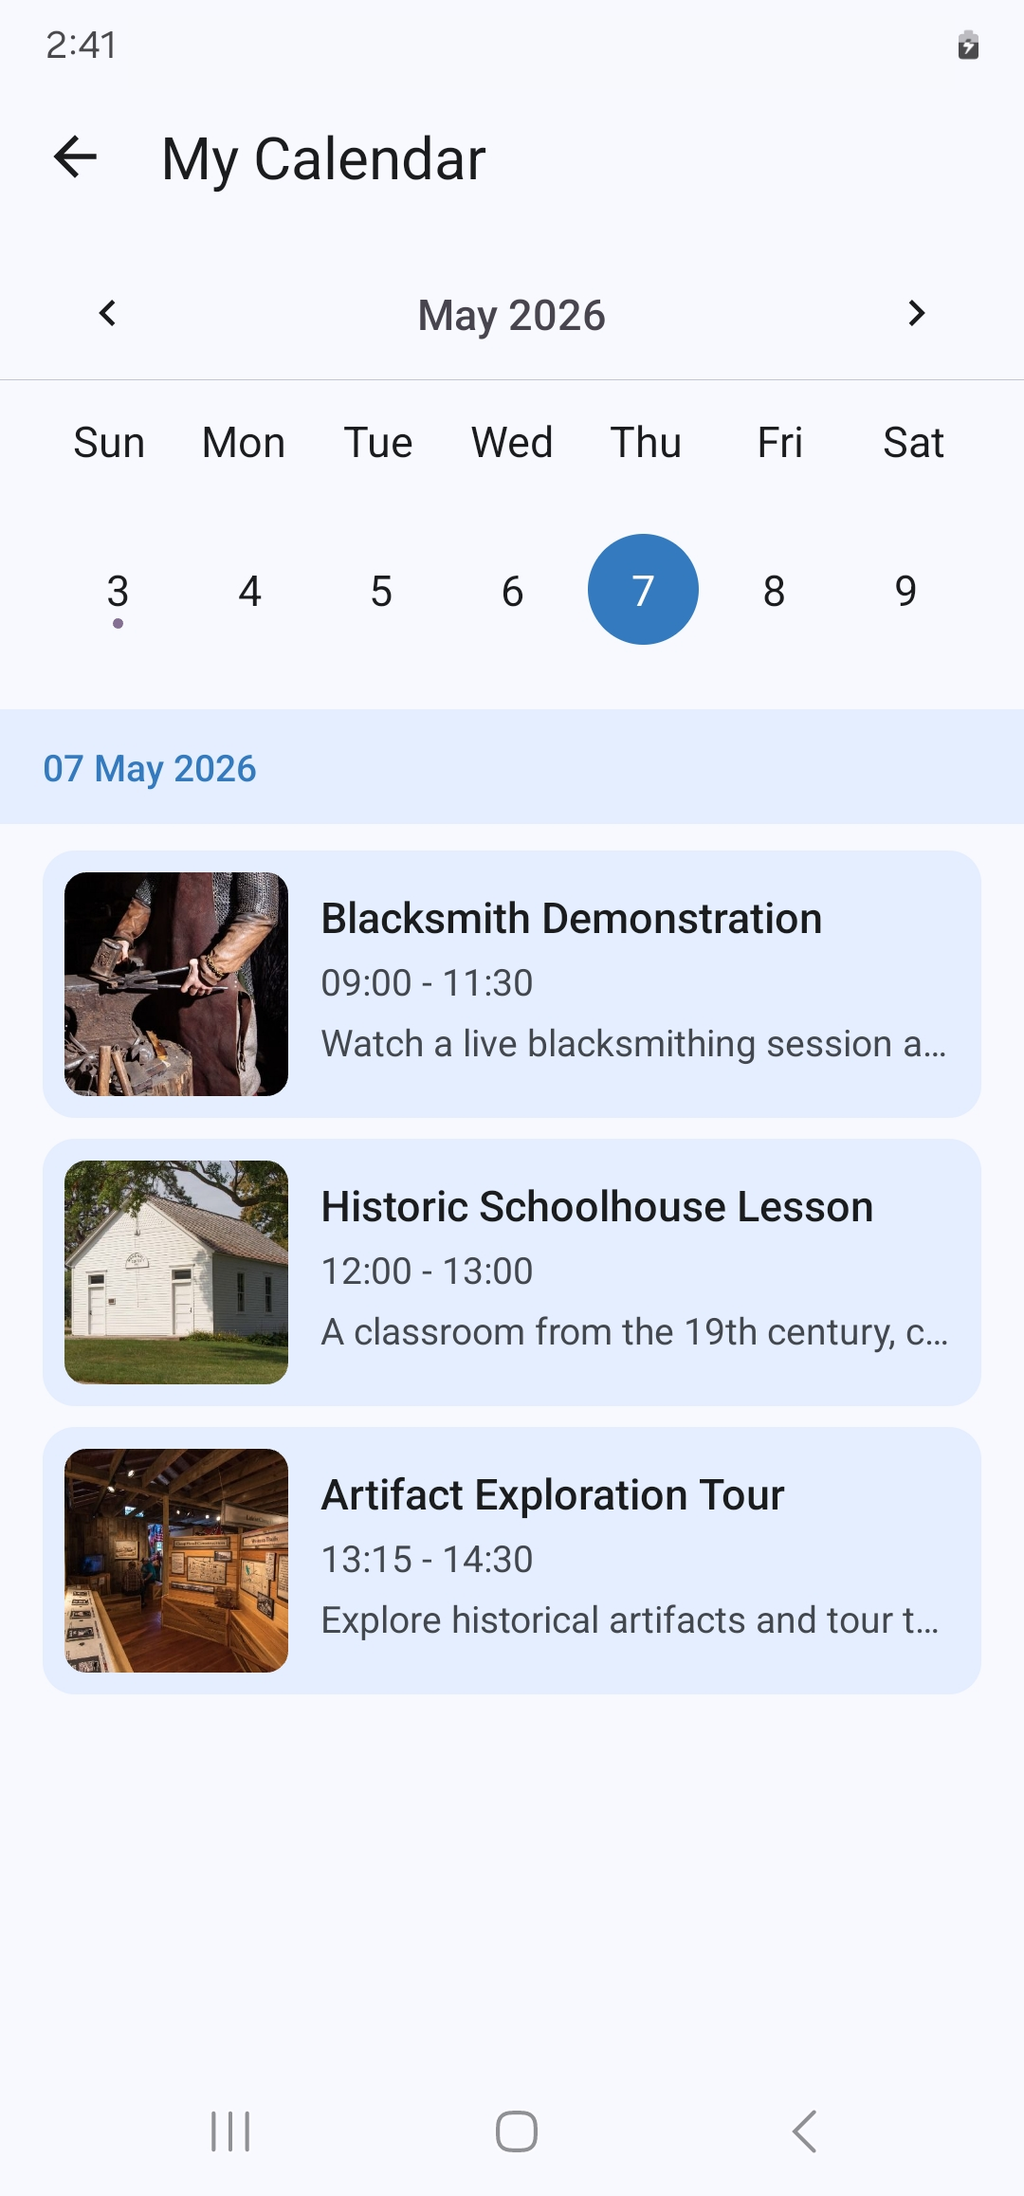
Set up and show a clear calendar of events or plans that are coming up so users can easily find their way around daily, weekly, or monthly schedules.
How To Install The Component
This component can be installed in:
- App's Navigation Page ✓
- App's Side Menu ✓
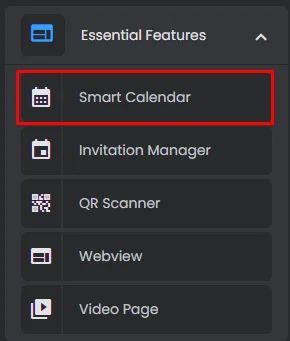
You can find the Smart Calendar component in the Essentials Features section. Click or drag and drop the component into your navigation or side menu to install it.
How To Configure The Component
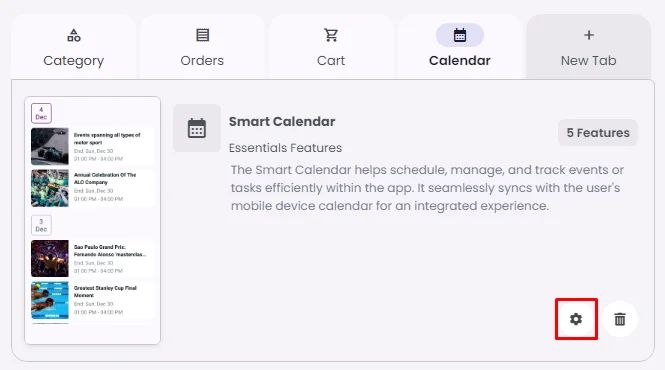
Click the gear icon to configure the component settings.
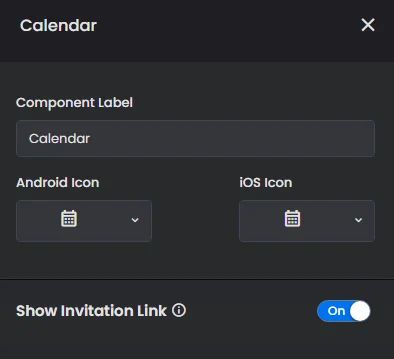
Rename the component and choose an Android and an iOS icon for it and you can switch the toggle on if you want to hide invitational links to be shown to users.
Create a Calendar
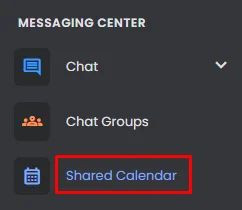
- From the admin menu, click ‘Shared Calendar’.
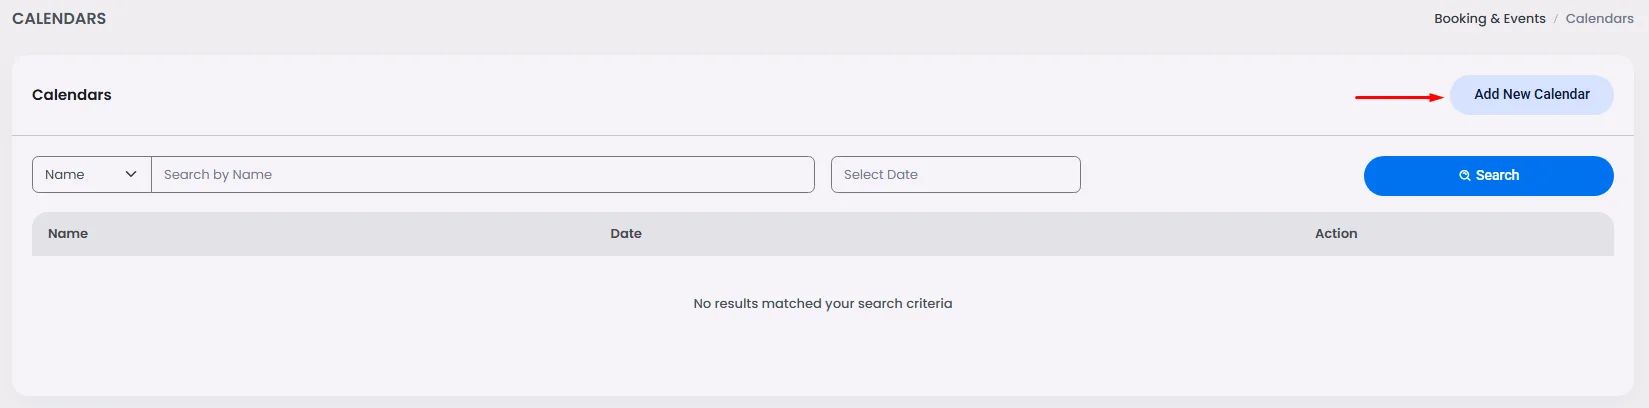
- Click ‘Add New Calendar.’
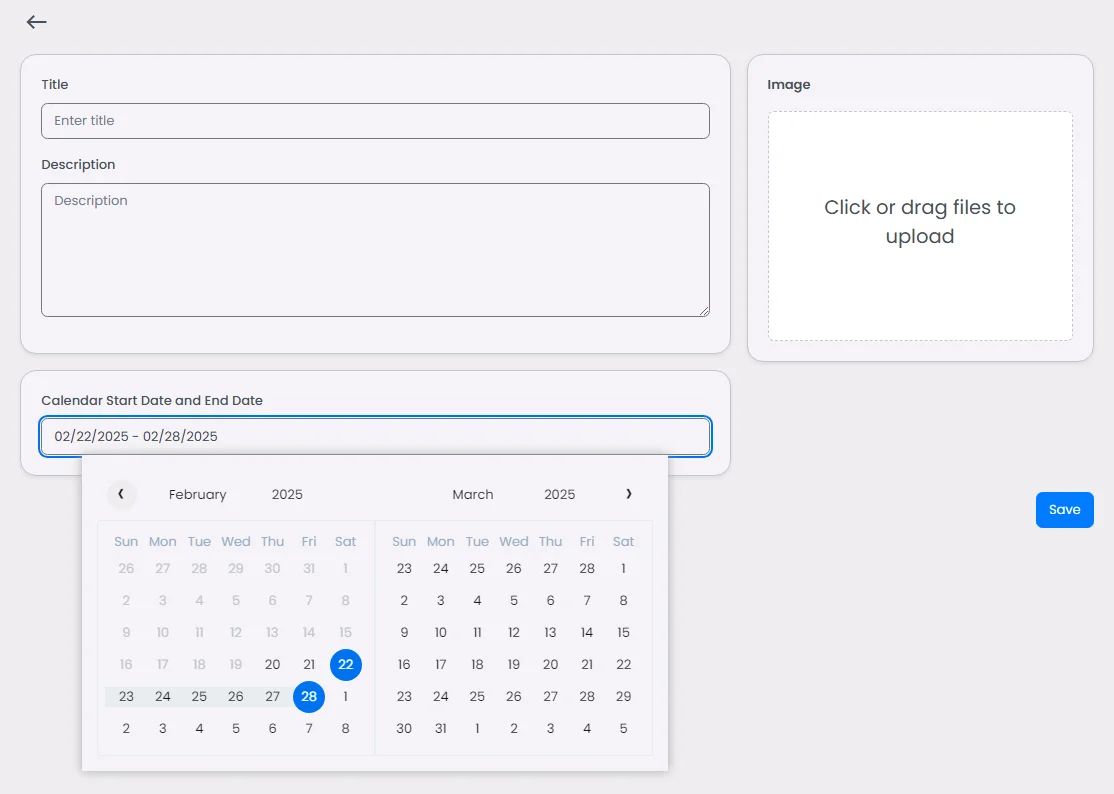
- A window will appear where you can enter your calendar name and description, the calendar's image and the day on which your activity will take place, running on the same day or from one day to the next.
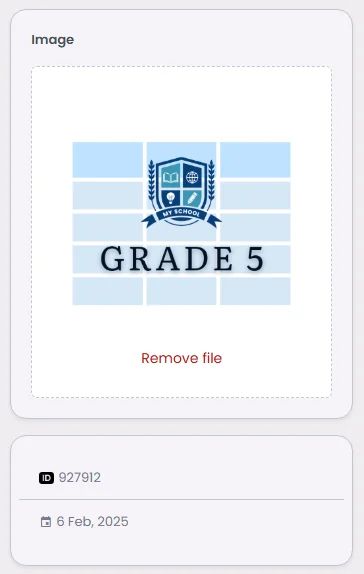
And when you save, an additional option will appear:
Below the calendar image, you’ll find the calendar’s created ID and date of creation.
Add the holidays included in the program.
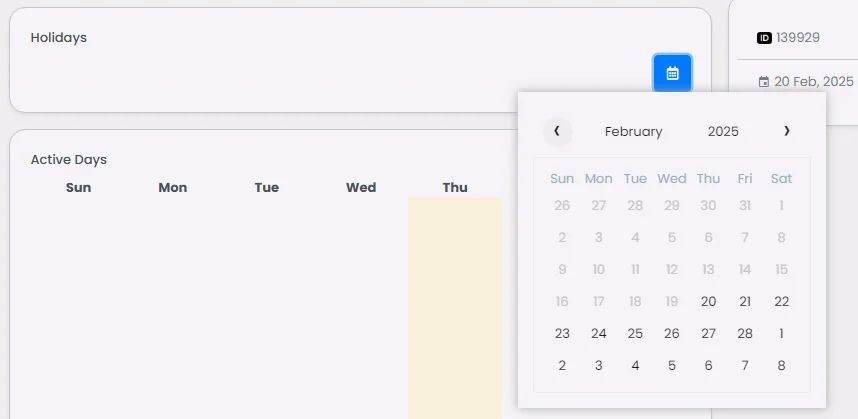
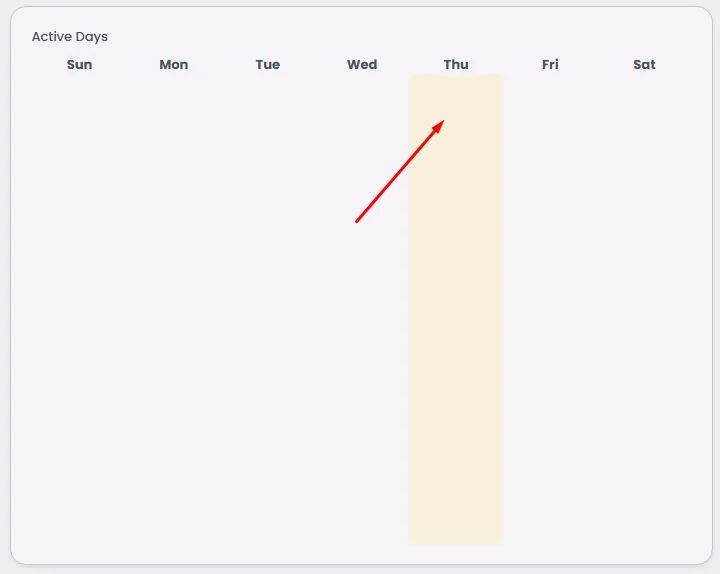
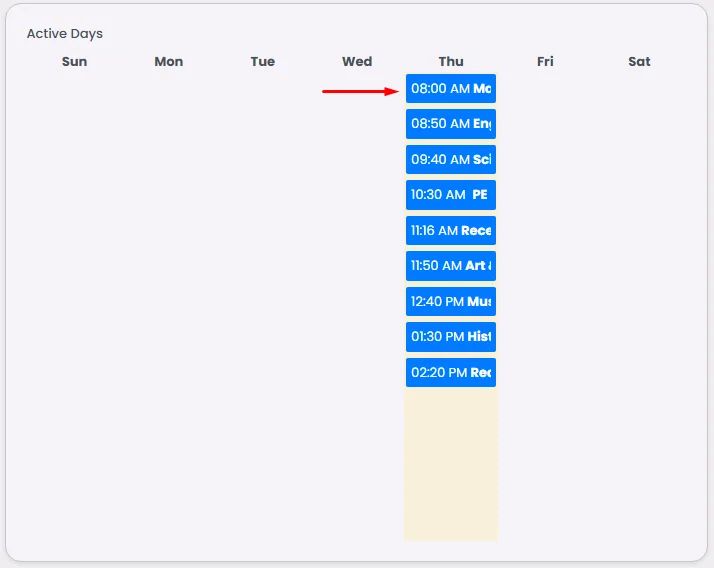
then choose each active day individually to begin adding the information of its activities:
Remember that if you choose a date, like December 20, 2025, you must choose the day that December 20th falls on, which is a Saturday.
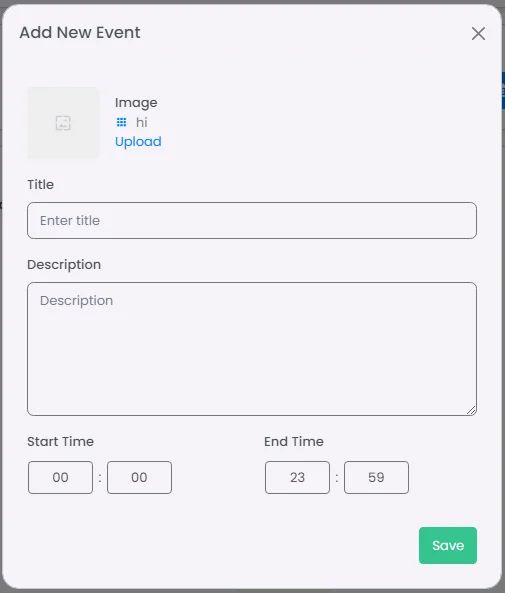
Add your activity or class image, title, description, and start and end time, then click ‘Save’.
If you have extra activities or classes on the same day, click the day again and repeat adding your information.
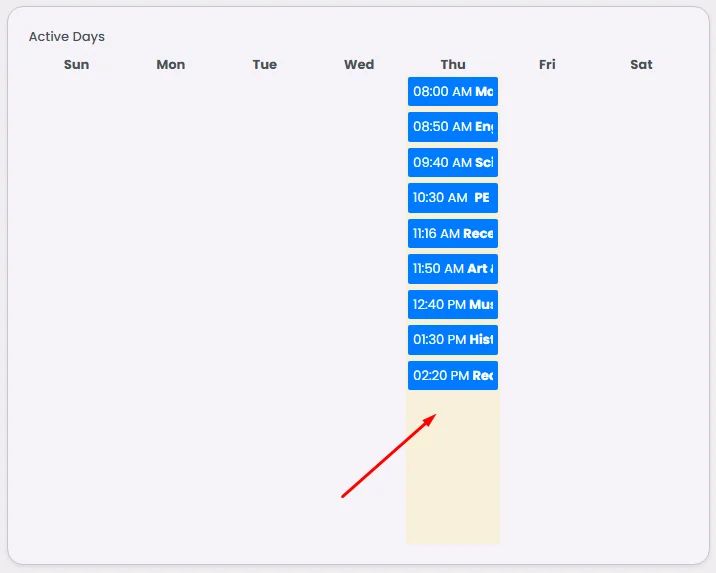
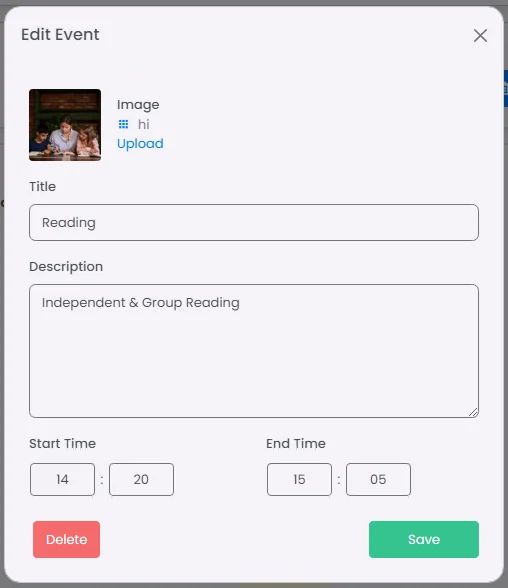
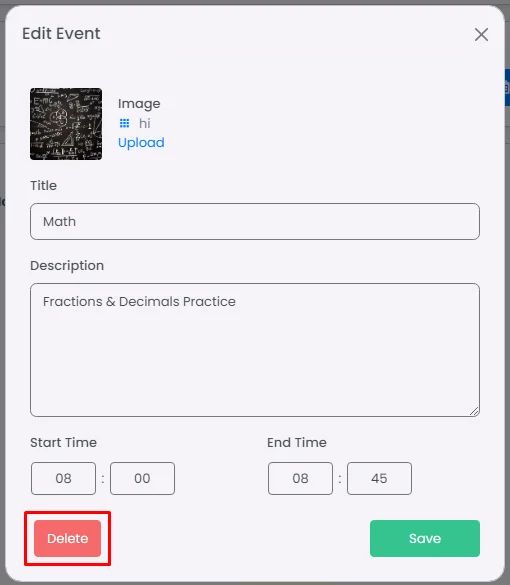
And if you want to edit a specific activity or event, click the activity slot.
You can edit or delete it by clicking ‘Delete’ as it will only delete the slot, not the whole day.
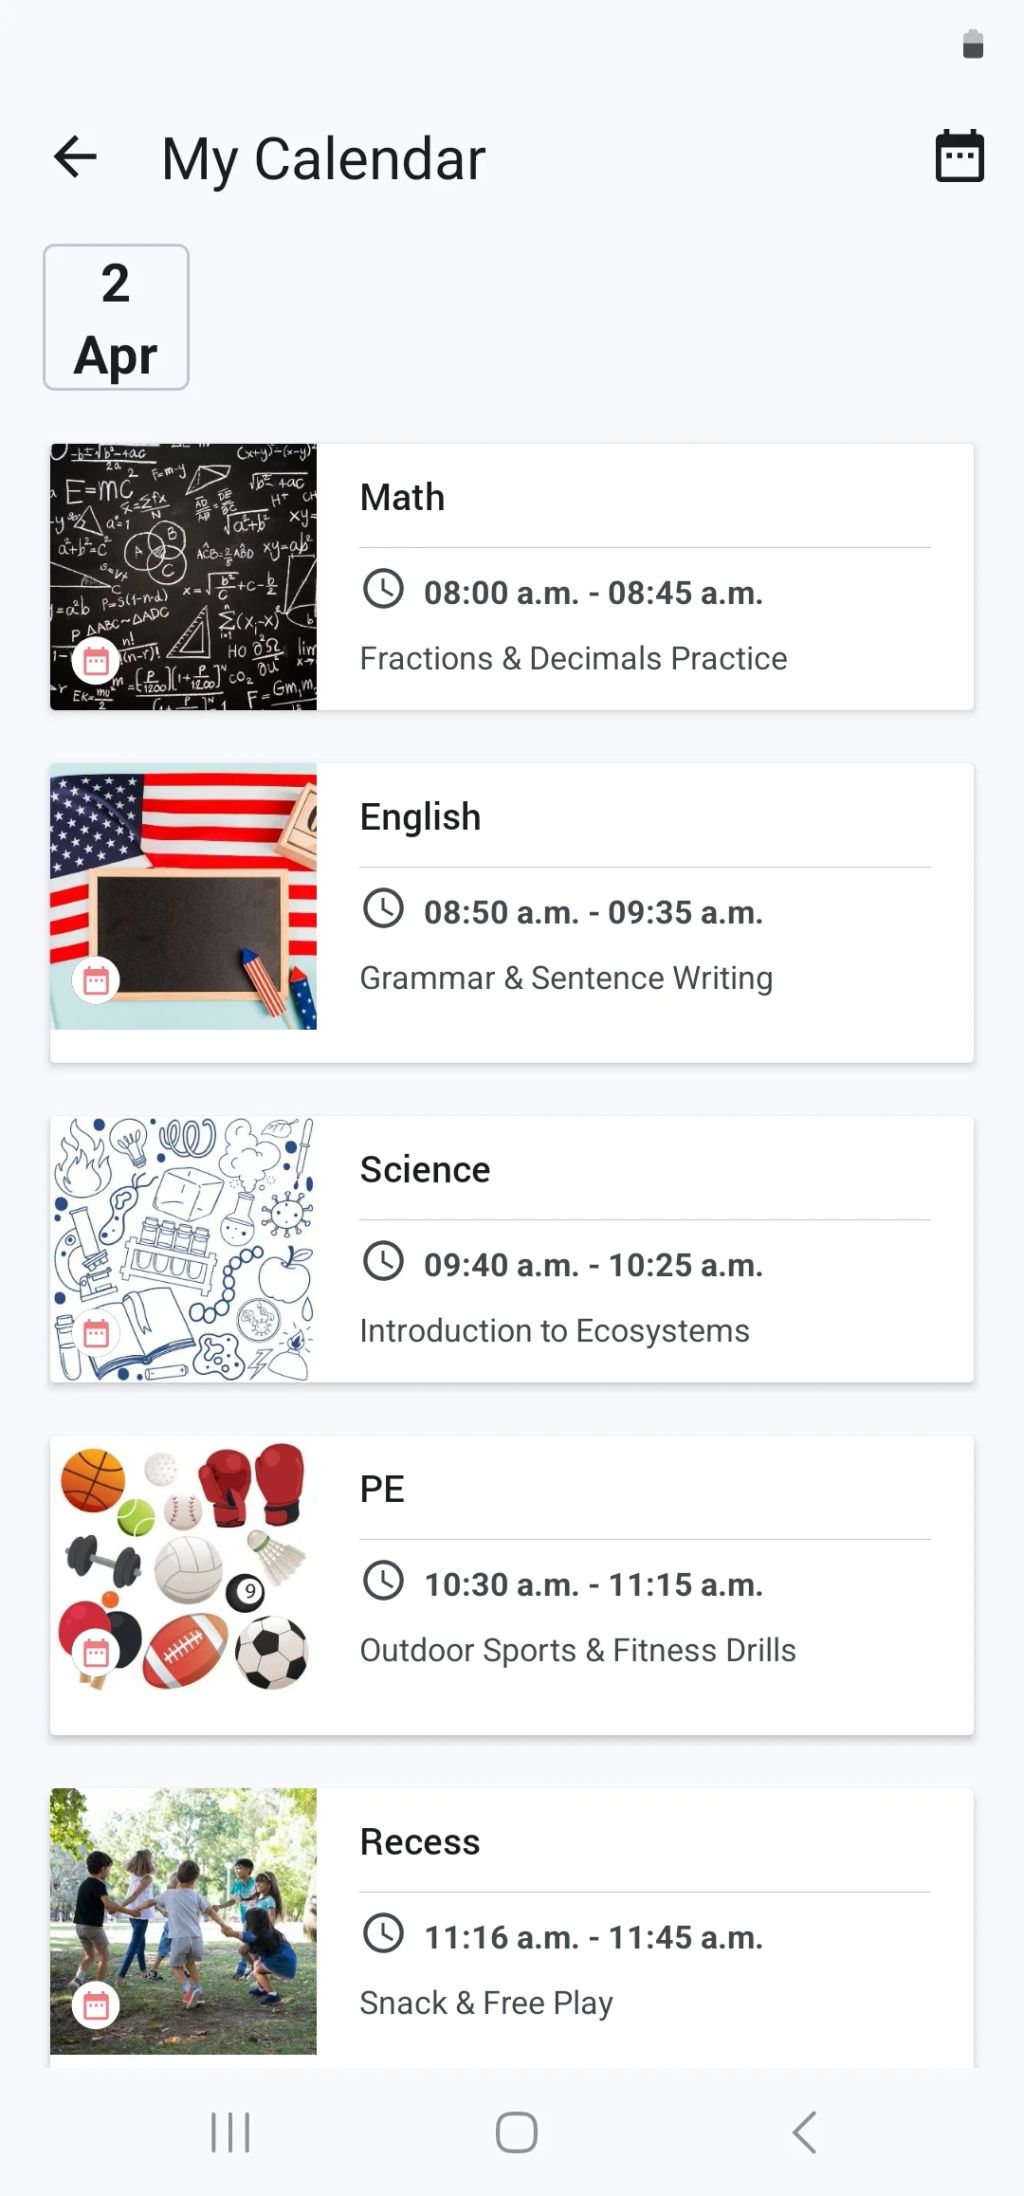
Click ‘Save,’ and the outcome will look like this:
Check out our posting feature to learn how to post a calendar.
Recommended Components
- Booking/Event Marketplace: Syncing this component with the user's calendar is essential for organizing the user's specific appointment or event.
❓ FAQs
Q: How can I add a smart calendar so users can view events, bookings, or appointments in my app—without writing any code?
A: You can easily add a calendar view, show upcoming events and bookings, and manage everything visually using the Smart Calendar component in nandbox. It gives your users a clean, interactive calendar where they can explore scheduled activities directly in your app—no coding needed.
Q: What does the Smart Calendar do?
The Smart Calendar makes it simple to:
- Display a month-view calendar in your app
- Show colored indicators on dates with events, bookings, or appointments
- Let users tap on a date to see related items or details
- Enable easy navigation between months
- Connect calendar dates to booking slots, event details, or custom calendar
It’s perfect for apps that need a clean, date-based way to organize and present information.
Q: How do I add and set up the Smart Calendar?
- Open your nandbox builder and navigate to the screen where you want the calendar.
- Drag and drop the Smart Calendar component into your layout.
- Customize its settings:
- Add a title (e.g., “My Calendar” or “Upcoming Events”)
- Upload an icon to match your app’s theme
- Save your layout—the calendar is now live and interactive in your app.