

Click 'Add.’

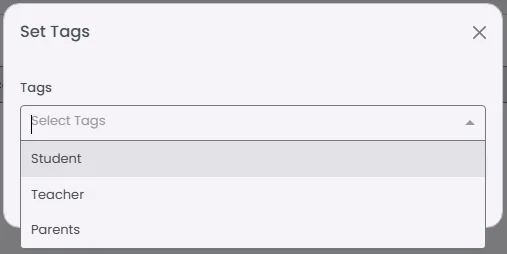
Enter the tag name and description and choose whether you want it to be a private tag or not, then click ‘Add.’


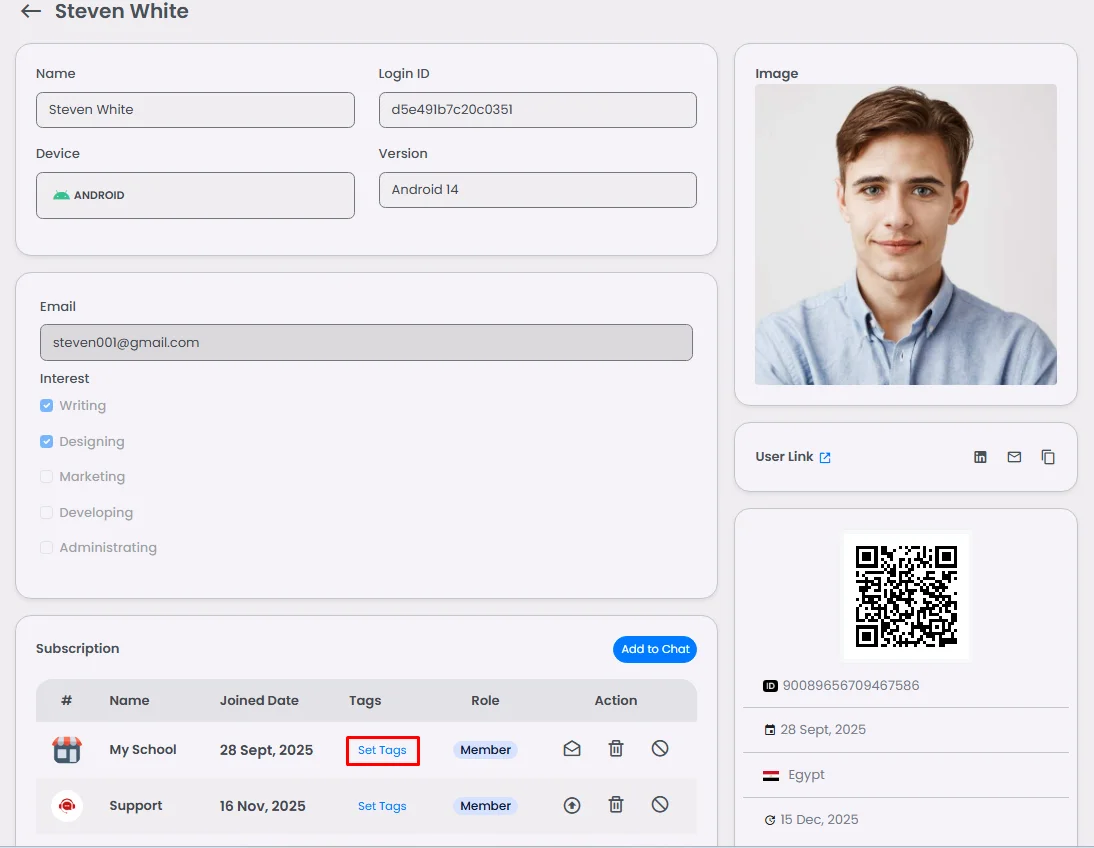
And assign these tags to users according to their roles.
Learn more about User Management
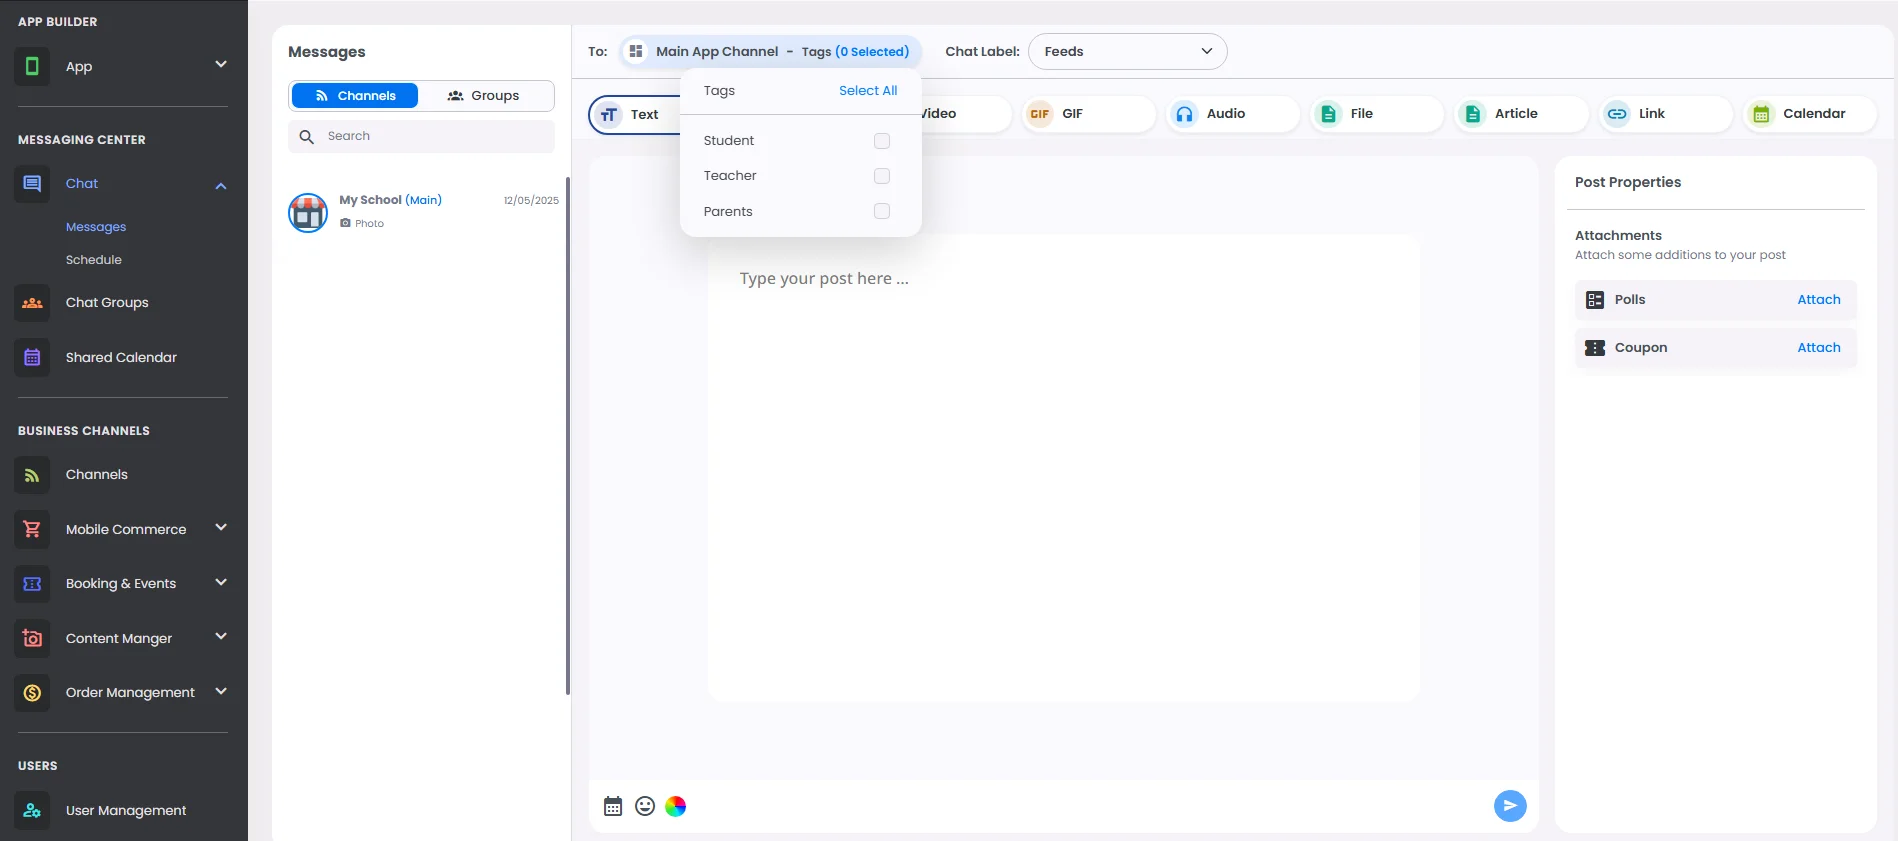
Now you can send a post with a specific tag; just select the right tag or select them all.
You can control what elements are to be shown in your custom component by assigning tags to these elements.
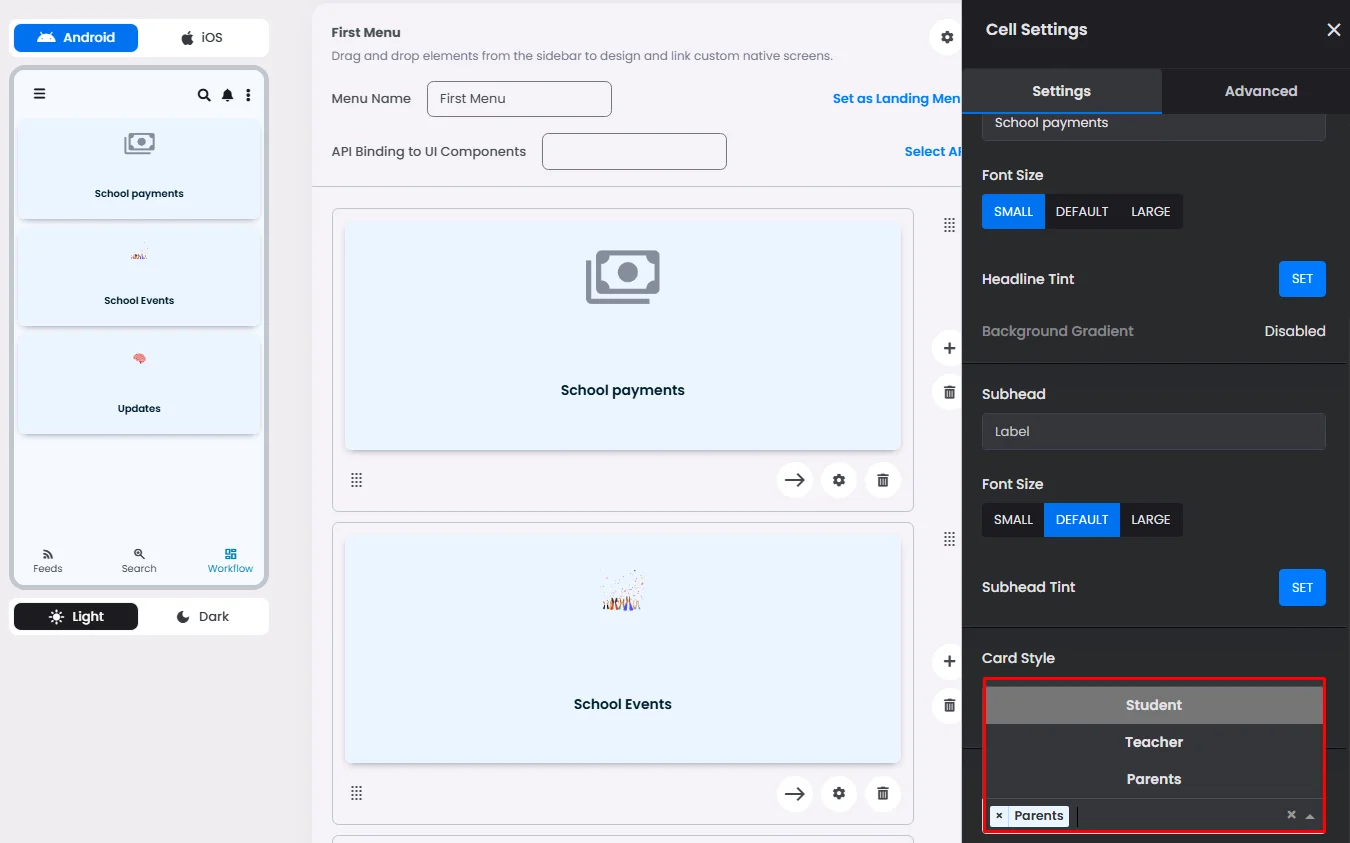
And control what components are to be shown by assigning tags to them.

❓ FAQs
Q: How can I create and use tags to organize or target users in my app without writing any code?
A: You can easily group and manage users in your app using nandbox’s User Tags—no coding required. Tags help you organize users into segments (like “VIP Customers” or “Newsletter Subscribers”) so you can send targeted messages, filter actions, or run personalized campaigns.
You can even choose whether tags are private (visible only to admins) or public (viewable by users).
Q: What can I do with User Tags?
With User Tags, you can:
- Create custom tags to group users by interest, behavior, or role
- Decide if a tag is private (admin-only) or public (users can see it)
- Send targeted messages to specific groups of tagged users
- Filter and segment users to personalize their experience
- Run special campaigns for audiences with certain tags
Perfect for keeping your app organized and tailoring communication to each group.
Q: How do I create a user tag?
- Go to your admin panel → Settings → User Tags
- Click ‘Add New Tag’
- Enter:
- Tag Name (e.g., “Premium Member”)
- Description (to remind you what the tag is for)
- Choose the tag’s visibility:
- Private: Only admins can see it
- Public: Users can see their assigned tags
- Click Save
Once saved, you can assign tags to users and start using them for messages, filters, and campaigns.