
With the Content feature, you can empower your app with dynamic, customizable content that goes beyond static pages. App owners can create and manage a wide range of content types—including audio files, images, videos, external URLs, and locations—all from a centralized dashboard.
Once content is created, it can be easily displayed to users. This allows for a clean, structured presentation of the content within the app—ideal for portfolios, media libraries, directory listings, or promotional feeds.
There’s no limit to the number of content items you can create, and each piece of content can be enriched with titles, descriptions, tags, and visuals to enhance discoverability and user engagement.
Whether you're building an app for events, media sharing, travel, or e-learning, the Content Manager provides a flexible solution for curating and showcasing multimedia content in an organized, user-friendly format.
How To Create Content
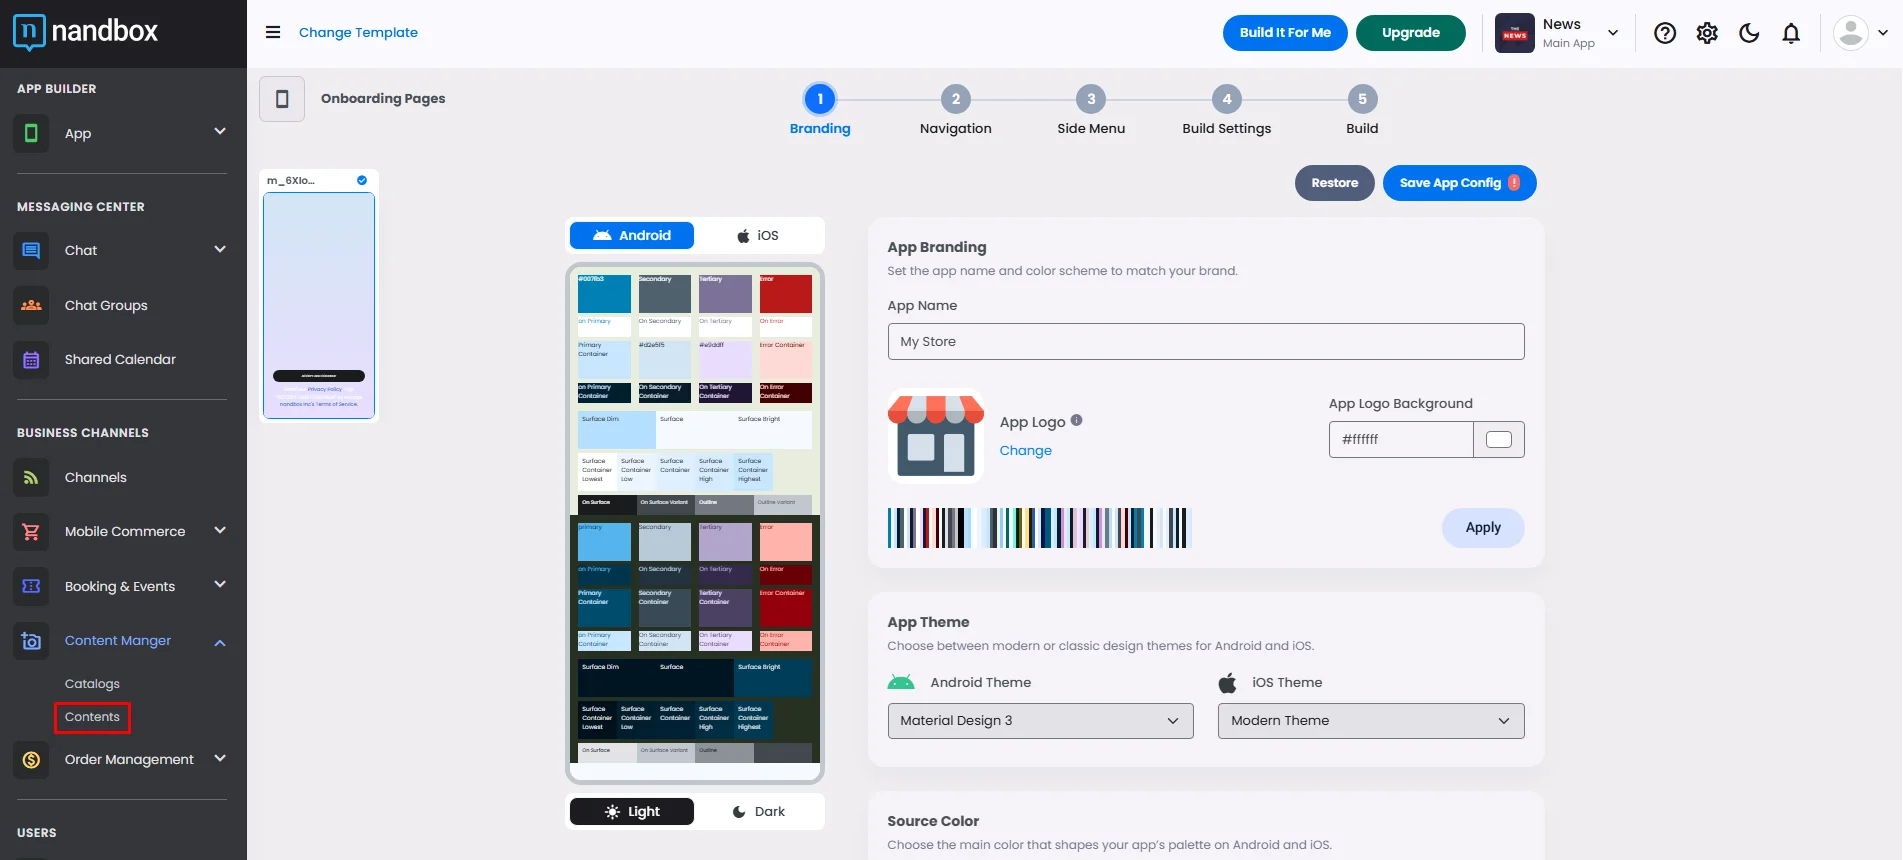
From the admin menu, go to the Content Manager section and click ‘Content.’
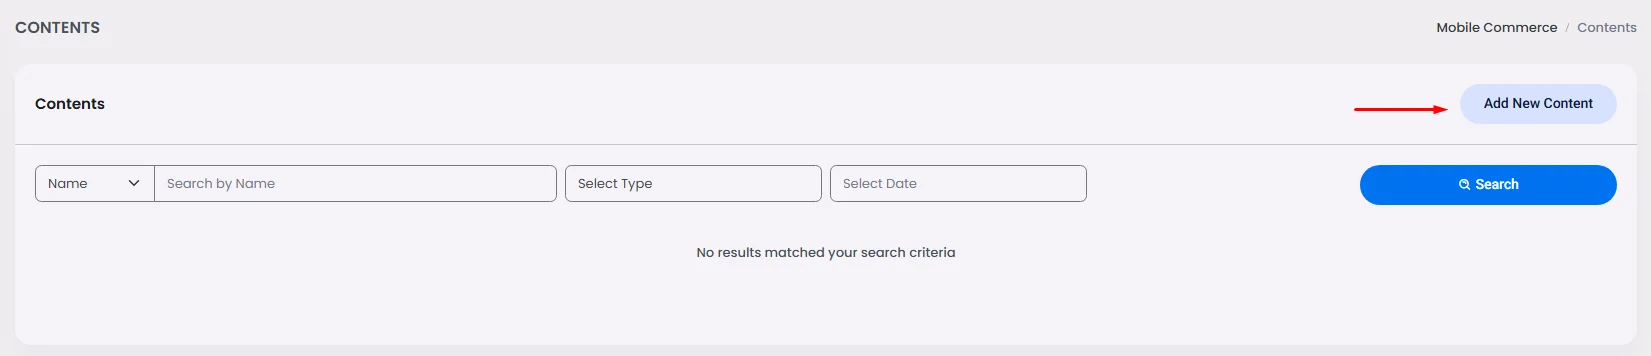
Click ‘Add New Content.’
First, select the type of content you want to show: Image, Audio, Video, URL or Location.
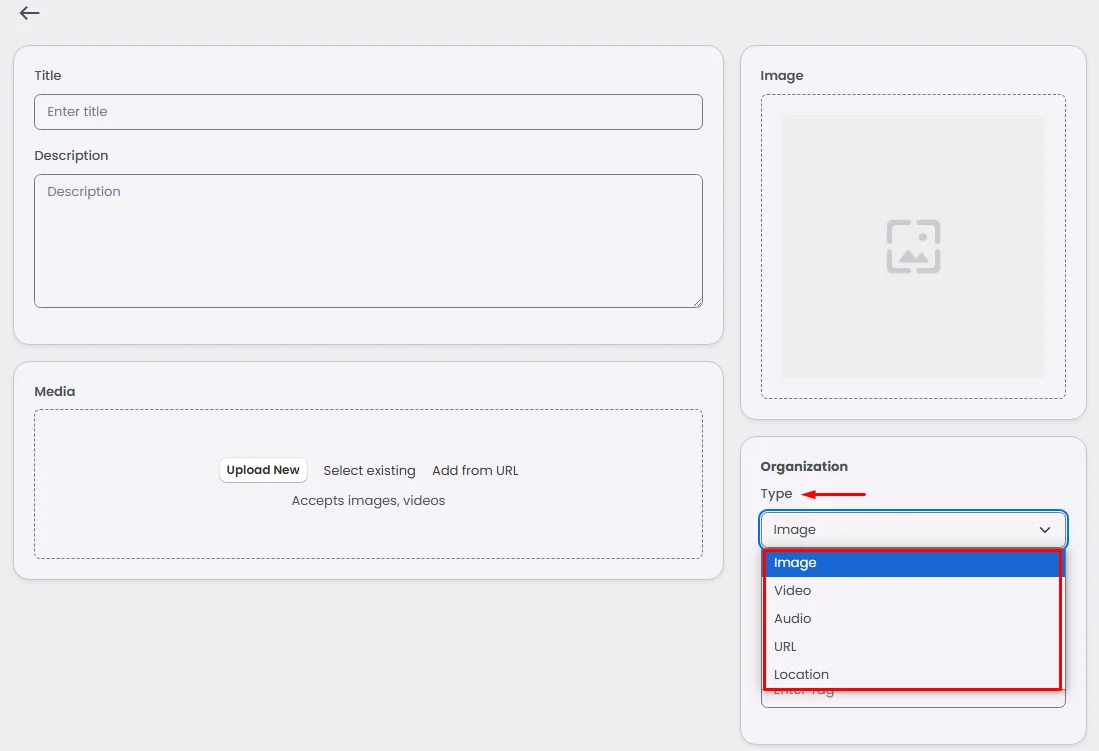
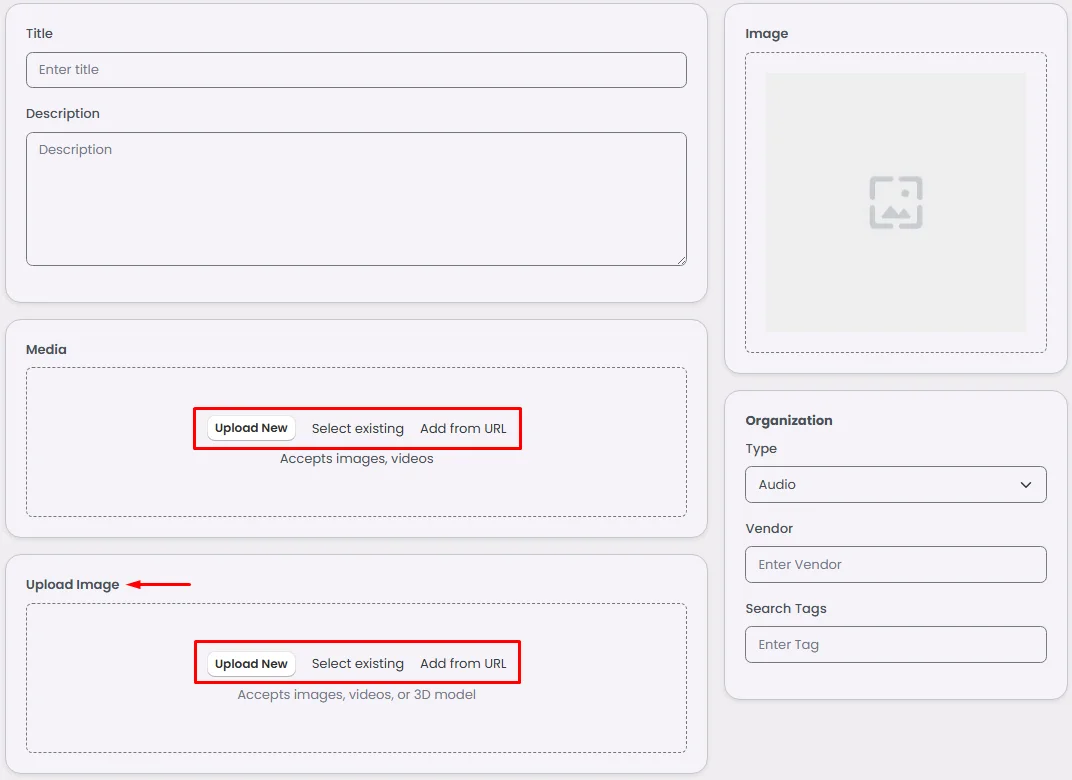
- Image:
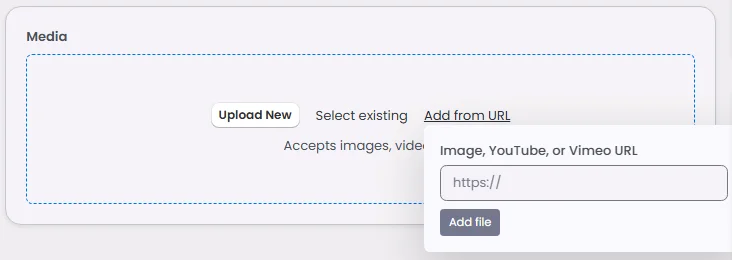
Add your image’s title and description. You have three options to upload an image:
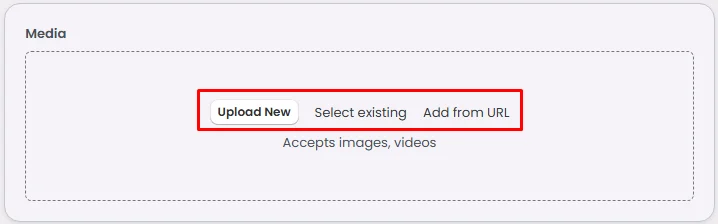
- Upload an image from your desktop
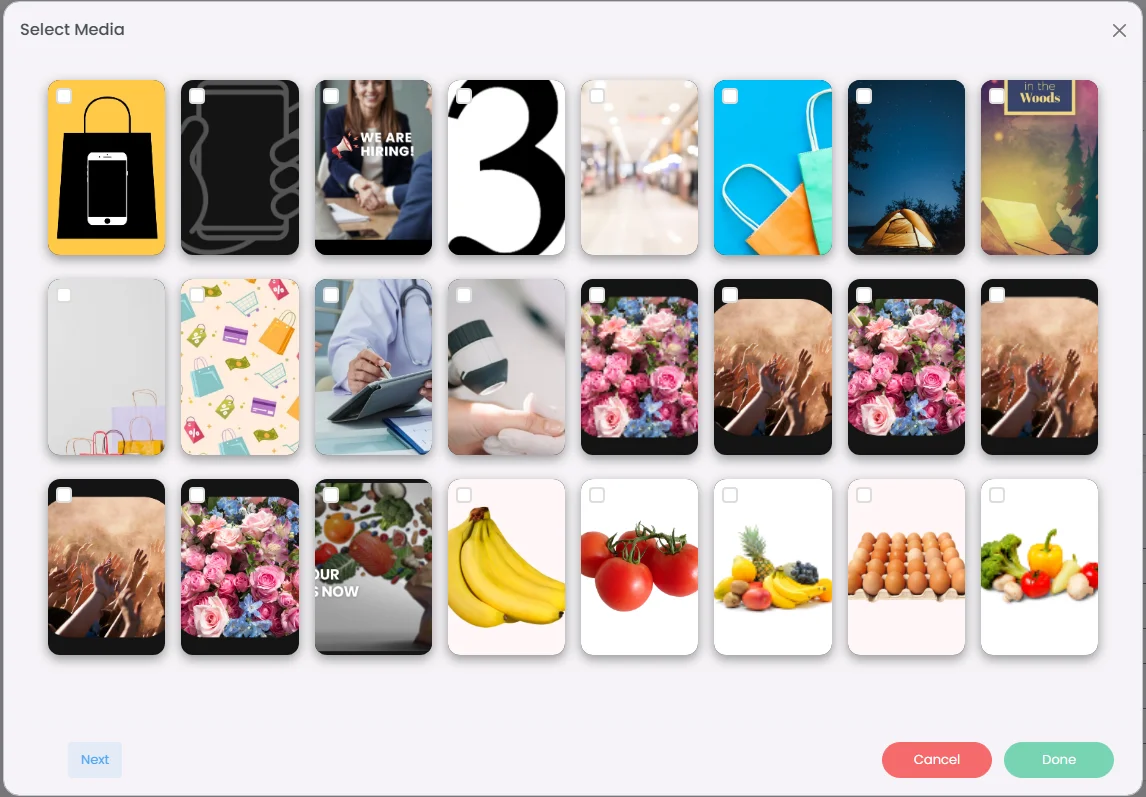
- Select an existing image that has been uploaded before on your app builder
- Add your image URL.
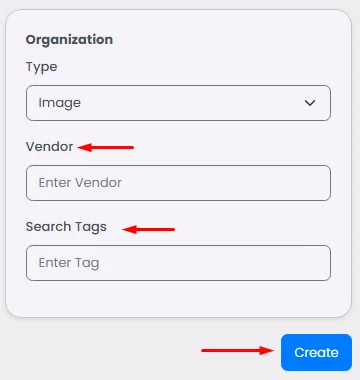
Add your vendor and search tag, then click ‘Create.’
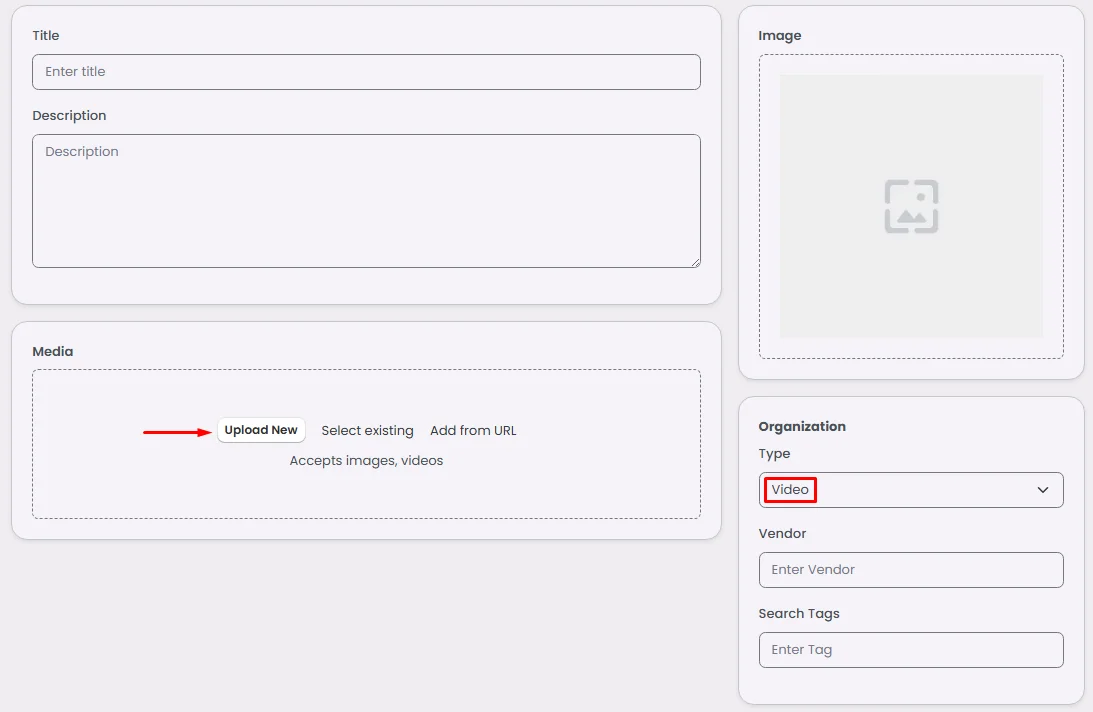
- Video:
The same applies to video; Make sure to upload one.
- Audio
The same applies to audio; please ensure that you upload both your audio file and an accompanying image for it.
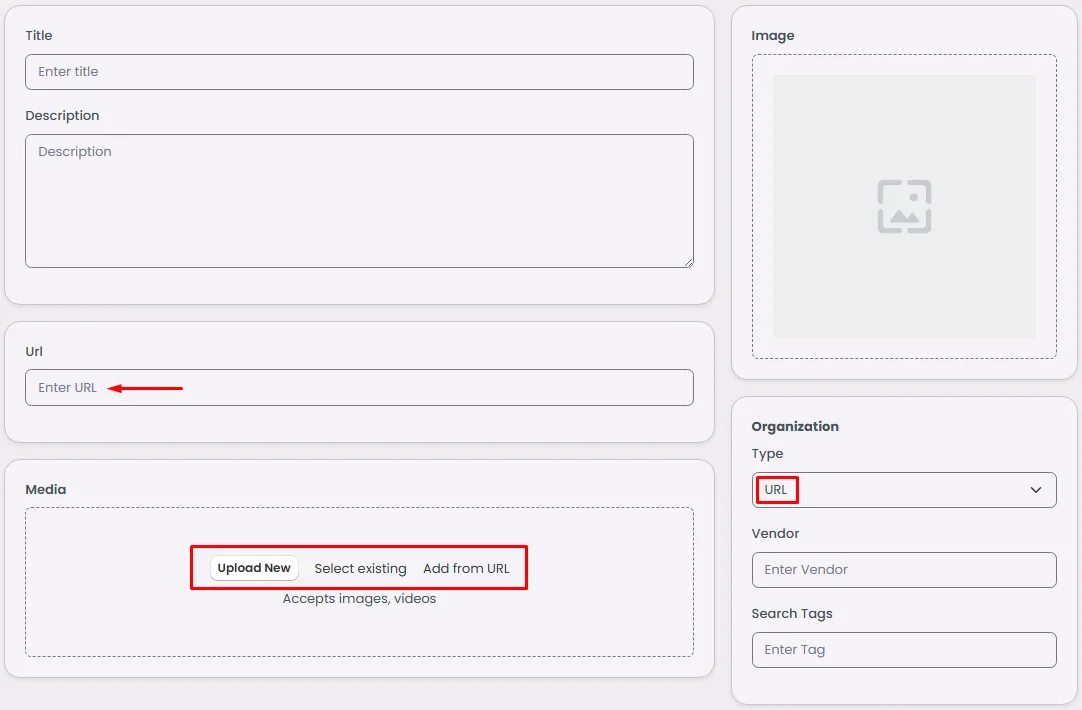
- URL
The same applies to URL; Add your URL and an accompanying image for it.
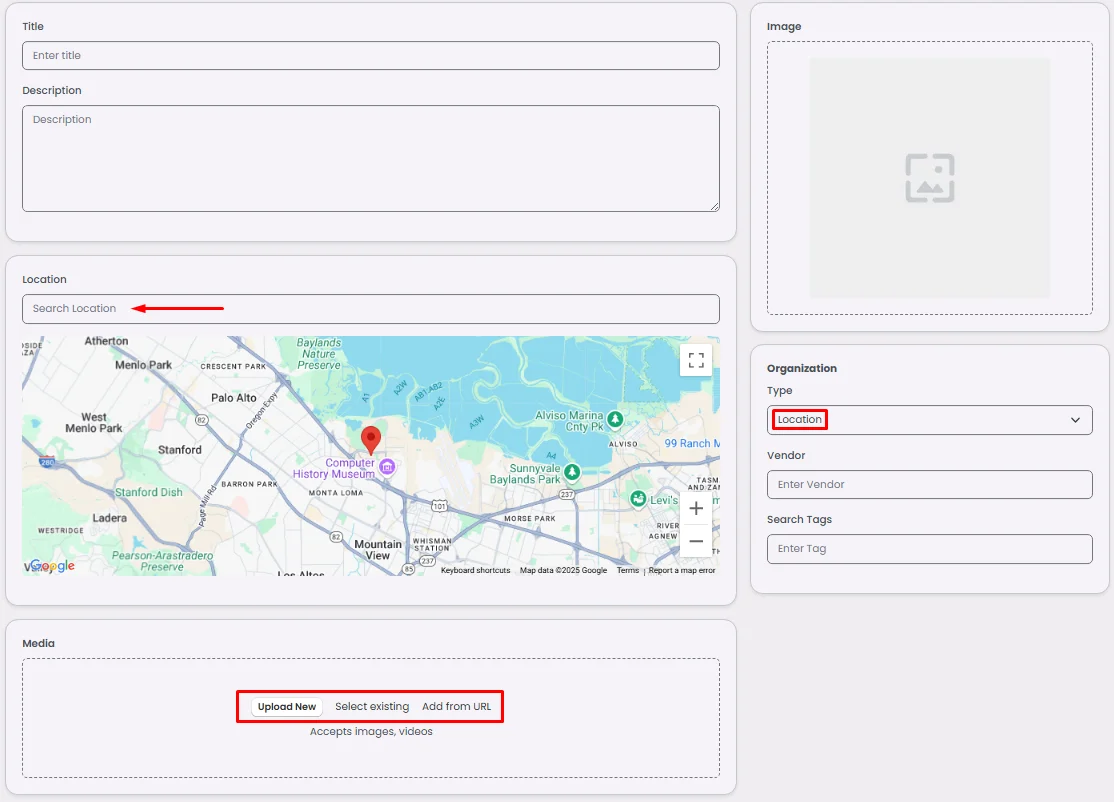
- Location
The same applies to location; Add your location and an accompanying image for it.
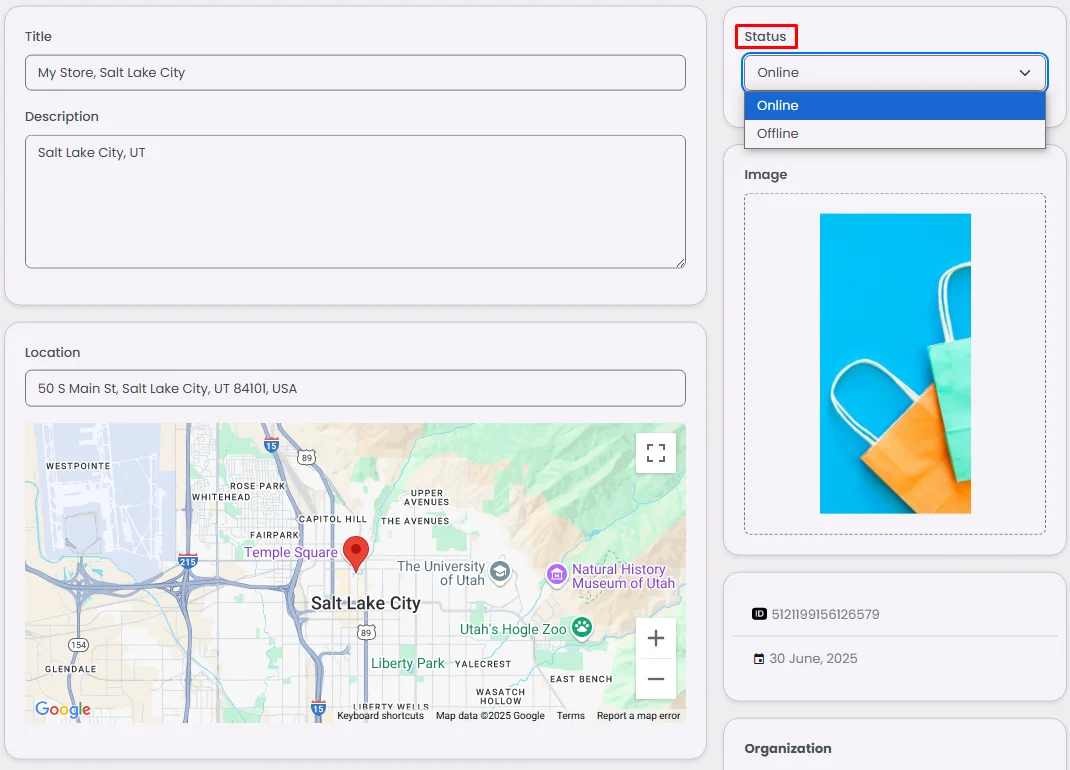
When you click create, choose your content status: online or offline (shown or hidden to your app users).
Actionable Content
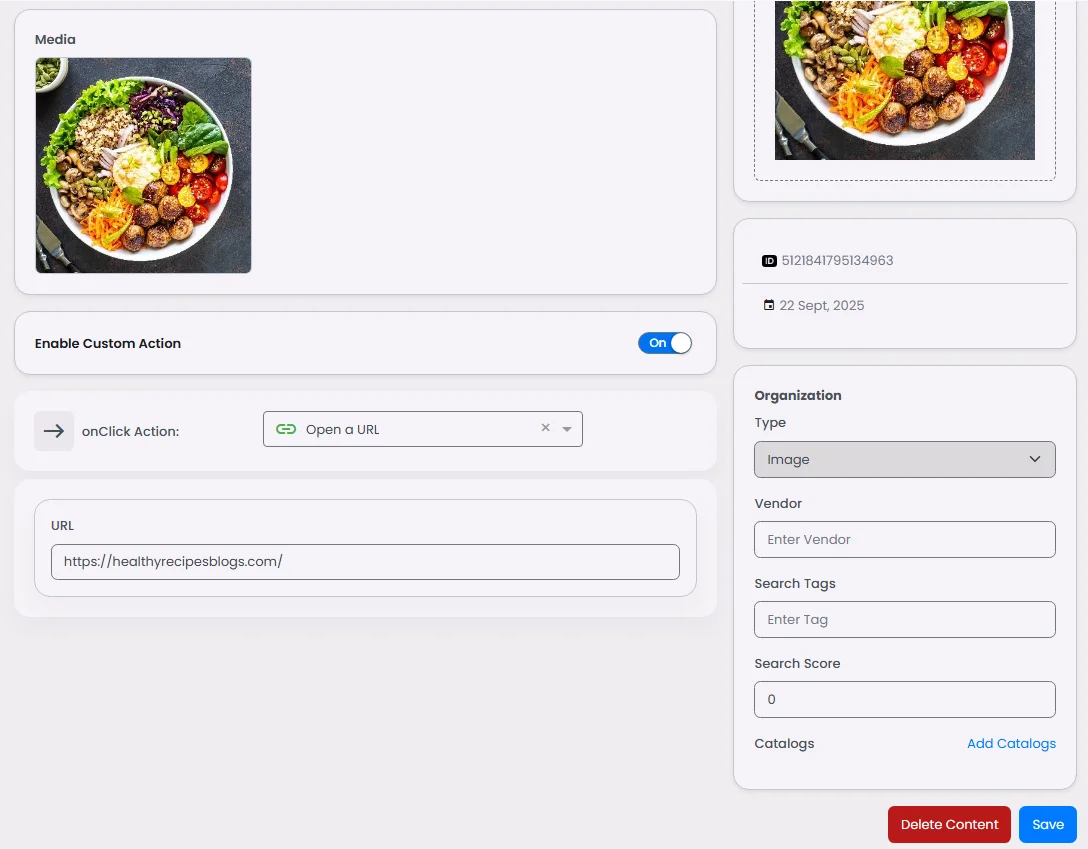
Another use of content creation is that you can, for instance, make an image into clickable information that will take you to another action.
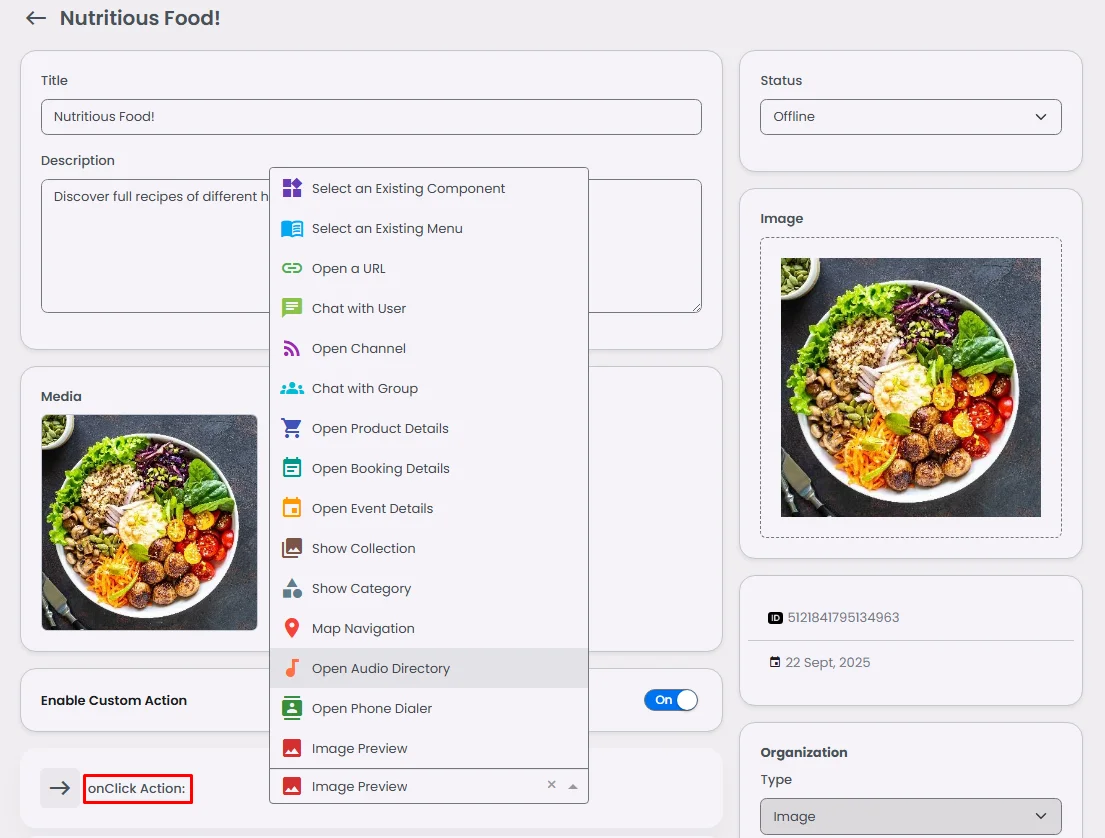
When you save your content, additional option will appear as ‘Enable Custom Action.’
Turn the toggle on.

And you will have multiple actions to choose from.
You can learn more about Actions (onClick) to understand every option.
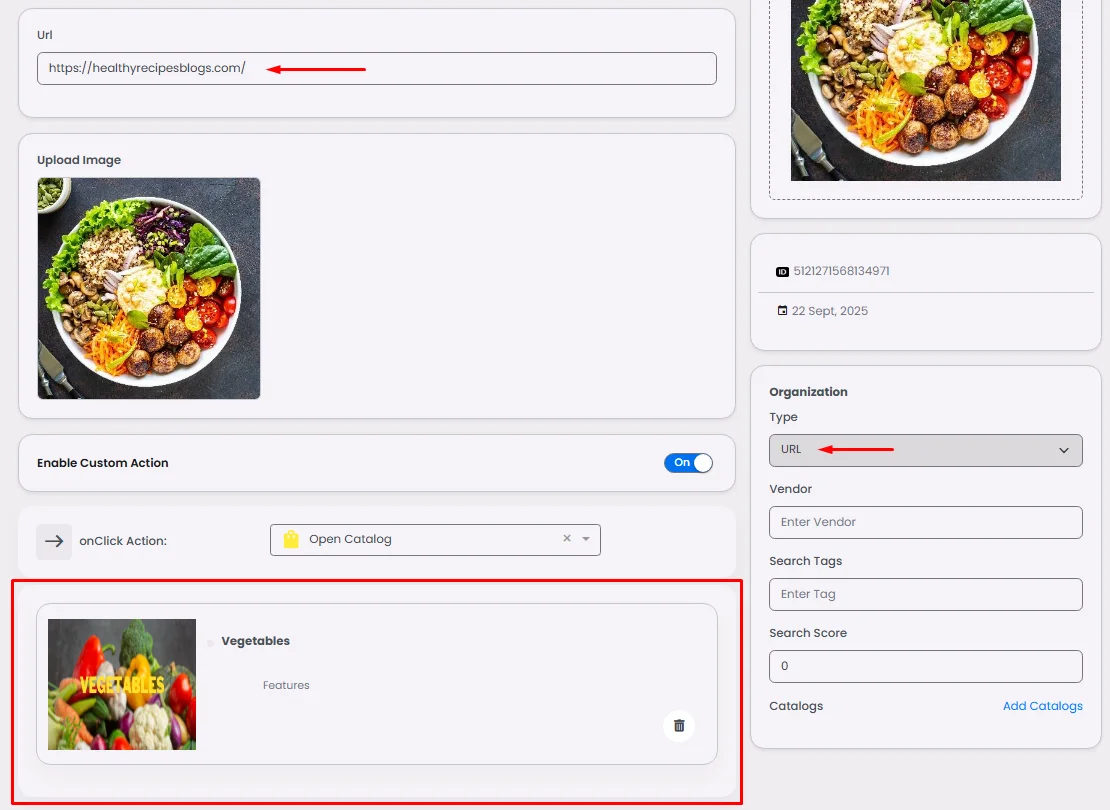
Priority will be given to the custom action if you have already put both options into practice, such as when you made a URL and enabled the custom action.
Showcase Content with List View
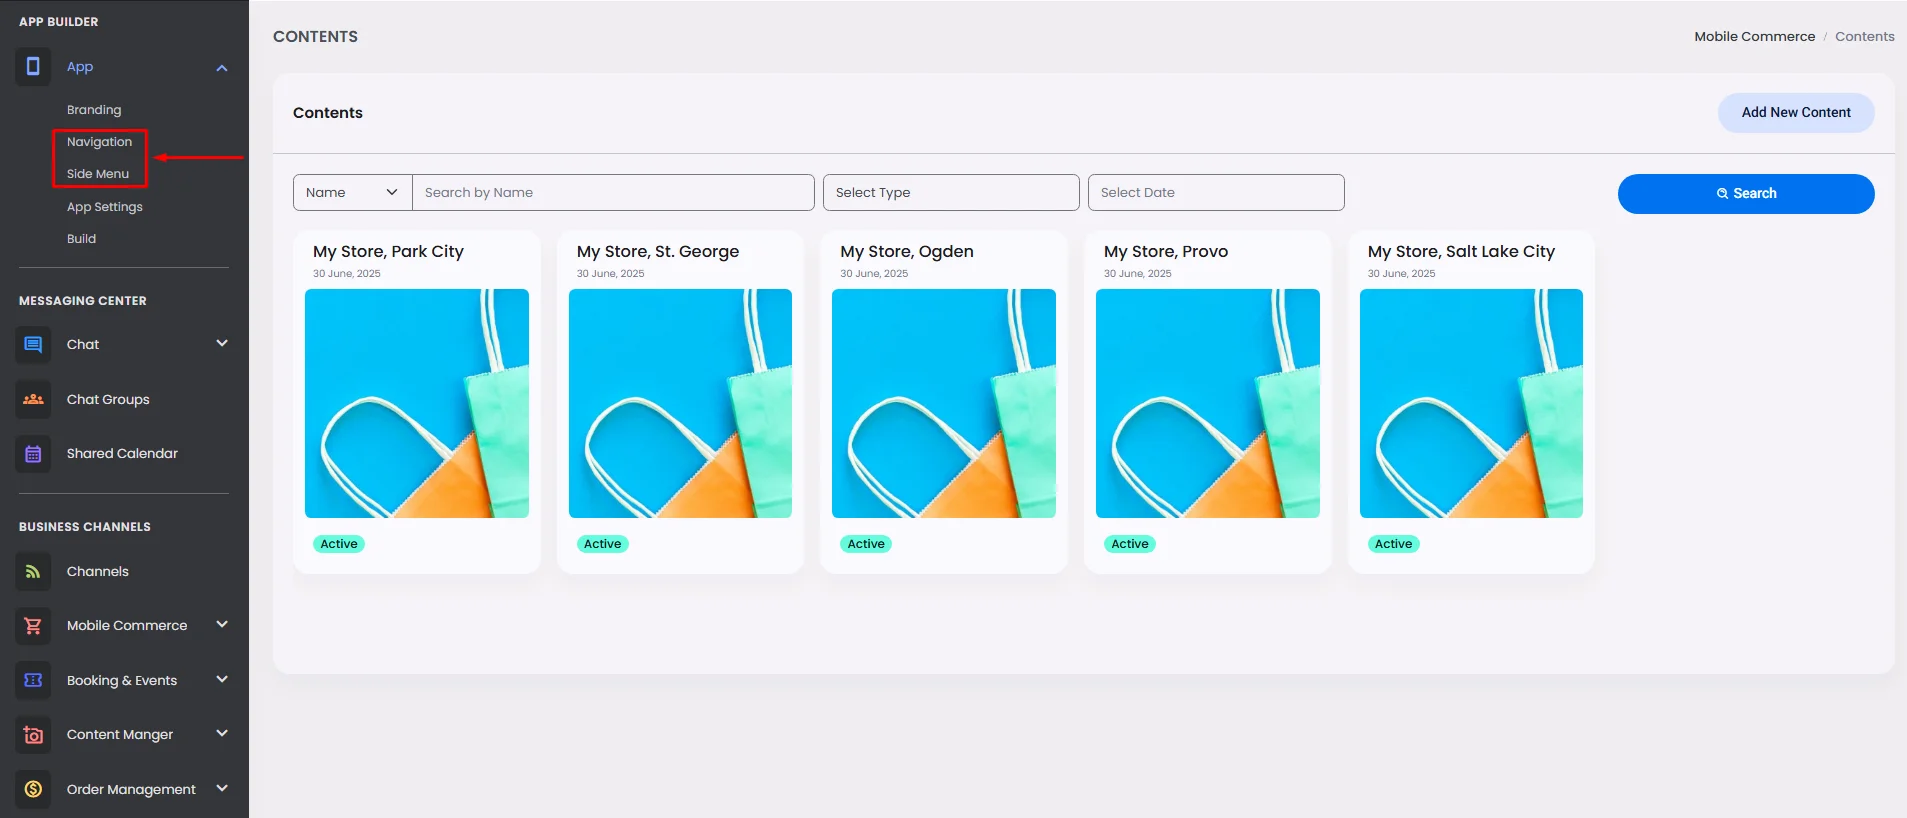
Go to your navigation or side menu page once you have finished creating your content.
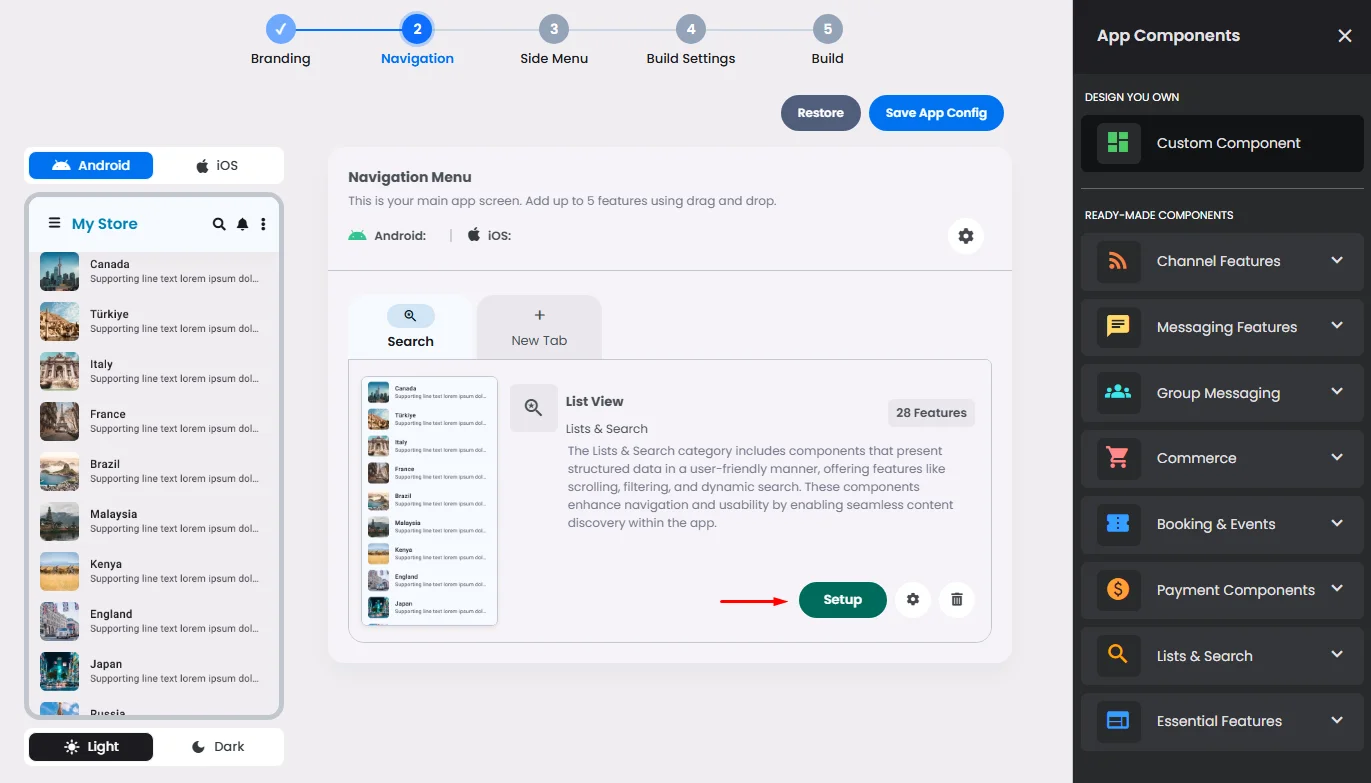
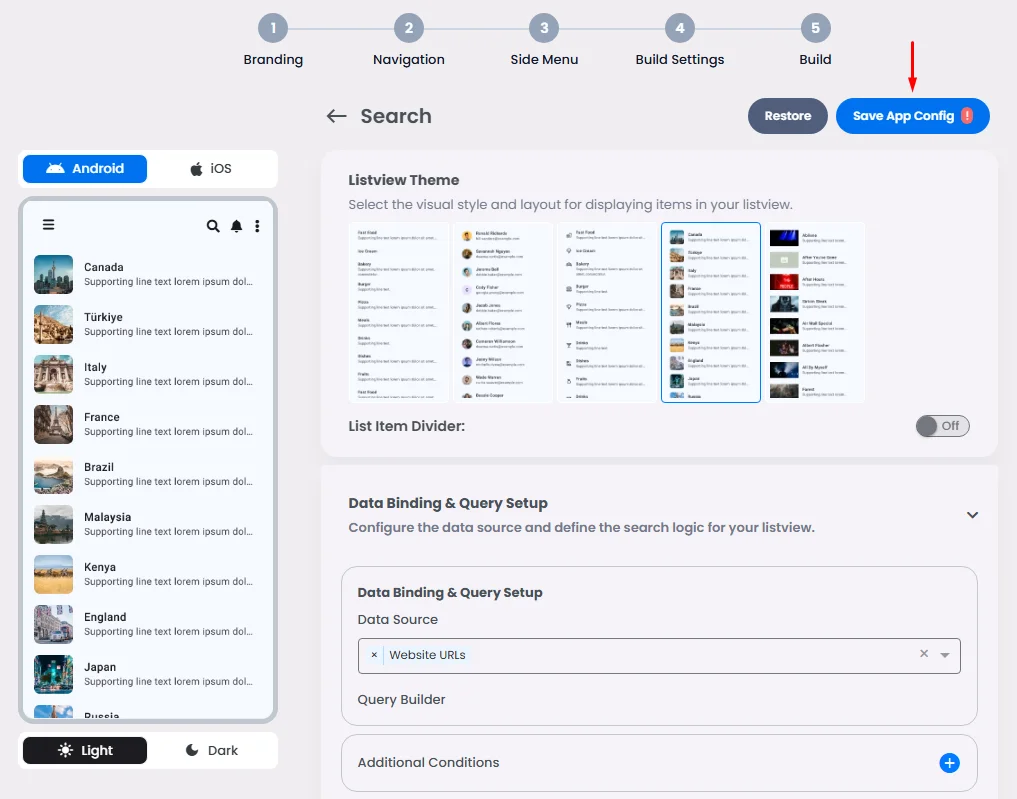
Drag and drop or click the List View component and click ‘Setup.’
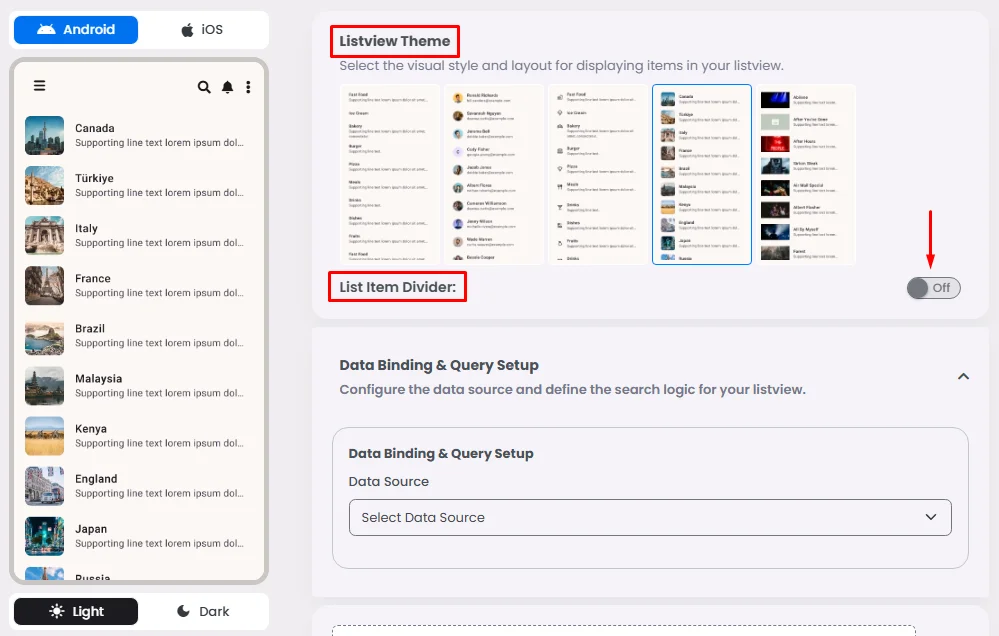
Choose your favorite theme and a divider (separator) between your listed content.
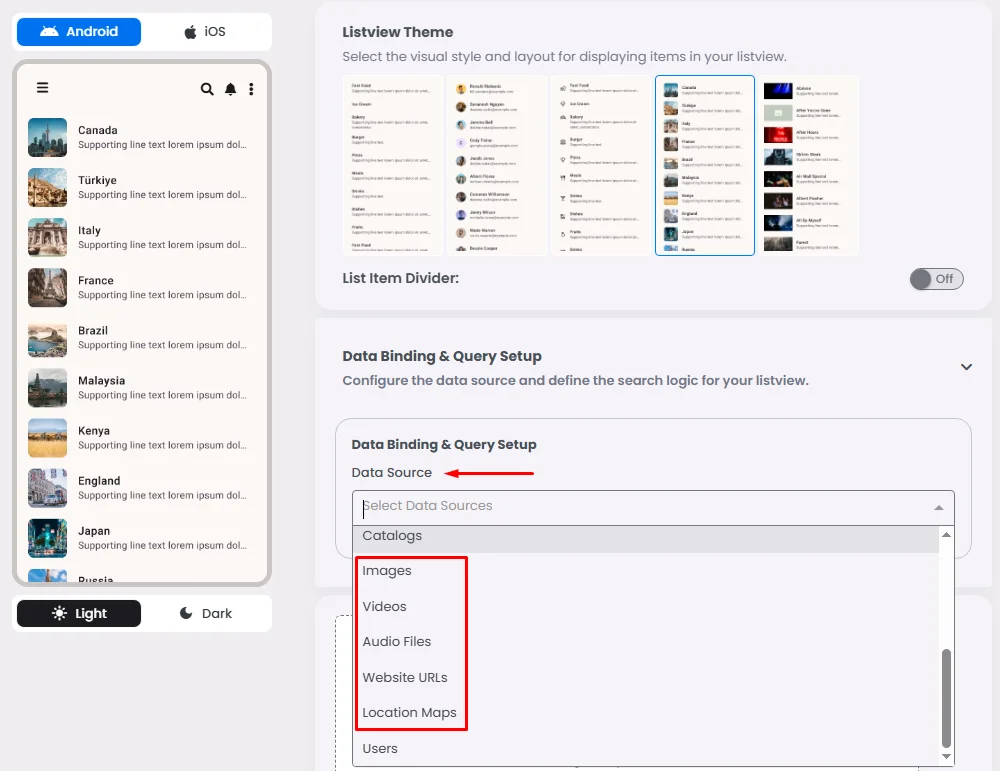
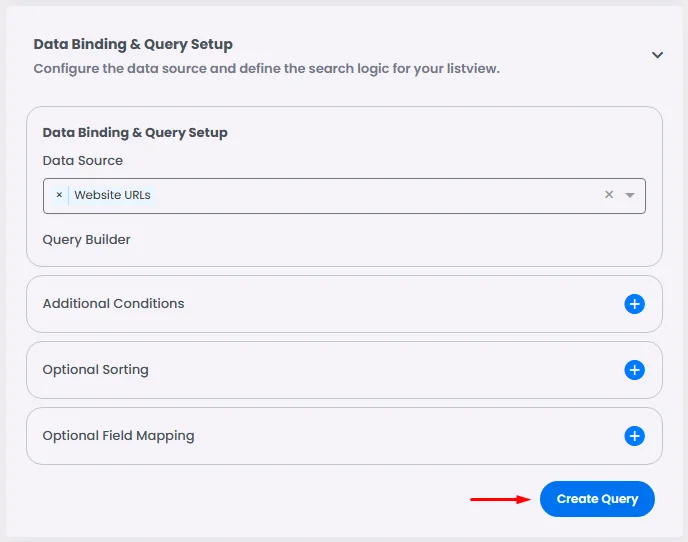
Go to the data source section and select a content type: Images, Videos, Audio Files, Website URLs or Location Maps.
Then click ‘Create Query’ to preview your listed content.
Now your list is done.
Don’t forget to click ‘Save App Config.’
❓ FAQs
Q: How do I add new content to my app without coding?
A: You don’t need to code a thing! Here’s how you can create and manage content right from the dashboard:
- Open the Content Manager from the admin menu.
- Click Content → Add New Content.
- Choose the type of content you want: Image, Video, Audio, URL, or Location.
- Fill in the details like title, description, and tags, and upload an image if needed.
- Hit Create to save it.
Q: What kinds of content can I add?
A: You’ve got plenty of options! You can upload:
- Images (upload a file, use one already in your builder, or paste an image URL).
- Videos (upload directly).
- Audio files (upload your audio and add an image to go with it).
- URLs (add a link and an image).
- Locations (drop in a map location with an image).
Every piece of content can have a title, description, and tags so your users can find it easily.
Q: How do I make content clickable?
A: You can turn your content into an action in just one step:
- After saving your content, turn on the Enable Custom Action toggle.
- Pick from multiple actions like opening a webpage, navigating to another screen, or triggering another app feature.
If you add both a URL and a custom action, the custom action takes priority.
Q: Can I control whether content is visible to users?
A: Yes! You can choose a content status when saving it:
- Online → visible in your app.
- Offline → hidden but stored for later use.
This way you can prepare content in advance and publish it when you’re ready.
Q: How do I show my content inside the app?
A: Use the List View component to display your content beautifully:
- Go to your navigation or side menu page.
- Drag in the List View component and click Setup.
- Pick a theme and add dividers if you like.
- Select your data source (Images, Videos, Audio, URLs, or Locations).
- Click Create Query to preview.
- Save your configuration and your content will appear in the app.
Q: What are some ways I can use the Content feature?
A: The Content Manager is flexible and works for all kinds of apps, for example:
- Portfolios → Show off images and videos.
- Media libraries → Build a hub for audio and video files.
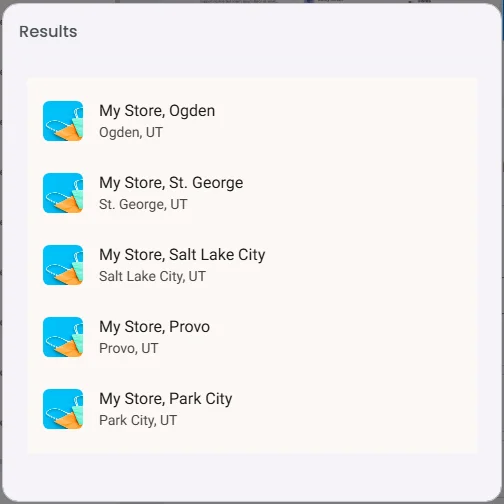
- Directories → List businesses, shops, or events with URLs and maps.
- Promotions → Highlight products, events, or campaigns with clickable actions.
- Learning apps → Organize courses or lessons with multimedia content.