
The Booking & Events components let app owners design a clear booking layout so users can reserve services, register for events, or purchase bundles of recurring sessions in one place.
With Booking & Events, your app can support service reservations, recurring sessions, ticketed events, and bundles under a single experience. This is ideal for fitness studios, tutors, salons, clinics, and organizers who want scheduling and ticketing built into their app. When registration is enabled, each booking is tied to a user account so people can view, manage, or cancel their reservations directly.
These components are the best for Service & Entertainment Apps.
How To Install The Component
This component can be installed in:
- App's Navigation Page ✓
- App's Side Menu ✓
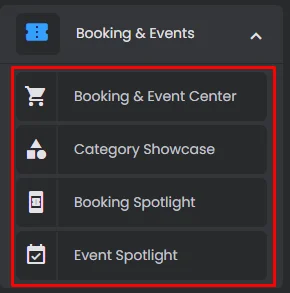
You can find the Booking & Events components in the Booking & Events section. Click or drag and drop the components into your navigation or side menu to install them.
How To Configure The Component
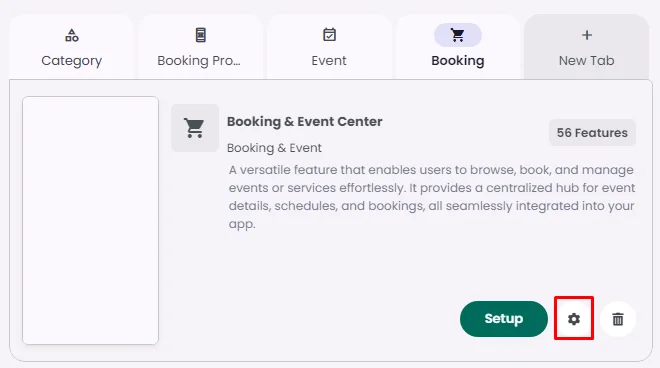
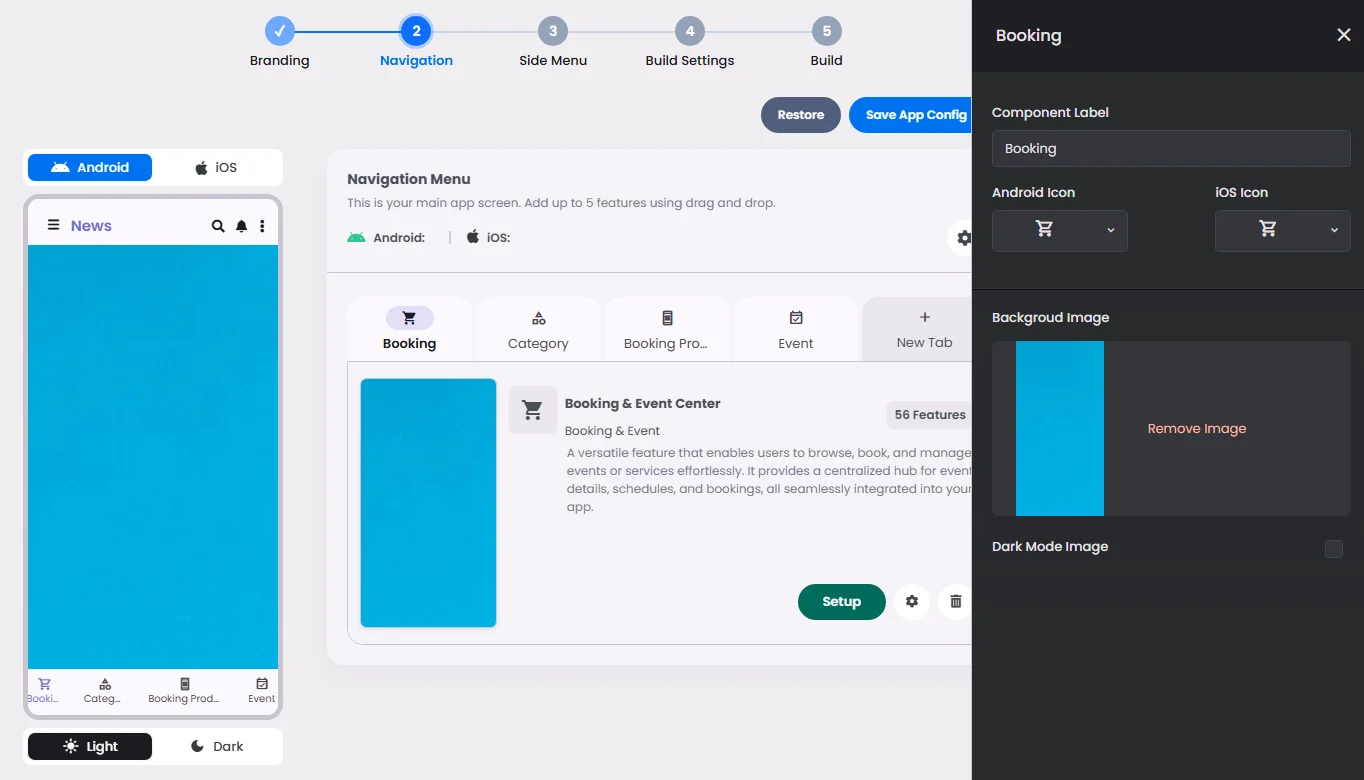
The Booking & Events Center shows your booking and event categories in a workflow interface designed by component elements.
Click the gear icon to configure the component settings.
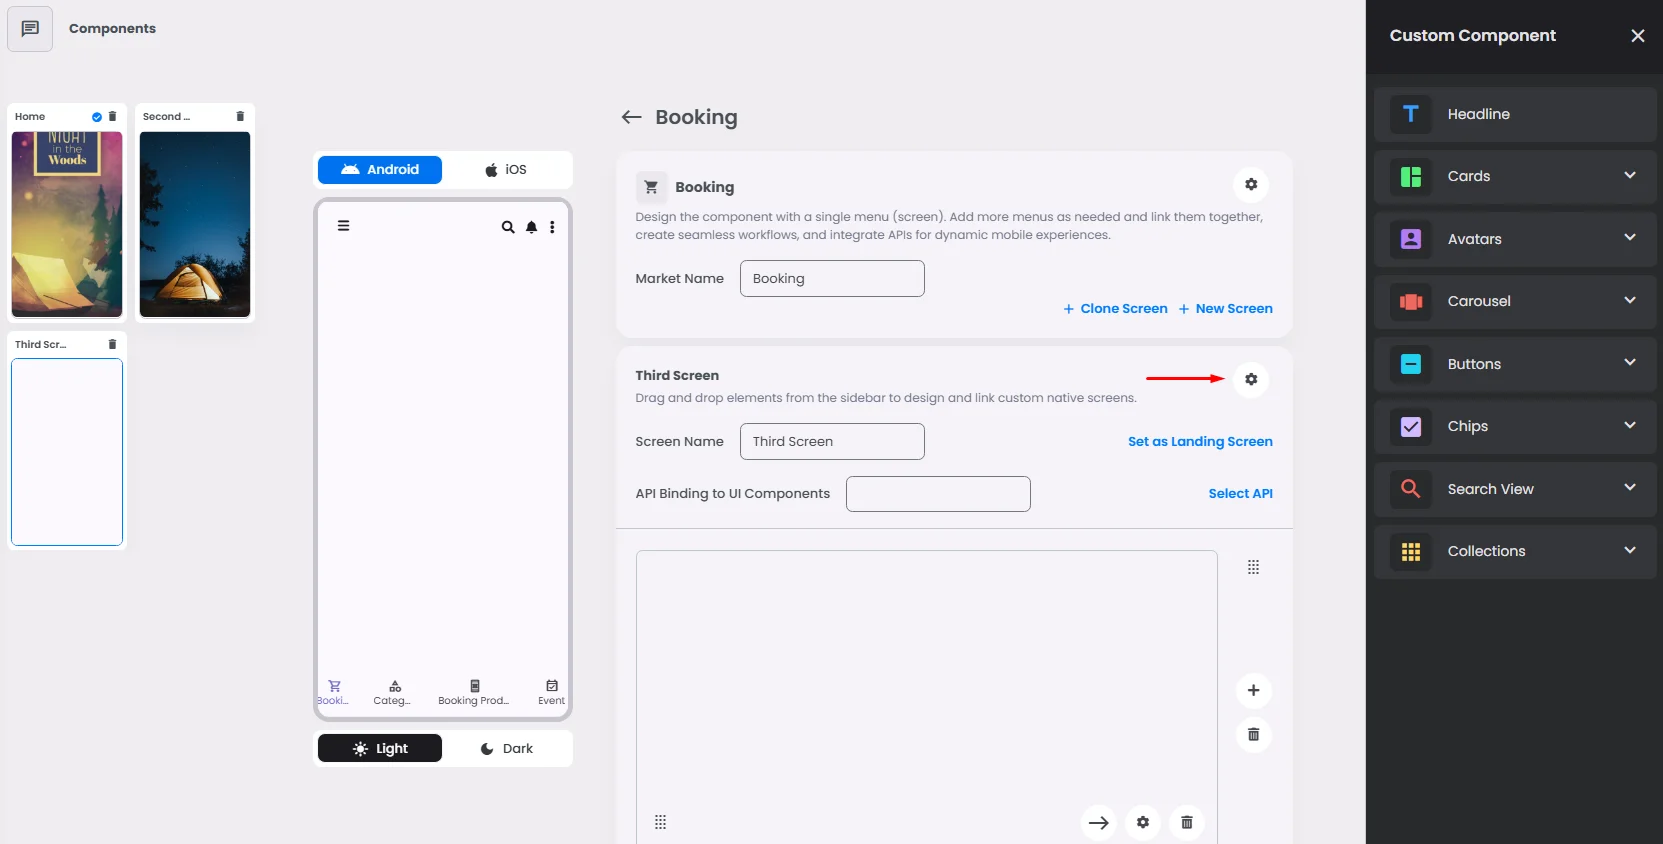
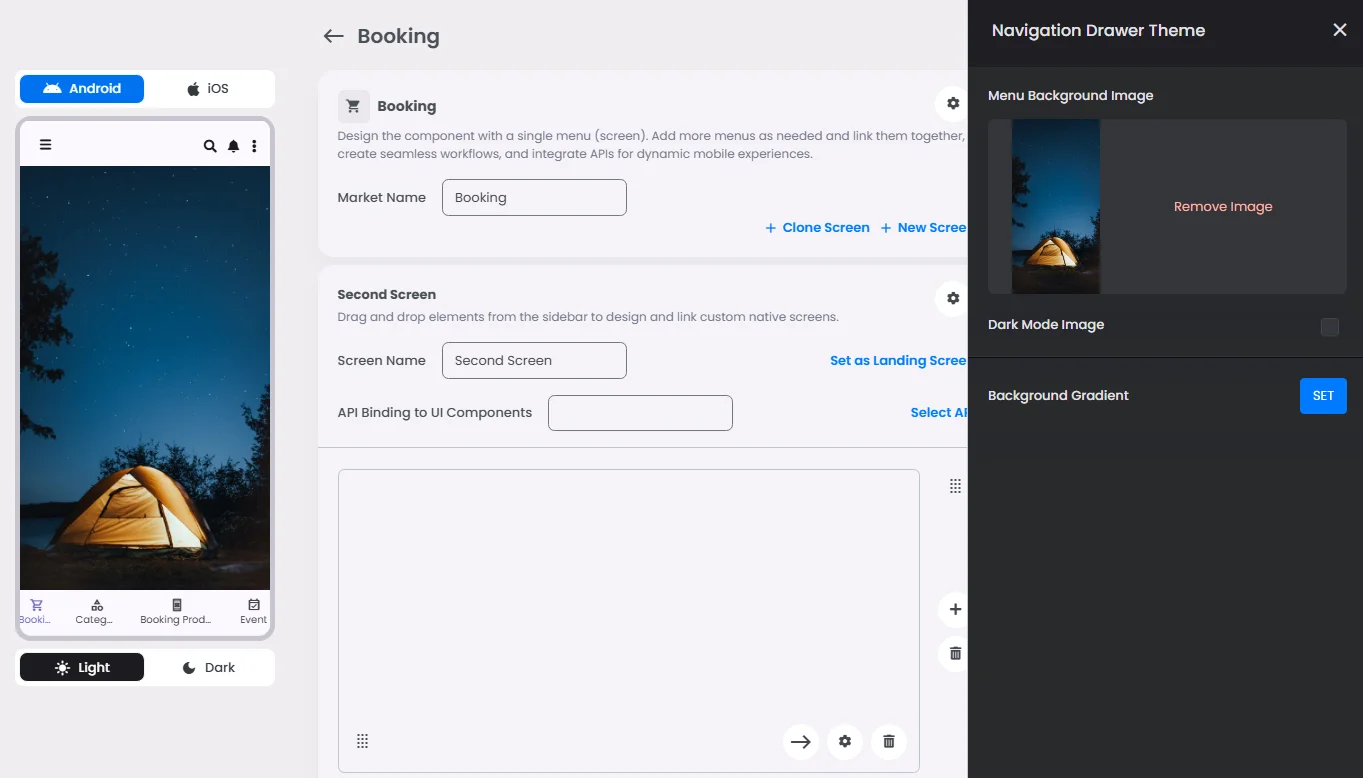
Background Menu Screens
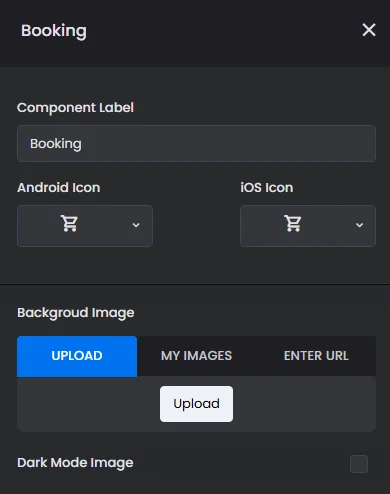
Rename the component and choose an Android and an iOS icon for it.
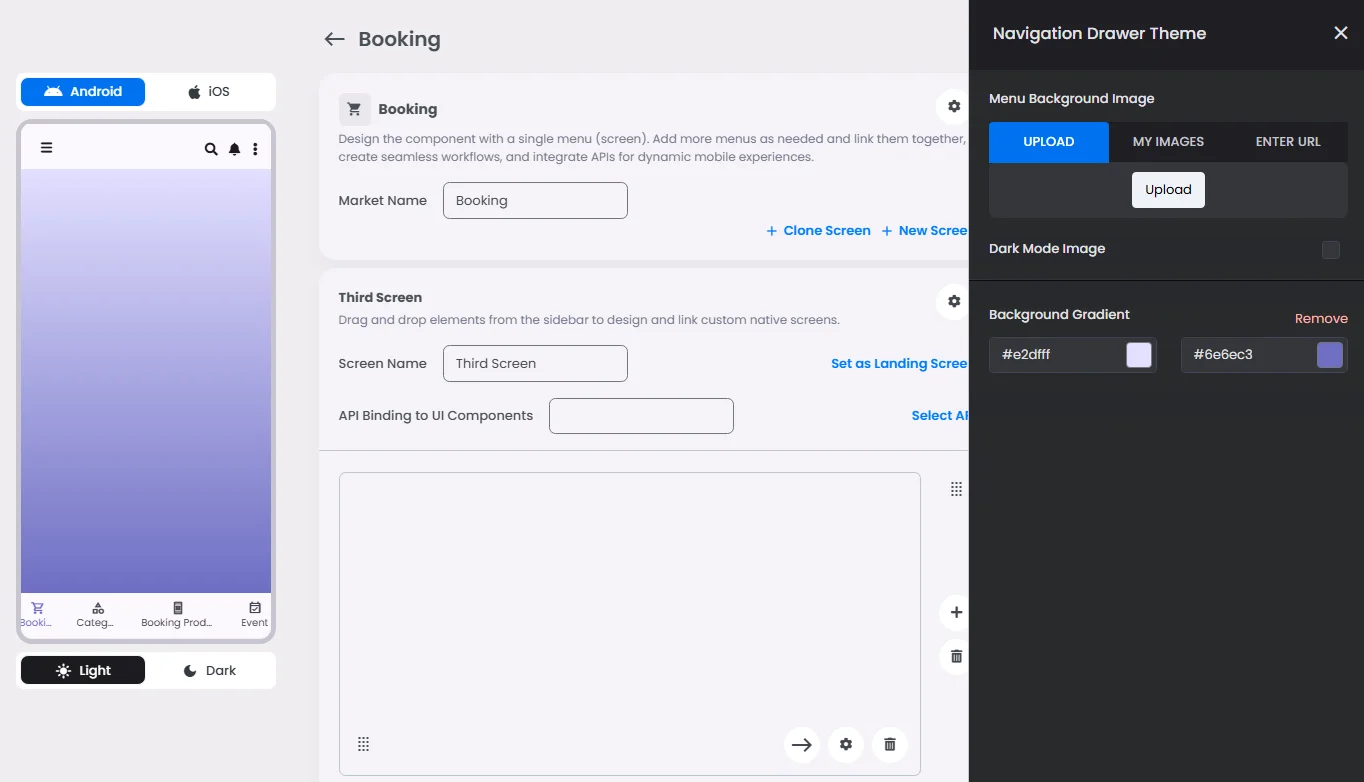
- Upload a background image for all your booking & events center menu screens.
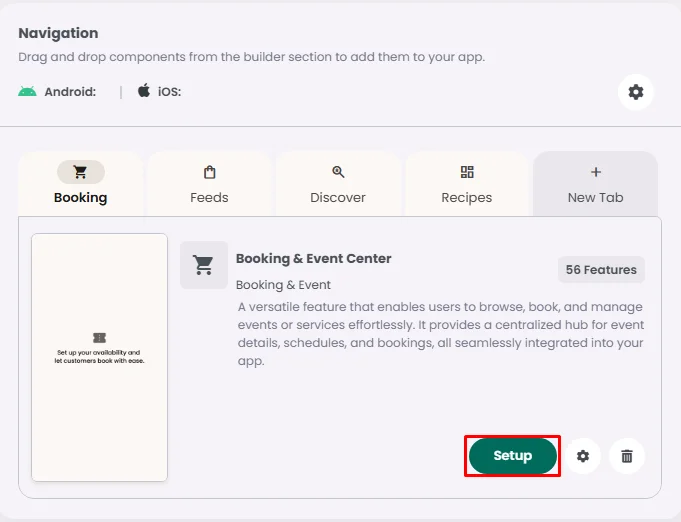
Click ‘Setup’ to set up your component design.
- Upload a background image for a single menu screen. If you have multiple menus, select your chosen one and click the cog gear icon to open the menu background settings.
You have the option to upload an image or add a gradient background color.
Must-Have Components
You must include all your payment components:
- Order Manager Spotlight: It shows all booking & event orders created by the user, including all the order details (date & time of created order, payment method type, status, etc.).
- Shopping Cart Spotlight: It allows users to add, review, and manage scheduled bookings or events before proceeding to checkout.
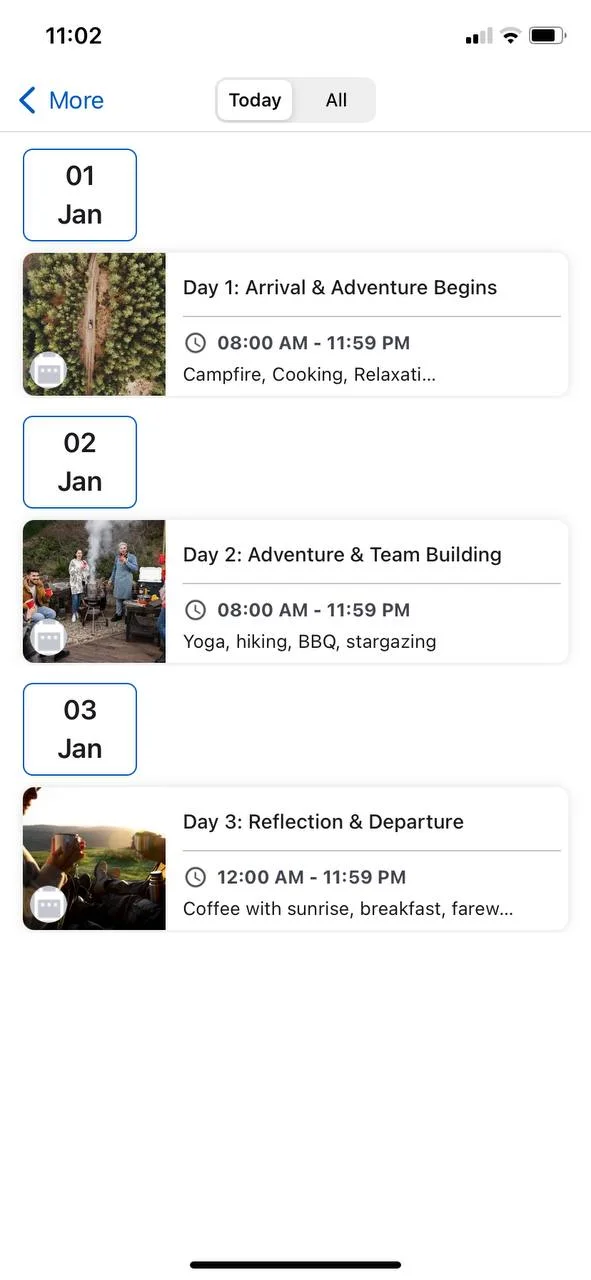
- My Calendar: Include a calendar component so that customers may track their event schedule throughout the day or at a specific time by creating a complete booking or event calendar (agenda).
Create a calendar for multi-day events; for example, if you have an event spanning several days with a unique program for each day, using a calendar to organize daily schedules would be highly beneficial. It helps users easily track their activities and ensures they don’t miss any scheduled times.
The created calendar can only be posted in a feed center or a channel. Click here to learn how.
❓ FAQs
Q: How can I add a booking or event system in my app without writing any code?
A: With nandbox’s Booking and Event Center, you can create a complete appointment booking system or let users sign up for events—all without writing a single line of code. Whether you’re offering salon appointments, classes, or ticketed events, you can build it visually in minutes.
Q: What can I do with the Booking and Event Center?
A:
This feature gives you everything you need to manage bookings and events:
- Set up appointment-based services (like consultations, fitness sessions, or workshops).
- Create event-style bookings with limited tickets (perfect for concerts, webinars, or meetups).
- Define start and end dates, and even make them recurring if needed.
- Customize time slots with duration and gaps between each booking.
- Set limits on how many people can book per slot or per event.
- Show availability in a user-friendly slots view so customers can pick the perfect time.
Q: How do I set up a booking or event system without code?
A:
- Open the Booking and Event Center in your nandbox admin panel.
- Click Create Booking (for appointments) or Create Event (for ticketed events).
- Fill in the details:
- Add a title, description, and images.
- Choose your booking type (one-time or recurring).
- Set up time slots—define duration, gaps between slots, and booking limits.
- (Optional) Add ticket pricing and available quantity for events.
- Click Save—your booking system will now appear in your app.
Users will see your services or events in a calendar-style layout, making it easy for them to book a spot.
To keep from getting lost, you need to do these steps in order.