
You can organize events such as concerts, festivals, or communities to increase user engagement with your app.
Events in nandbox are more than calendar entries, they act as interactive experiences that bring your community together. By creating an event, you give users a way to discover, register, and even purchase tickets directly in your app. This transforms your platform into a hub for engagement, whether you’re running business workshops, medical consultations, social meetups, or large public festivals.
📋 Steps
From the admin menu, click 'Events.’
Click ‘Create A New Event.’

Exactly like booking, enter your event title and description, category, time zone and event images and choose a theme.
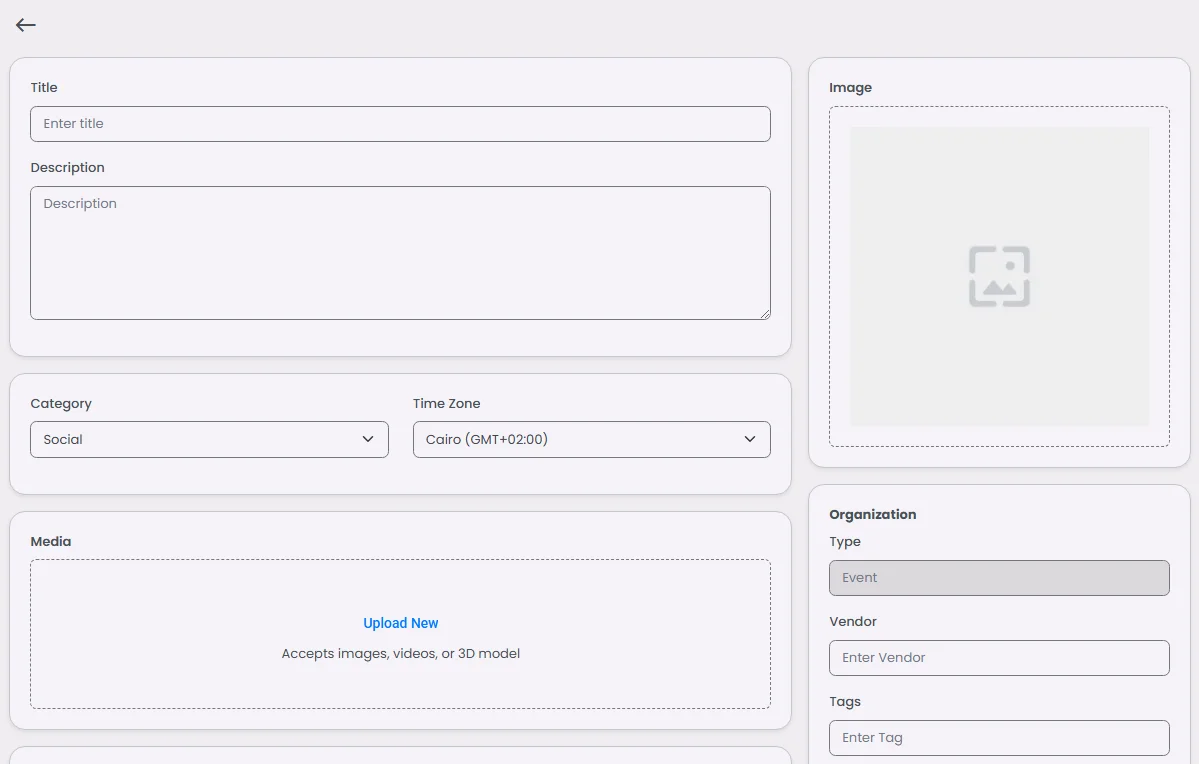
A strong title and clear description help your event stand out. Think of this section as your event’s storefront: users will decide whether to click based on how compelling it looks. Add a description that highlights the value of attending, upload relevant images to set the tone, and pick a theme that matches your brand identity. The more detail you provide here, the more confident your users will feel when registering.
And when you click ‘Create,’ additional options will appear:
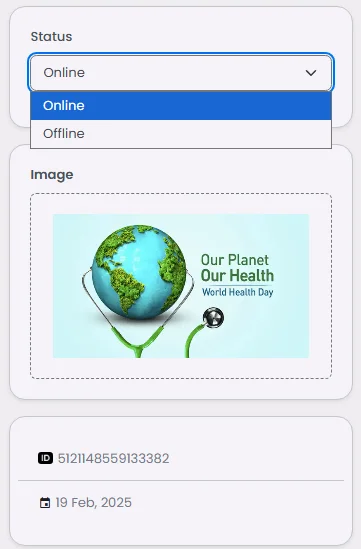
- Above the event image, select the state of your product; if it isn't in stock, select ‘Offline,’ and below, you’ll find the event's created ID and date of creation.
- Add your event vendor.
- Add search tags to connect your event with a search filter or chip.
- The search score determines the order of the events in the search; for example, add 1 to make your event the first one to appear.
- Add a category
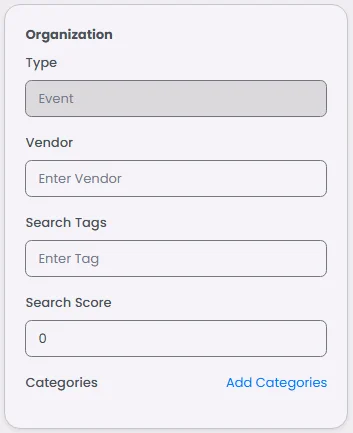
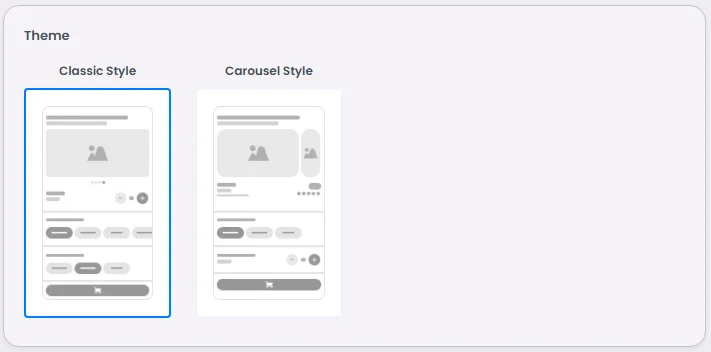
Vendors, tags, and categories are not just backend settings, they shape how users find and interact with your events. For example, a fitness studio could tag classes as Yoga, Pilates, or Strength Training, making it easier for clients to filter what they want. Categories also help you group related events, so your booking flow feels structured instead of cluttered. When configured well, these options improve discoverability and boost attendance.
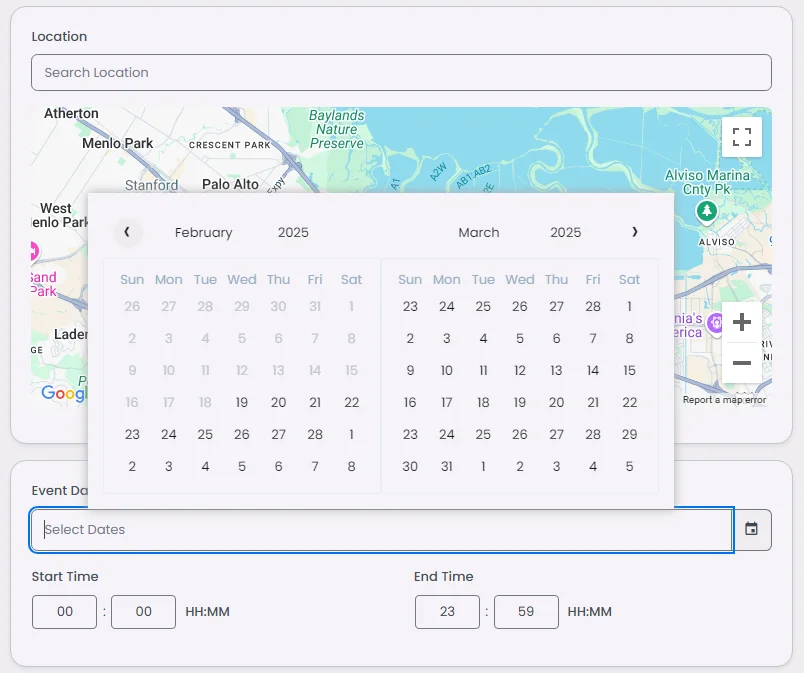
Set the event’s location, choose the event's date if it falls on a specific day or has a set number of days, and set the start and end times (the event's duration time).
Add your available ticket number, maximum reservation for each user, and allow purchasing tickets at the event option, and finally add your ticket’s purchase deadline and cancellation timing.
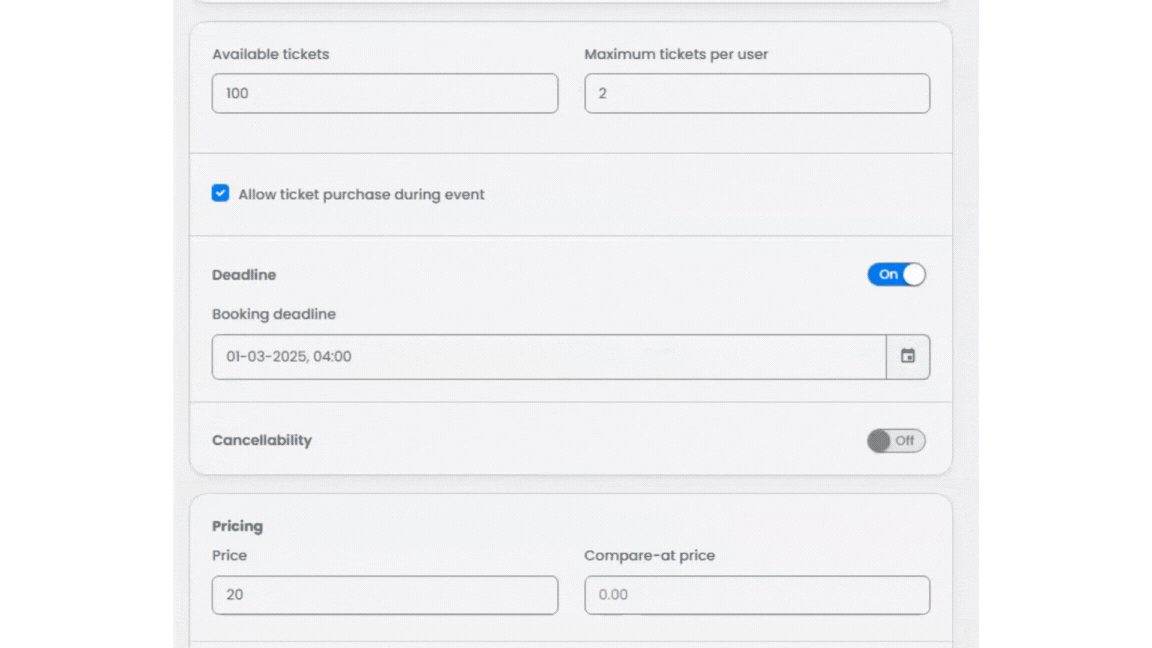
Location and time details are the backbone of any event. Be as precise as possible; if it’s an in-person event, add a full address; if it’s online, include a meeting link. Setting correct start and end times ensures users see availability in their own time zone. Ticket limits give you control over capacity, so you don’t oversell spots or run into last-minute cancellations. These small details make your event management smooth for both you and your attendees.
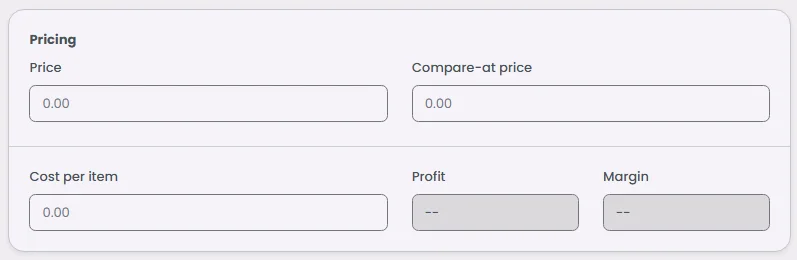
Check the pricing section in booking.
Then, click ‘Create.’
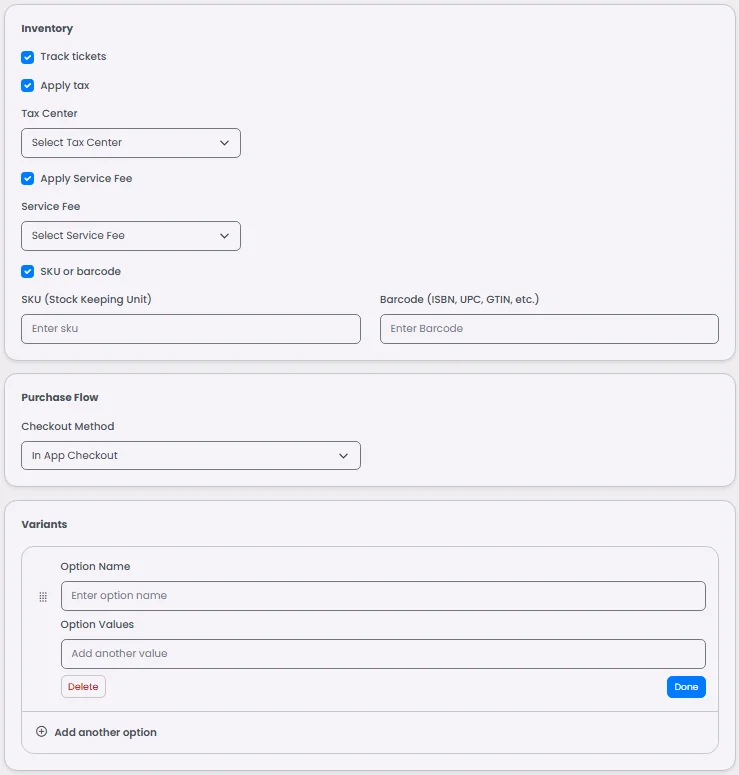
Check the Inventory, Purchase Flow & Variants section in the booking.
Use Cases
- Educational workshops: Create recurring weekly sessions with capped seats to manage demand.
- Healthcare clinics: Offer limited appointment slots with cancellation deadlines to prevent no-shows.
- Fitness & wellness: Host seasonal programs or regular classes with easy booking and waitlists.
- Event organizers: Manage festivals, conferences, or expos with tiered ticket pricing.
These scenarios show how versatile the event center is! you can adapt it to small teams or large venues with equal ease.
❓ FAQs
Q: How can I let users register for events in my app without writing any code?
A: With nandbox’s Event Booking tool, you can easily add events, let people sign up, and manage everything—like tickets, timing, and locations—directly from the no-code builder. It’s perfect for concerts, workshops, webinars, or any event where users need to register.
Q: How do I create an event in the app?
A: Here’s how to set up an event step by step:
- In your admin panel, go to Booking and Event > Events > Add New Event.
- Enter your event title, write a short description, and upload a cover image to grab attention.
- Set the start and end dates for your event.
- Add the start and end time (e.g., 7:00 PM to 9:00 PM).
- Specify the venue or location.
- Define ticket types, quantities, and prices (optional if it’s a free event).
- Set limits for how many tickets each user can book.
- Save and publish your event—it’ll instantly appear in your app with a built-in registration screen.
Users can now browse your events, reserve spots, and even pay for tickets (if enabled)—all from your app.
Q: Can I create multiple ticket types or control availability?
A: Absolutely! You can:
- Offer multiple ticket types (like General Admission and VIP).
- Set the total number of tickets available for each type.
- Limit how many tickets a single user can book to avoid overbooking.
It’s a simple, no-code way to run events and keep everything organized.