
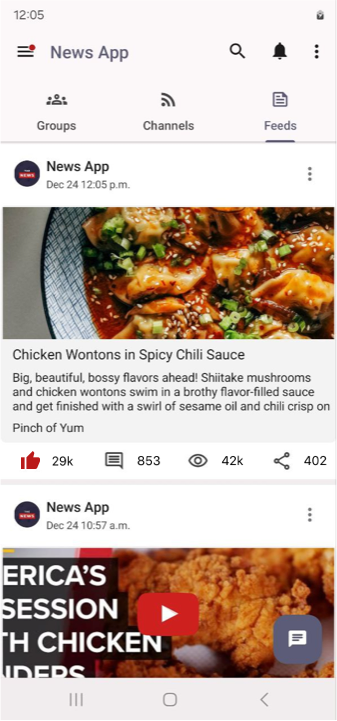
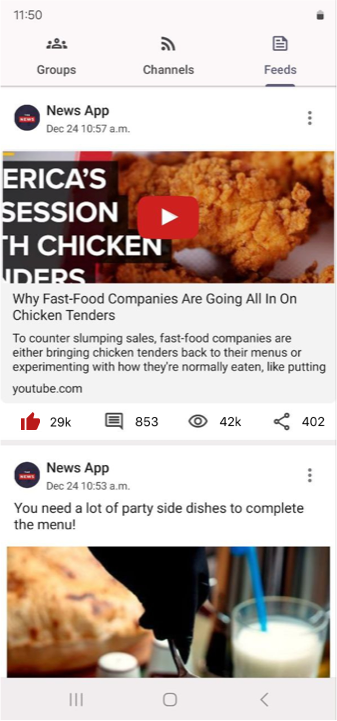
Broadcast news, articles, videos, or contests and keep your users hooked all the time. This component enables you to have an instant feed on your app like a Telegram channel; users can interact with your posts by liking, sharing, or writing comments, which admins will only see. The Feeds Center component acts as an interactive channel that unlimited subscribers can join. You can have more than one sub-channel in your app, but this component will show only your app's main channel.

This component is the best for Community apps.
Included Features
- Posting
You can post messages, images, videos, GIFs, and files to your different channels. You can also add segments and tags to your audience for targeted posts.
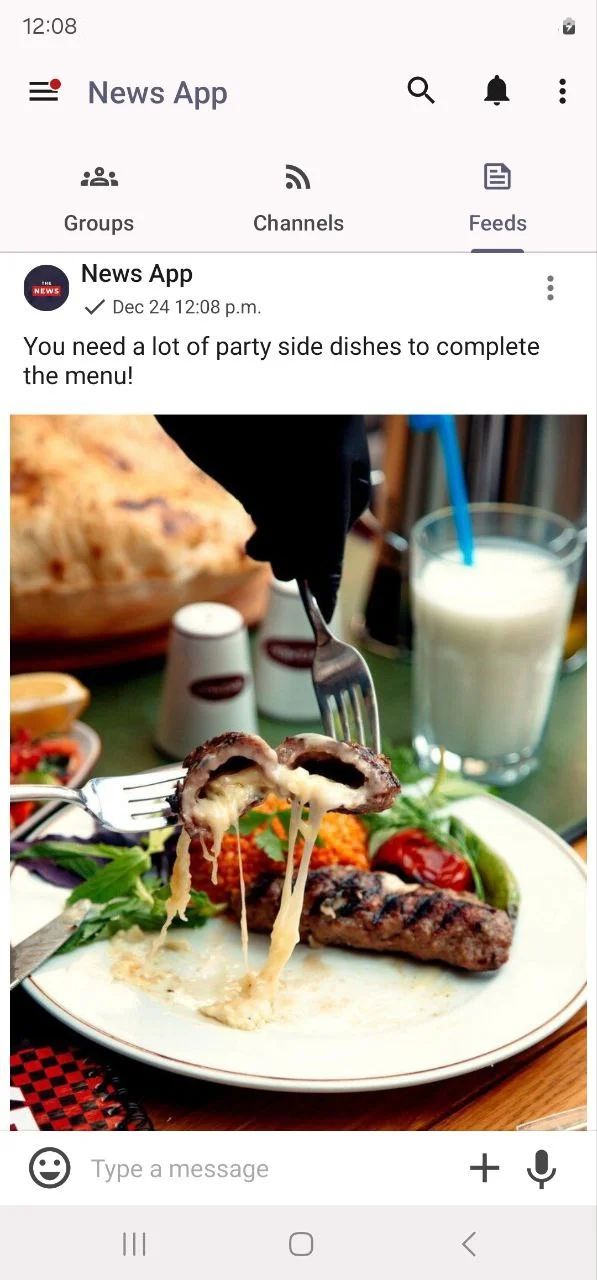
- Read Counter
Displays simple statistics for how many users viewed a post within its first two weeks; the bar also enables the users to engage with a post by adding a like, comment, or share. While the comment dashboard collects comments and displays them in a list for channel administrators.
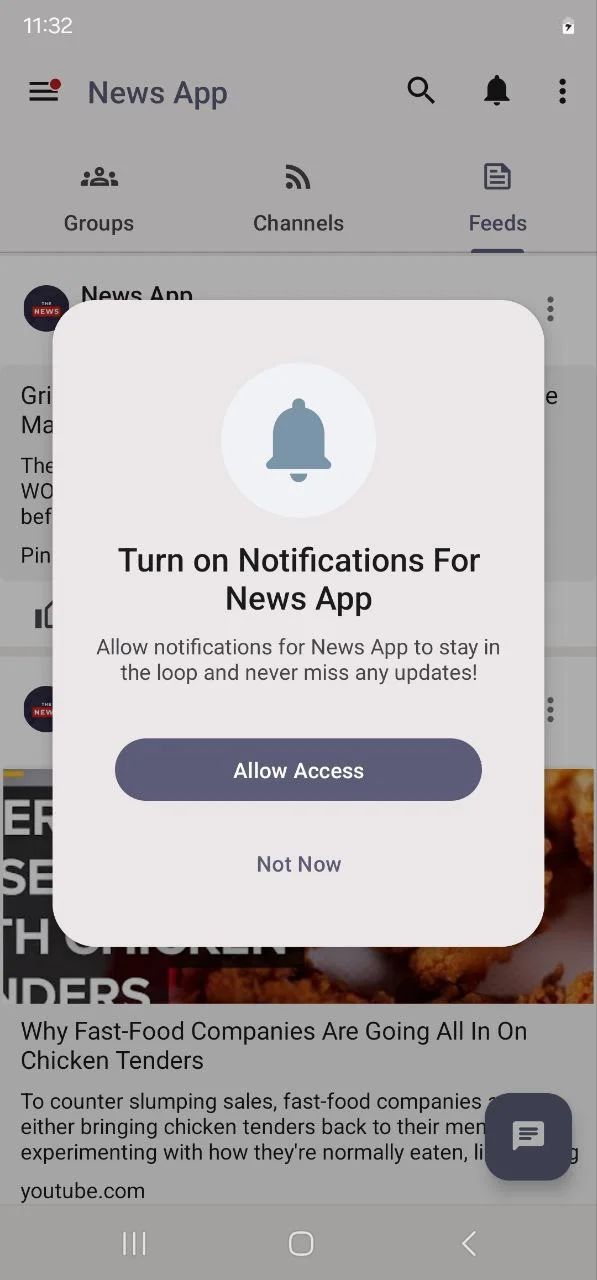
- Notifications
Notifications page that displays recent notifications, shows unread ones, and provides the ability to respond to different types of messages.

- Link Metadata Fetching
Enables fetching metadata from a URL upon posting it on the channel.
How To Install The Component
This component can be installed in:
- App's Navigation Page ✓
- App's Side Menu ✕
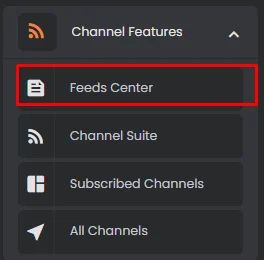
You can find the Feeds Center component in the Channel Features section. Click or drag and drop the component into your navigation page to install it.
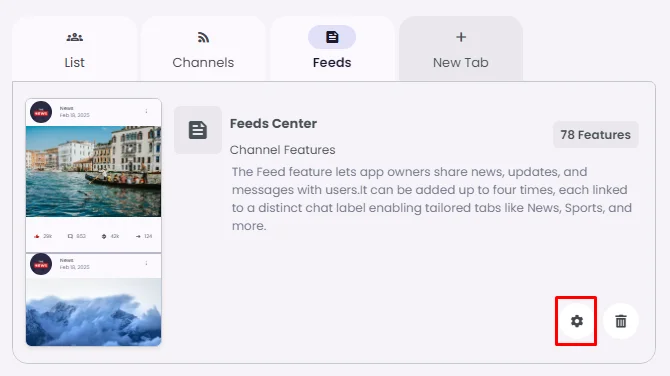
How To Configure The Component
Click the gear icon to configure the component settings.
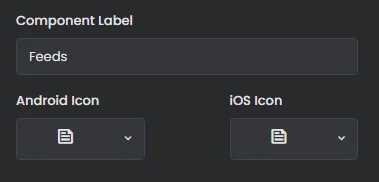
Component Label: Rename the component and choose an Android and an iOS icon for it.
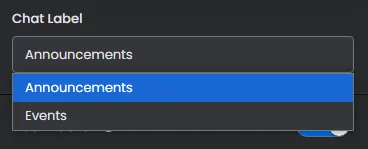
Chat Label: Choose your created chat label.
Check out how to adjust your chat labels here.
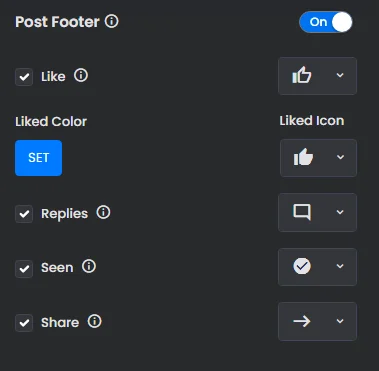
Enable the post footer: turn on the toggle and start picking an icon and icon color for each element in the menus.
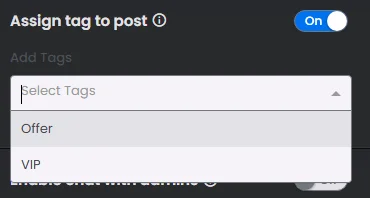
Assign tag to post: Allow specific users—assigned under a specific tag—to see only posts that fall under their tag. You can use this feature to target a specific segment of your users.
Click here to learn how to create a new tag.
Enable chat with admins: Turn it on if you want your users to start chat with admins by clicking on an icon. If they want to comment on a post, the admins can also respond to them here; choose an icon size and a color for it.
Enable Context Menu to Post: Enable the menu if you want to add options for users when it comes to certain posts. Start picking the option with its icon.

Posting From App Builder
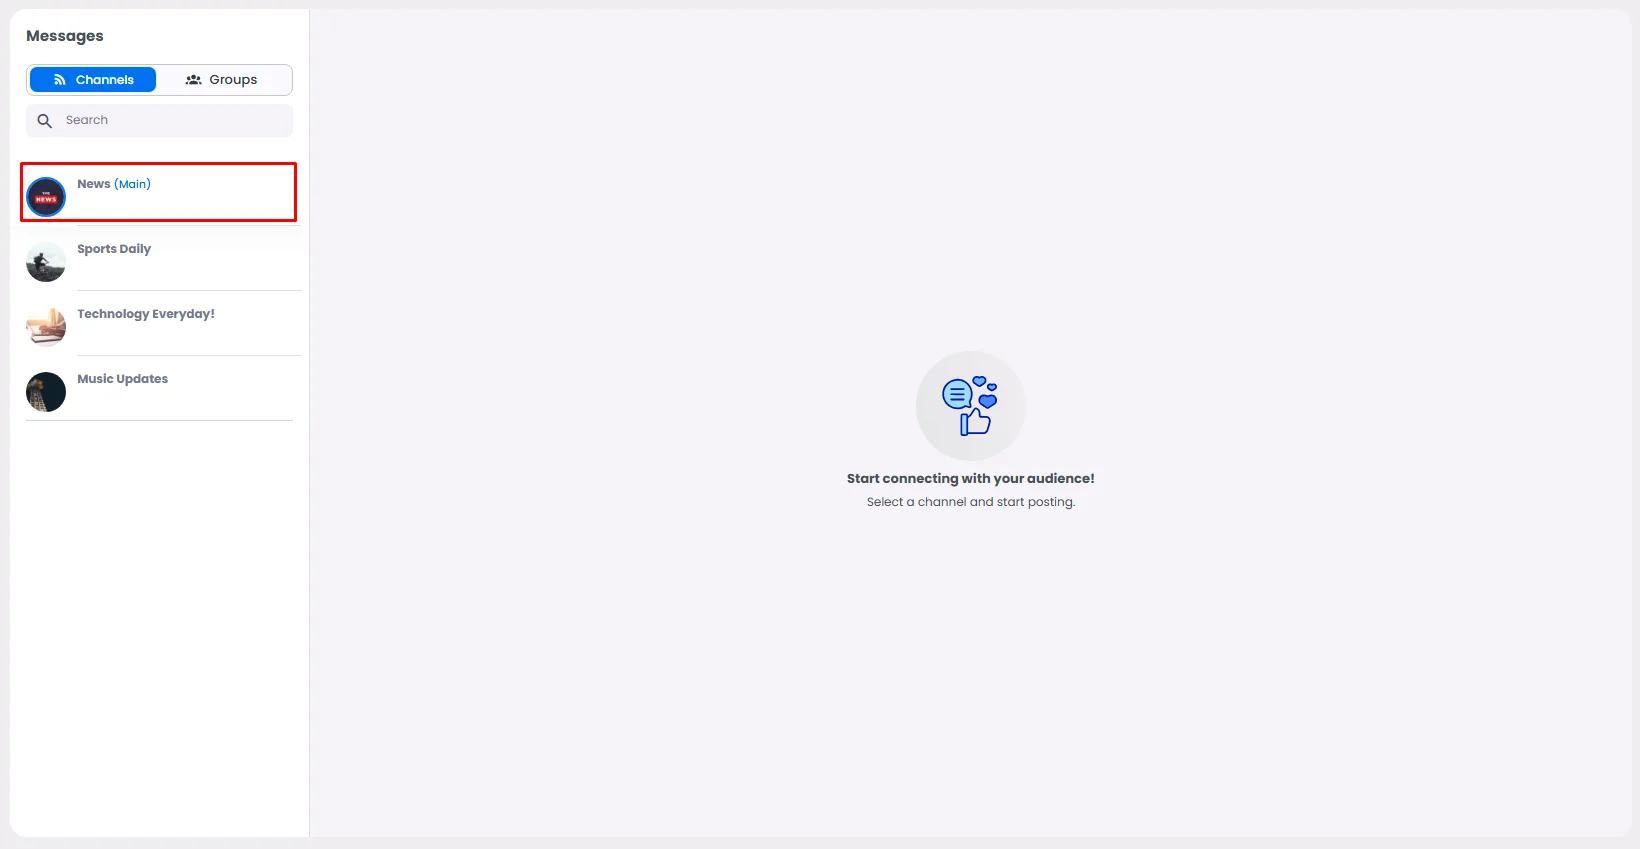
- From the admin menu, go to the Chat section and click ‘Messages.’

Click your app name if you have created channels to ensure that your post appears in your feeds center and not in a channel.
- Click '+ Create Post.’
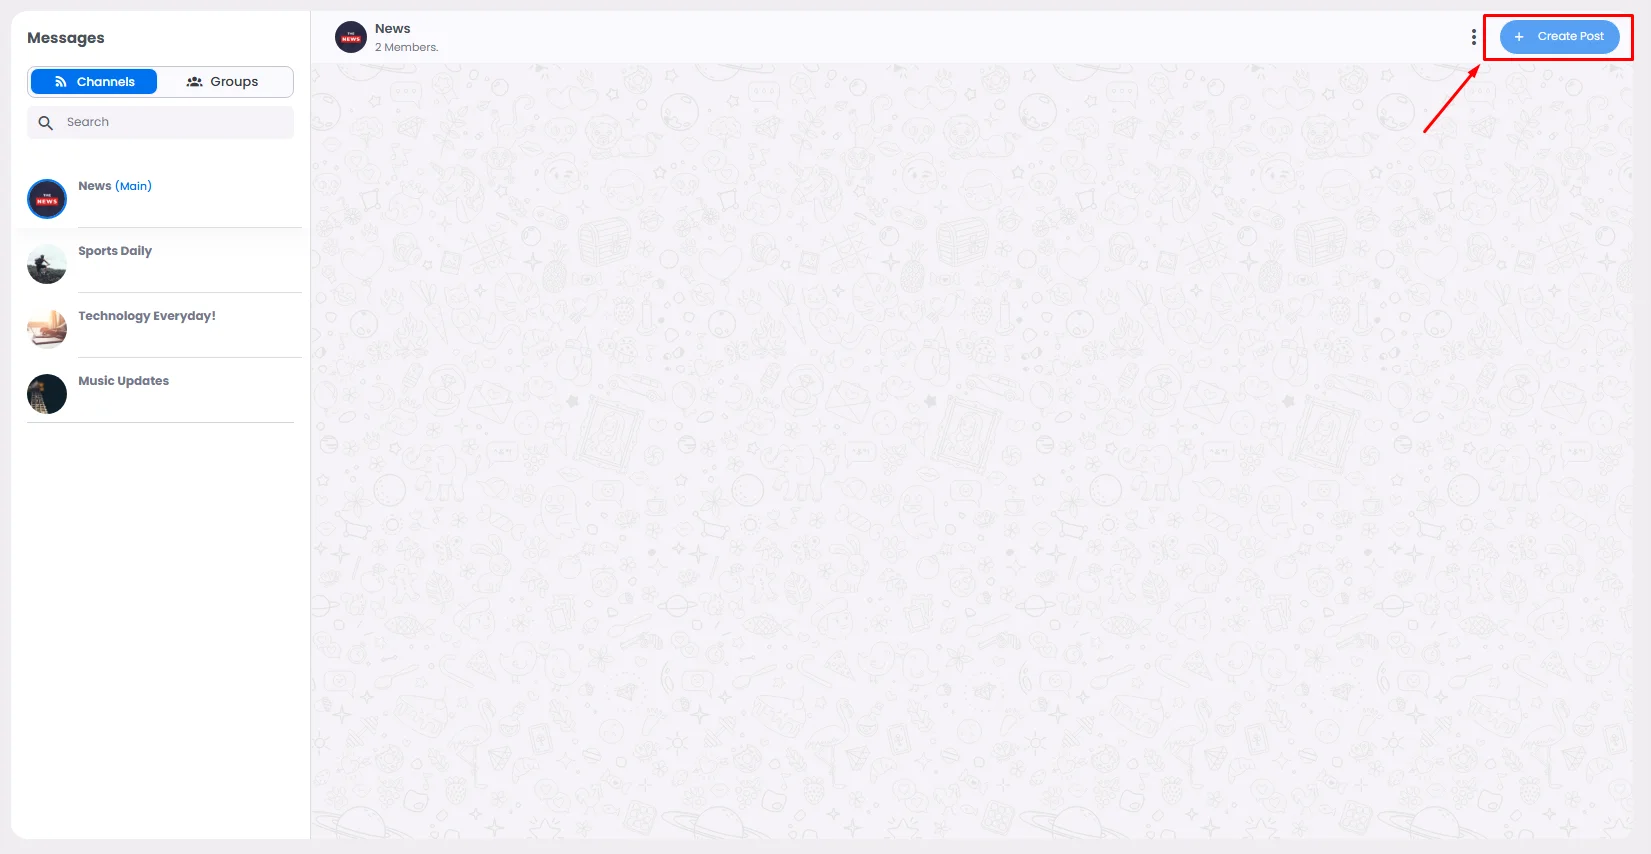
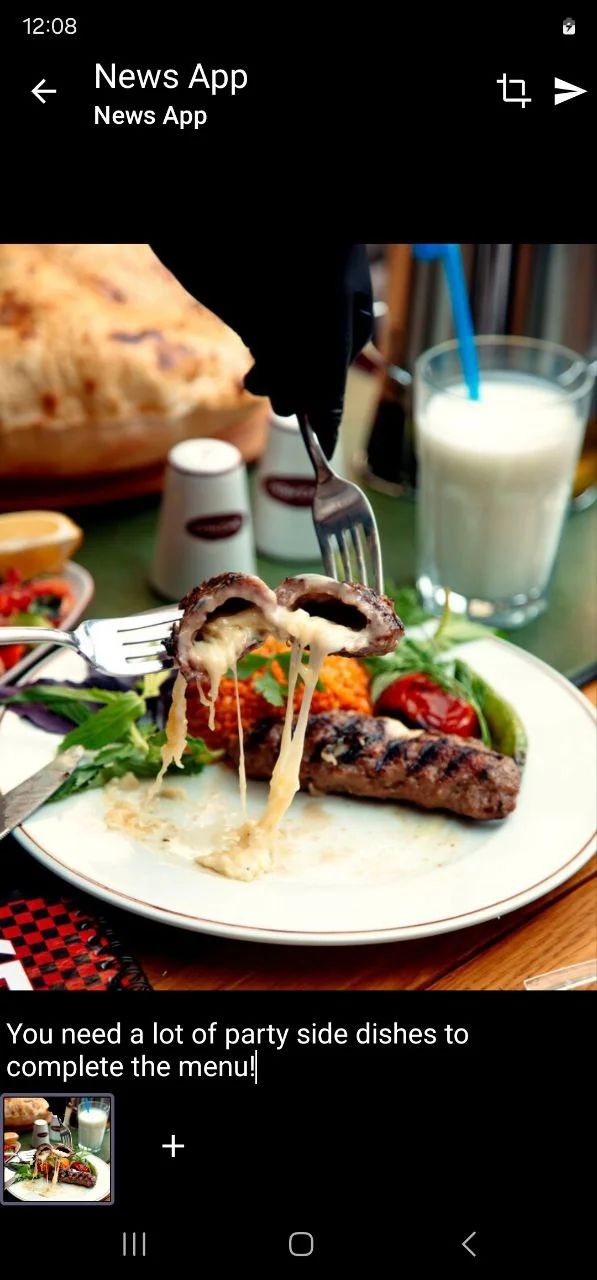
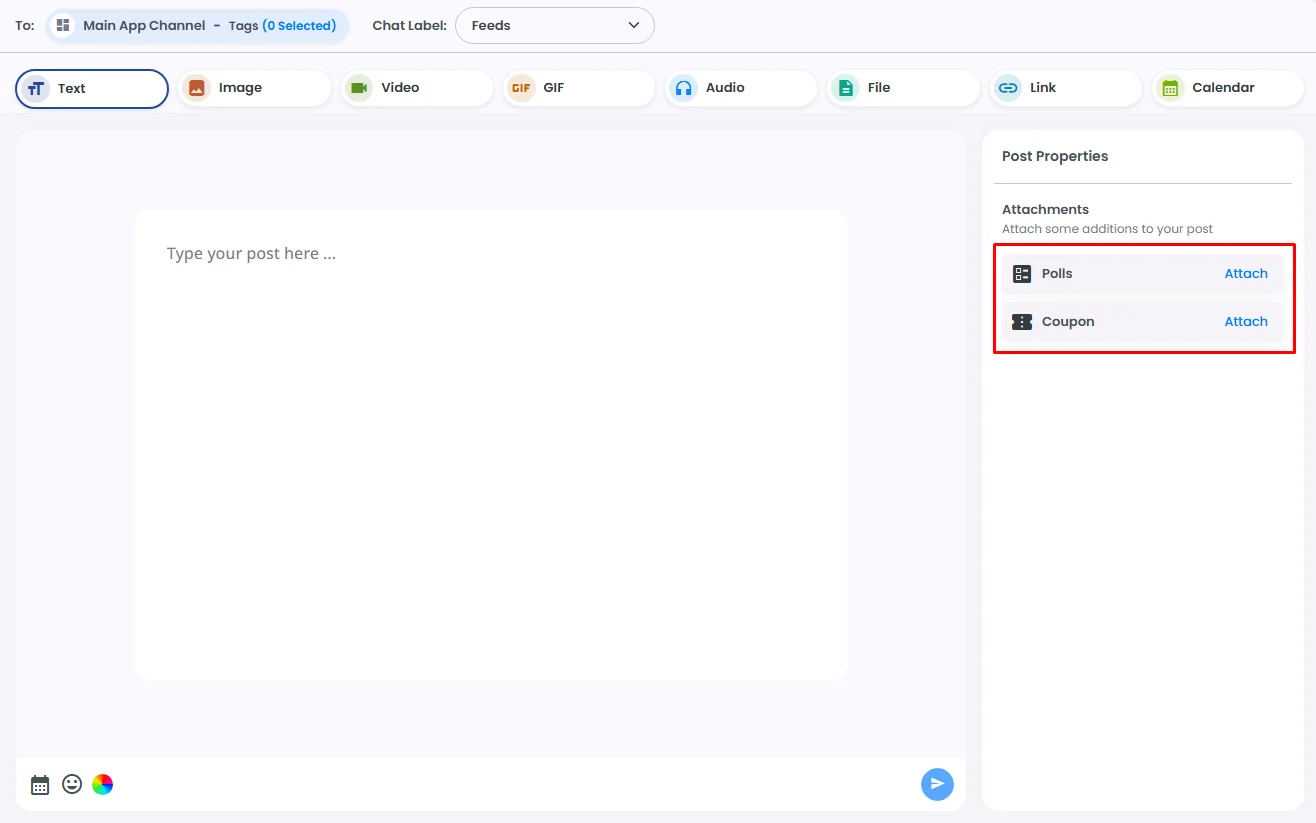
And the posting screen will appear. Here you have numerous types of posting: text, image, video, GIF, Audio, File, Link, Calendar, with the option of attaching Polls, Coupons or Stickey Note to your post.
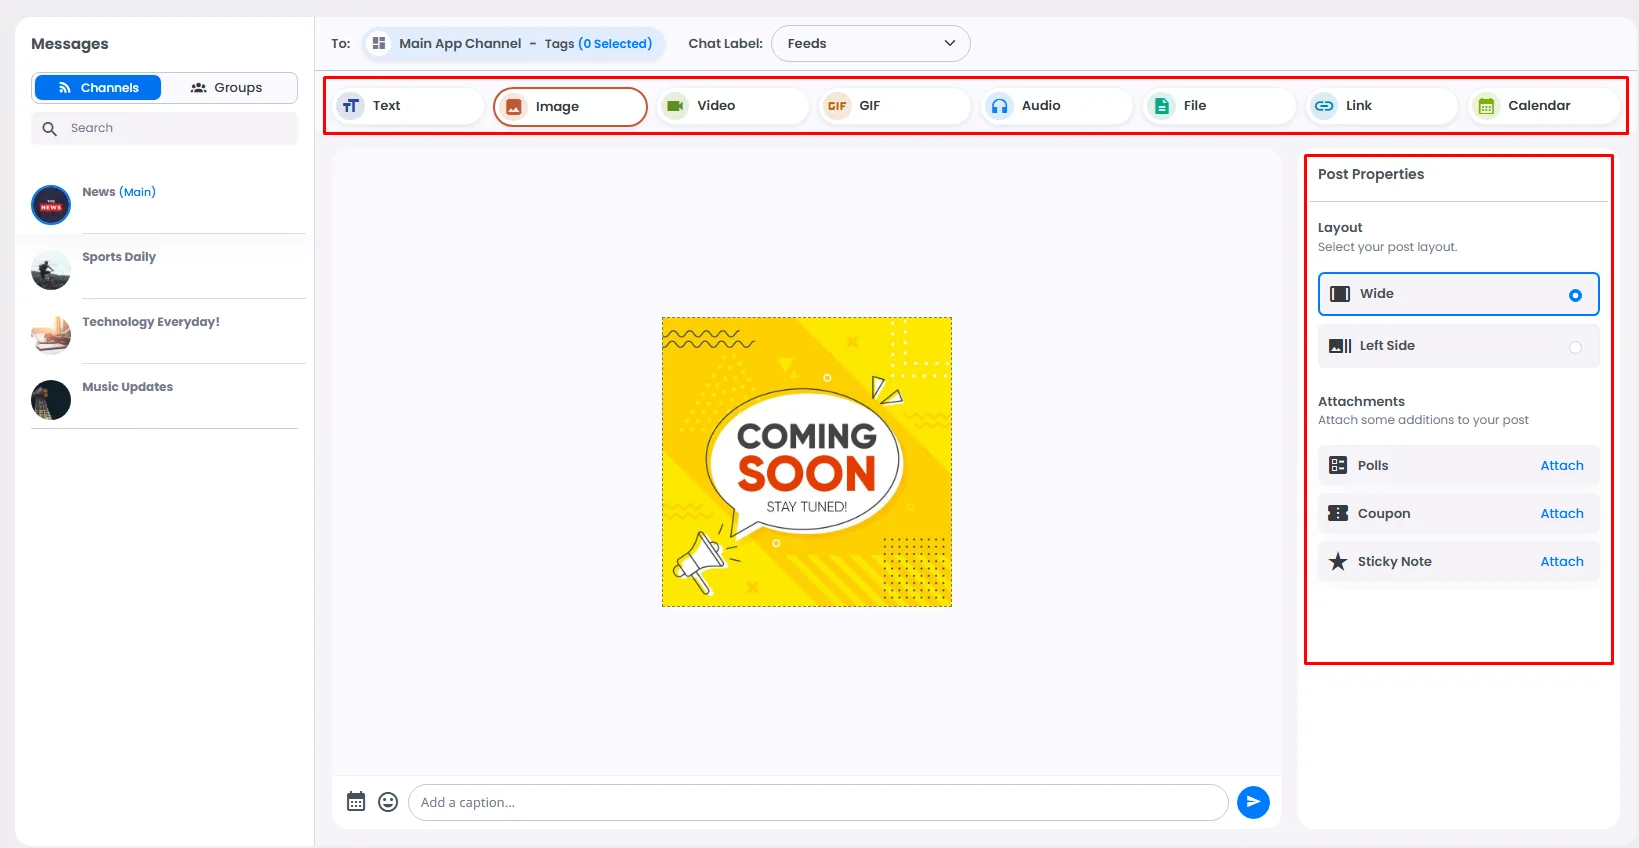
When you finish creating your post by choosing a suitable layout, click ‘Send’.
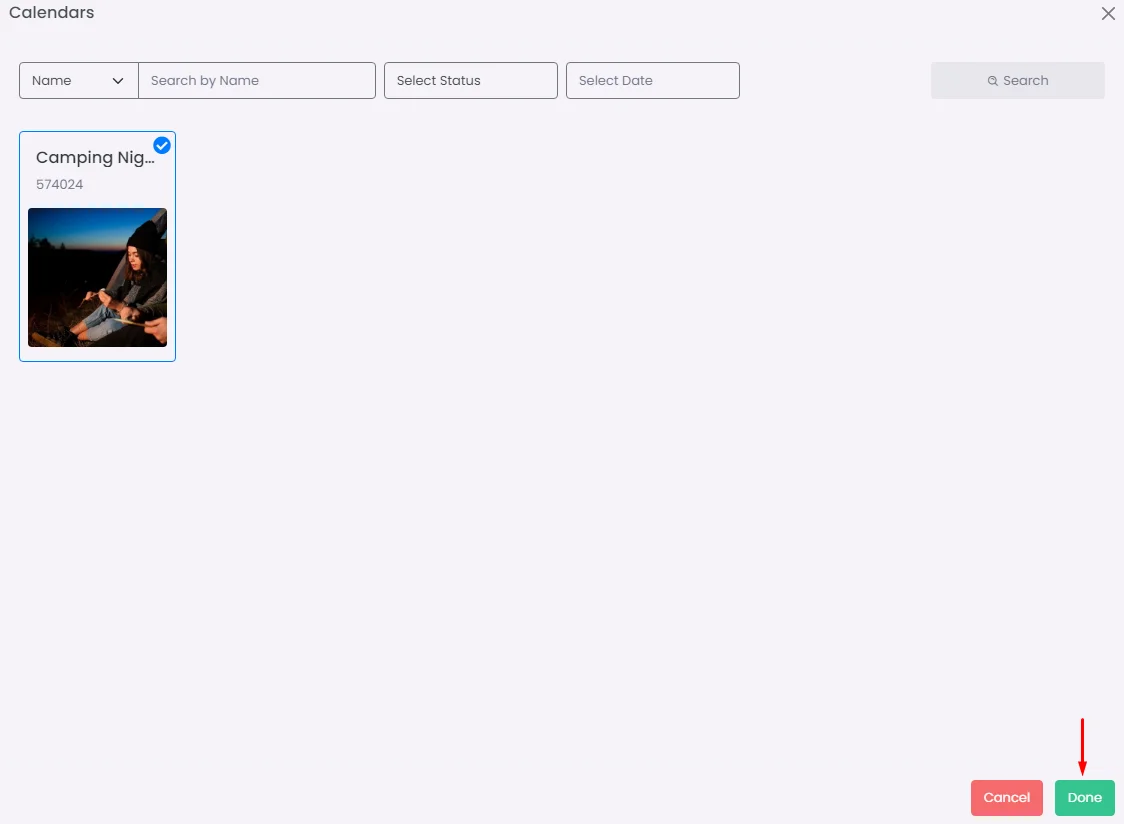
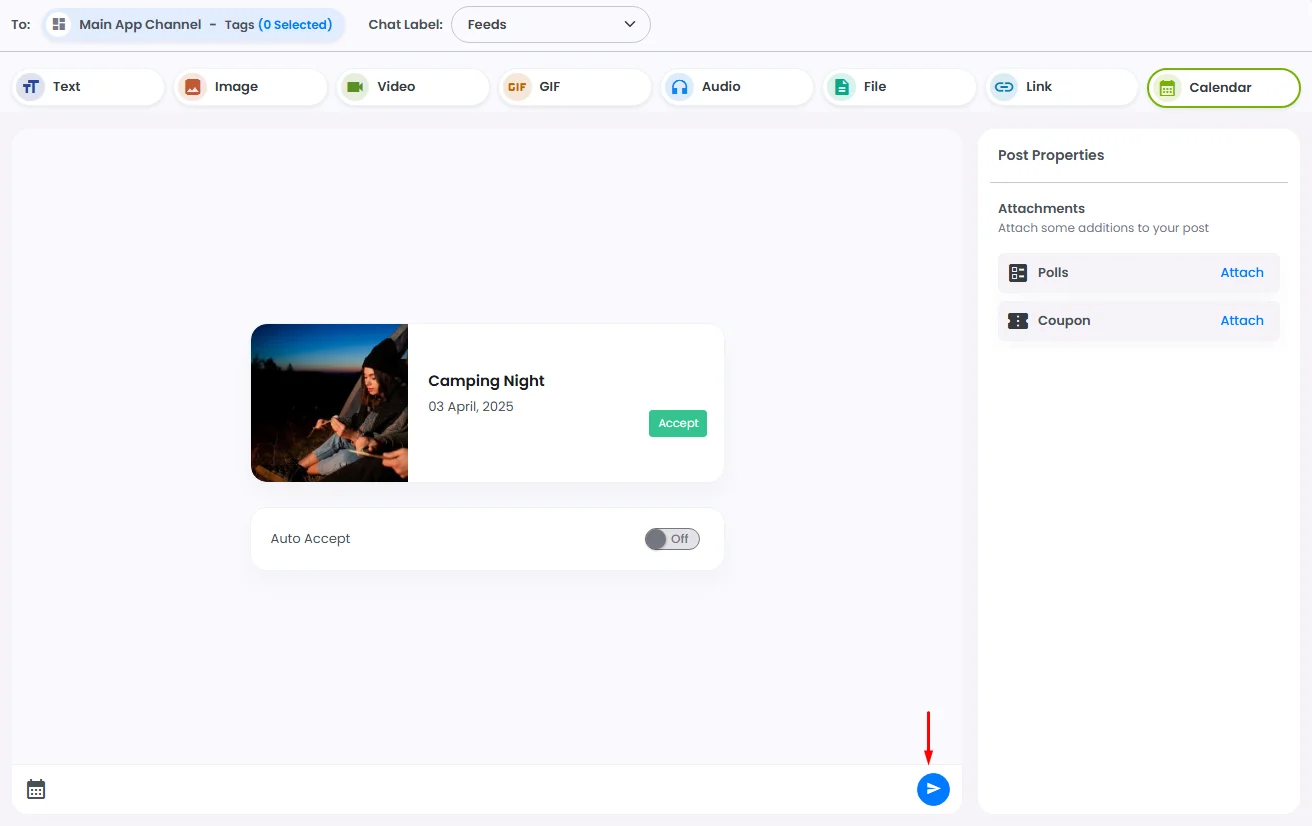
For Calendars
To post a calendar, click ‘Calendar.’

Select the calendar you want to post, click ‘Done’, then click the send icon.
For Polls & Coupons
Choose which one you would like to attach.
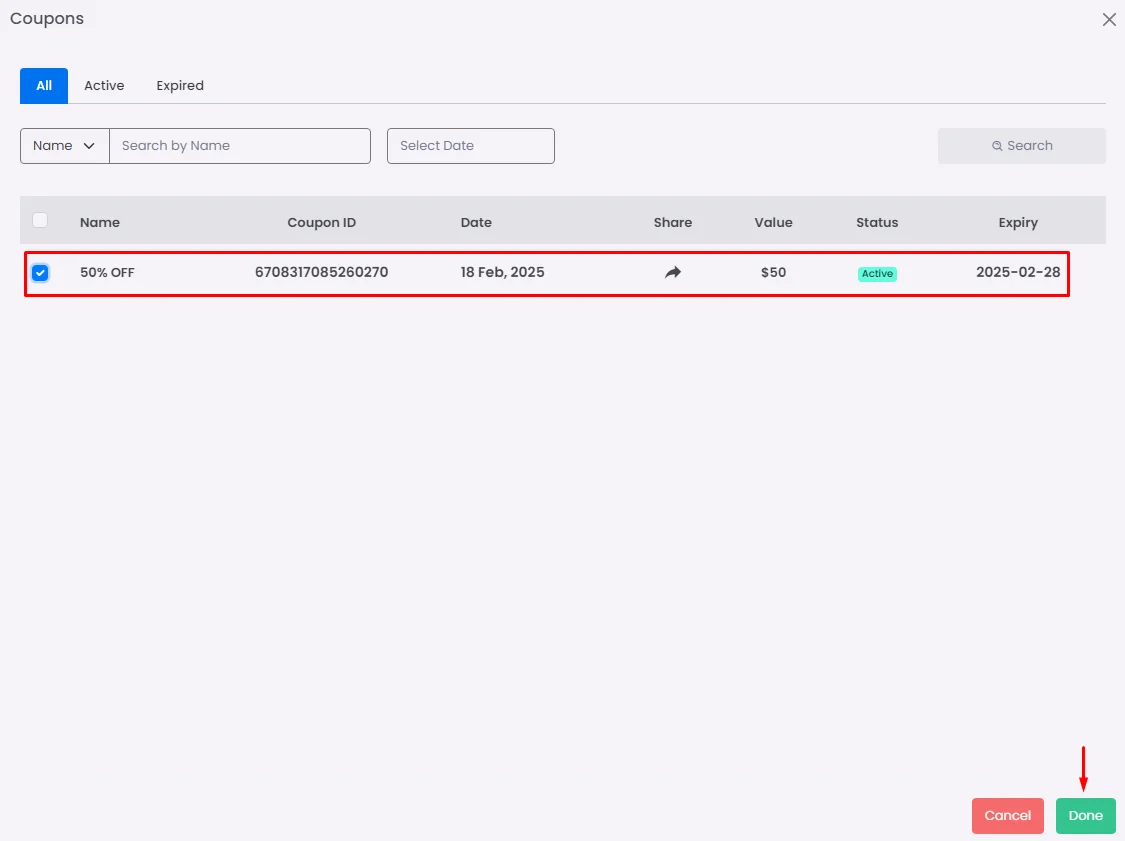
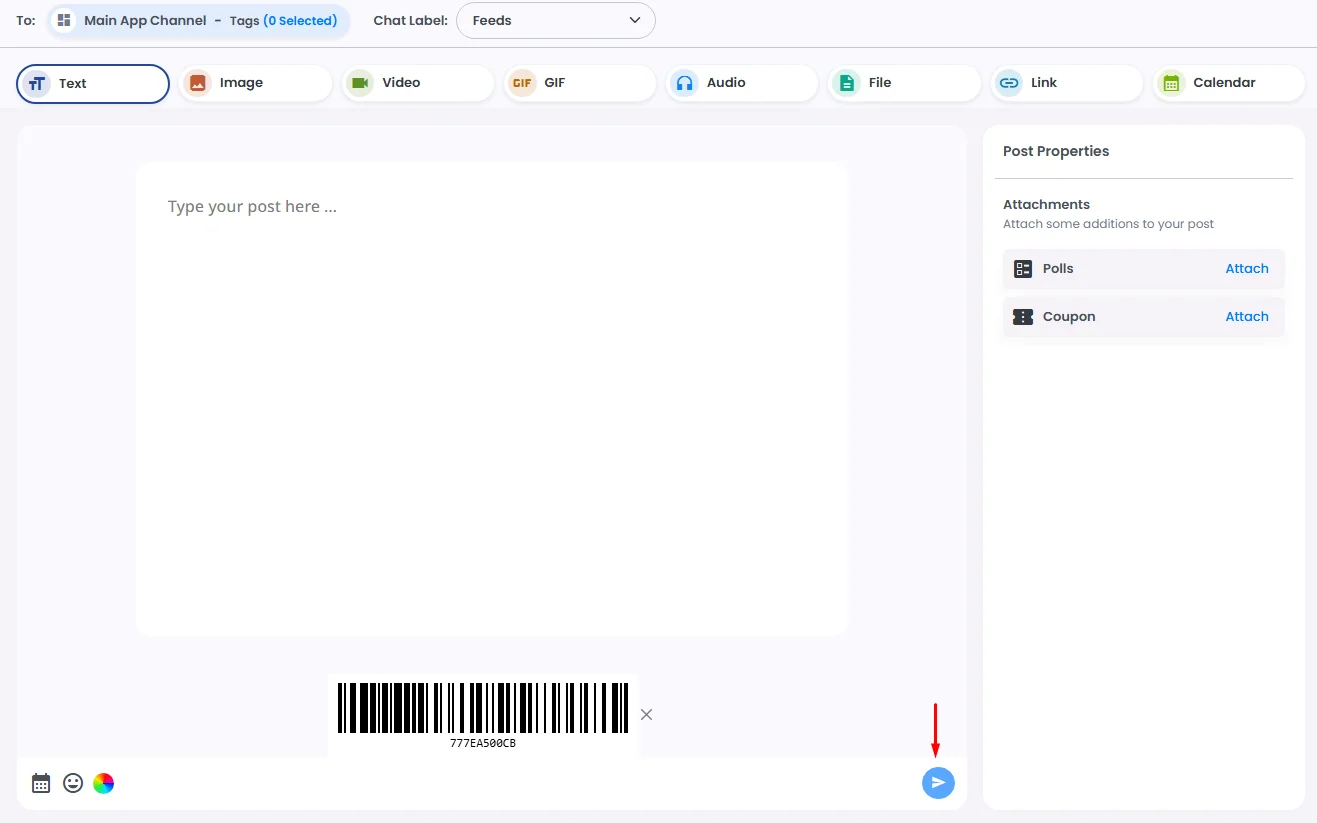
Select your poll or coupon, then click the send icon.
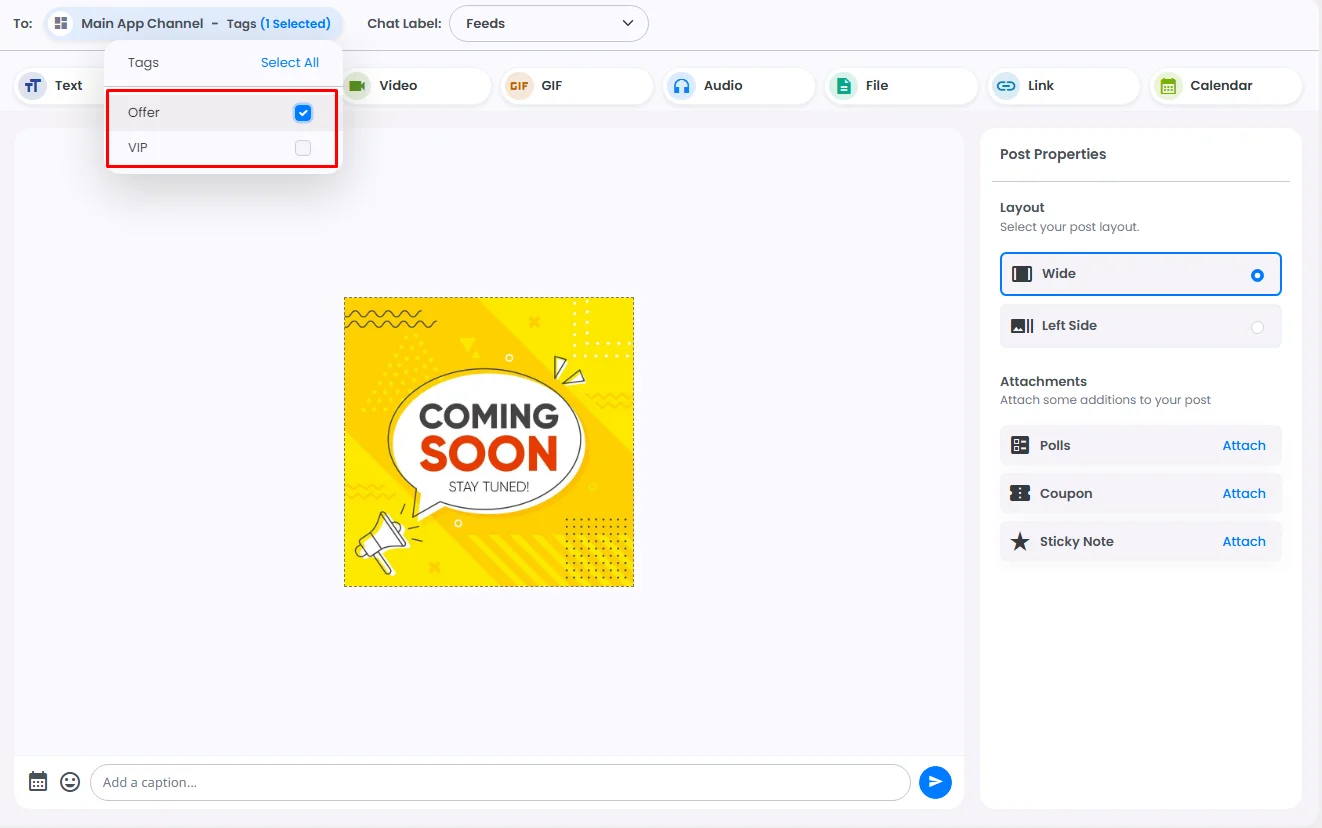
You can assign tags to your post.
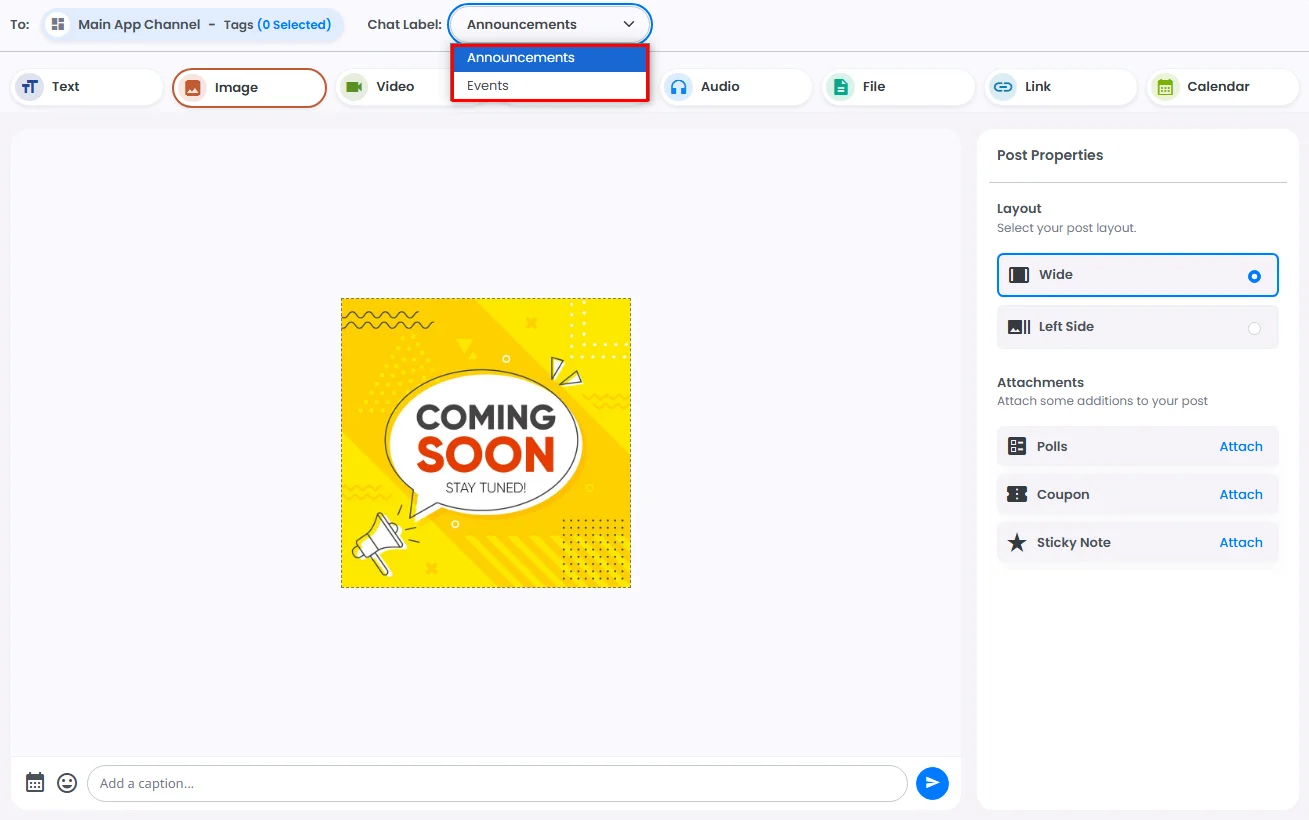
Don’t forget to assign your post with a specific chat label if you have multiple feed center tabs in your app.
Check out how to adjust your chat labels here.
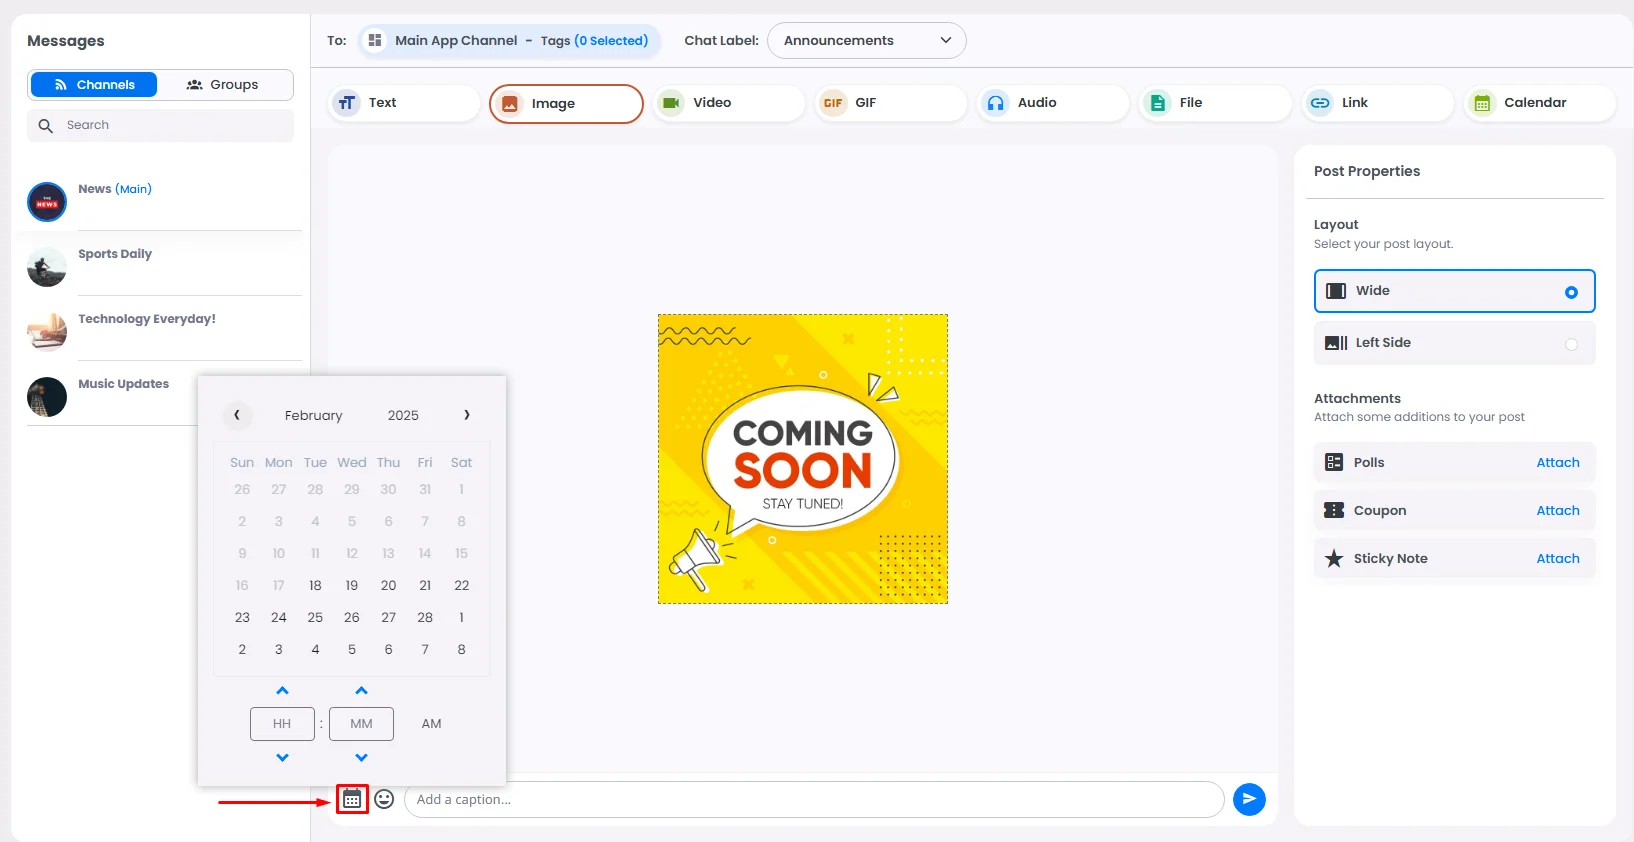
Create a Scheduled Post
Click the calendar button and choose the date and time if you have already written your post but would like to post it later.
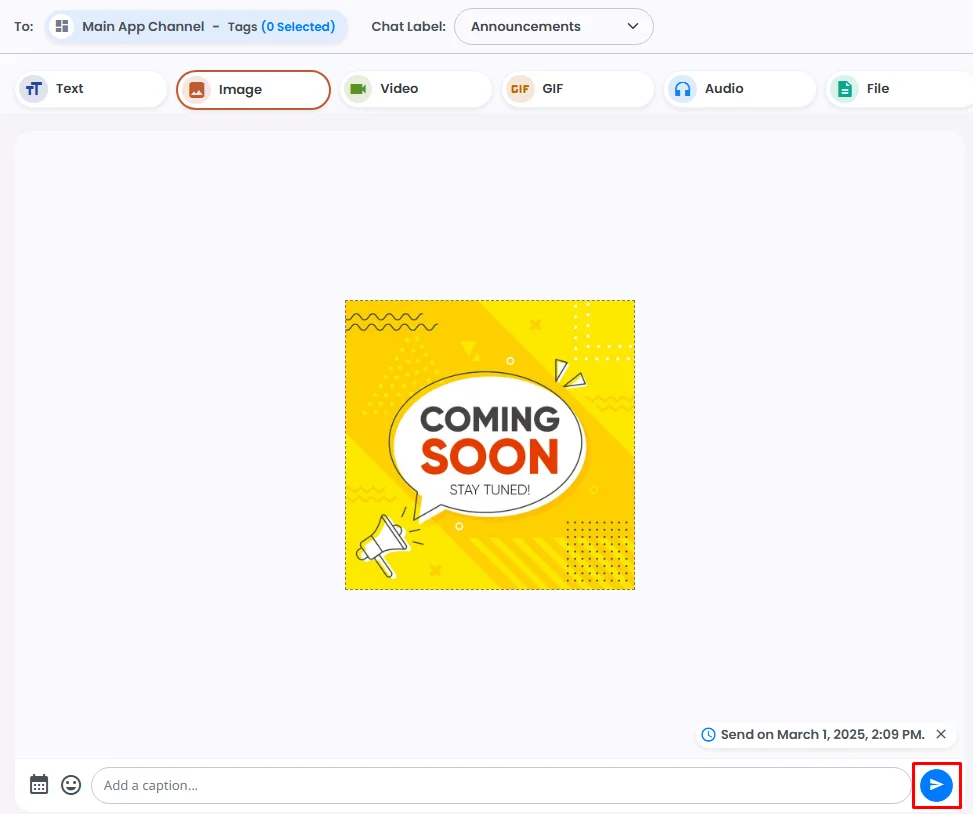
You can delete the scheduled date and post it immediately if you want.

Click the send icon, and that’s it! You have now scheduled your post!
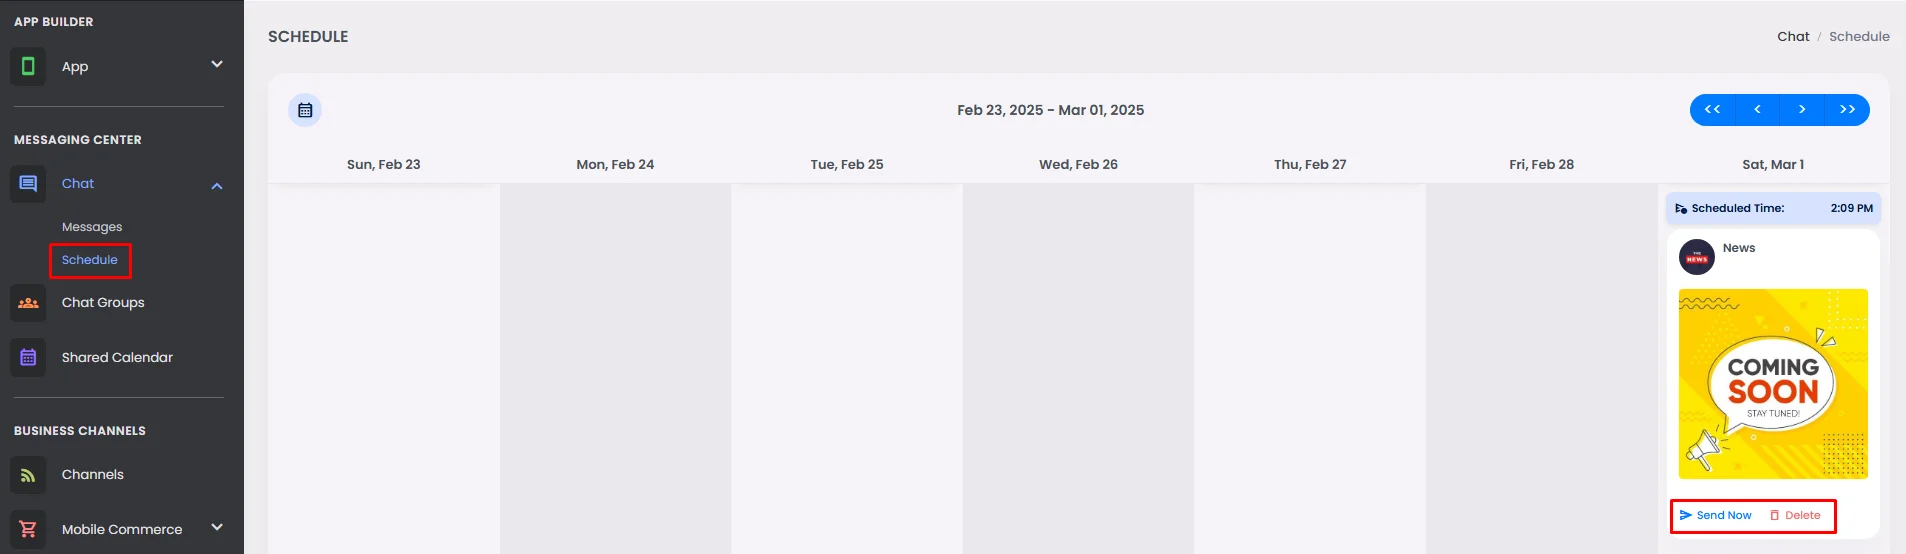
You also have the option to delete the scheduled post. Go to the ‘Schedule’ page, then click ‘Delete’, and if you want to send it immediately, click ‘Send Now’.
Posting From Your Mobile Device
In order to post, you need to assign yourself as an admin in the app. When you open your app, make sure to know what username you used to create your profile and assign yourself as an admin.
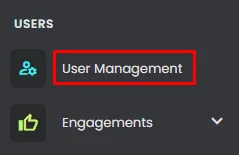
- From the admin menu, go to the Users section and click 'User Management'.
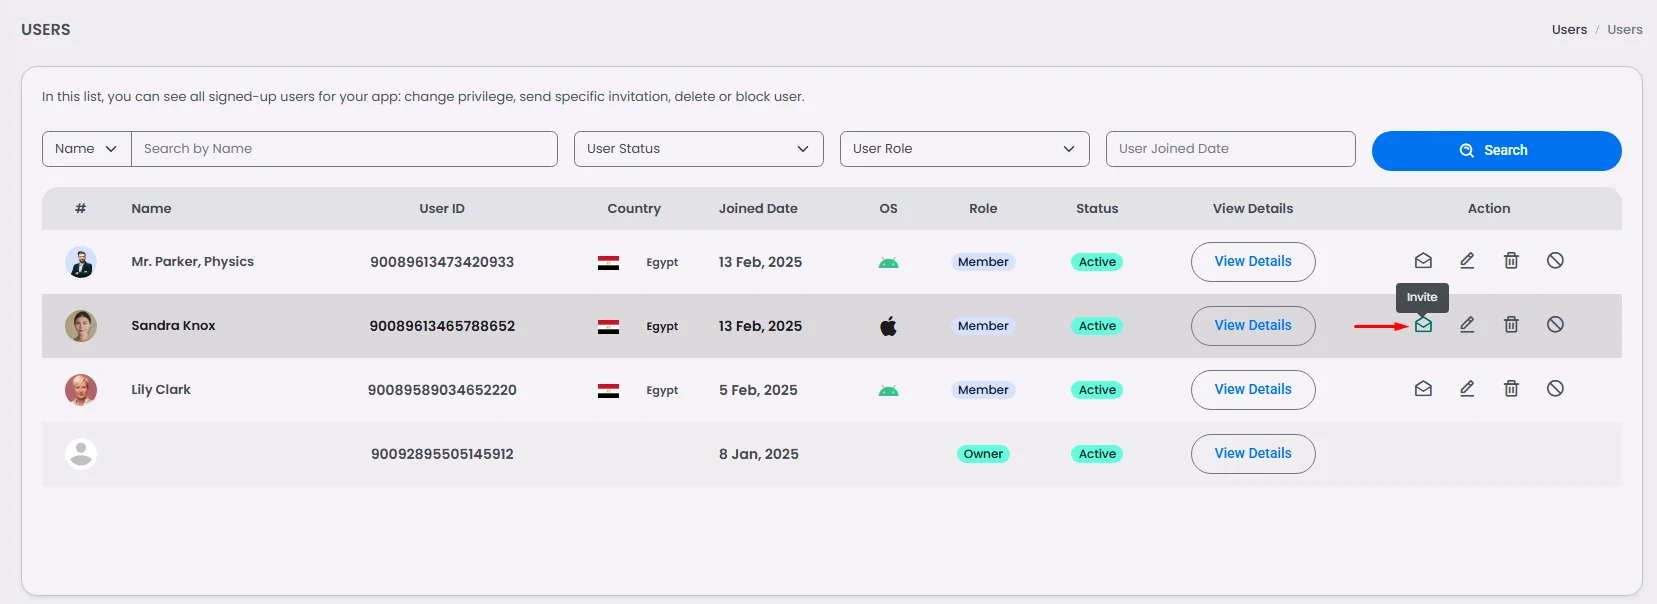
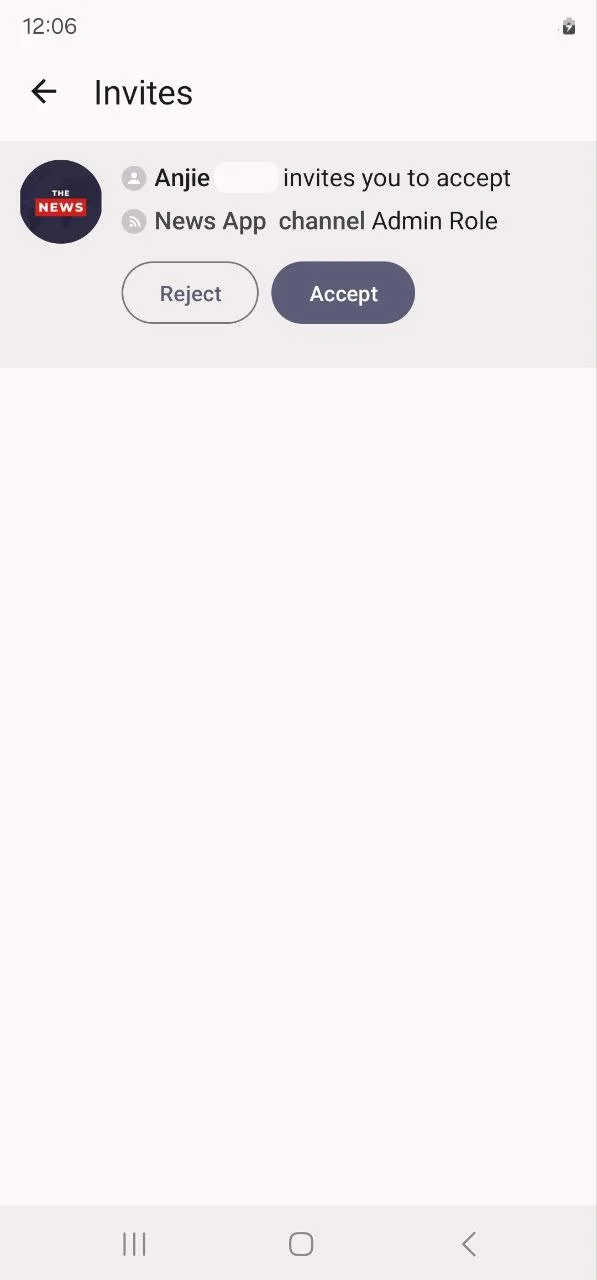
- Click the invitation icon.
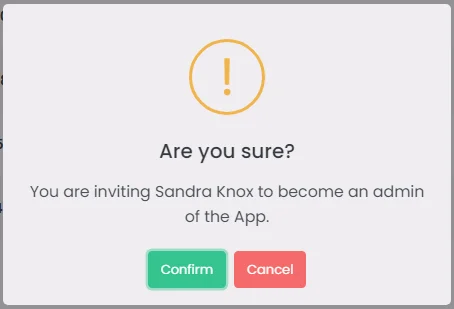
- Click 'Confirm' to send the administrator invitation to the user.
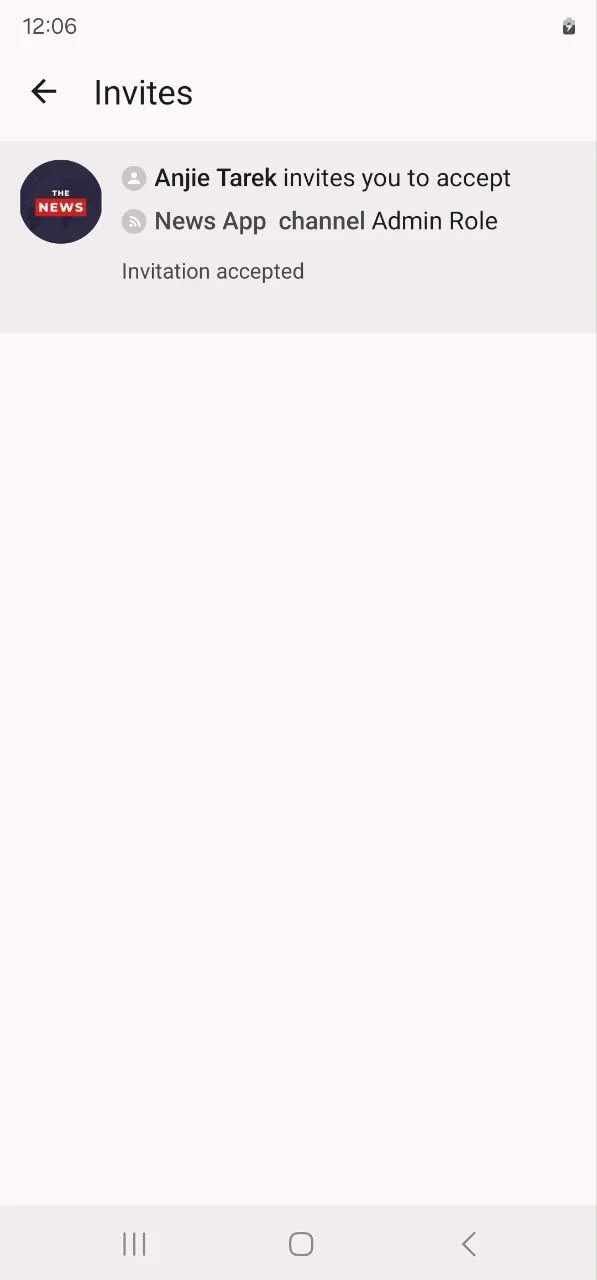
- Make sure to accept it from the device.
- And done! You had the admin role in the app.
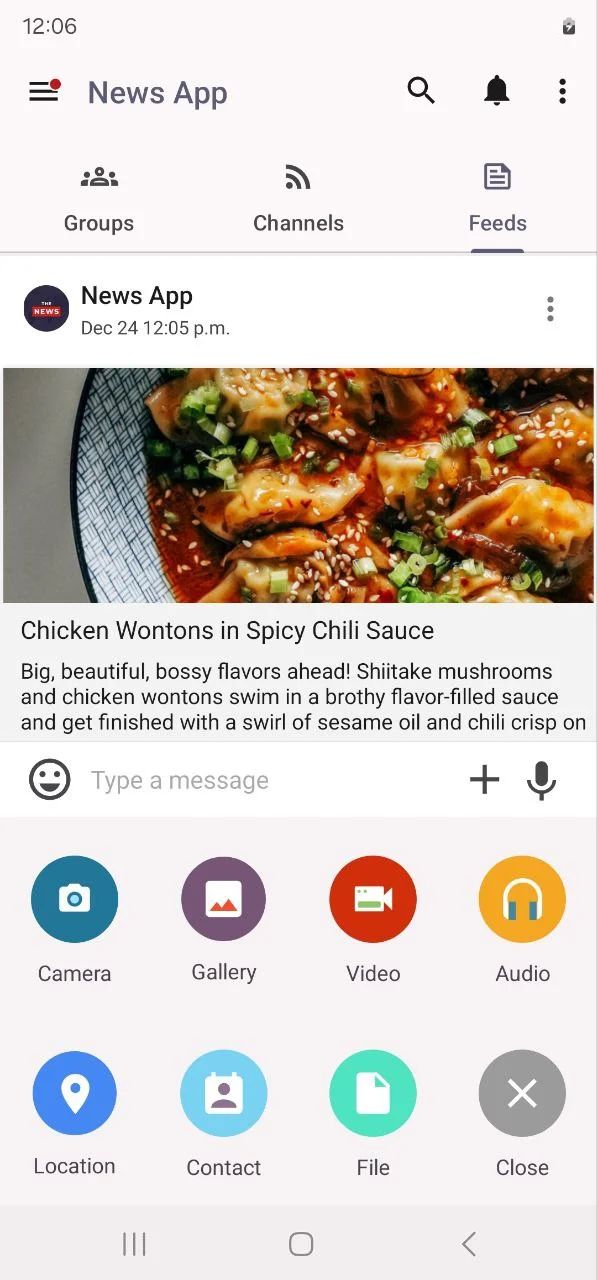
Now you can create a post on your device. Type anything in the box or attach any file or media and send it to your users.
Recommended Components
- Smart Calendar: You can post calendars to show timetables and schedules for users.
- Booking & Event Center: Announce your upcoming activities to increase user interaction in your app.
❓ FAQs
Q: How can I add a news feed or content stream within my app without writing code?
A: You can use the Feeds Center component to easily create a dynamic content stream in your app. It’s perfect for showing posts, updates, or media in a clean, scrollable feed—all set up visually with no coding required.
Q: What is Feeds Center?
A:
The Feeds Center is a pre-built feature that organizes and displays your app’s posts, images, and updates in a user-friendly, scrollable stream. It’s ideal for:
- News and announcements
- Community posts or updates
- Highlighting media content
Everything is managed visually in the builder—no development work needed.
Q: How do I add and configure it in my app?
A:
- Open the app builder and find the Feeds Center component.
- Drag and drop it into your app’s screen or menu layout.
- By default, it fetches and displays your latest content—posts, images, and updates—in chronological order.
- Customize settings to fit your design:
- Set default sorting or filtering options.
- Adjust the visual layout, including image sizes, preview text length, and spacing between posts.