
Shopping App
Shopping App
Shopping apps have become an essential component of the online shopping revolution. They offer convenient, efficient, and frequently personalized shopping at our service. These apps turn our phones into virtual stores, letting us shop for groceries, clothes, gadgets, and home goods anytime and anywhere.
How shopping app will benefit my business
Shopping apps improve the buying process and give companies more ways to engage customers with personalized recommendations and quick payment methods, which makes shopping easy and fun for fashionistas and convenience seekers.
You can reach customers across the globe, expanding your customer base substantially. Features like push notifications, loyalty rewards, and special promotions can improve customer purchases and keep your brand fresh in customers' minds. It plays an important role in enhancing brand recognition and loyalty and giving you a competitive edge, particularly if your competitors do not offer them.
In essence, a shopping app can be a powerful tool to drive customer engagement, increase sales, and boost your brand, ultimately contributing to your business's growth.
Main features of shopping apps and how do they enhance customer experience and business growth
In order to achieve a good shopping experience with your shopping app, we will suggest some features, give a few tips and tricks, and give hints that will help you organize your shopping app.
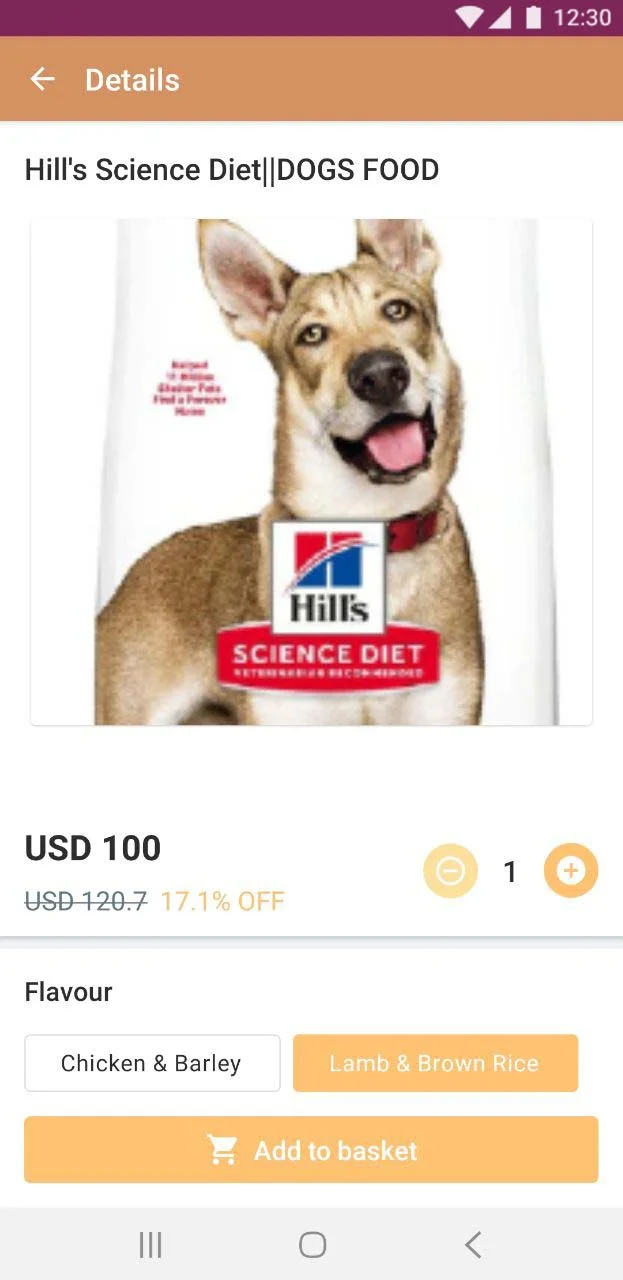
Online store:
Through a mobile store, shopping is made easier for you with better mobile interfaces.
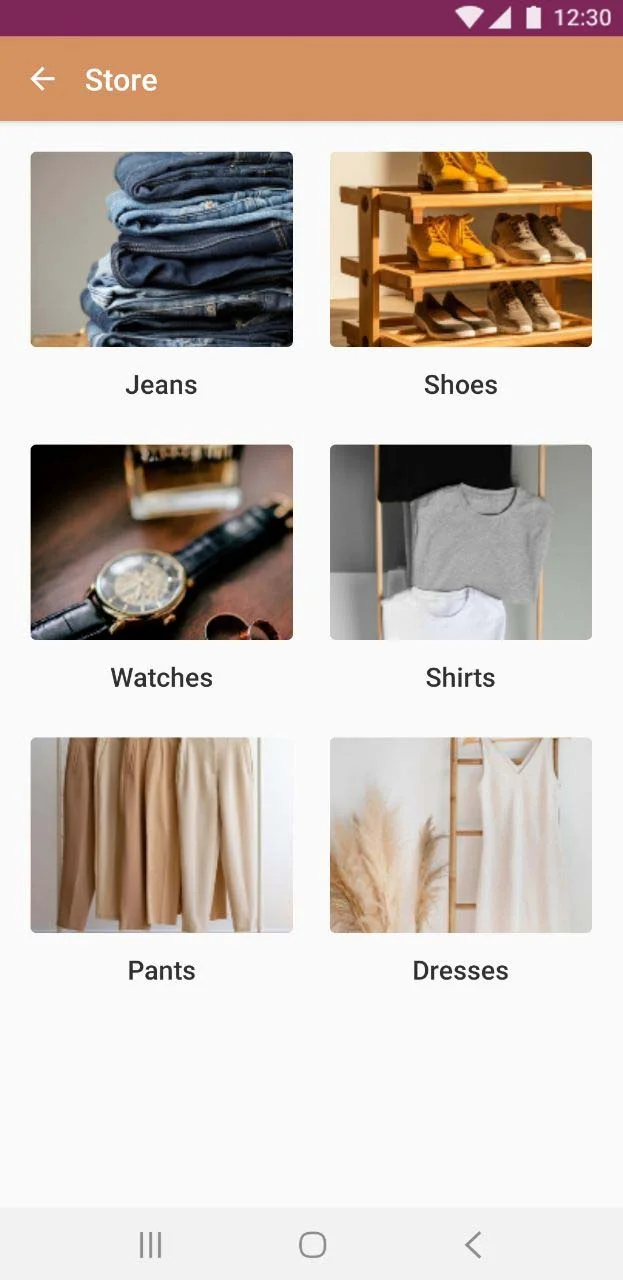
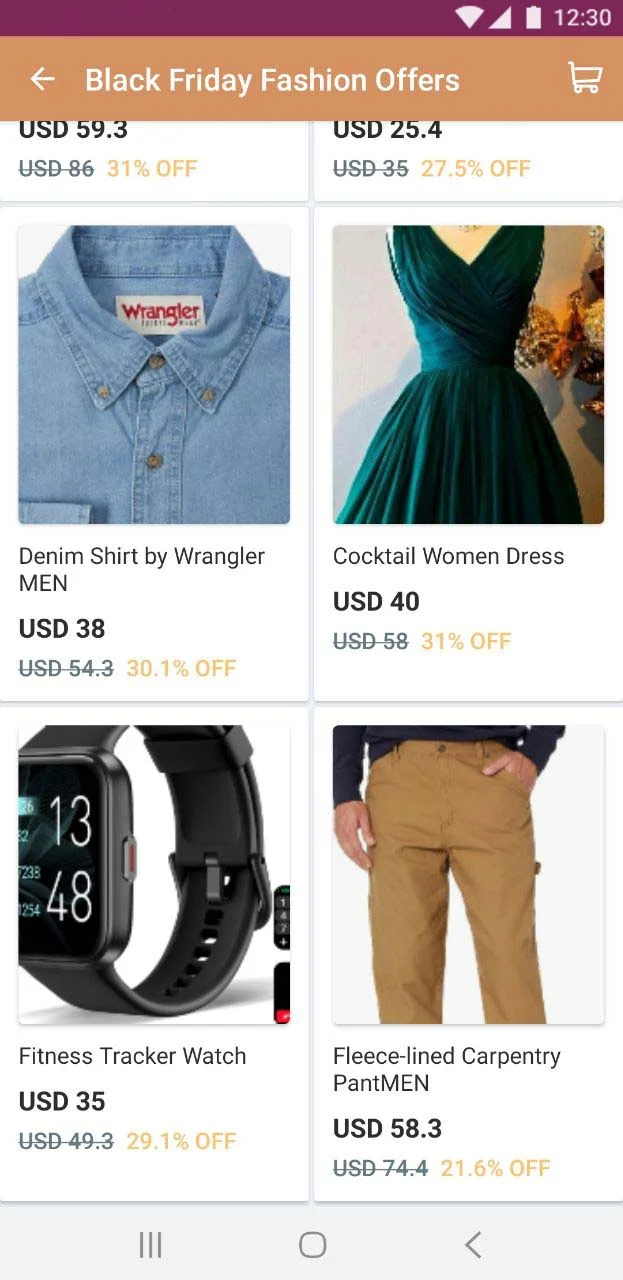
You can spread your product categories and provide your audience with a great experience in discovering your day-by-day new collections.
Tips:
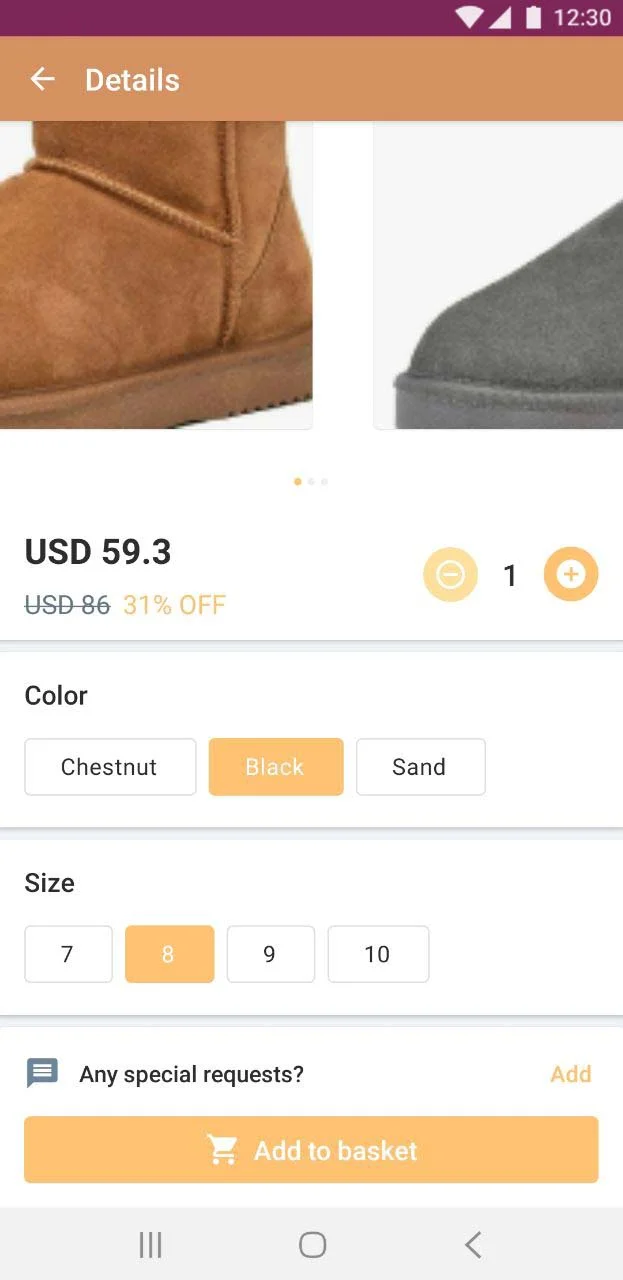
- Creating a product, just like normal shopping apps, is a great feature that allows you to add your filters (cloth size, color, etc.). And remember, they can always search for their desired category or product.
- Inform your audience about your just-launched fashion through feeds, encourage interaction with your staff, and engage them in discussions on the specifics of the item.
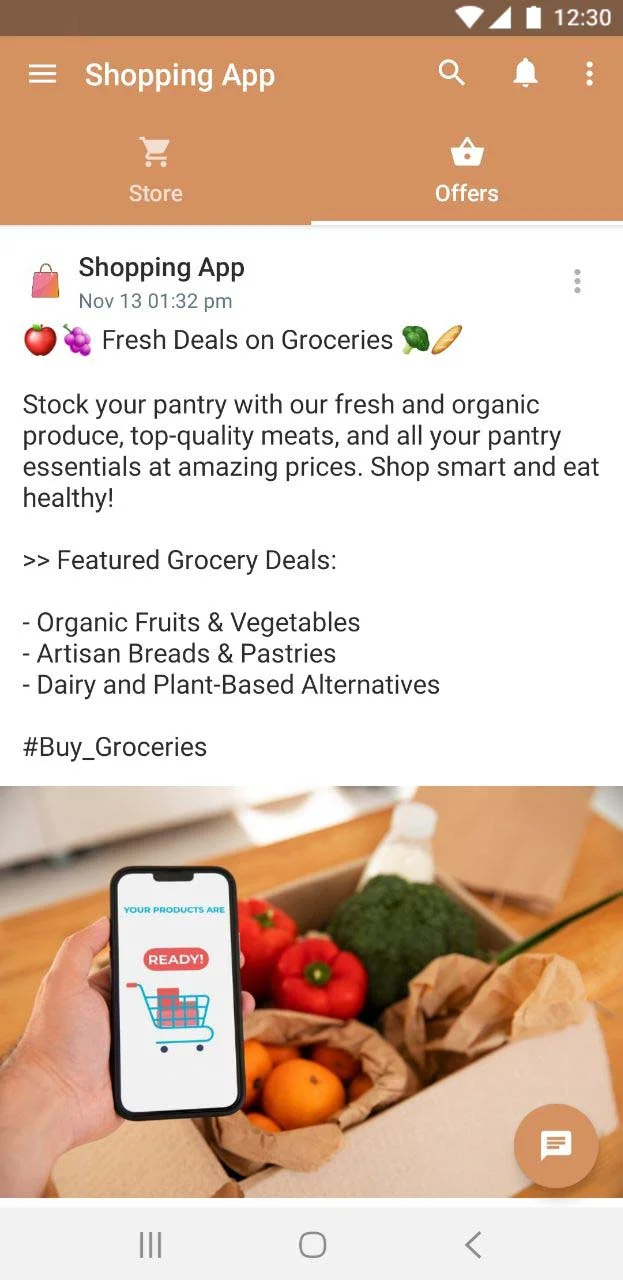
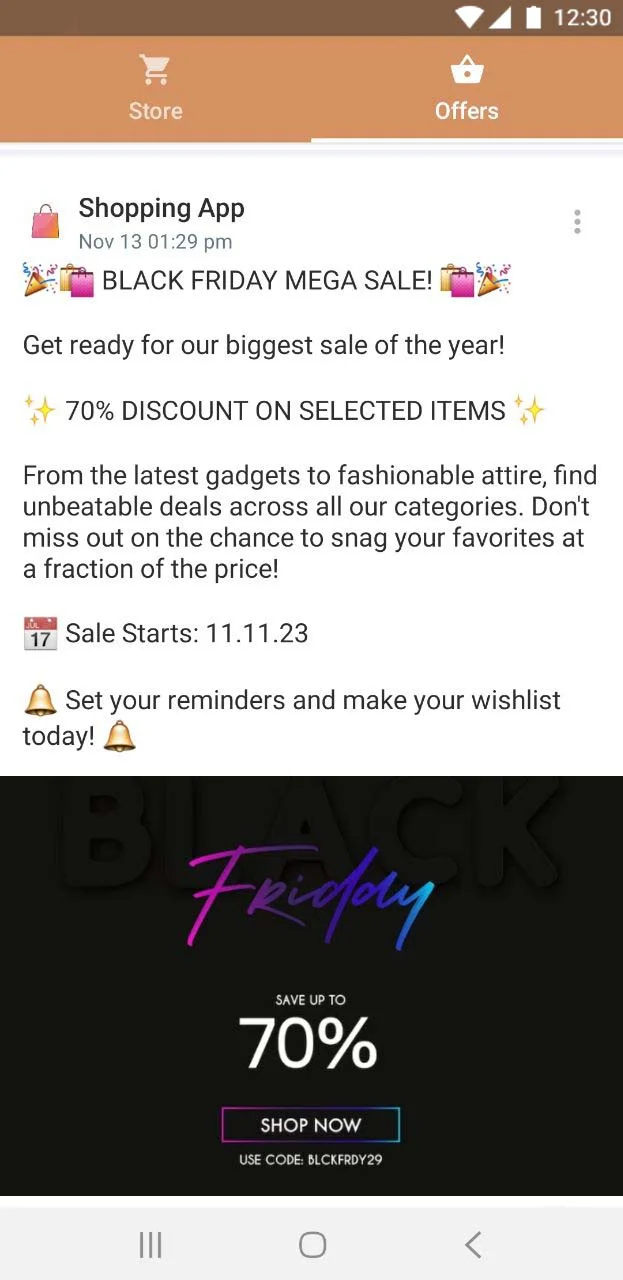
- Create your own registration procedure through email registration, collect your audience's emails using MailChimp, and begin developing your campaigns for promotional and discount offers. Participants can also be sent a coupon as a token of appreciation for their participation.
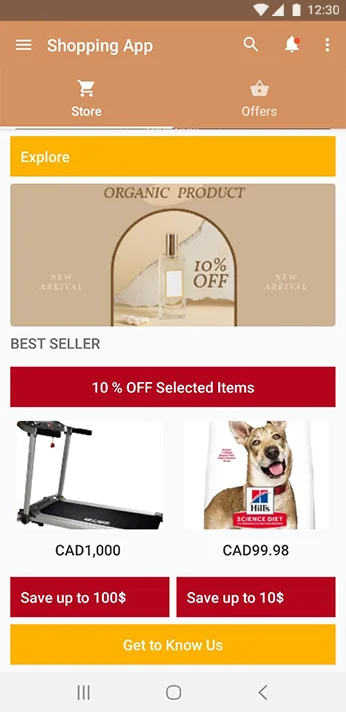
Shopping Community:
Creating a customer support bot is also beneficial for your audience when it comes to reporting issues, such as shipping delays, product details, etc.

Tips:
- By using a search tool in the app, your users can easily find their favorite shopping category.
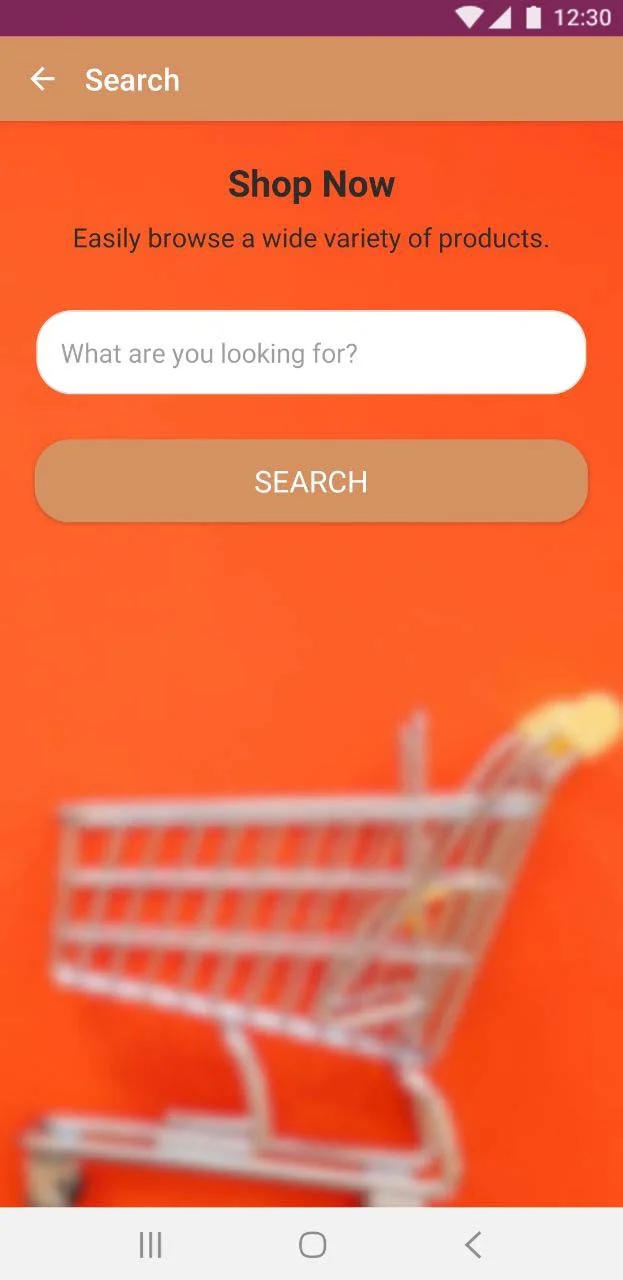
- Adding a space for your website in your app for convenient access would be made possible with the help of a WebView.

Shopping Cart:
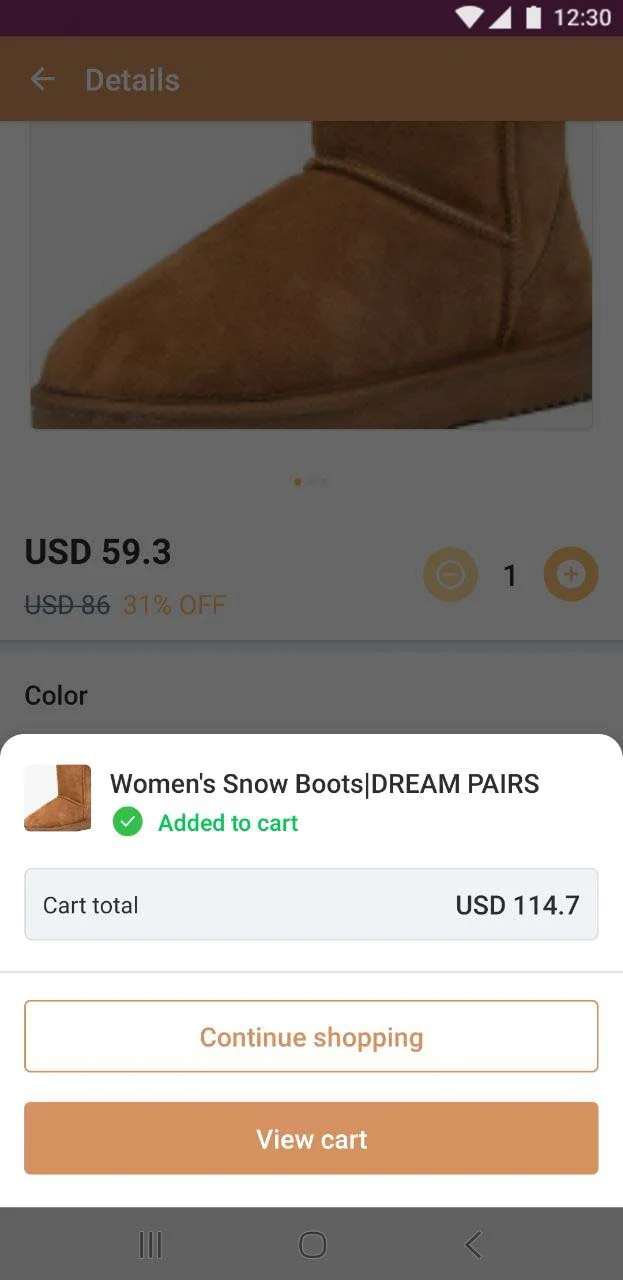
Every online store needs a shopping cart to make it easier for customers to complete their purchases. It's a fantastic feature that enables users of your app to choose, reserve, and buy goods and services. Like in the real world, you are free to add and remove items as you see fit and preview your order details, showing you the total price, adding address, etc., to make sure that your information is all correct.
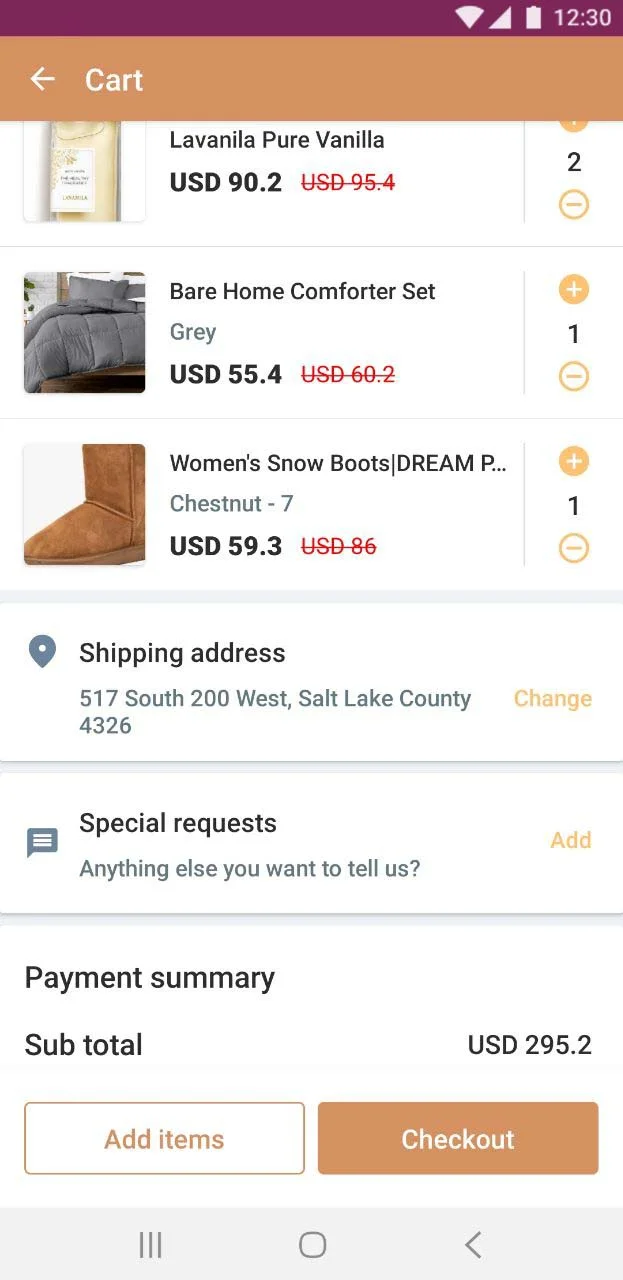
Tips:
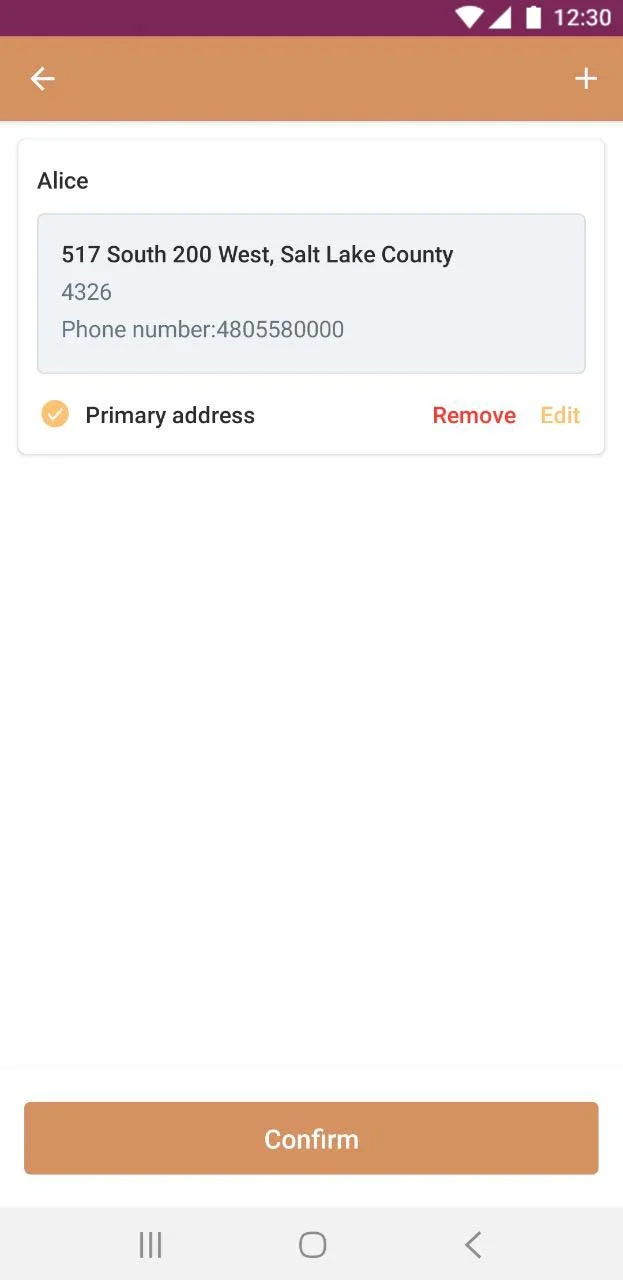
- You have the choice to manually enter your address in the shopping basket or use our Google Maps integration, with the ability to change or remove it at a later time.

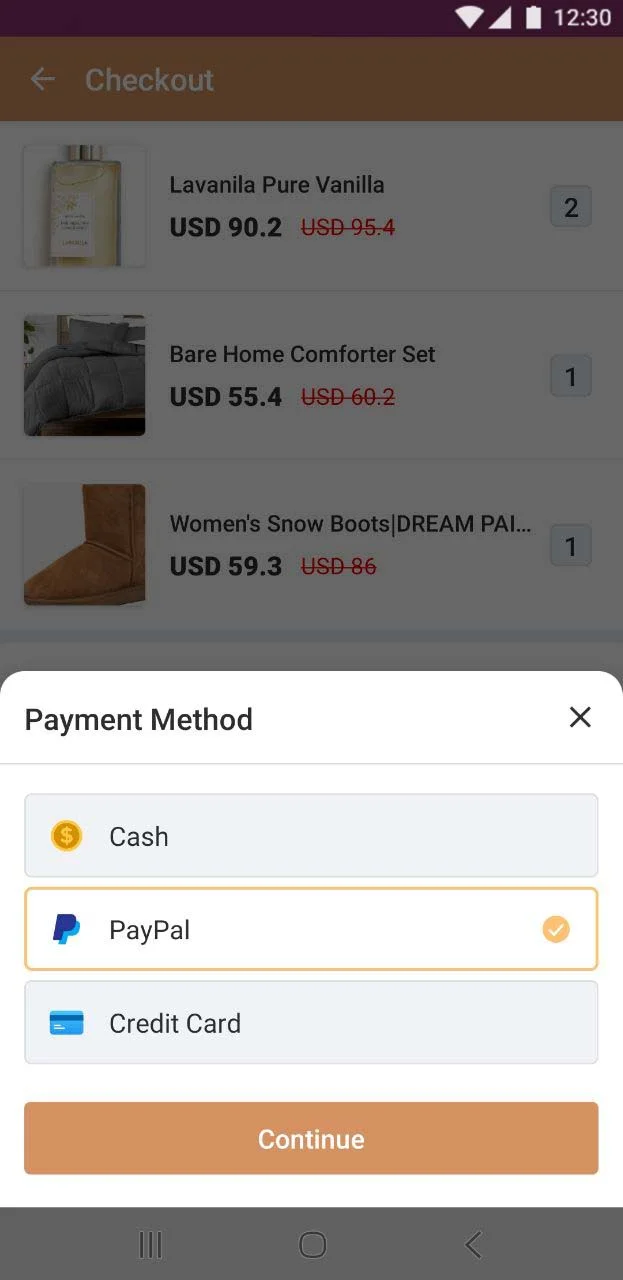
-
Having a favorite payment option available and visible increases customers' likelihood to complete their purchase by 70%. The ability to pay with a preferred method should be offered to customers in a shopping cart. That's why we recommend Stripe and PayPal payment gateways, as they're the most popular payment methods shoppers probably use.
With this guide in hand, you're all set to embark on your journey to implement these features and craft an exceptional shopping app. Let's get started!
Updated 9 months ago