
Sports App
Sports App
The goal of sports apps is to put all the fun and knowledge about different sports right at your fingertips. They serve a wide range of customers, from passionate fans and amateur players to pro athletes and sports groups.
This documentation serves primarily as a source of inspiration and a demonstration of potential ideas and features. It is not an actual template that you can directly implement.
How sports app will benefit my business
If you are in the sports industry or your target market includes athletes, incorporating a sports app into your business plan might have several advantages. By regularly updating customers on sporting events, player statistics, selling sports memorabilia, and other topics, it can increase consumer engagement.
Sports apps can raise the popularity of your company. Your brand is recognized more as more customers download and utilize your app.
Main features of sports apps and their function in increasing fan interaction and simplifying sports management
In order to achieve a good platform for sports, we will suggest some features, give a few tips and tricks, and give hints that will help you organize your sports app.
Physical activity channels
Your sports app is the ideal platform to announce any goods or services you may have that are associated with sports. For instance, if you own a gym or fitness establishment, you can set up channels to announce unique exercises, diet regimens, and other things.
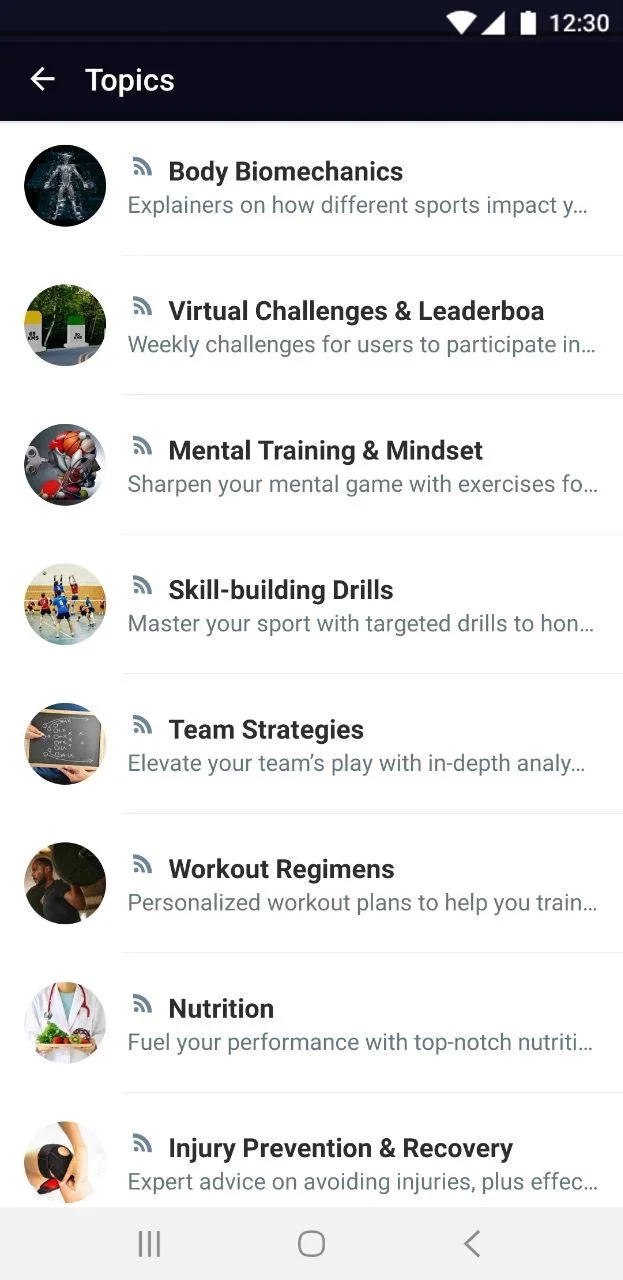
It also intends to encourage users to participate in debates and offer their opinions on specific sporting occasions, teams, or athletes.
Tips:
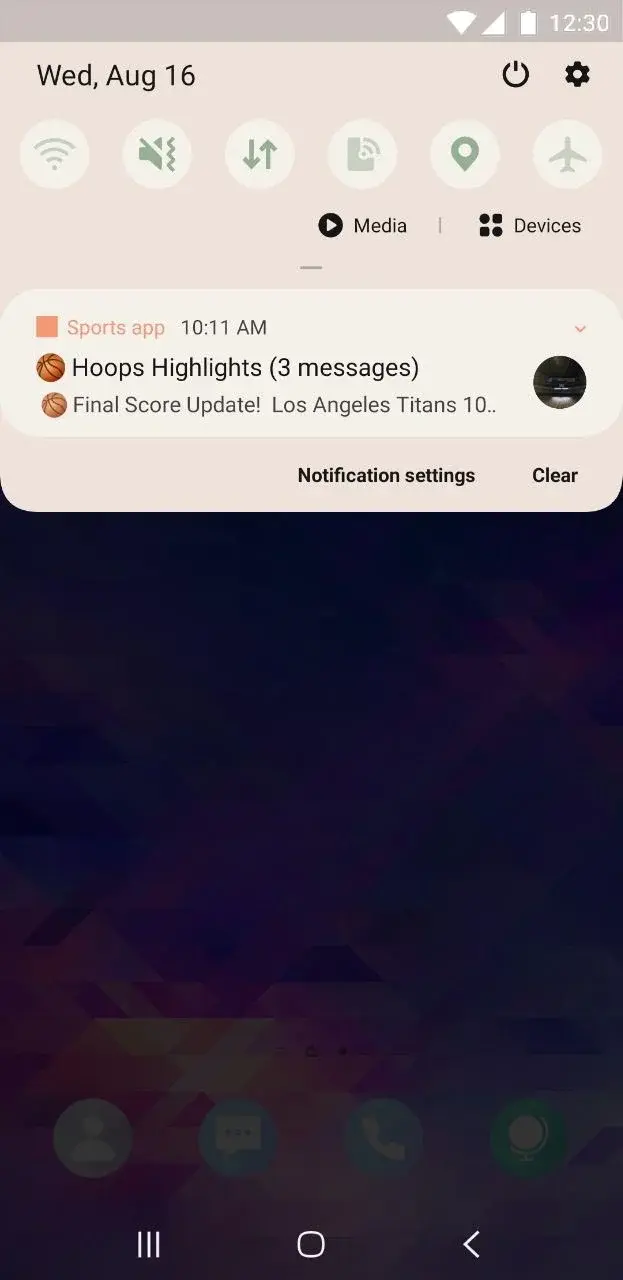
- By joining a specific channel, users can receive personalized notifications about upcoming games, scores, or any news related to their favorite sports or teams.
- Using tags to separate your information can also help, as you can add a football tag to any announcement that has anything to do with their preferred sports, teams, or players, including news, articles, interviews, and updates.
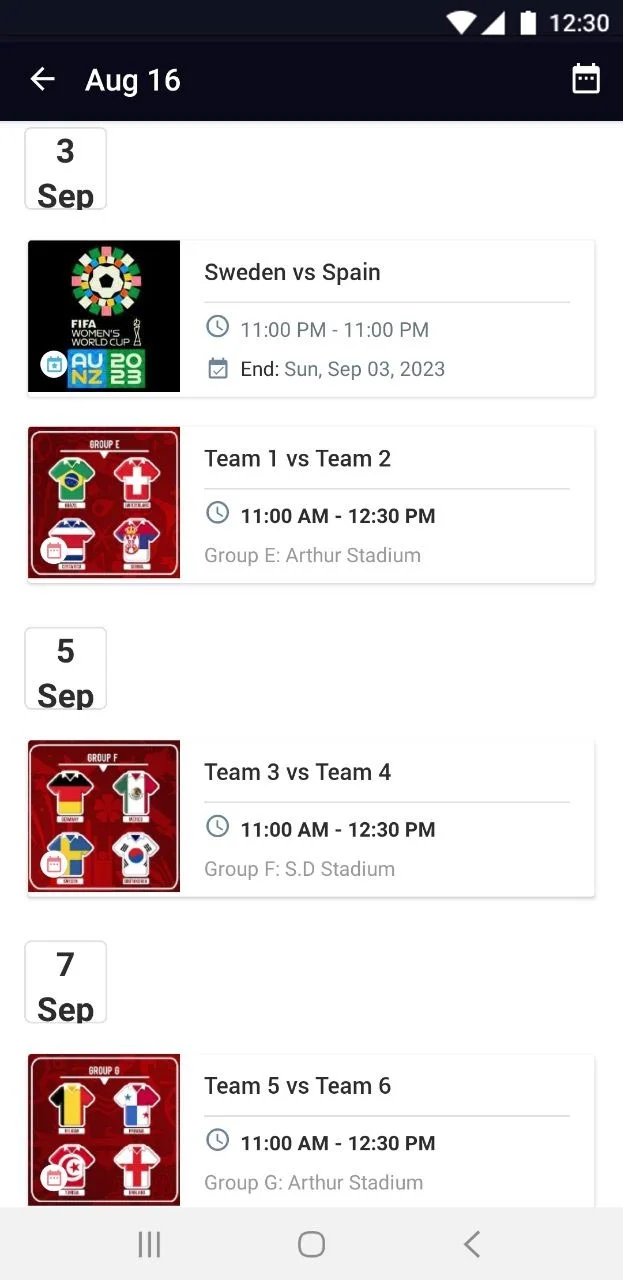
- The addition of a calendar for an upcoming match or tournament schedule enables customers to make plans in advance and ensures that they don't miss their preferred activities.
Rewards:
Users are more likely to return and use the app more frequently when they know they can earn points and receive rewards. When users use an app frequently, such as by reading news articles or watching matches, they might earn rewards through a loyalty program.
Tips:
- You can promote a new competition asking users to predict the World Cup results in order to earn coupons or points that can be redeemed for a certain reward.
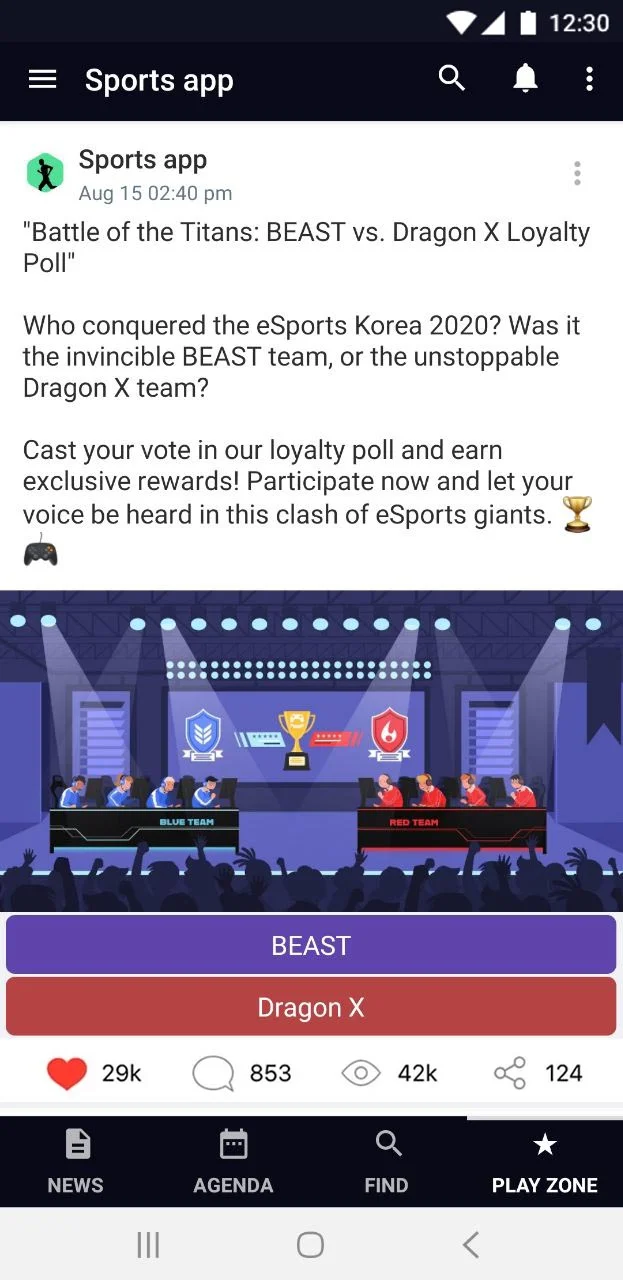
- Campaigns can be done with the addition of a poll; for example, you can excite your audience by scoring game polls for rewards.
- You can use the loyalty program to encourage users to try out new features. For example, you can offer extra points for sharing content from the app on social media or subscribing to premium content through in-app purchases.

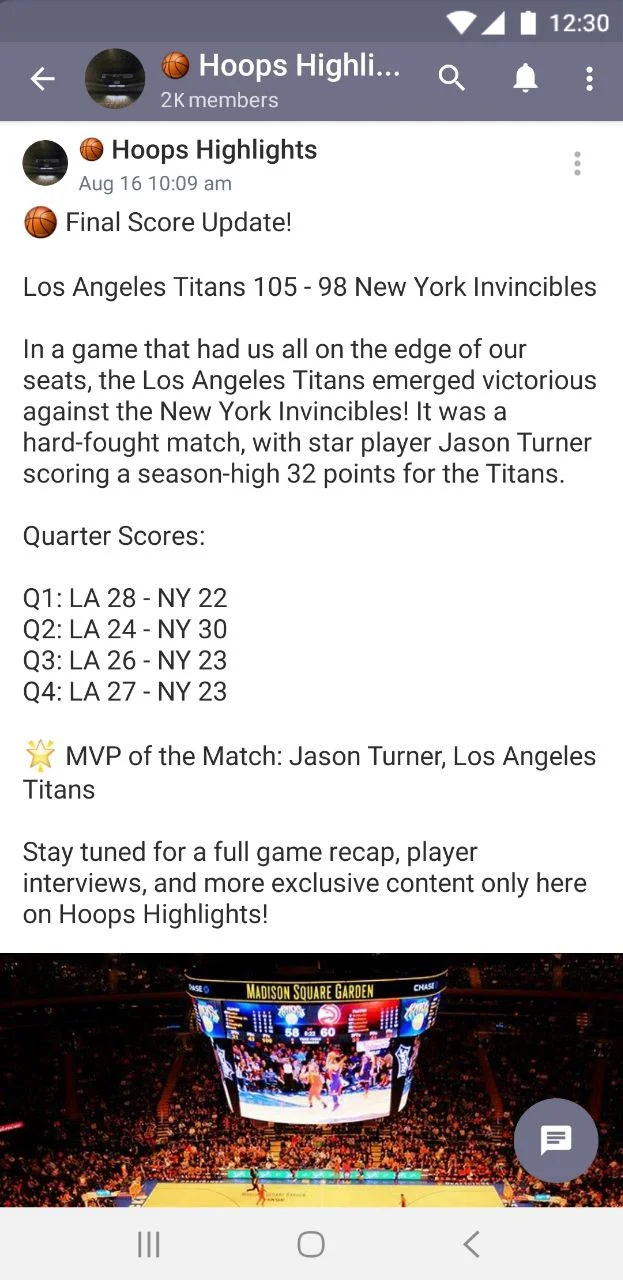
Sporting articles:
Your sporting content can be arranged on pages according to various sports, leagues, or teams. Users will find it simple to locate and follow the sports or team material that interests them.
Tips:
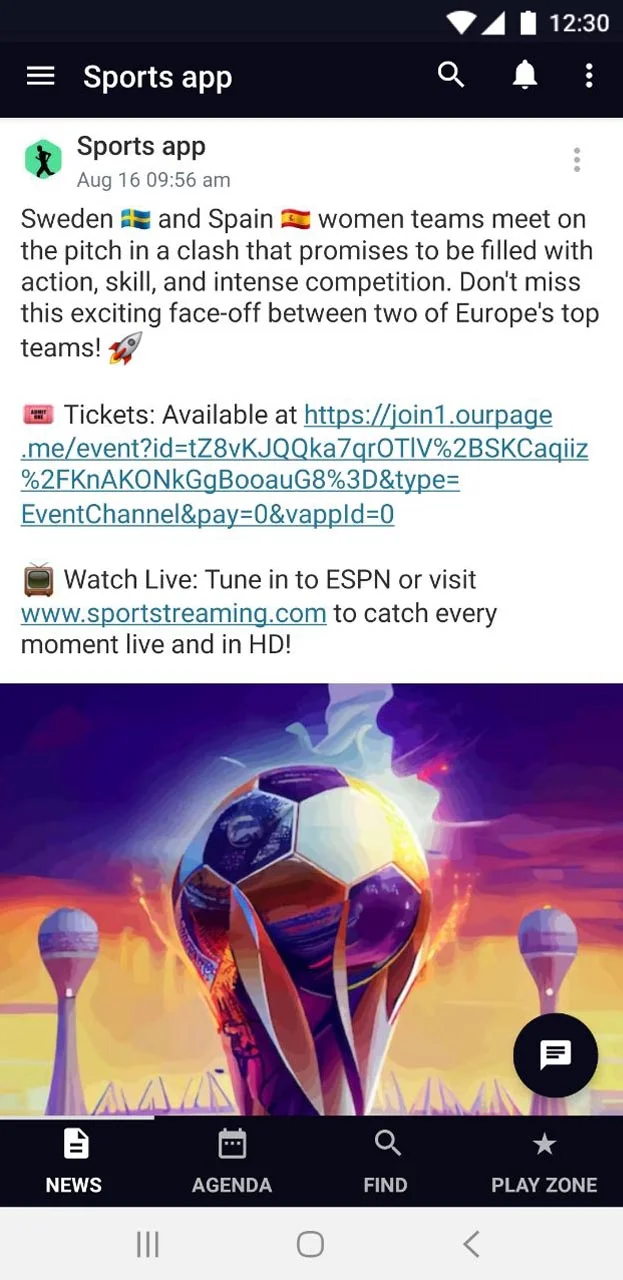
- Your content strategy can be significantly improved by including a Media Center in your sports app, as it gives you the option to include eye-catching featured images in your articles.

- You can enable displaying a wide variety of sports videos within your app, including highlights from games, interviews, and analysis, by adding your YouTube channel or playlist URL.
With this guide in hand, you're all set to embark on your journey to implement these features and craft an exceptional sports app. Let's get started!
Updated 7 months ago