
School App
School App
School apps are a big part of modern education and have changed the way people learn and teach. These apps are a complete digital tool that brings students, teachers, and parents together on one platform.
How school app will benefit my business
The school app is a magnificent marketing platform that will improve your brand's image. It shows how your school is tech-savvy and dedicated to giving students modern learning tools, such as letting you tell your audience about school events, leisure activities, or new classes. This can help your school get more students and improve its image and enrollment rates. The app can make it easy for teachers, students, and parents to talk to each other, making the school community better.
The idea of educational apps is to save time and money while also generating great revenue. You can sell extra learning materials inside the app or show related ads.
Your app's value depends on the features it has, how easy it is to use, and how well it meets the needs of your students, parents, and teachers. That's why it is important to include everyone in the planning and implementation processes.
Main features of school apps and how do they facilitate learning and communication
In order to achieve a good educational process with your school app, we will suggest some features, give a few tips and tricks, and give hints that will help you organize your school app.
Online Classes:
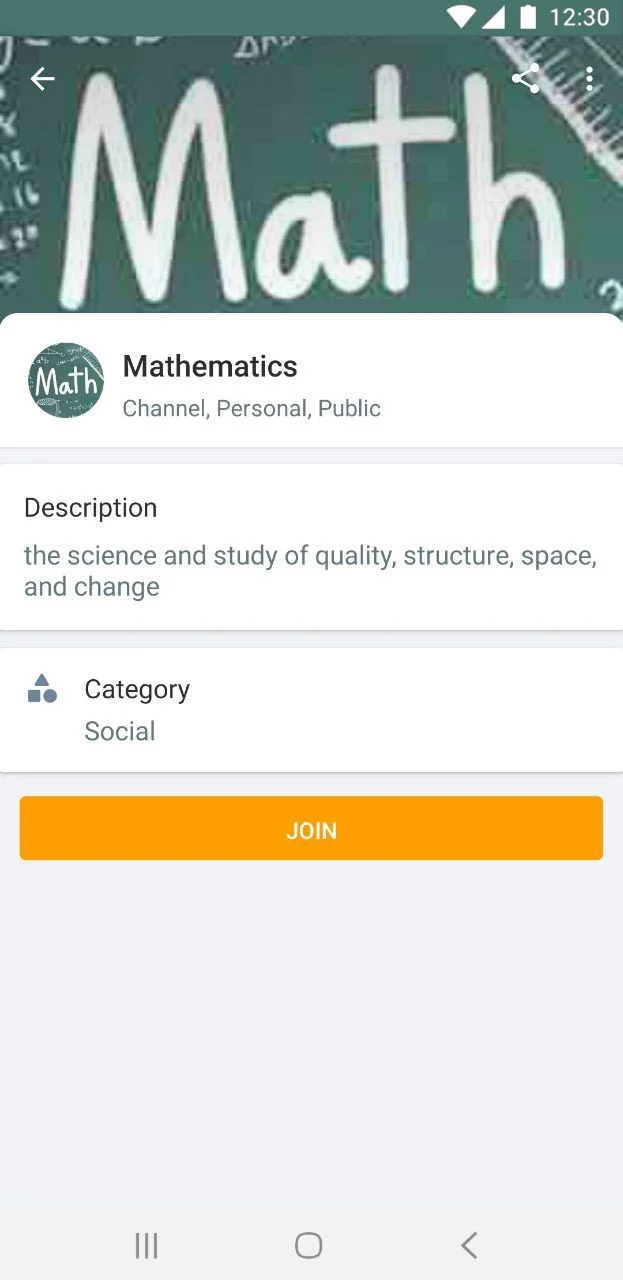
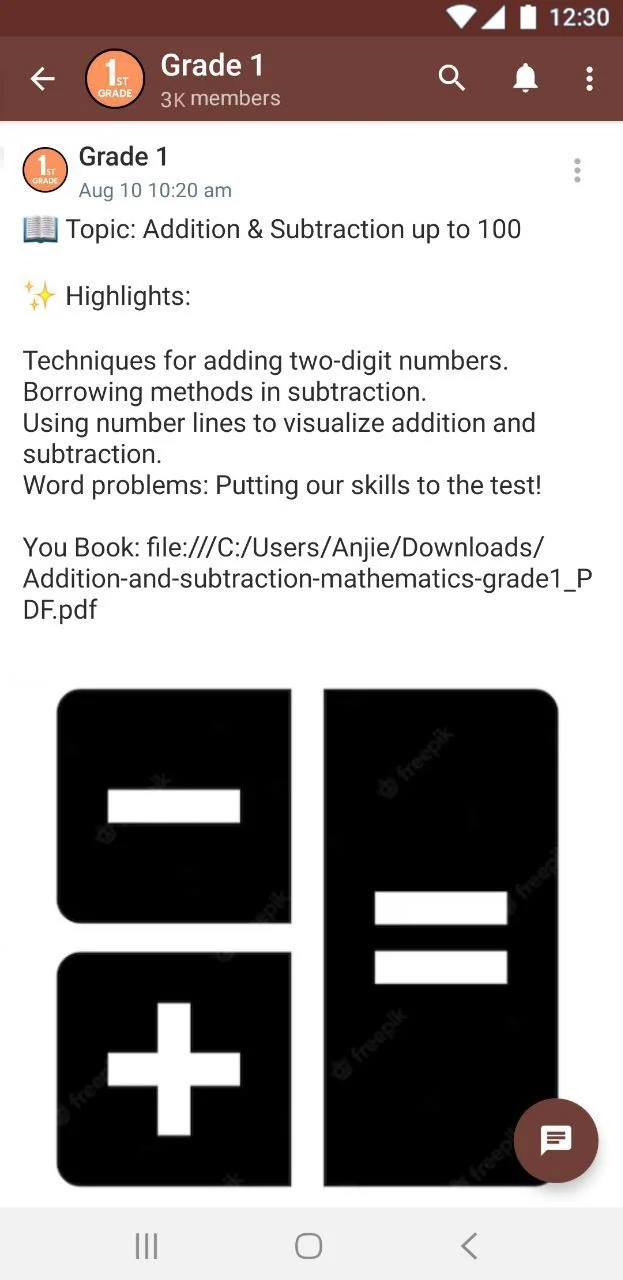
For instance, As language arts, mathematics, and social studies are all taught in the fifth grade, you can create a channel per subject. Then, students can search for their materials according to the grade they belong to and start to join their subject's channels.
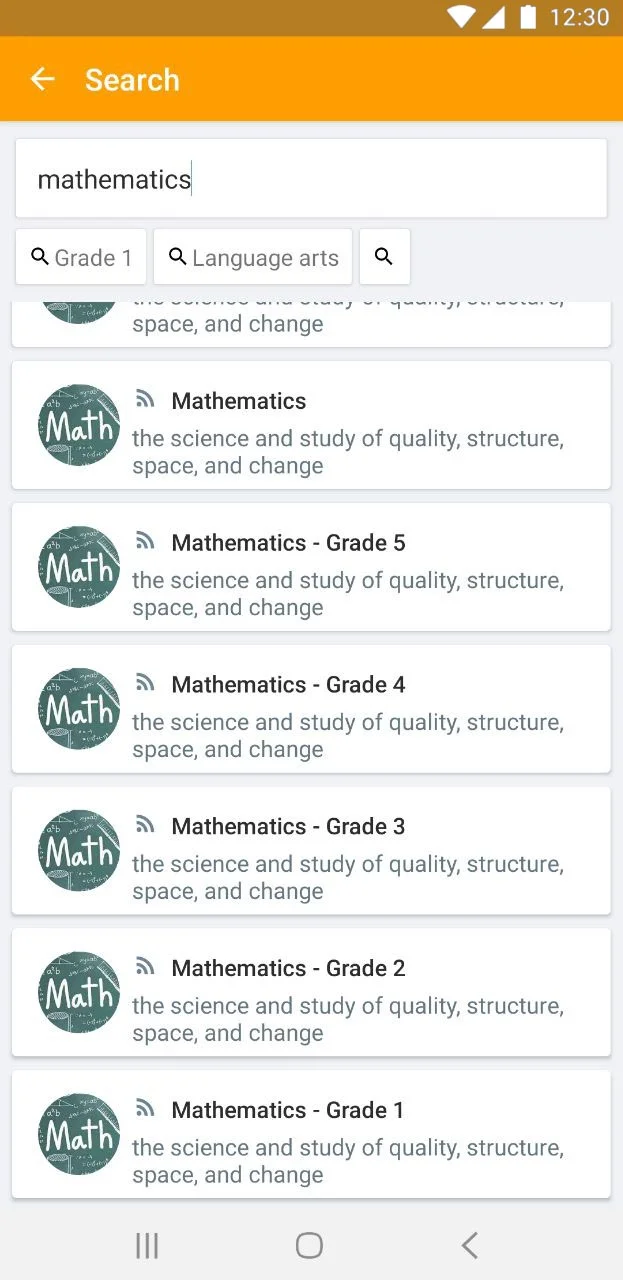
Or, you can create a channel per grade and depend on tags. Create a tag for language arts, a tag for mathematics, and a tag for social studies. When you post a new mathematics lesson, you will only add the mathematics tag. This will help students determine which post is related to which subject.
Tips:
- Teachers should be assigned as app admins as they are expected to be the most frequent users of your app and will communicate with kids and parents, so they have to get this privilege to also have the ability to post like lesson summaries, home assignments, or class announcements. Parents can also reply to teachers posts and communicate with them privately, check on their kids activities, etc. The Talk to admin' option is also a private discussion between the teacher and the parent or student.

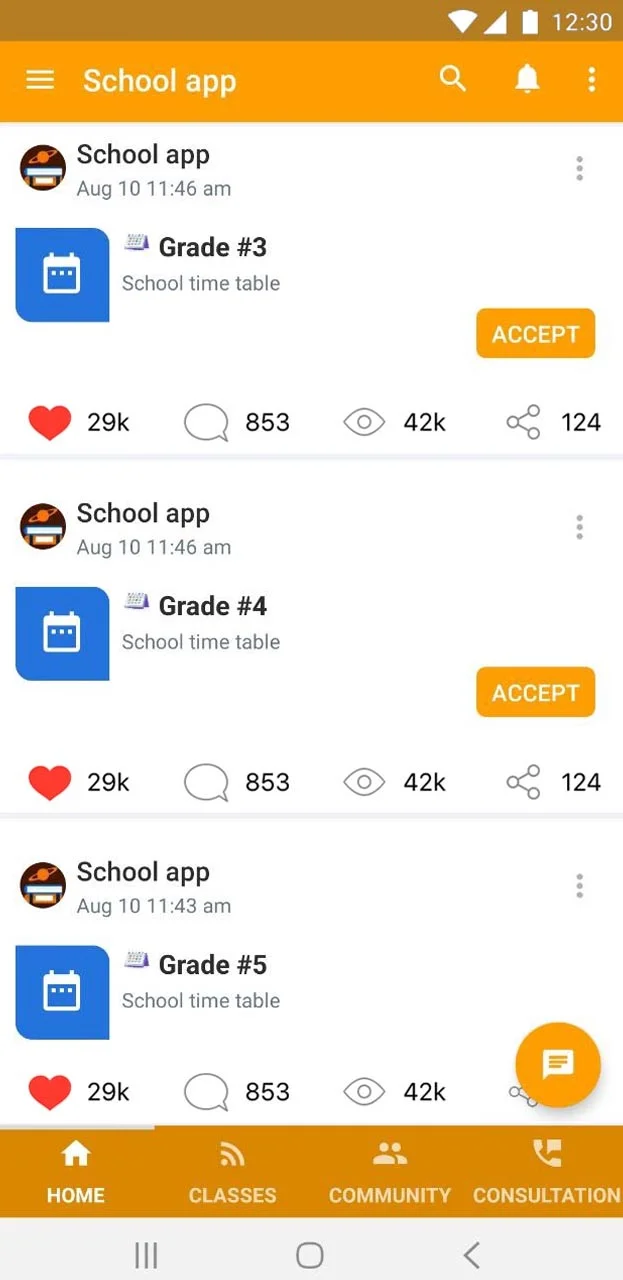
School Announcements:
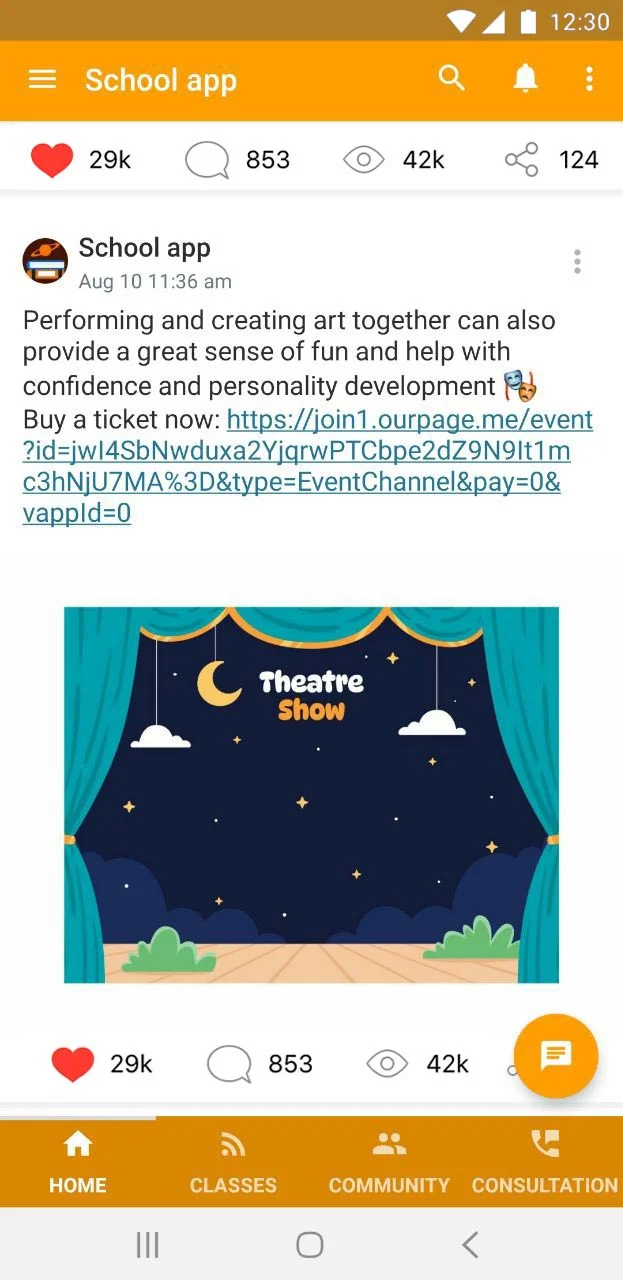
The school app's newsfeed is going to be a great feature for announcing school activities, events, trips, school payments, or parent announcements, which allow students and parents to make replies and interact with teachers if they have a comment on a specific post.
In order for teachers to create a private post that can only be seen by parents, you need to create tags. For instance, you can create a tag for students, a tag for parents, and a tag for teachers. If teachers want to announce a certain parent's event, create the post and then assign the Parents' tag only. At that point, only parents will be able to see the post. The same applies for the remaining tags.

Tips:
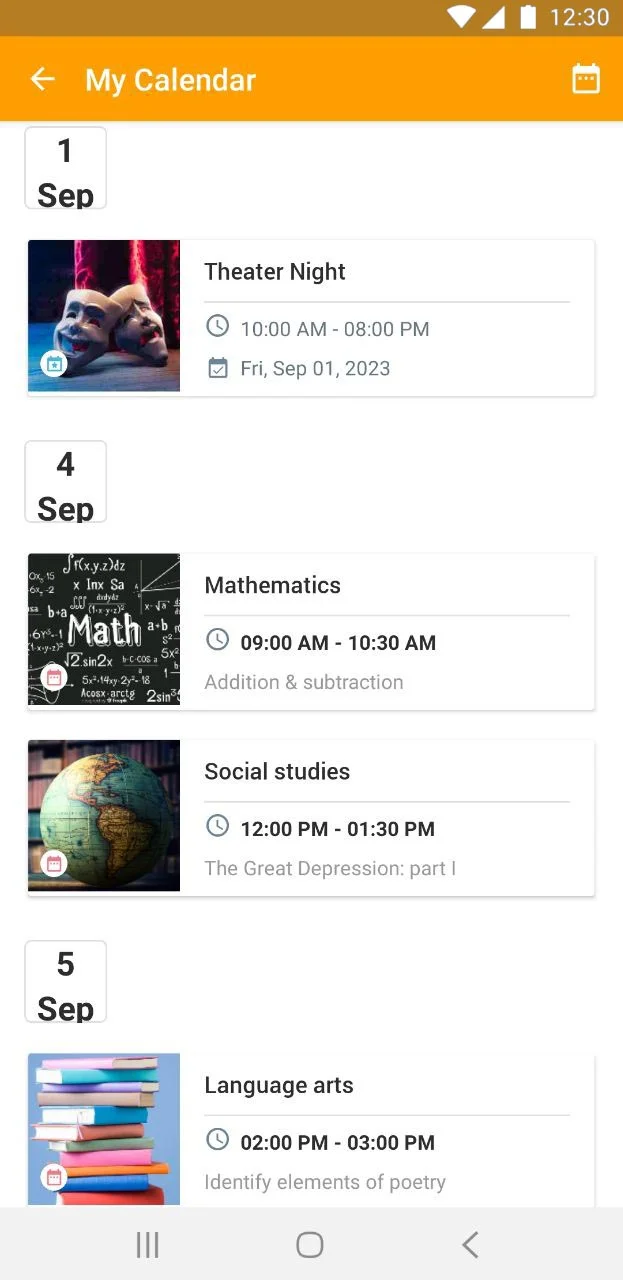
- The teacher can also post a school calendar. For instance: You will need to create a calendar per grade for their school's timetable. If you created a calendar for 5th grade, you will post it with the tag of 5th grade, and you can activate the 'auto accept' option as it will sync automatically with students devices.
- The calendar will also help with representing school events, If a student accepts to join a specific event that will be attended on September 1, the event will be submitted under the date September 1 in their calendar for a future reminder.
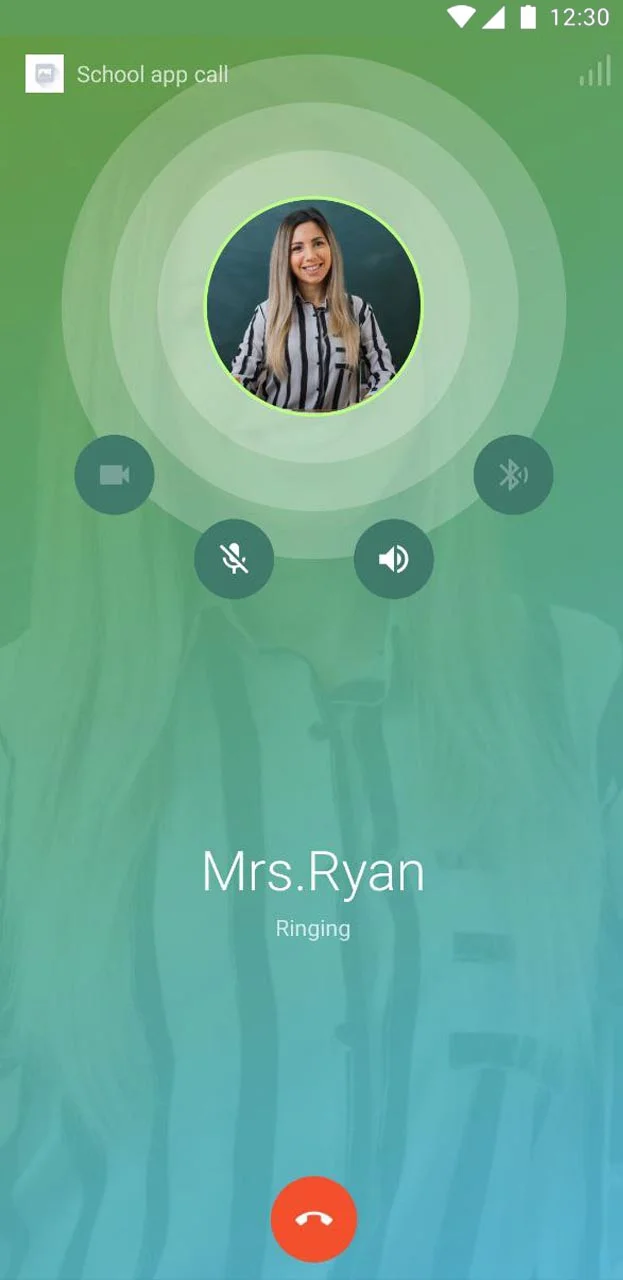
School communication:
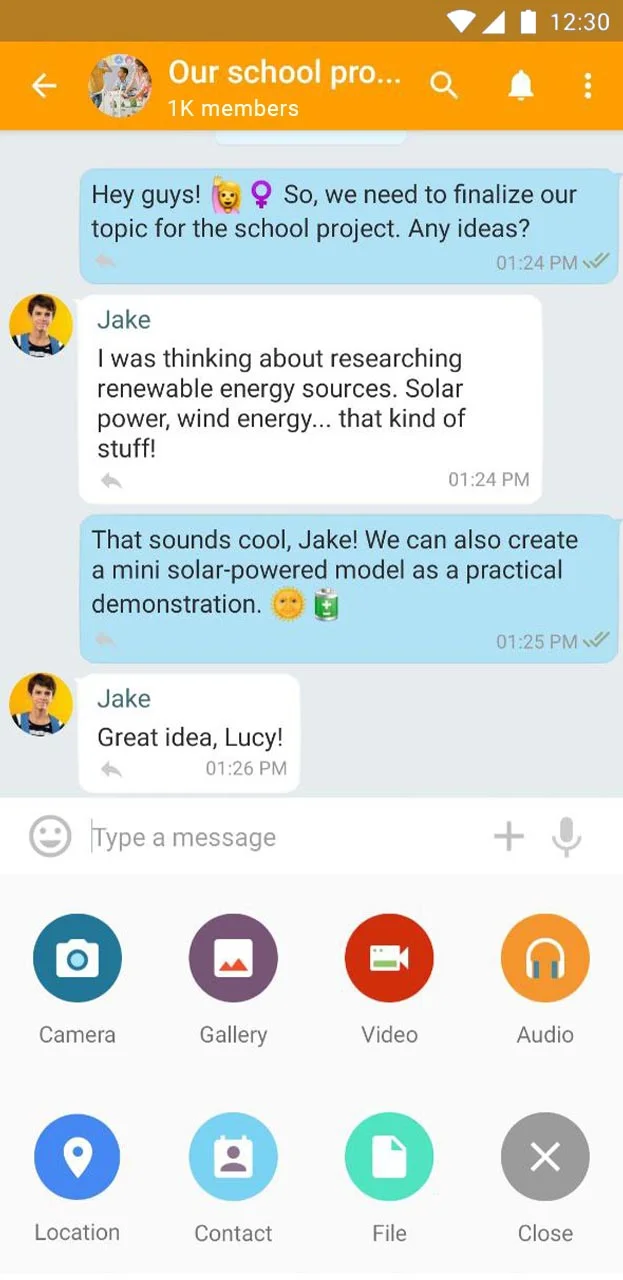
Adding the Messenger feature to your app is essential for better teacher-parent or student-student conversations. For instance, students can create study groups, swap notes, share useful resources, or even discuss a school's project for better teamwork.
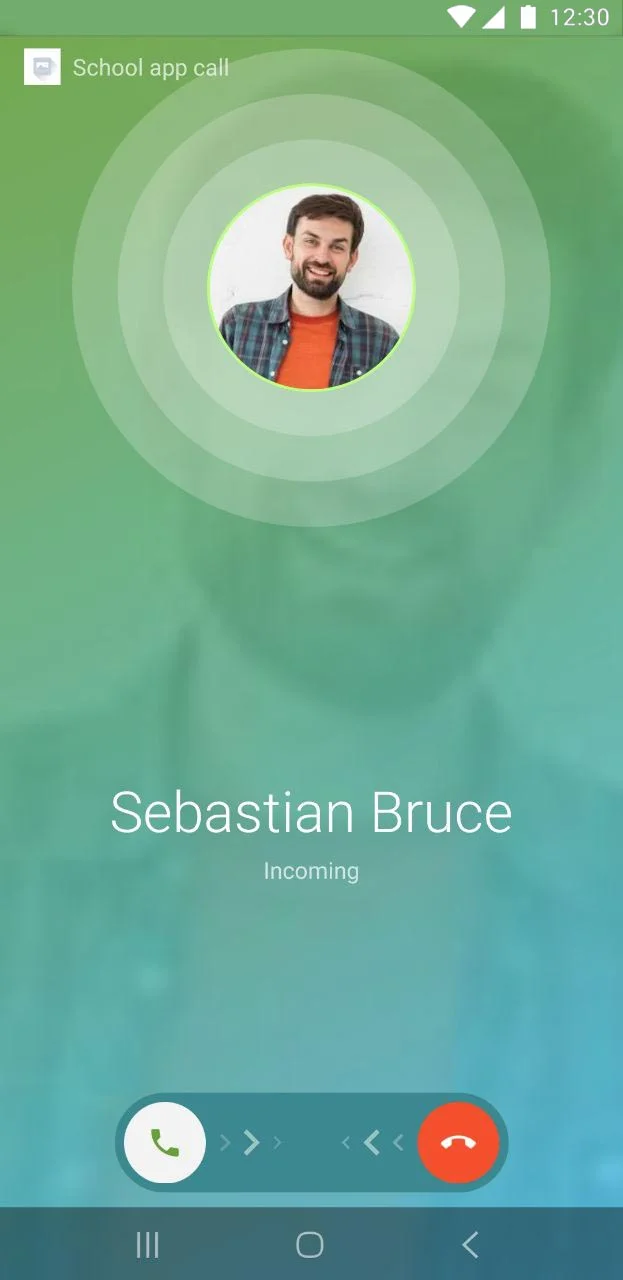
Parents, too, are able to chat or even have video calls with teachers, discussing a child's progress, seeking clarification on assignments, or sharing concerns.
Tips:
- You, as a school, can create groups for classrooms, projects, or even counseling and support, then announce them by sending invitational links through a post in your news page or through your users channels [students, parents] in order for them to join right away without searching for it.

- Since each group has its own QR code, students and parents can scan the QR code of the group for quick joining. [The same applies to channels]

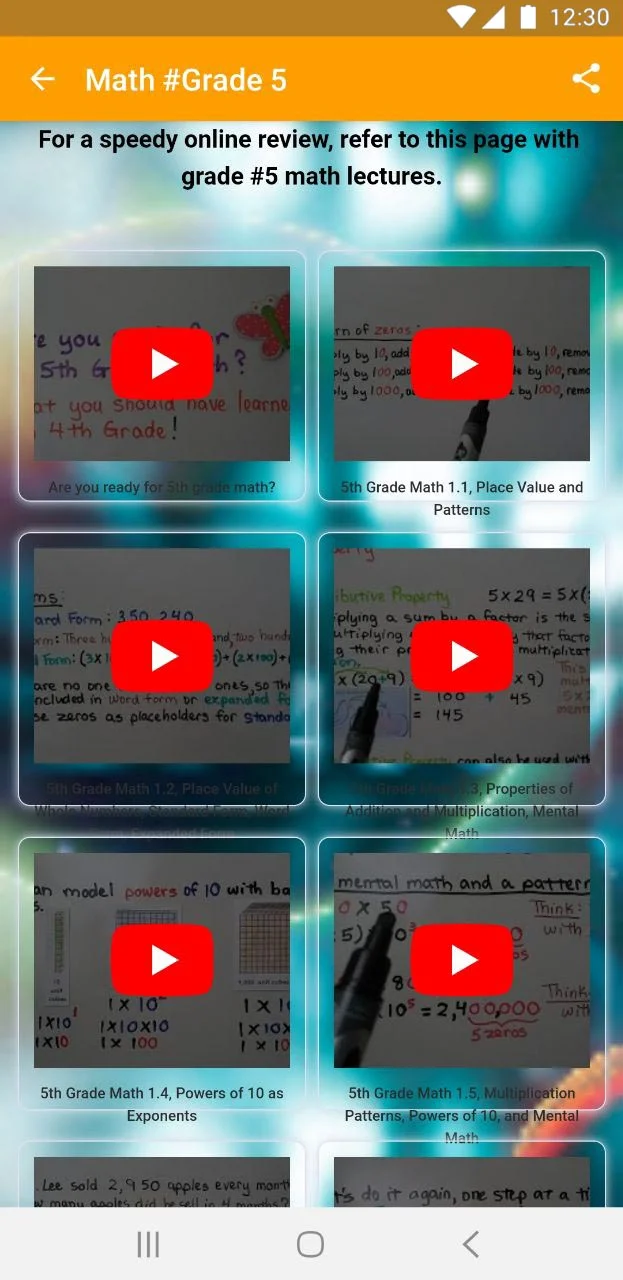
Online recorded lectures:
If your school has recorded lectures on YouTube or a YouTube channel, you can create pages and insert the YouTube playlist or channel link inside. Recorded lectures allow students to access their lessons whenever and wherever they want and, at the same time, save teachers time.
Tips:
- If you have multiple YouTube playlists for mathematics, social studies, and language arts lectures, you can create a page per playlist and include the three pages on one page. This is going to help you organize your recorded online sessions for students.
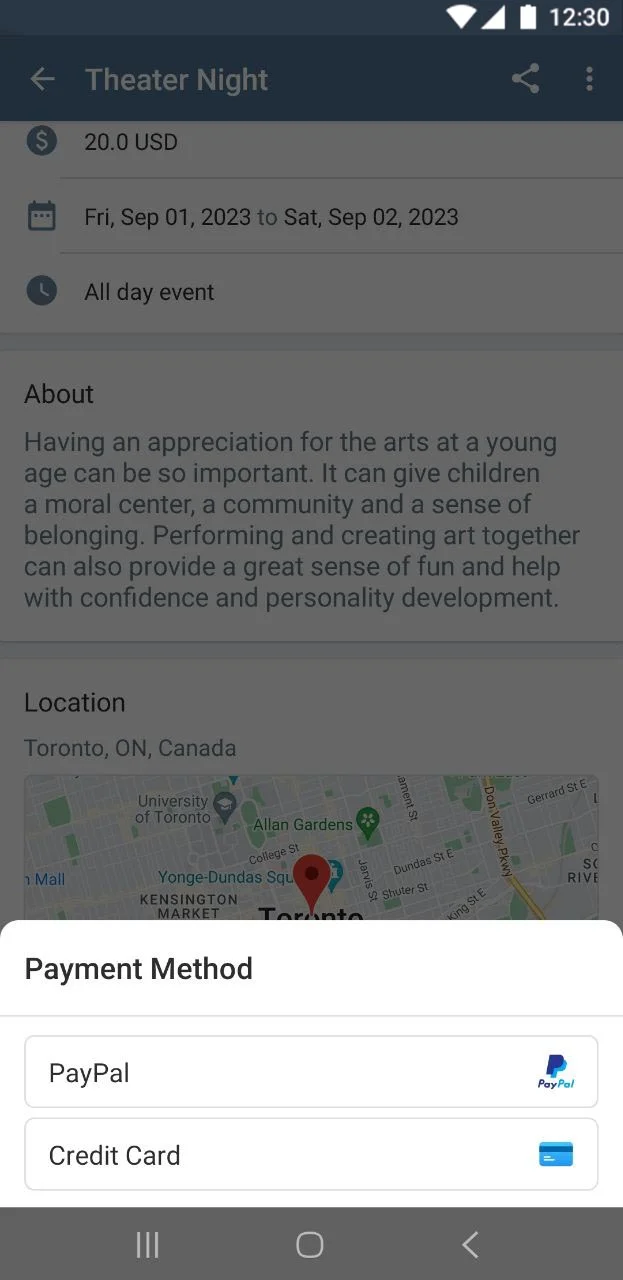
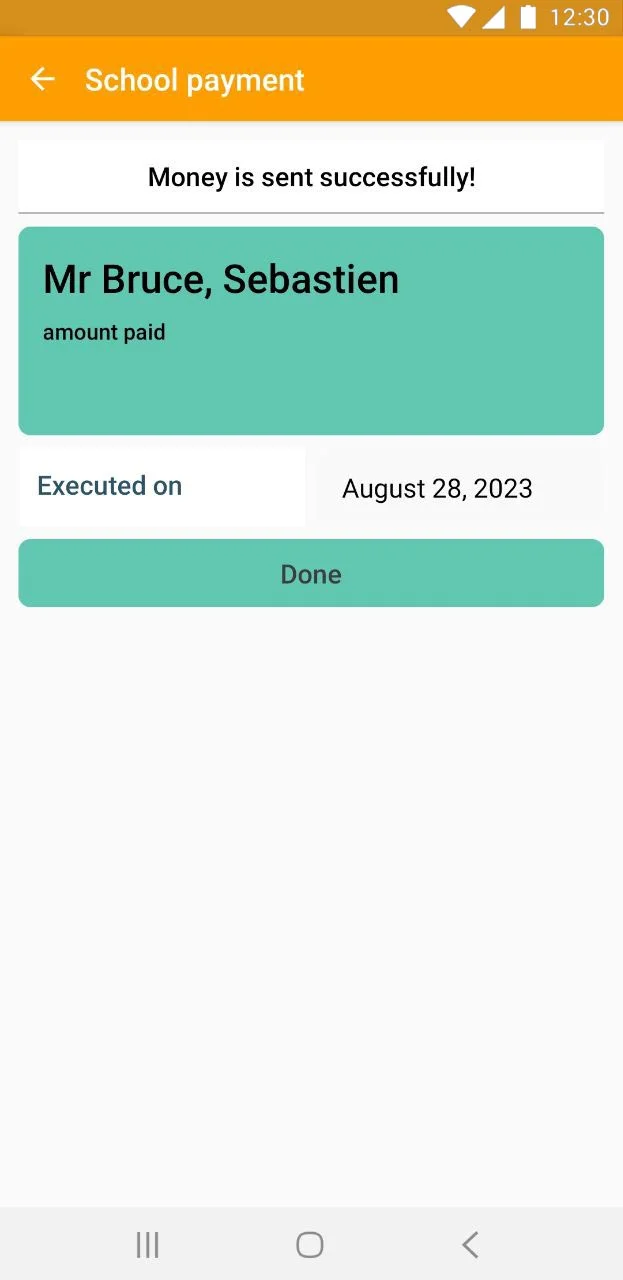
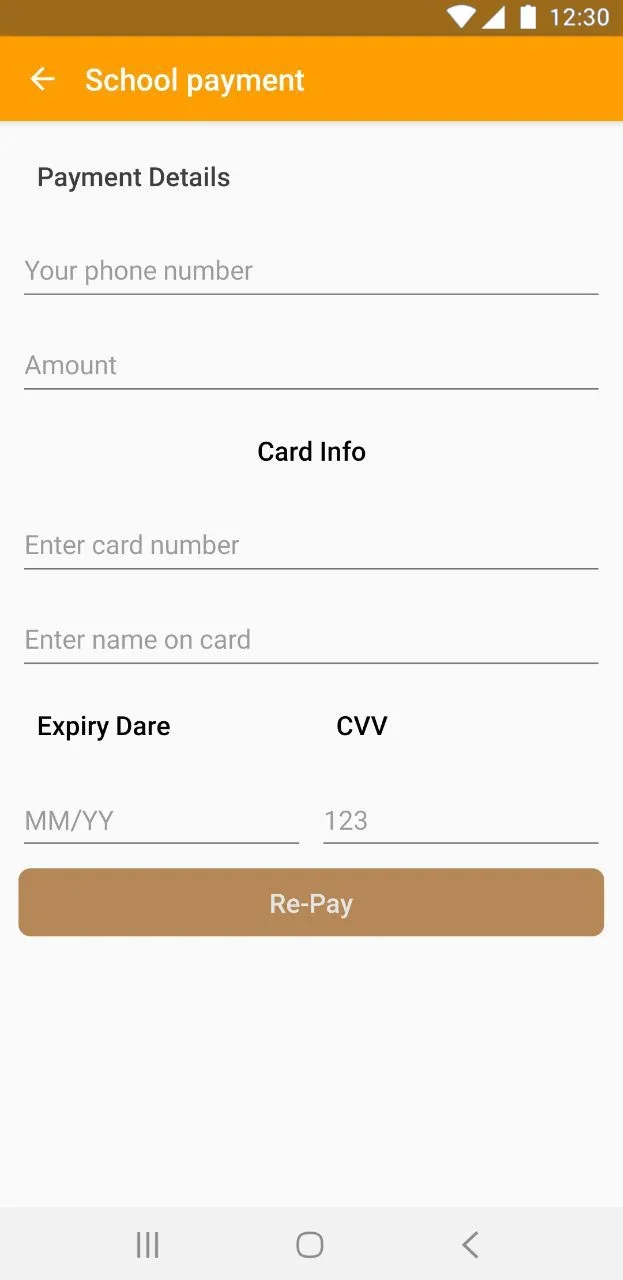
Is there a way to facilitate school payments?
Paying for school, trips, or paid courses can all be done using your school app, which can help save parents some time, as they will not need to go to the school themselves. If you have a backend system, you can connect these payment methods: PayPal, or Credit card Stripe, by integrating our servers with your backend system.
Tips:
- If you have a school trip for your students, you can create an event and set a price for it. Then your students can access the event and let their parents pay for their tickets.
- School payments can be made if you have a backend system. At this point, you can create a workflow for parents to add their information and their credit card for their kids payments.
With this guide in hand, you're all set to embark on your journey to implement these features and craft an exceptional school app. Let's get started!
Updated about 1 year ago