Map Search
Map Search
The Map Search module allows you to create a location so that when users explore the map, they can find the location that you set. You can also add up to three action markers to the locations that will come up in the search or list. A marker is an action button that opens up a certain module. You can add your channel, group, store, booking, or event.
So let's say, for example, you own a couple of restaurants named Stay Healthy, and you have a channel where you post the latest recipes and meal pricing per restaurant branch. You can create a location per branch and assign them to their relatable channels by naming them 'Stay Healthy, including the location name, and when a customer searches Stay Healthy in the map, they will find the locations of your restaurant branches, and an action button will be displayed to open the channel of your restaurant.
Installation
You can install this module in your app in the following places:
-
App's Home Menu ✓
-
App's Side Menu ✓
1.) From the categories section, select maps, and you will find the map search module.
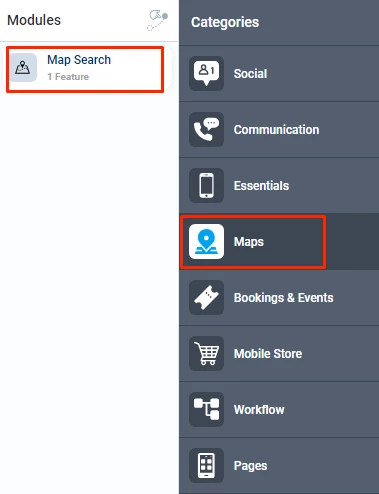
2.) And then click or drag the map search module and drop it in your home menu or side menu.
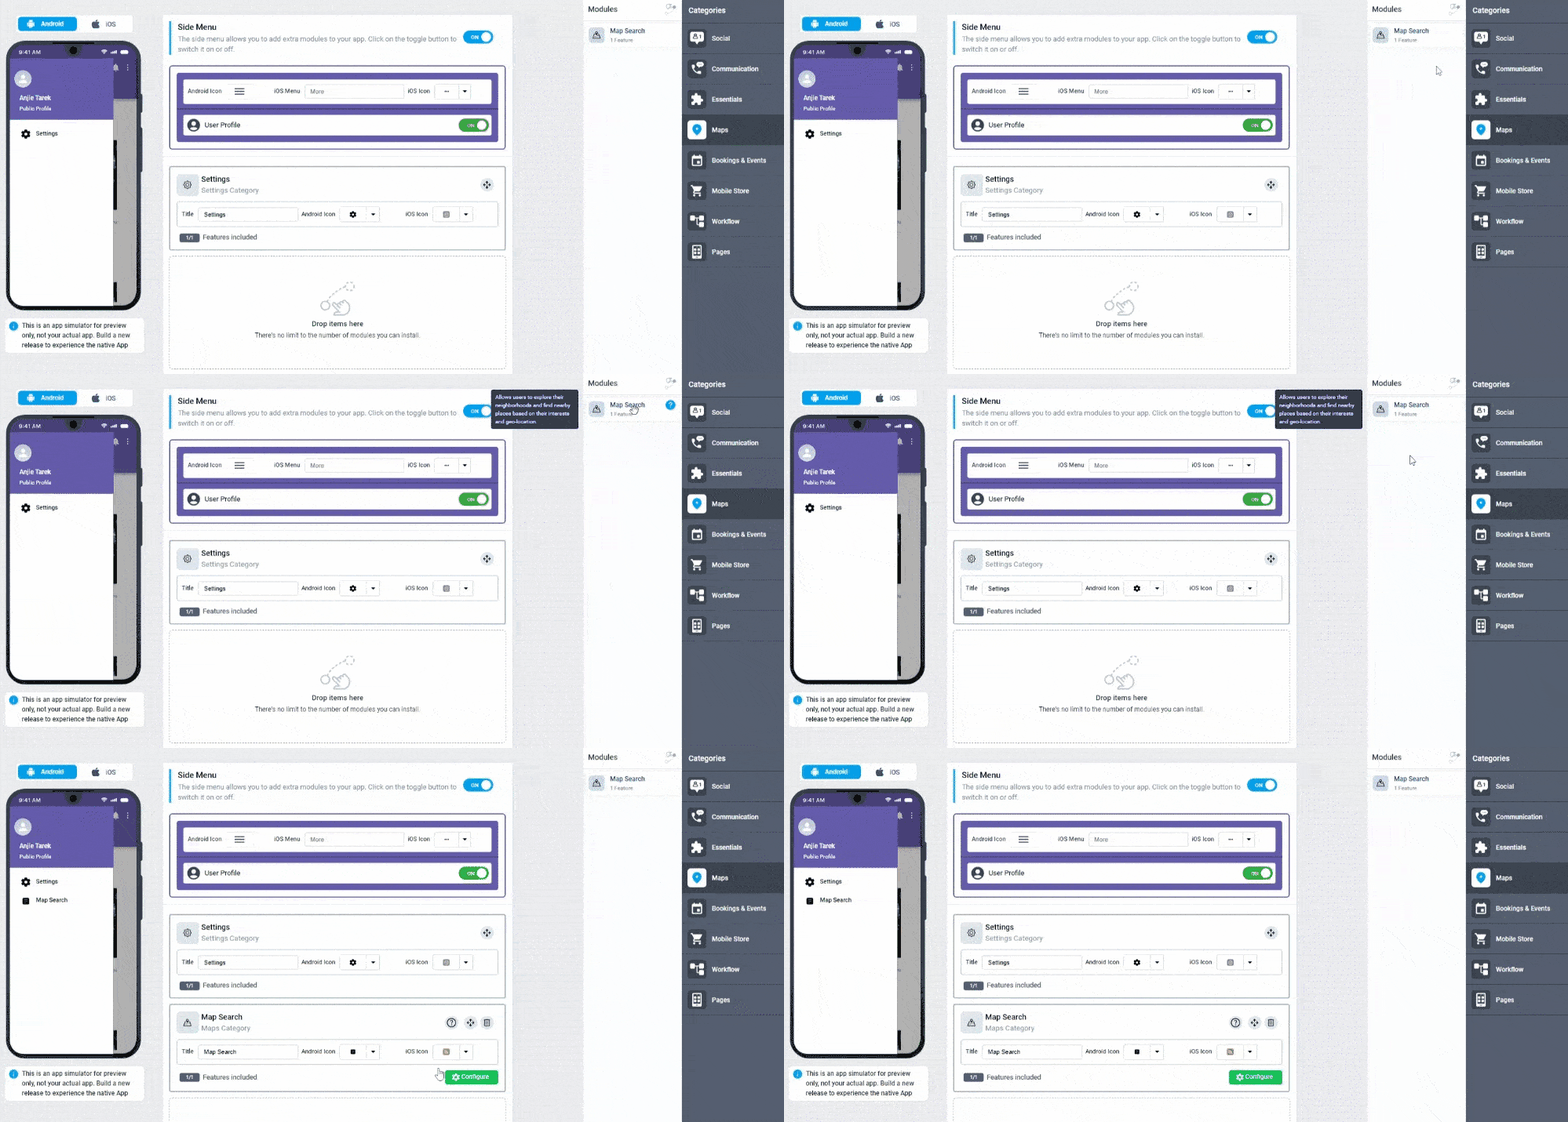
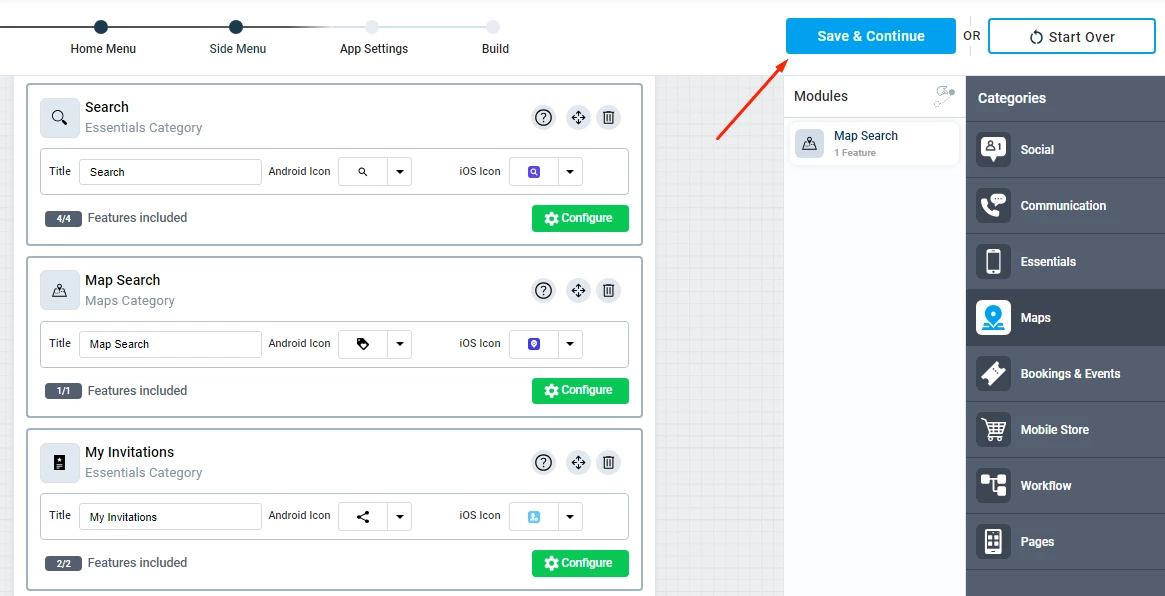
3.) Don’t forget to save.
Duplicability
This module can be duplicated in several sections in your app ✓
Configuration
1.) Once you have installed the module, by clicking or dragging and dropping it in the home or side menu, you can rename the module and choose an Android and an iOS icon for it. Click the "Configure" button to open the settings of the module.

Module Walkthrough
Note that the default start location is your current location, and the radius is the distance around you that you want the map search to get locations from.
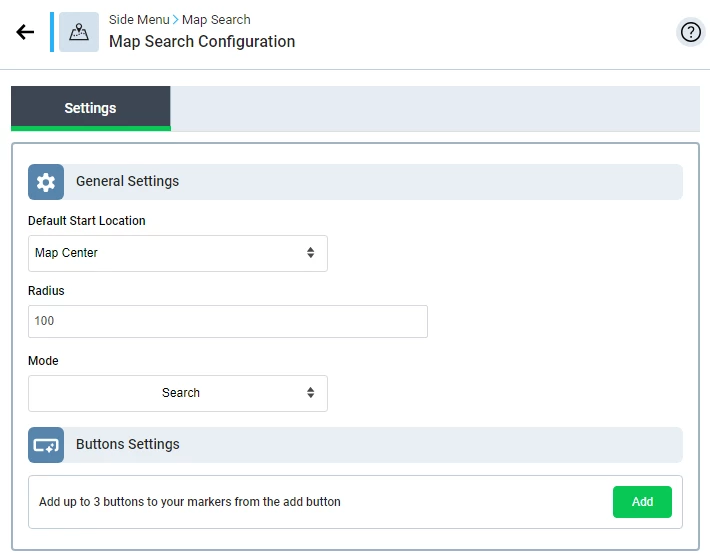
The final configuration is the mode:
- Search mode will display the map, and you can search for any location.
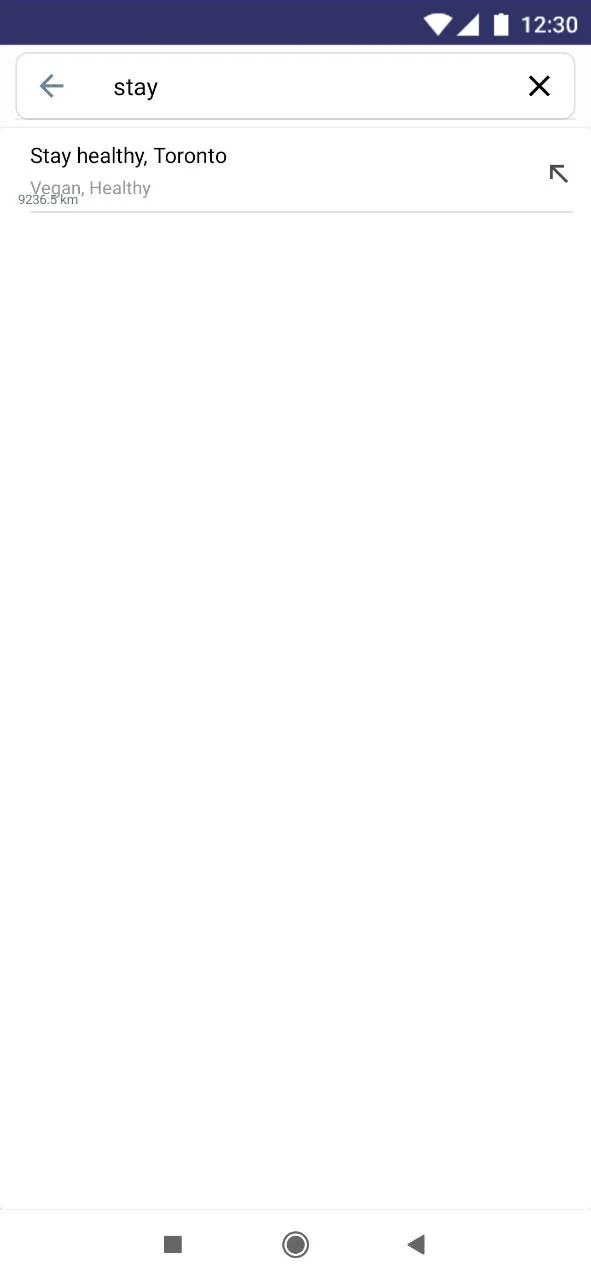
- List mode will display a list of the locations that you created in your app.
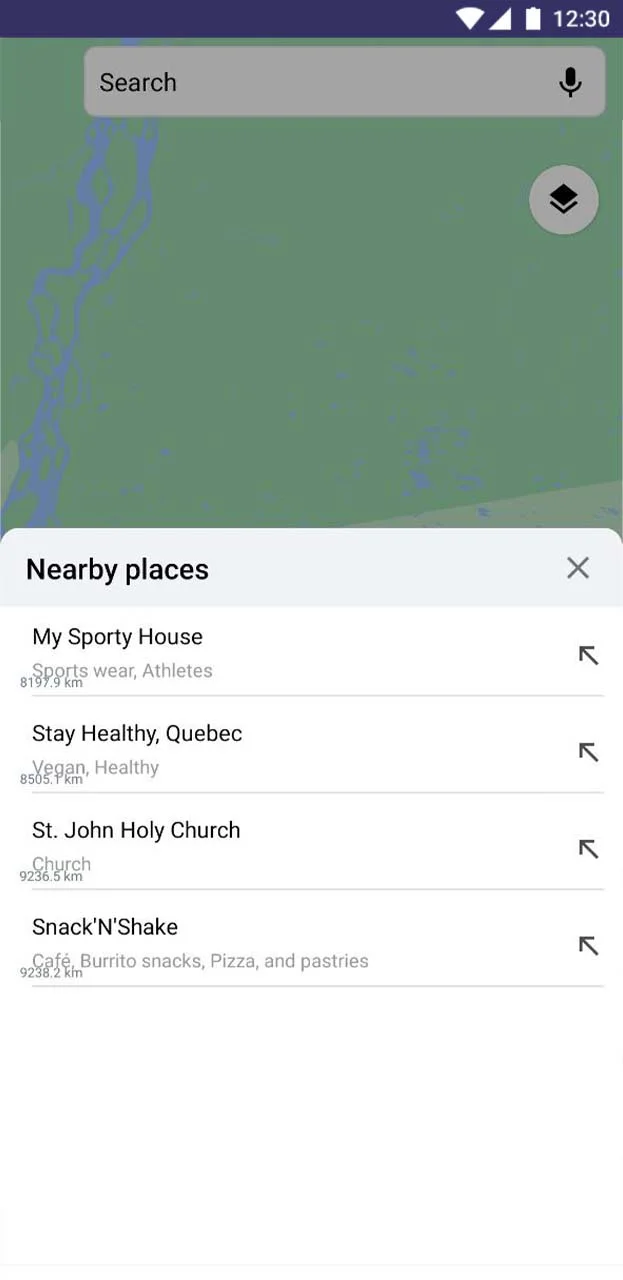
2.) Next, you can add up to three action markers to the locations that will come up in the search or list.
A marker is an action button that opens up a certain module. You can add your channel, group, store, booking, or event.
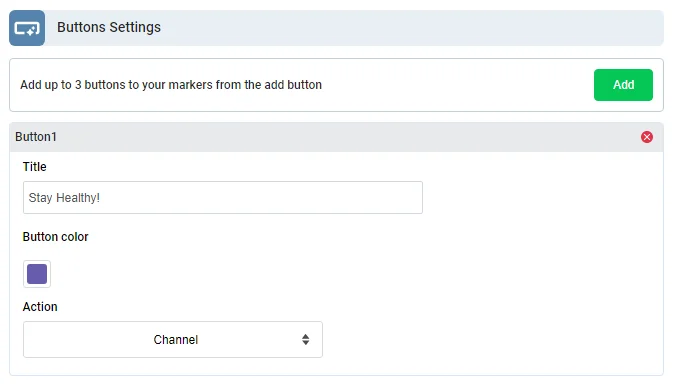
3.) Click Add to add a marker.
4.) Next, select the action as a channel and select the color and name of the channel.
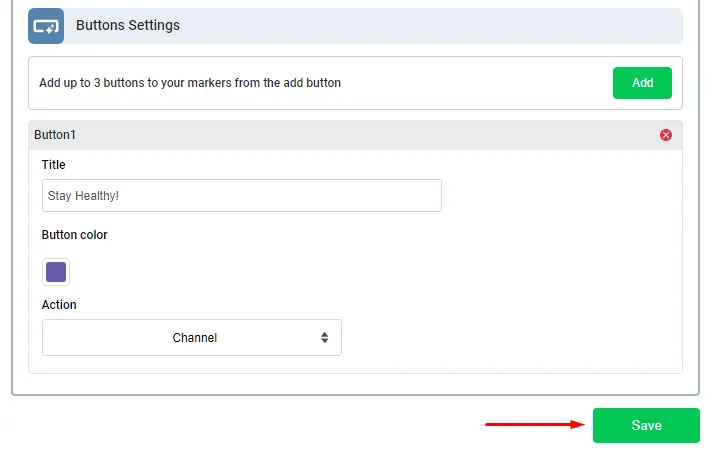
5.) And then click save.
Next, we’re going to create a location.
6.) From the left admin menu, click 'Locations'.
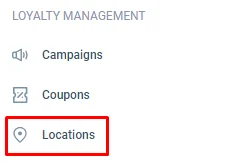
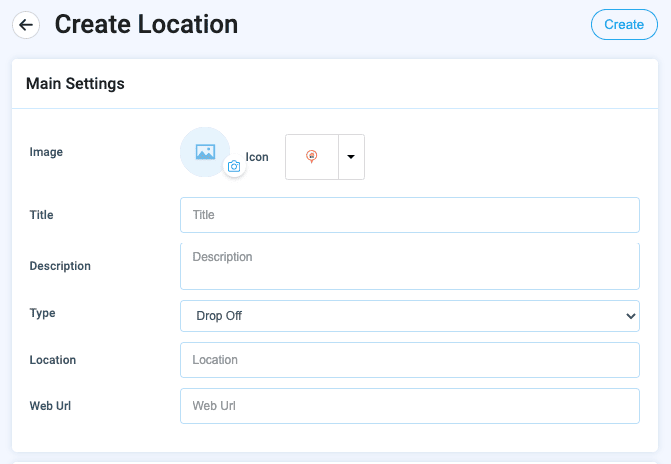
7.) Click 'Create'.

8.) Fill in the information about the location.
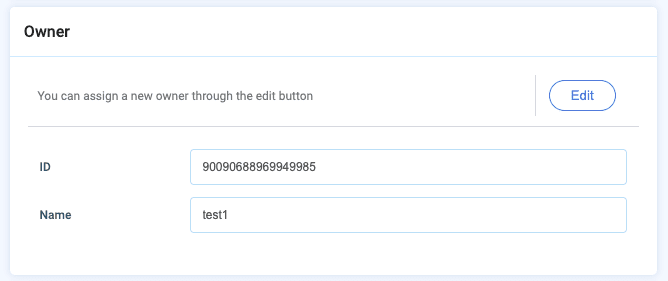
9.) You can also set a different owner for this location, which can be helpful if you have multiple subchannels with different admins on them.
Once done, you can now link your location with the channel.
10.) Now go back to the channel that you created. From the left admin menu, click channels.
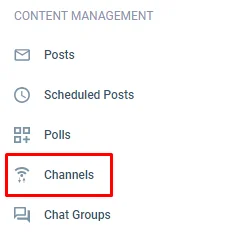
11.) Hover over the channel that you want to set the location to and click the edit button.
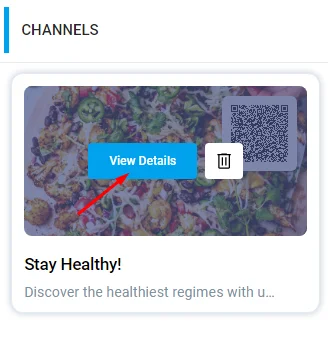
12.) Scroll down to locations and click set.

13.) Select the location, and click insert.
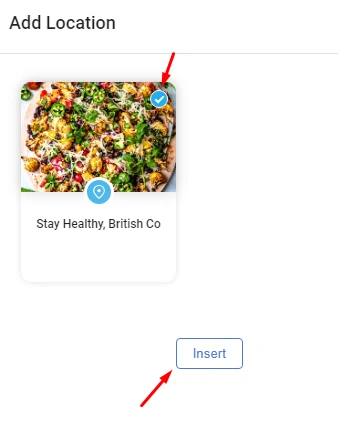
14.) Now your location is for this channel!
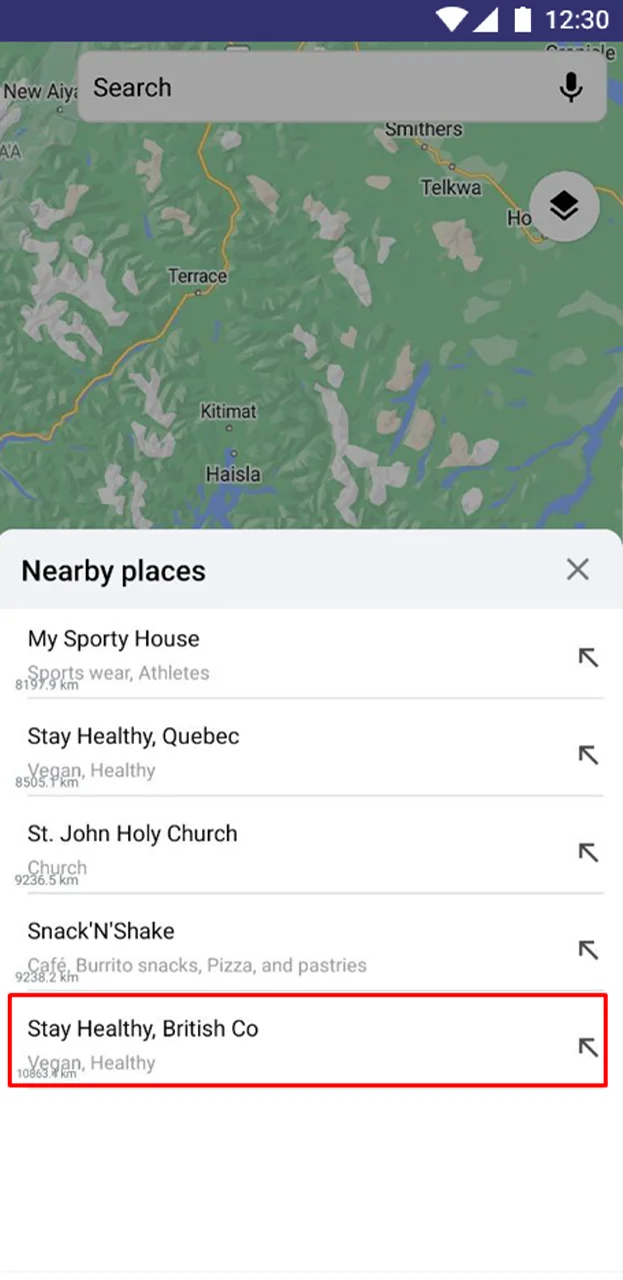
When a user opens up the map search on your app, this is what they will see in the list of locations:
Updated about 1 year ago
