
Configure your App Information
Main Store Listing
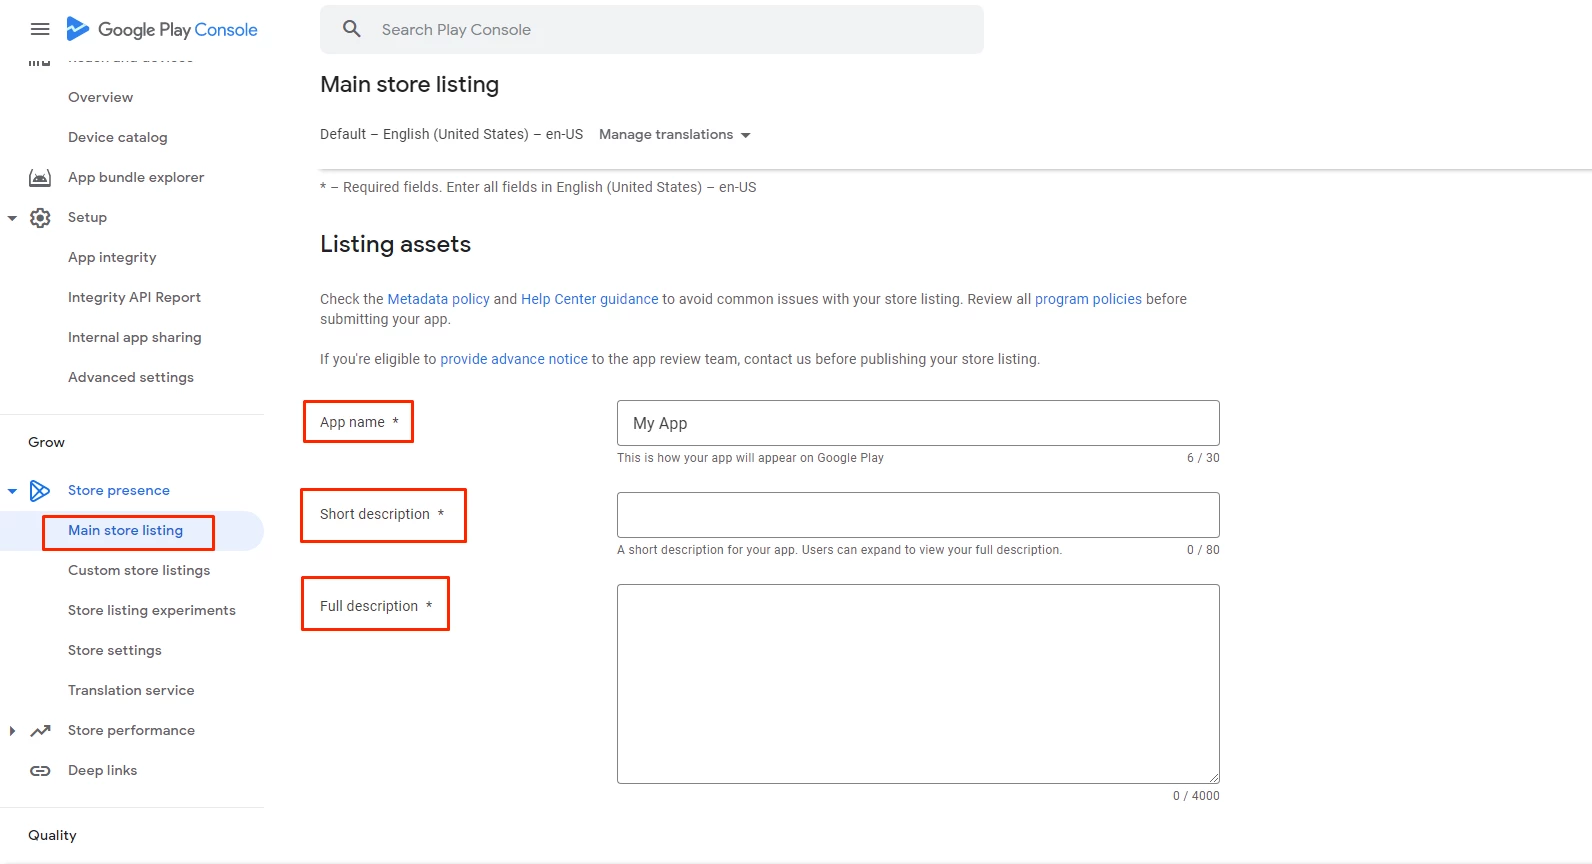
You will find on the left menu Store Presence; click Main Store Listing and fill in the required information:
- App name: Your app's name on Google Play
- Short description: The first text users see on your Play Store app's detail page
- Full description: Your Google Play description Explain how your app will benefit users and what to expect.
Your app description is very important, as Google may reject your app if your description is not unique enough. As an app owner, you should mention what exactly your app represents; a church app, a shopping app, etc.
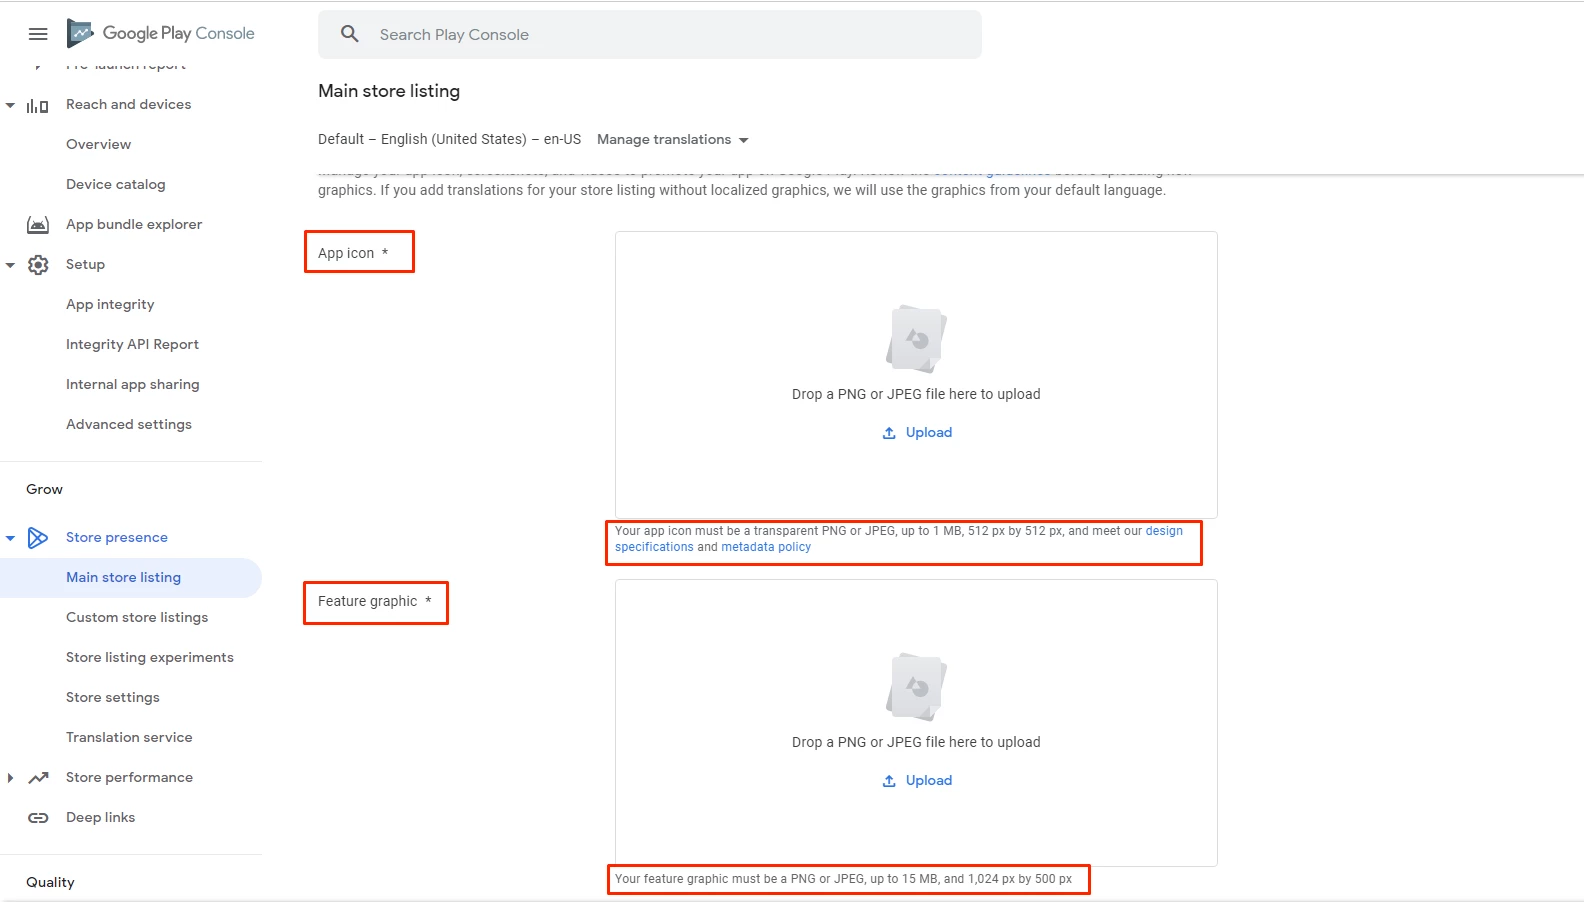
Add your app icon and feature graphic according to Google dimensions. The app icon is what will appear on the Google Play Store, while the feature graphic is what will appear on the user’s device.
Note that feature graphics and phone screenshots MUST be taken from the actual app, as Google may reject your submission if your screenshots and graphics are not compatible with the app preview on your device.
And finally, add your phone screenshots, according to Google dimensions, that will also be presented under your app on the Play Store to view how the app will look from the inside.
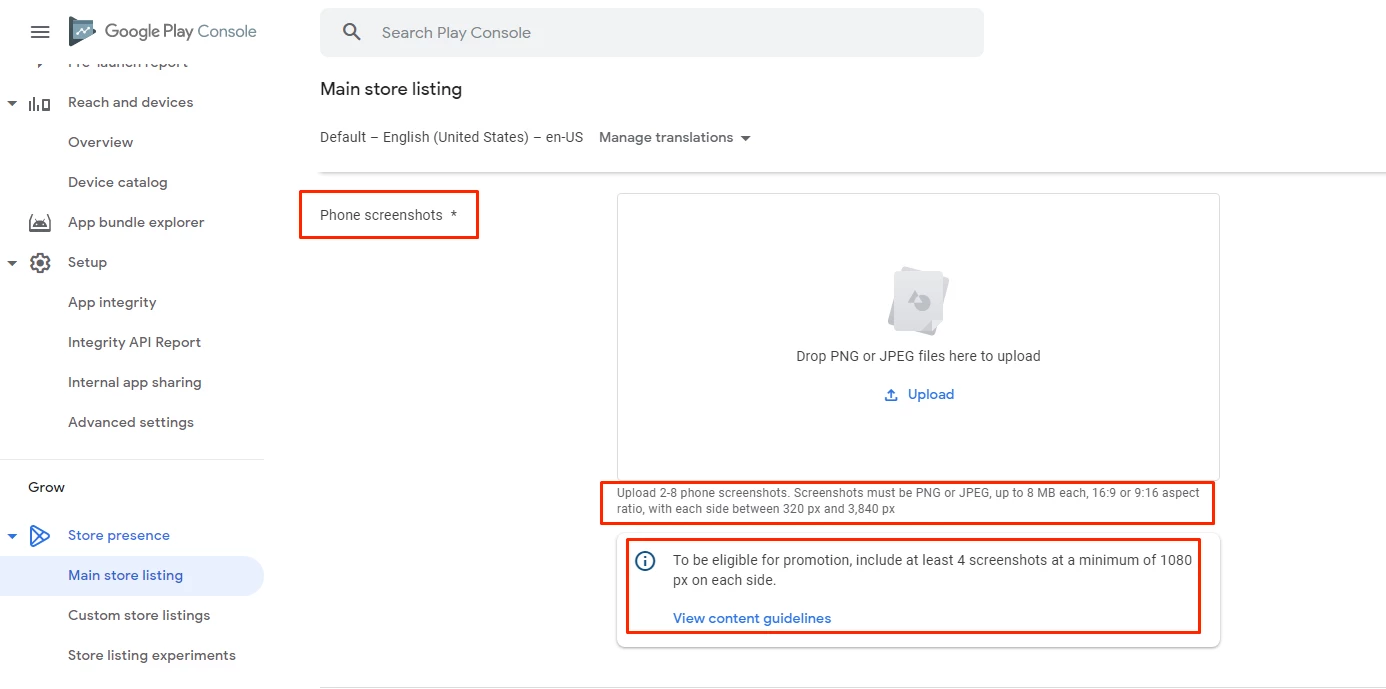
Don’t forget to click "Save Draft" at the bottom right of your screen after you finish this step.
Note that the information that your app will appear with on the Play Store depends on your input in the section Product Details.
That’s why you have to stick to the guidelines of the uploads to realize a successful publication. Check out this Google article to get more information on how to do it.
Store Settings
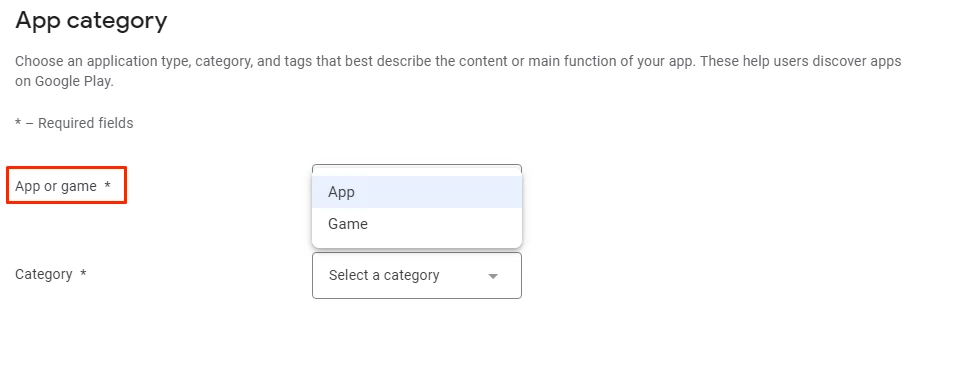
Click on Store Settings..
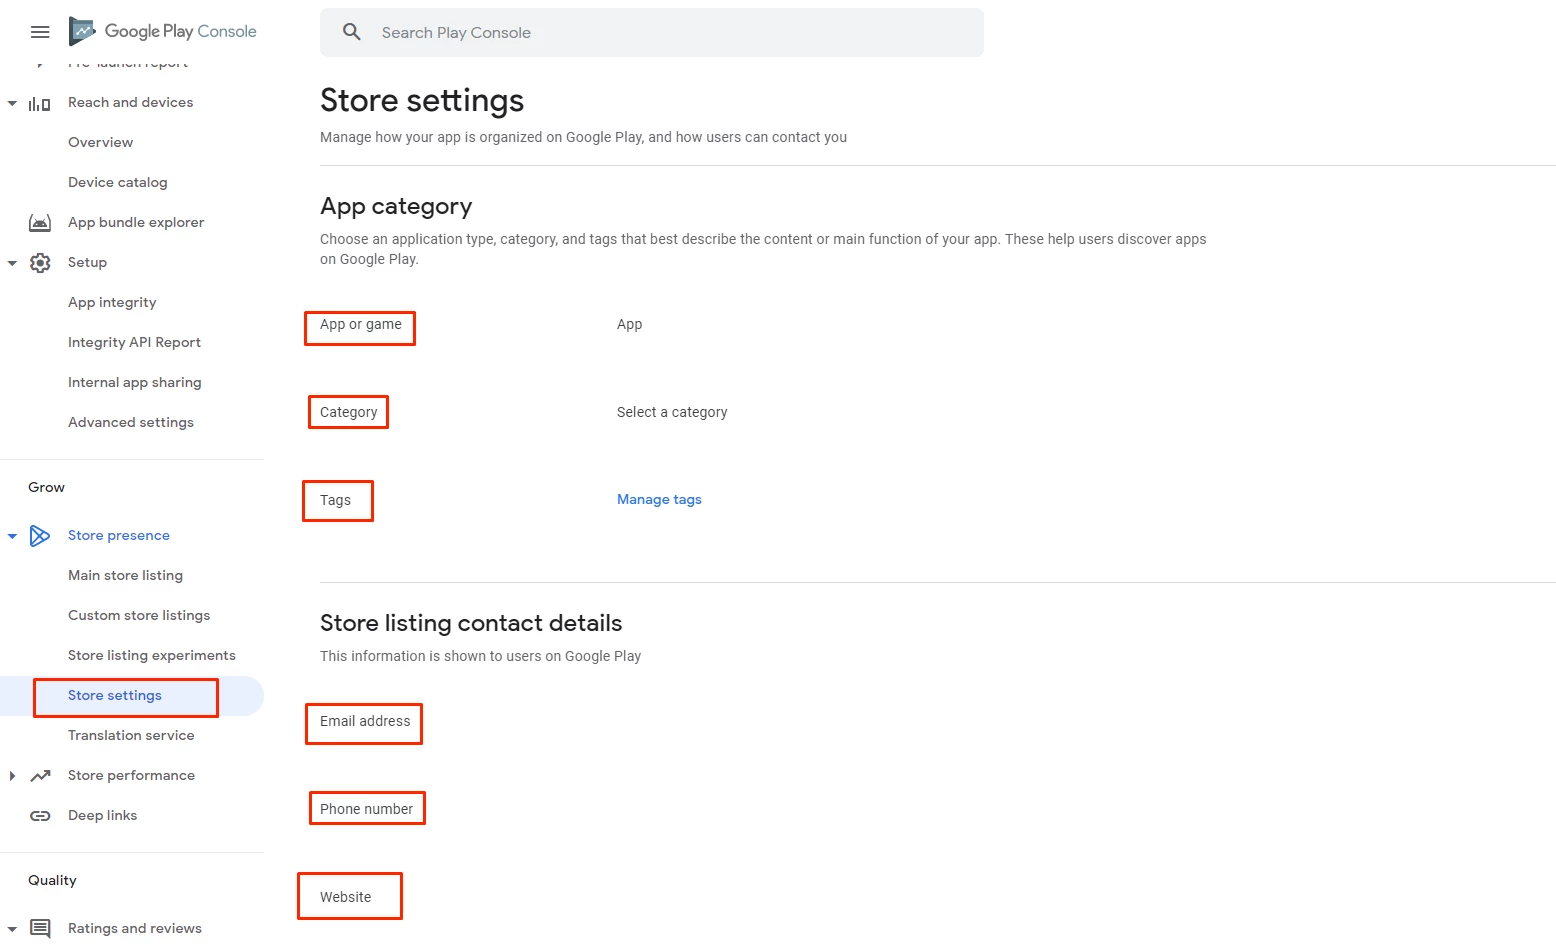
Choose if your app is an app or a game.
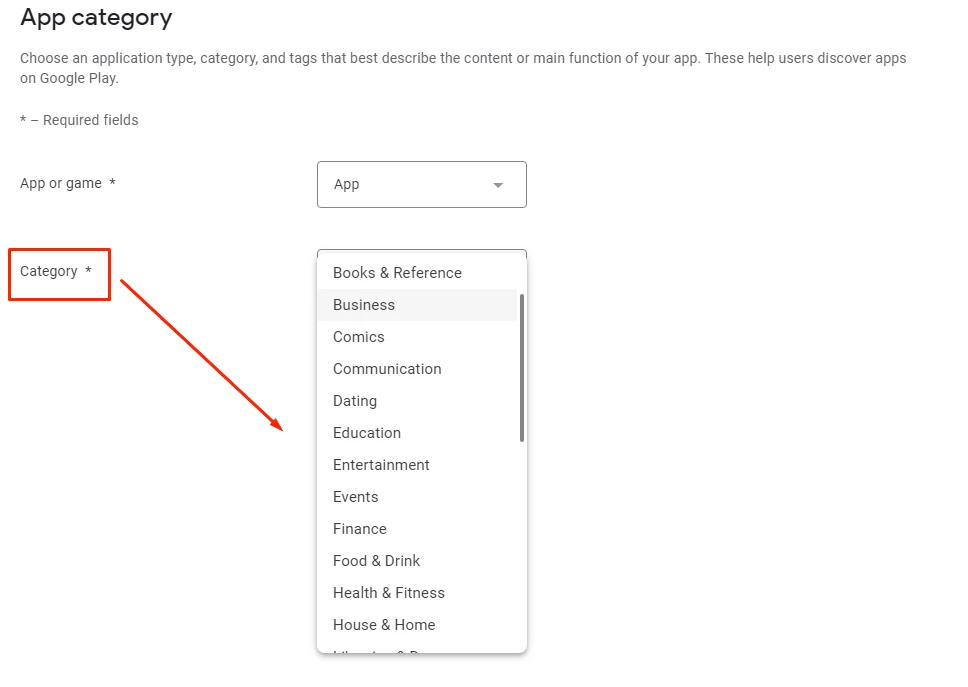
Select the app category.
Add tags.

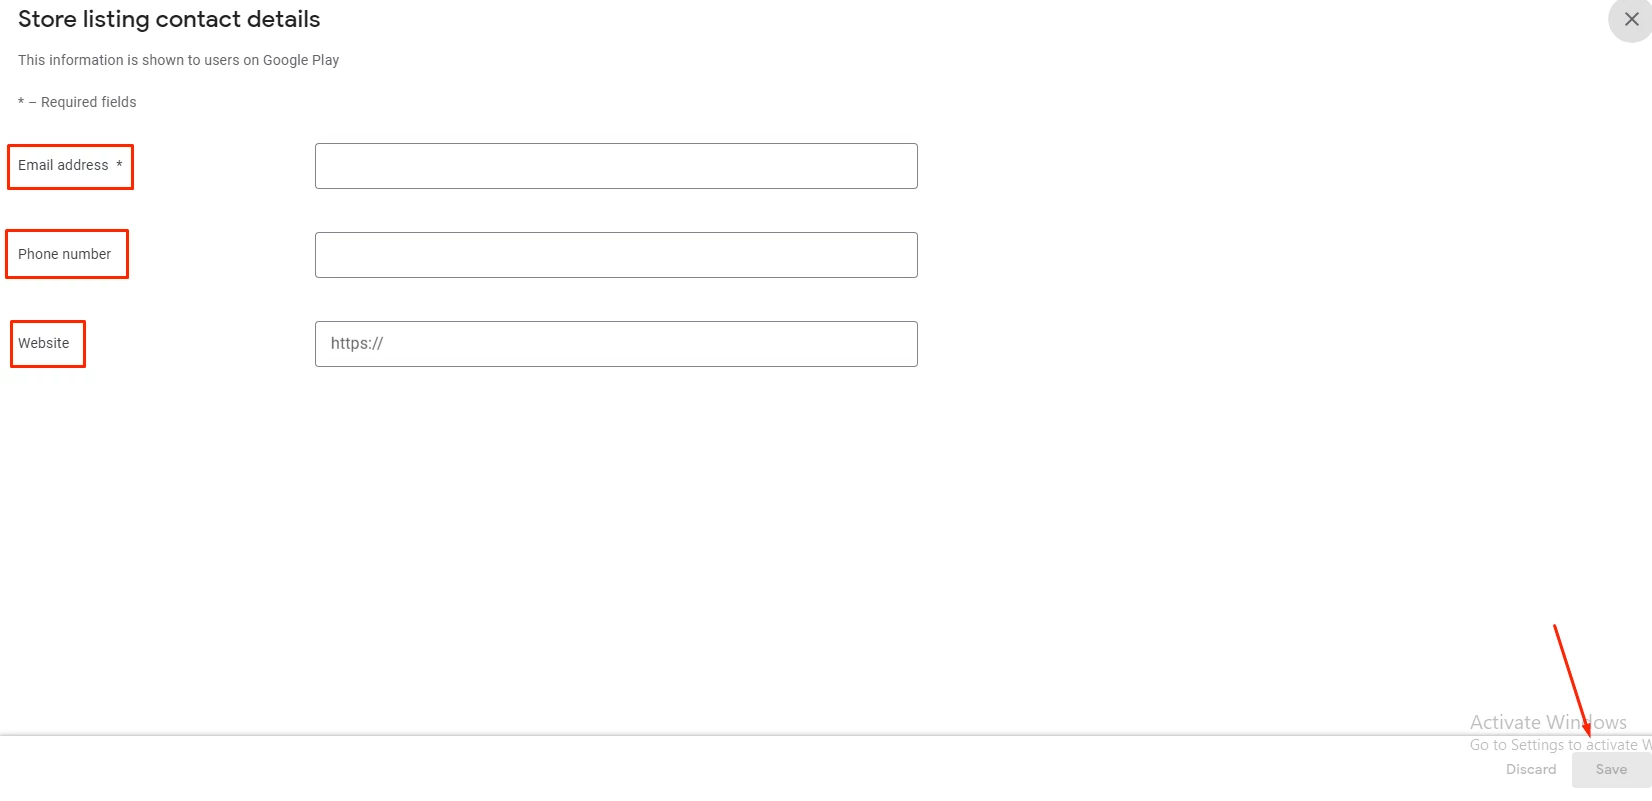
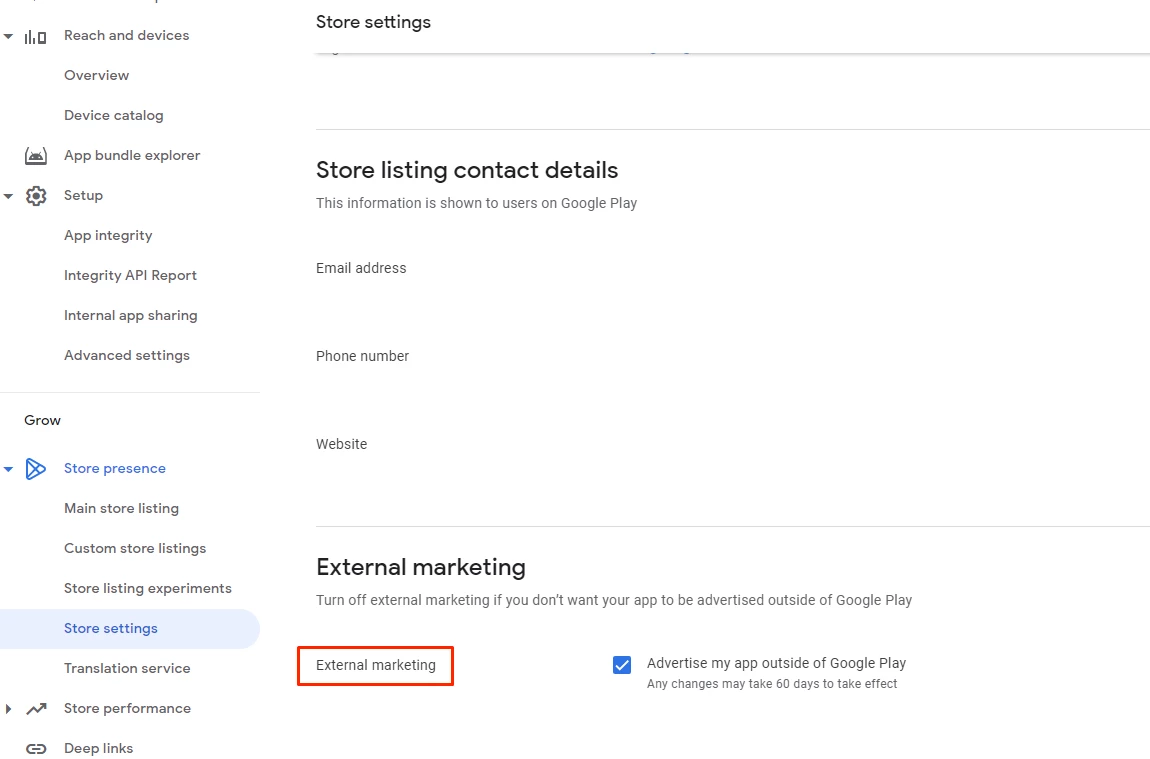
Add your contact details that you want your users to see on the Play Store.
Mark External Marketing if you want to advertise your app outside of Google Play.
App Releases
Go to Production on the left menu, then click Create new release

Here comes the role of the Bundle you have released from the nandbox dashboard in the first step. When going for the production track, your app becomes ready to publish without prior testing.
Note that if you make any changes to your builder, make sure to release a new bundle with your new changes and upload it again in the production section.
So tap on Upload once you get to the App Bundles section, and add your nandbox-Bundle
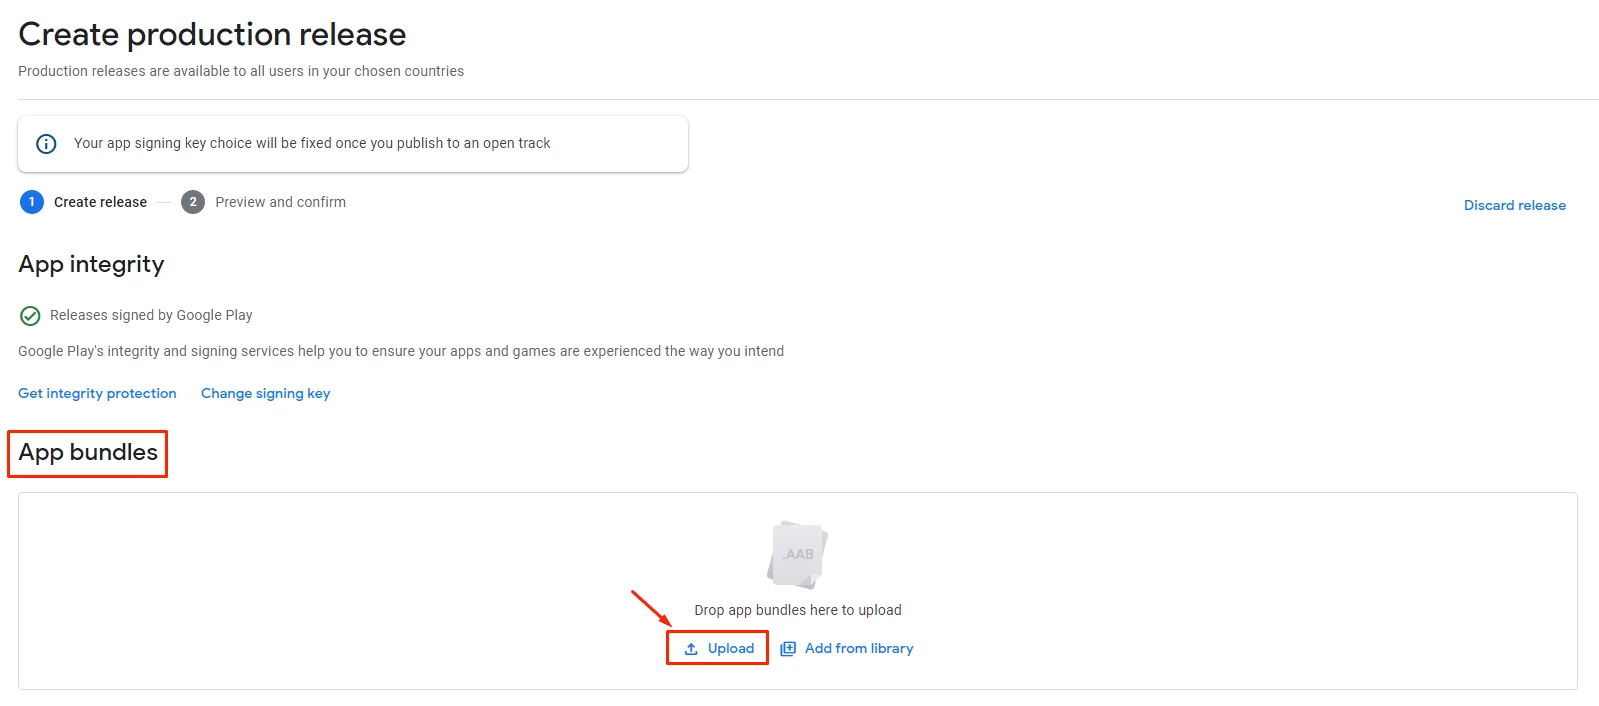
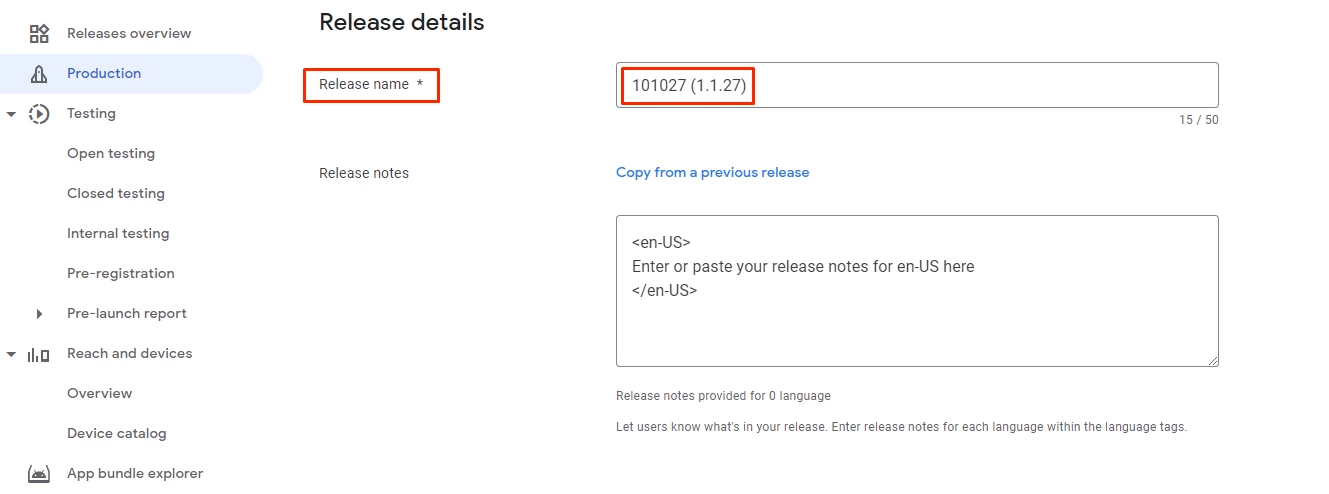
Then add your release name; it's basically the number of your bundle's version you released from the builder [ex: 1.1.2]
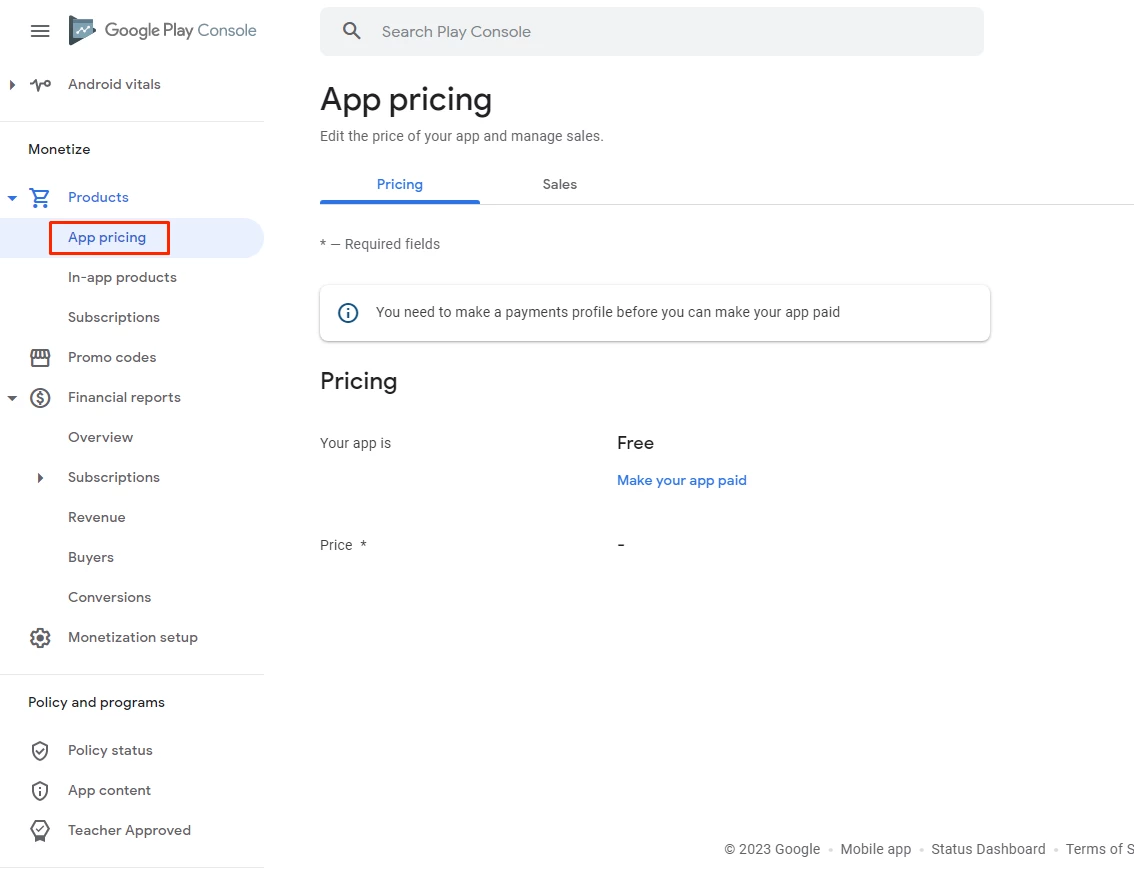
App Pricing:
If your app is paid, click Products on the left menu, then select App Pricing. There, you have to set your app’s pricing and select which countries you want your app to reach.
Updated about 1 year ago