
ID
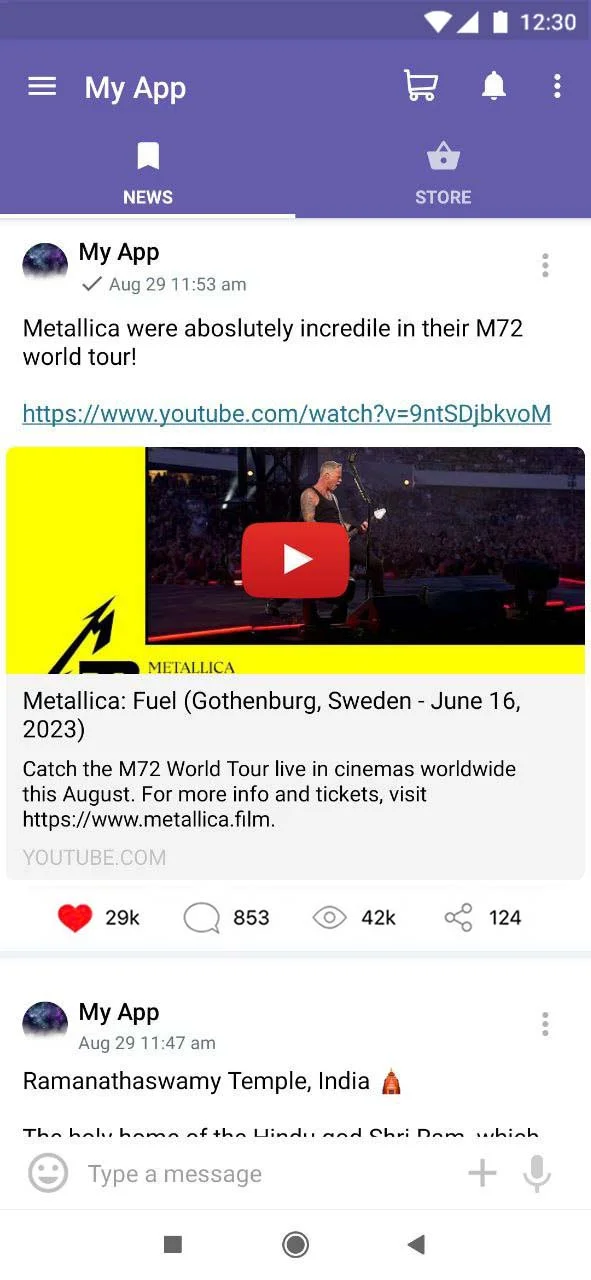
The ID module allows you to scan membership cards with UPCs using a QR scanner; once scanned, the module will store the information embedded in the UPC code so that a digital ID can be created for your users. This module also enables you to have an instant feed in the module where you can post different content related to your membership (offers, announcements)
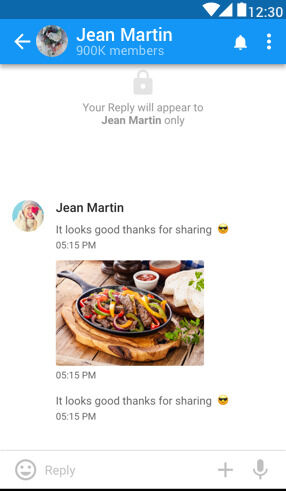
Users can interact with your posts by liking, sharing, or writing comments, which admins will only see.
This module is the best to use if you want to build a Community App.
Installation
You can install this module in your app in the following places:
- App's Home Menu ✓
- App's Side Menu ✕
You can find the ID module in the Security & Privacy category. Click or drag and drop the module into your home menu to install it.
Duplicability
This module can only be installed in your home menu.
Main Features
The ID module comprises 78 features, four of which are user-selectable:
- QR Scanner: A QR scanner is used to scan UPC codes and QR codes to fetch their information.

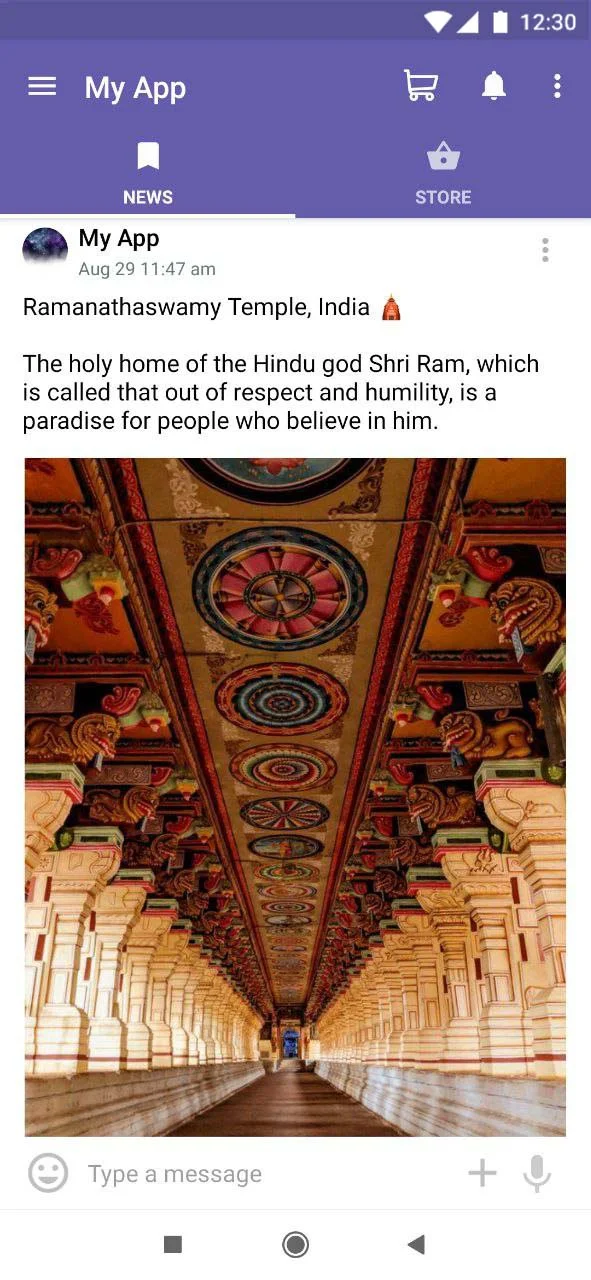
- Posting
You can post messages, images, videos, GIFs, and files to your different channels. You can also add segments and tags to your audience for targeted posts.
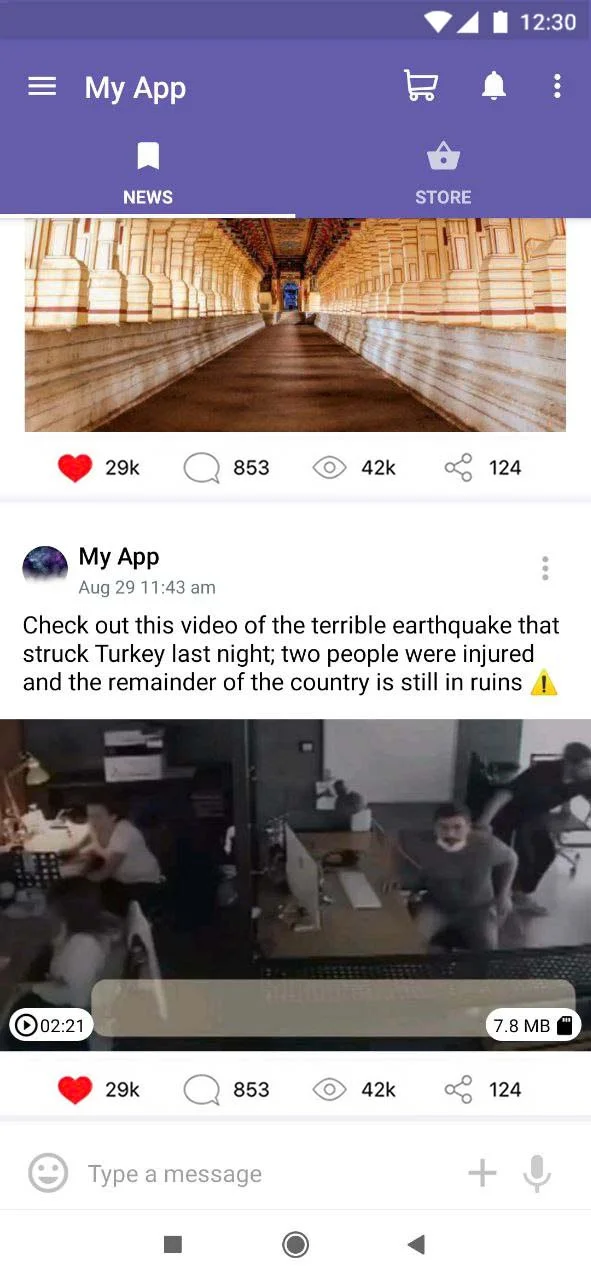
- Read Counter
Displays simple statistics for how many users viewed a post within its first two weeks; the bar also enables the users to engage with a post by adding a like, comment, or share. While the comment dashboard collects comments and displays them in a list for channel administrators.
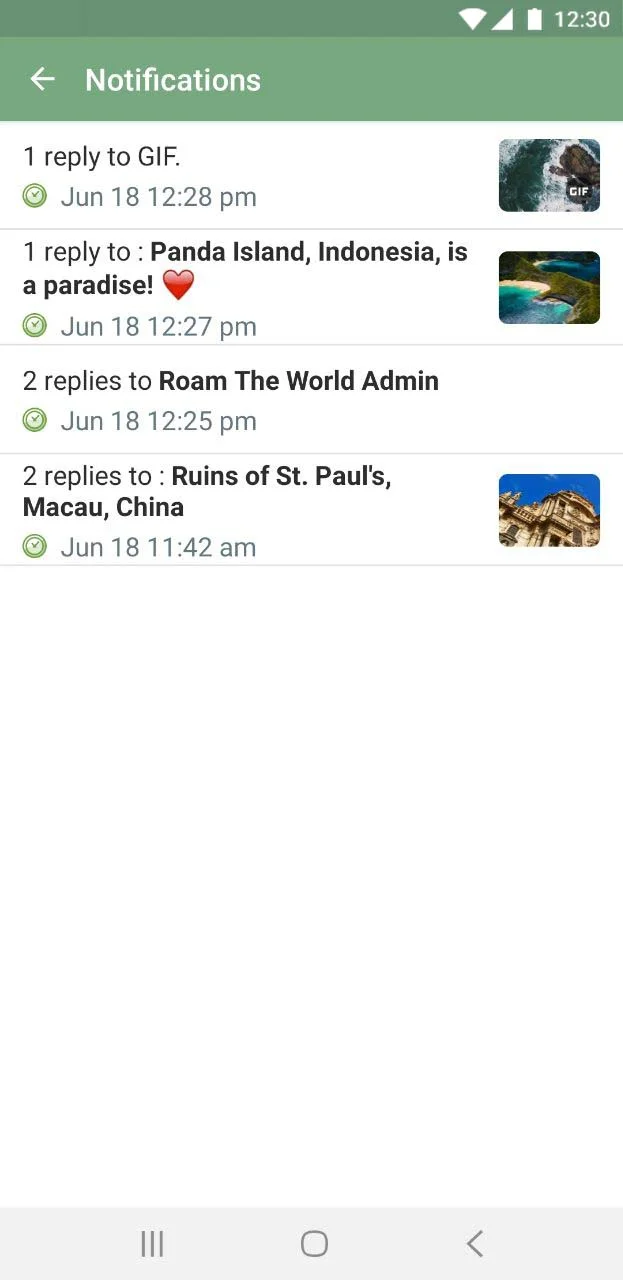
- Notifications
Notifications page that displays recent notifications, shows unread ones, and provides the ability to respond to different types of messages.
- Link Metadata Fetching
Enables fetching metadata from a URL upon posting it on the channel.
Configuration
1.) Once you have installed the module by clicking or dragging and dropping it in your home,
You can rename the module and choose an Android and an iOS icon for it. Click the "Configure" button to open the settings of the module.

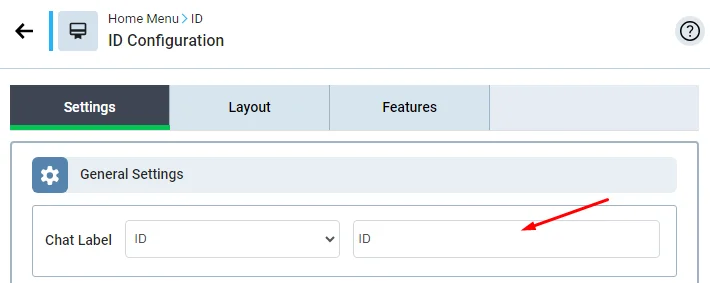
2.) The chat label section relates to assigning specific posts to a module tab based on its label if your app has numerous ID modules or other modules like Newsfeed or Loyalty. Depending on your preference, label your module.
3.) Enter the title and description of the membership card, and insert the image of the card.
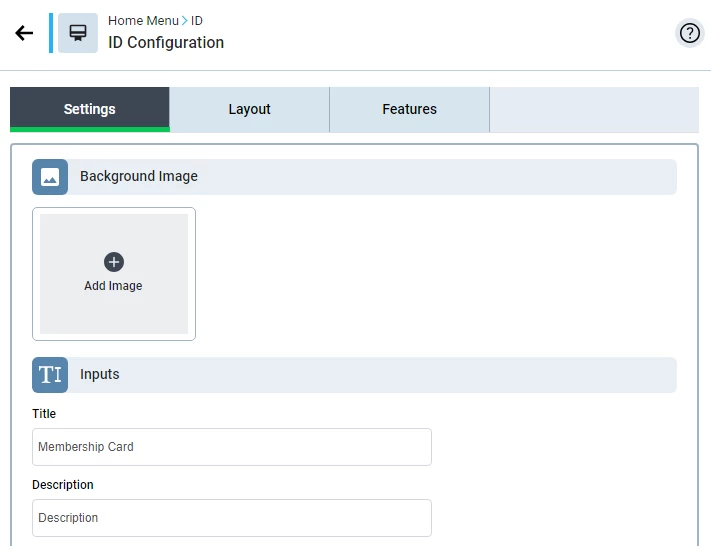
Once the card is scanned, the information will be displayed as follows:

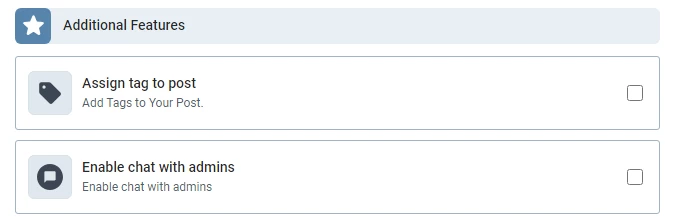
4.) You can enable assigning specific tags to allow specific users (tags) to see your posts. This feature can be used to target a specific segment of your users.
Add specific tags to your posts for app users to chat directly with admins listed under the tag.
Click here to learn how to create a new tag.
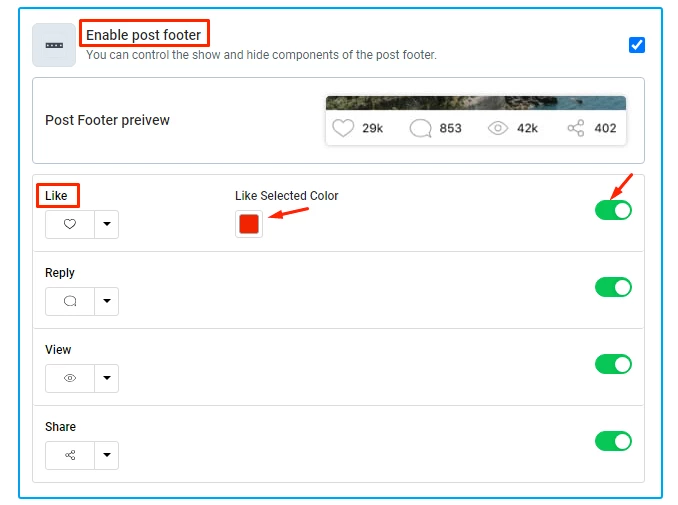
5.) Enable post footer: You can choose to add the like button, the reply button, the number of views, and the share button. You can also choose the button icon and customize its color.
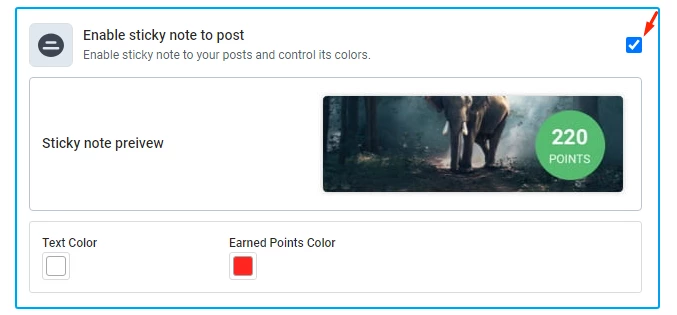
6.) Enable sticky notes for your posts: Add promo points to your posts for users to collect and redeem; they are displayed as a small bubble that is attached to the bottom right side of the post.
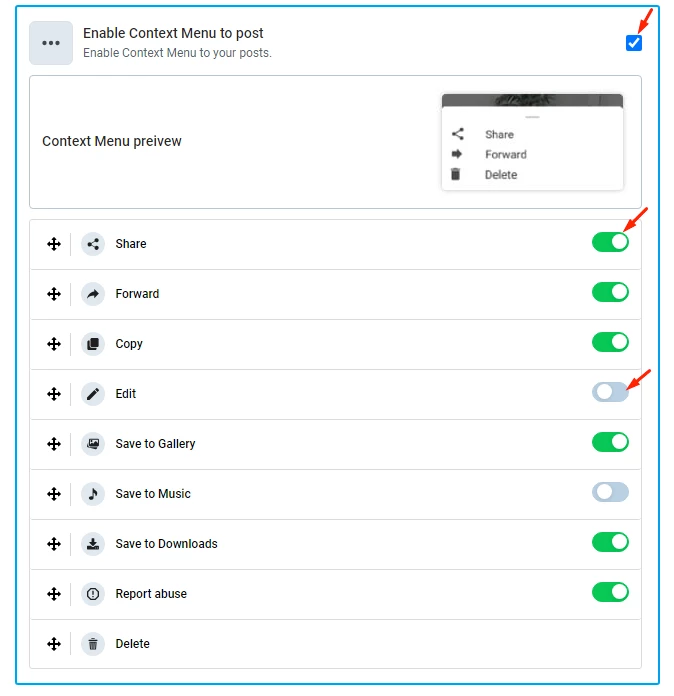
7.) Enable Context Menu to Post: Displays a set of actions to be done to the selected content. Click on the toggle to activate or deactivate the action.
There is one action (delete) that is shown by default and eight actions that are user-selectable, which are:
- Share
- Forward
- Copy
- Edit
- Save to Gallery
- Save to Music
- Save to Downloads
- Report abuse
You can also change the order of the actions by clicking and holding the move icon and dragging up and down to move the action.
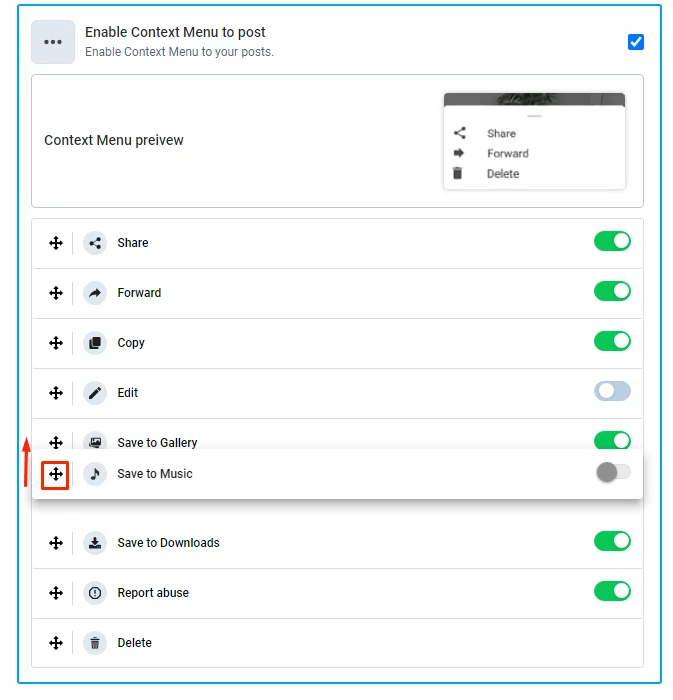
The context menu will look like this:

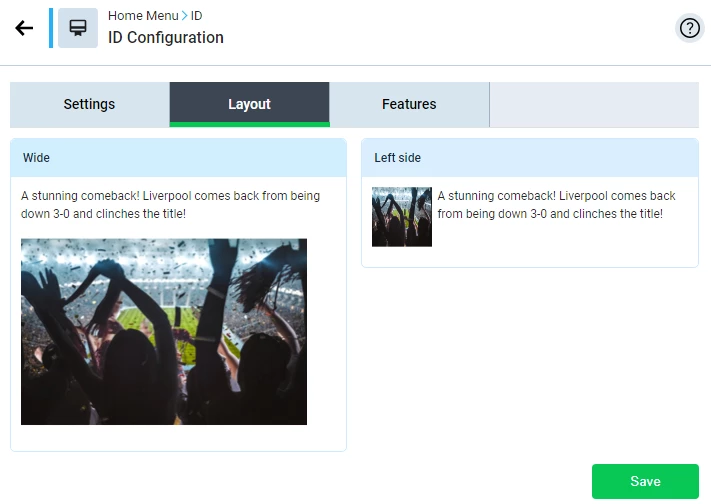
8.) You can also choose the layout of the posts to be either wide or on the left side, as shown.
9.) You can check out the features on the last tab.
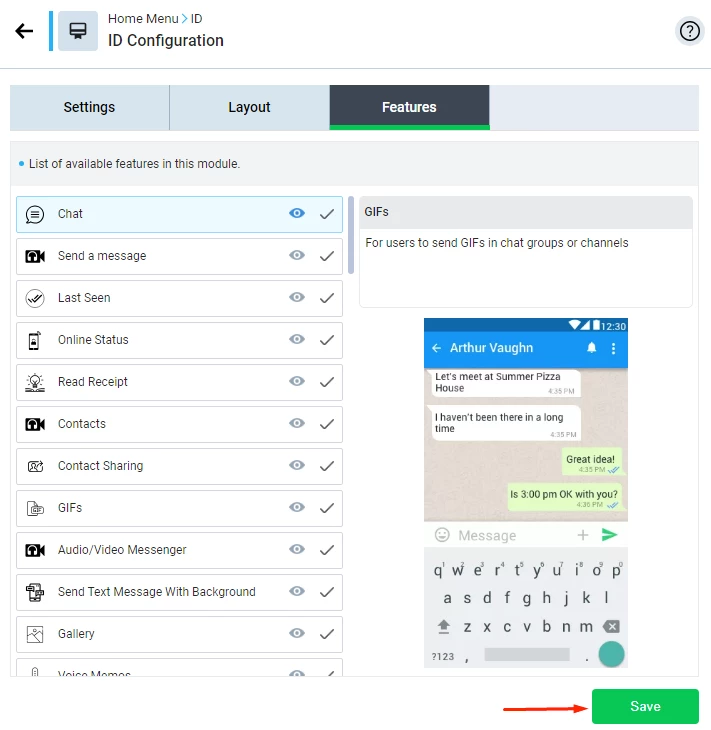
Don't forget to save after you are done with the configuration.
Module Walkthrough
Posting in the ID
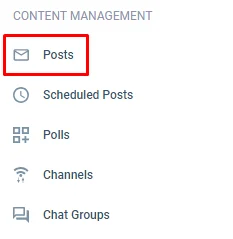
1.) From the left admin menu, click Posts.
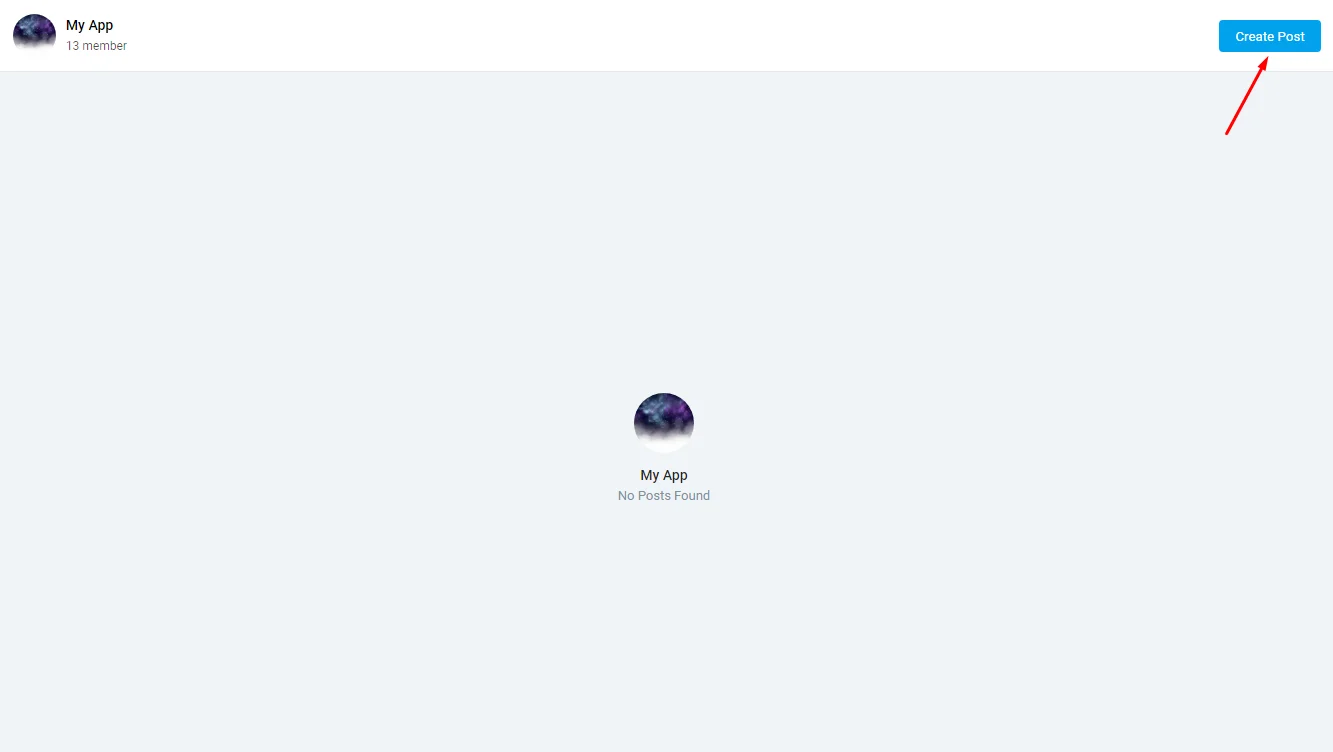
2.) Click 'Create Post'.
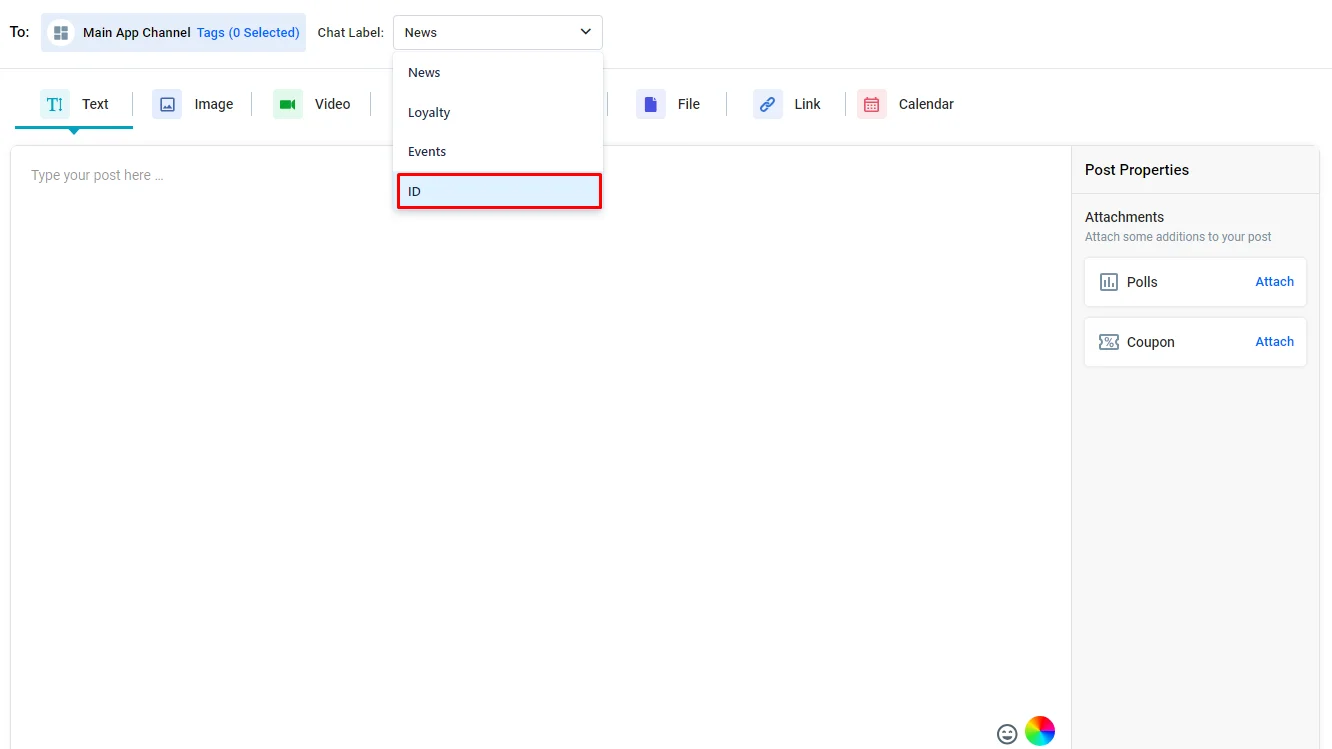
Choose the chat label of your ID module to assign your post.
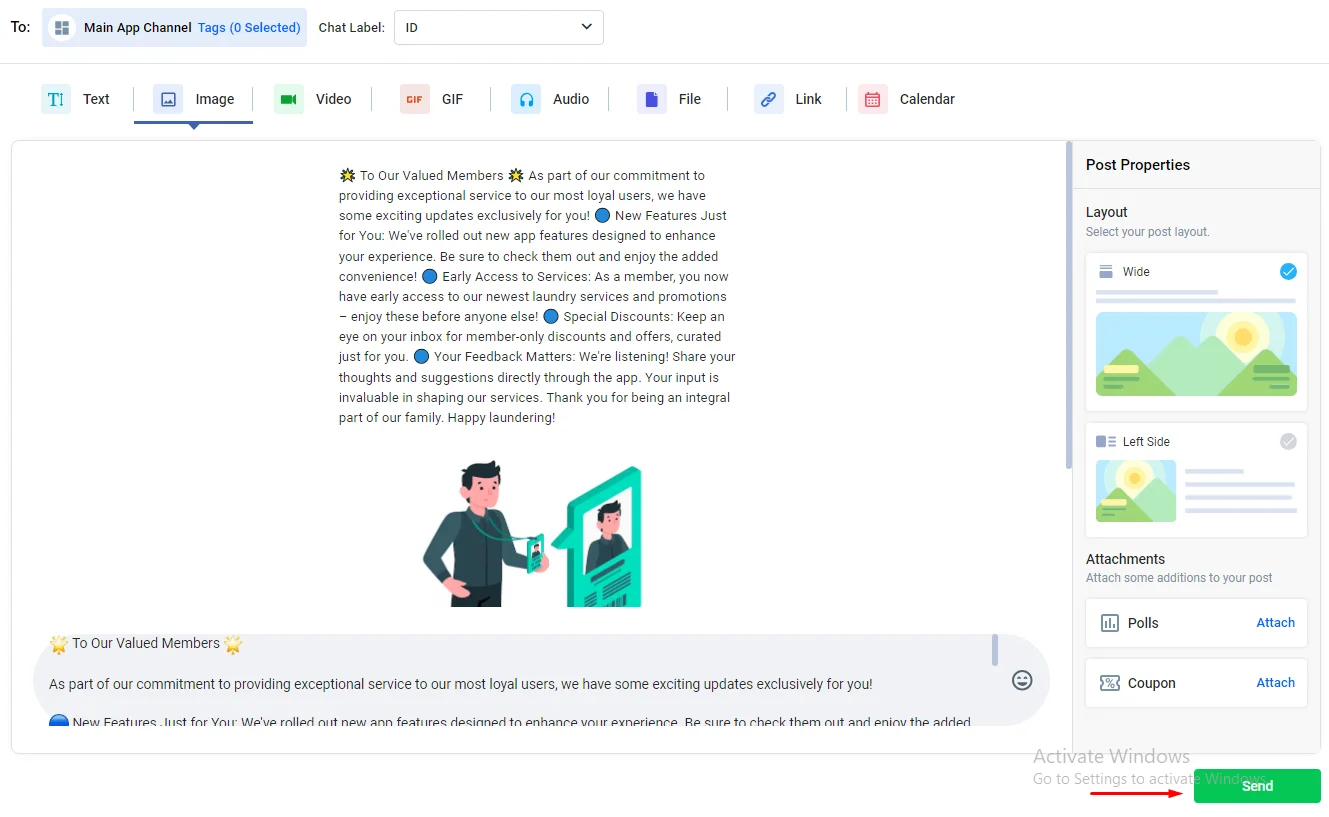
After you enter the content, click 'Send, and your post will be published.
For more information about posting options, click here to jump to the Newsfeed module.
Updated about 1 year ago