
Community App
Community App
Community apps are designed to promote communication, participation, and resource sharing within a certain community. These communities could be created around a wide variety of connections or interests, including a neighborhood, a school, a pastime, a network of professionals, or a charitable cause.
This documentation serves primarily as a source of inspiration and a demonstration of potential ideas and features. It is not an actual template that you can directly implement.
How community app will benefit my business
Community apps will be helpful for organizations in a variety of ways by encouraging customer loyalty, streamlining communication, and offering insightful data. It can offer insightful feedback on your goods or services, assisting in product creation and improvement by letting you know what your clients enjoy, dislike, and expect from your company.
Customers can share their experiences, provide feedback, and even generate content relevant to your product or service in exchange for your business reaching out to them and informing them about new goods.
With a community app, you may give companies a special platform to get to know their clients better, respond to their needs directly, and use their insights to expand their enterprises.
Main features of community apps and their role in enhancing engagement and facilitating collaboration
In order to achieve a good community gathering experience with your community app, we will suggest some features, give a few tips and tricks, and give hints that will help you organize your community app.
Chat rooms:
The neighborhood-friendly community app is a terrific tool for connecting neighbors in exclusive social networks groups. Residents can interact, learn more about one another, and share local knowledge.
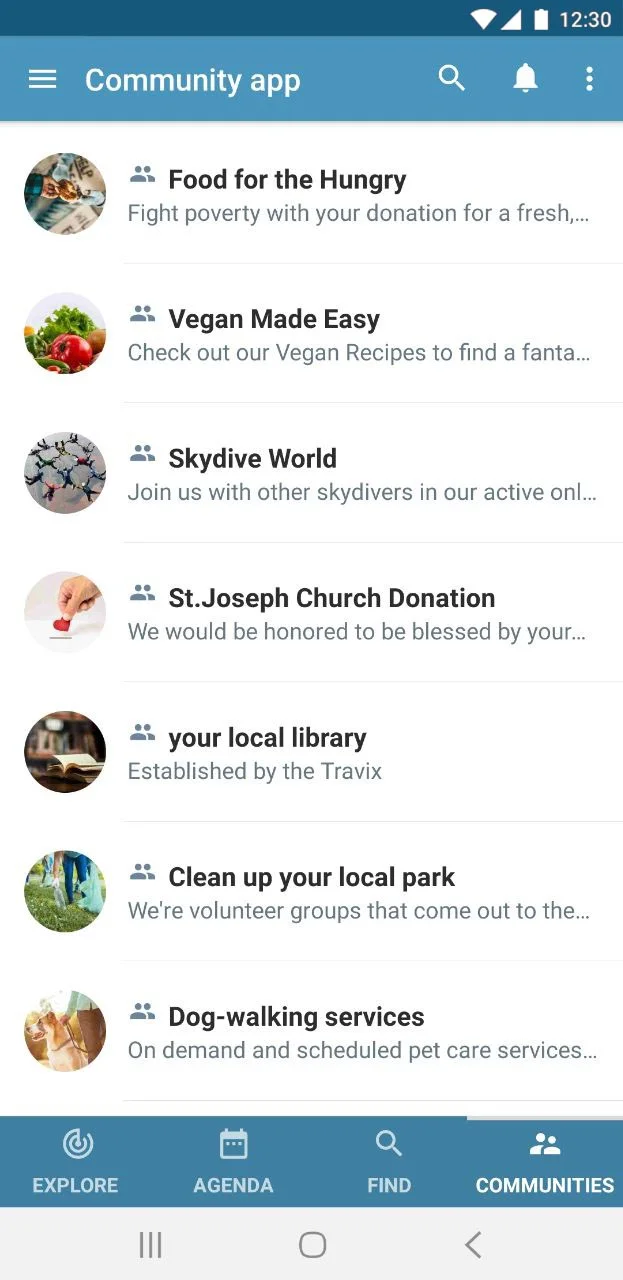
You can set up channels for different topics or subgroups within the bigger community, and direct posting makes it easy to communicate with others.

Tips:
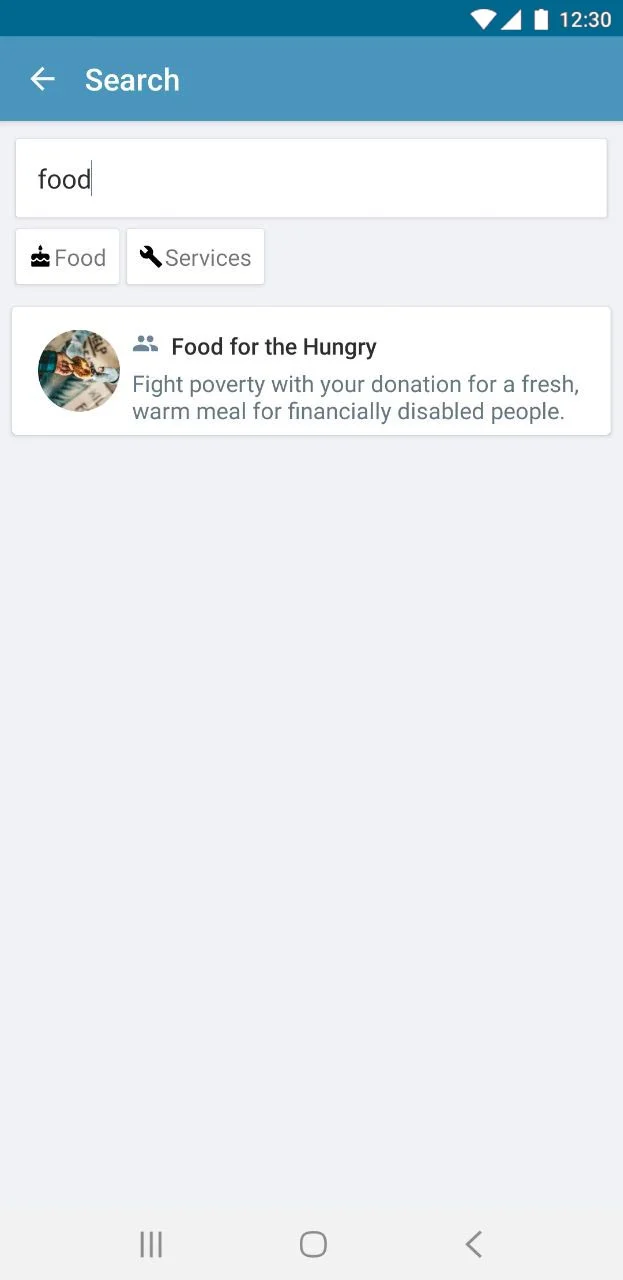
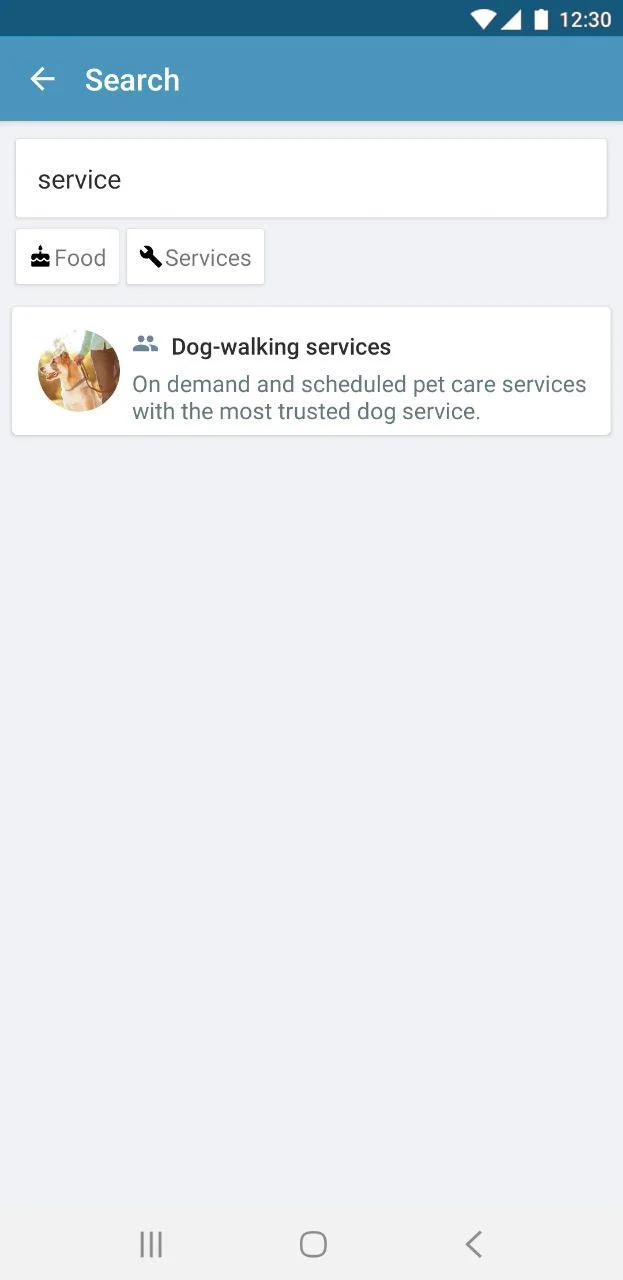
- The search feature facilitates the process of finding the user's neighborhood community, cooking community, etc.
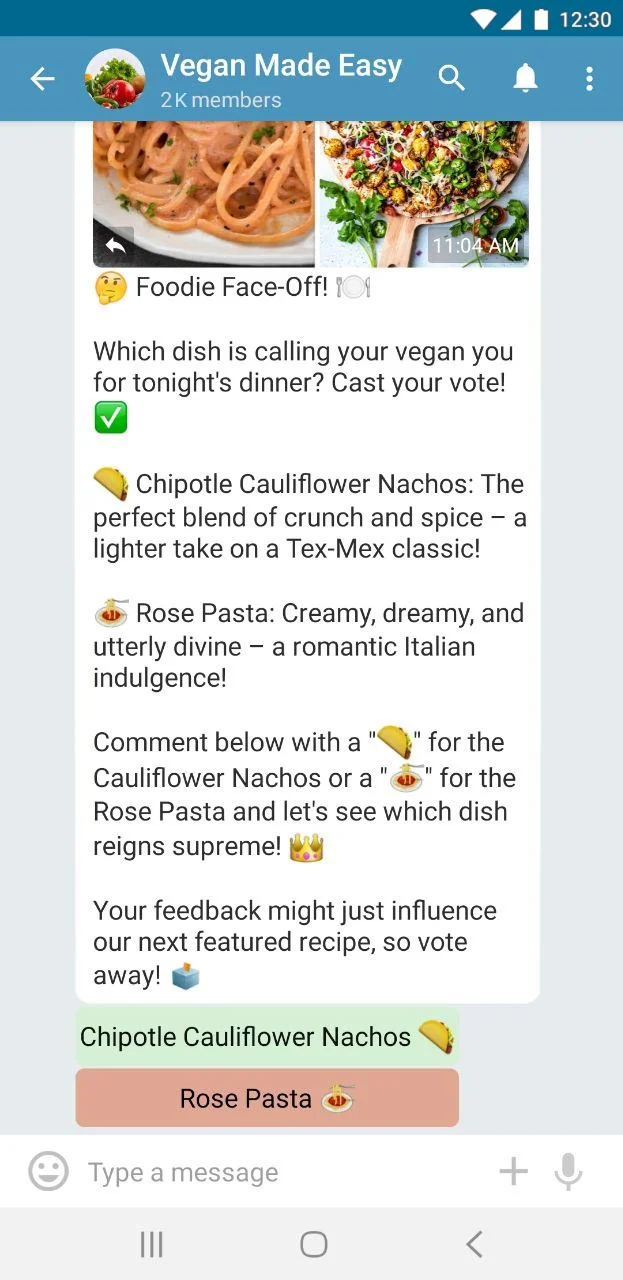
- Polls can be used as a method to get feedback from users. You can ask users in each community channel what they think about new features, events, or any other changes in the community. This will help you make decisions based on what people want.
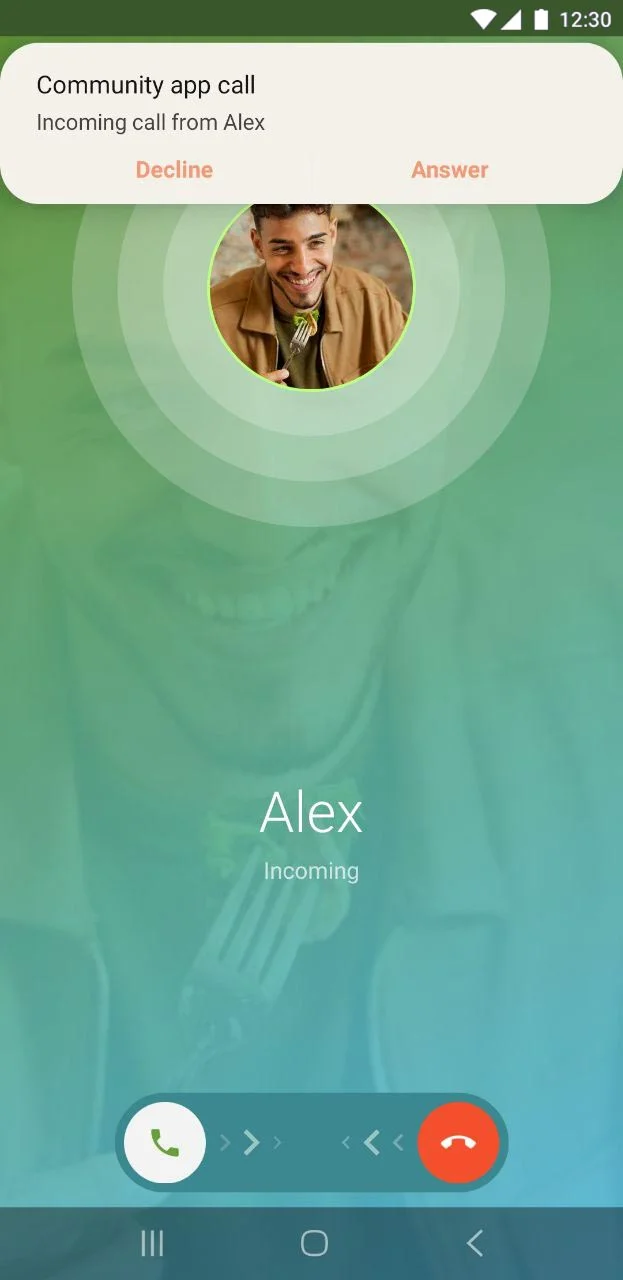
- Adding video and audio calling to your community app can make it feel more like a community, as it gives people a way to talk to each other in a more personal way, making your app a more versatile and active community place.
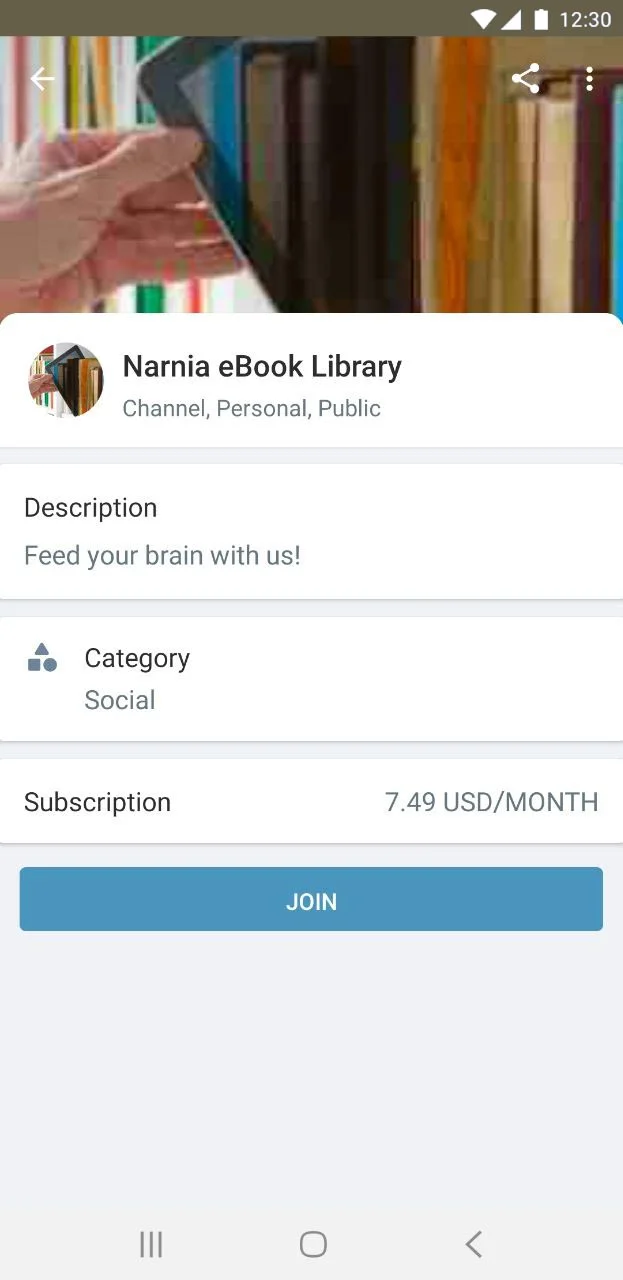
Online subscription:
With in-app purchases, you can provide customers with access to premium content or services that they can buy right inside the app. This can include ad-free interactions or premium content.
Tips:
- Your app's revenue can be increased by enabling Google Ads. In your app, you are compensated each time a user clicks on an ad or views one (per thousand views).
Community announcements:
Events and significant news can be announced on your newsfeed page, allowing members to interact, work together, and stay informed about community happenings.

Tips:
- Automation made easy with Zapier, It is able to automate routine tasks. For instance, Zapier can automate the process of sharing a new post from your community app to other social media networks, saving you time.
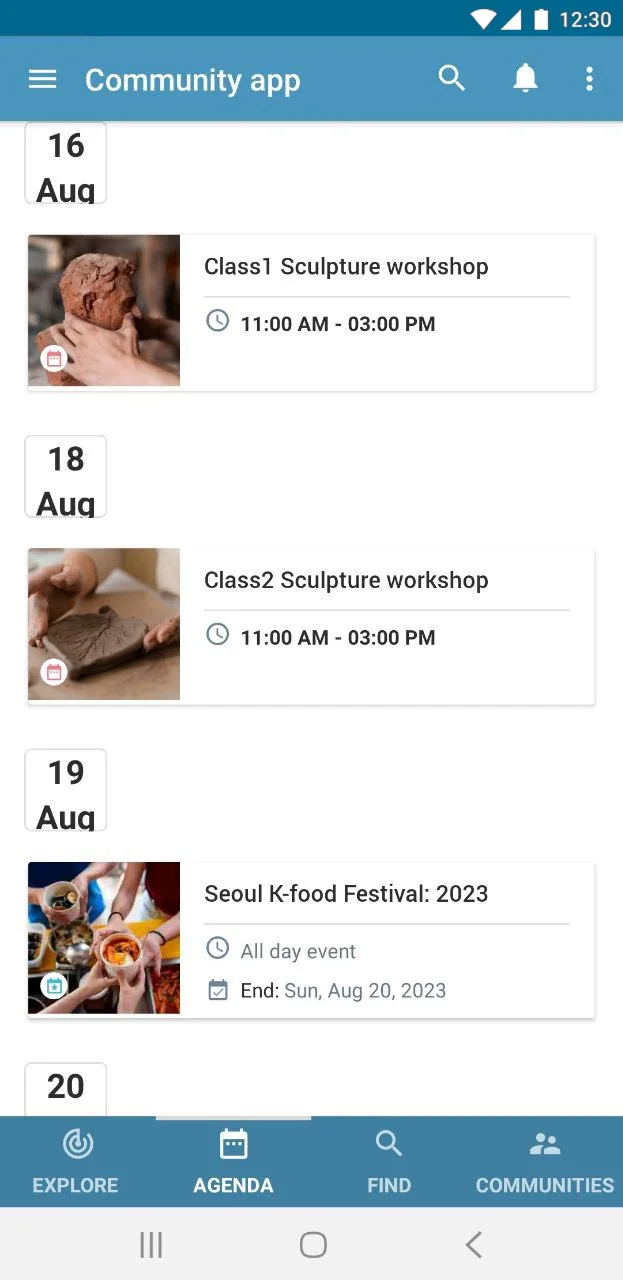
- Including a calendar in your app helps users keep track of their upcoming events, reminding them with the event date and time.
My timeline:
The app's "timeline" would be a central place where everyone could share news, events, and stories. For example, a member might write about how well they did in a recent competition, share photos from their training session, or talk about something interesting that happened during a game. All members could see, like, write on, and share these posts on the timeline.
Tips:
- For instance, members who couldn't make it to a match or event can still feel like they're part of the club by looking at pictures, videos, and stories shared by those who were there. This strengthens the sense of community among members, even if they are not in the same place at the same time.
With this guide in hand, you're all set to embark on your journey to implement these features and craft an exceptional community app. Let's get started!
Updated 7 months ago