
MailChimp Bot
MailChimp Bot
MailChimp can be integrated into your app to help you market and handle your customers better. When it comes to logging in, the interface has an effect on user registration. When a user joins your app through an email verification process, their emails can be added immediately to a certain list in your MailChimp account.
Creating a MailChimp Bot
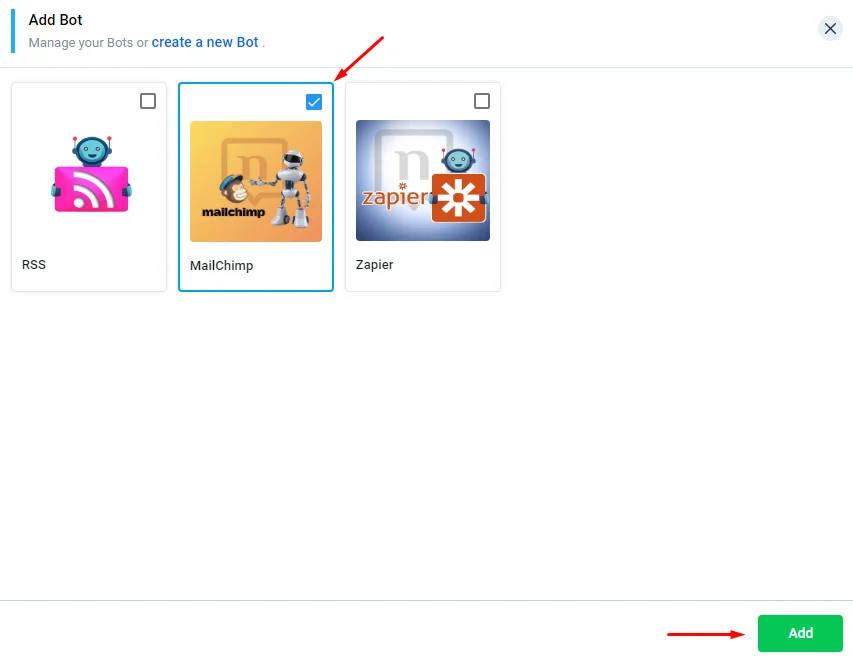
1.) When you reach the 'Create' button after accessing the 'BOT & API' page from the admin menu, choose Mailchimp Bot, then click 'Add'.
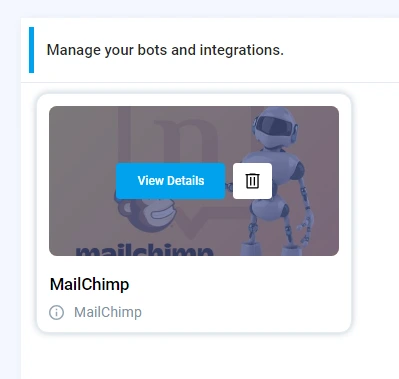
2.) Hover over the bot and click 'View Details'.
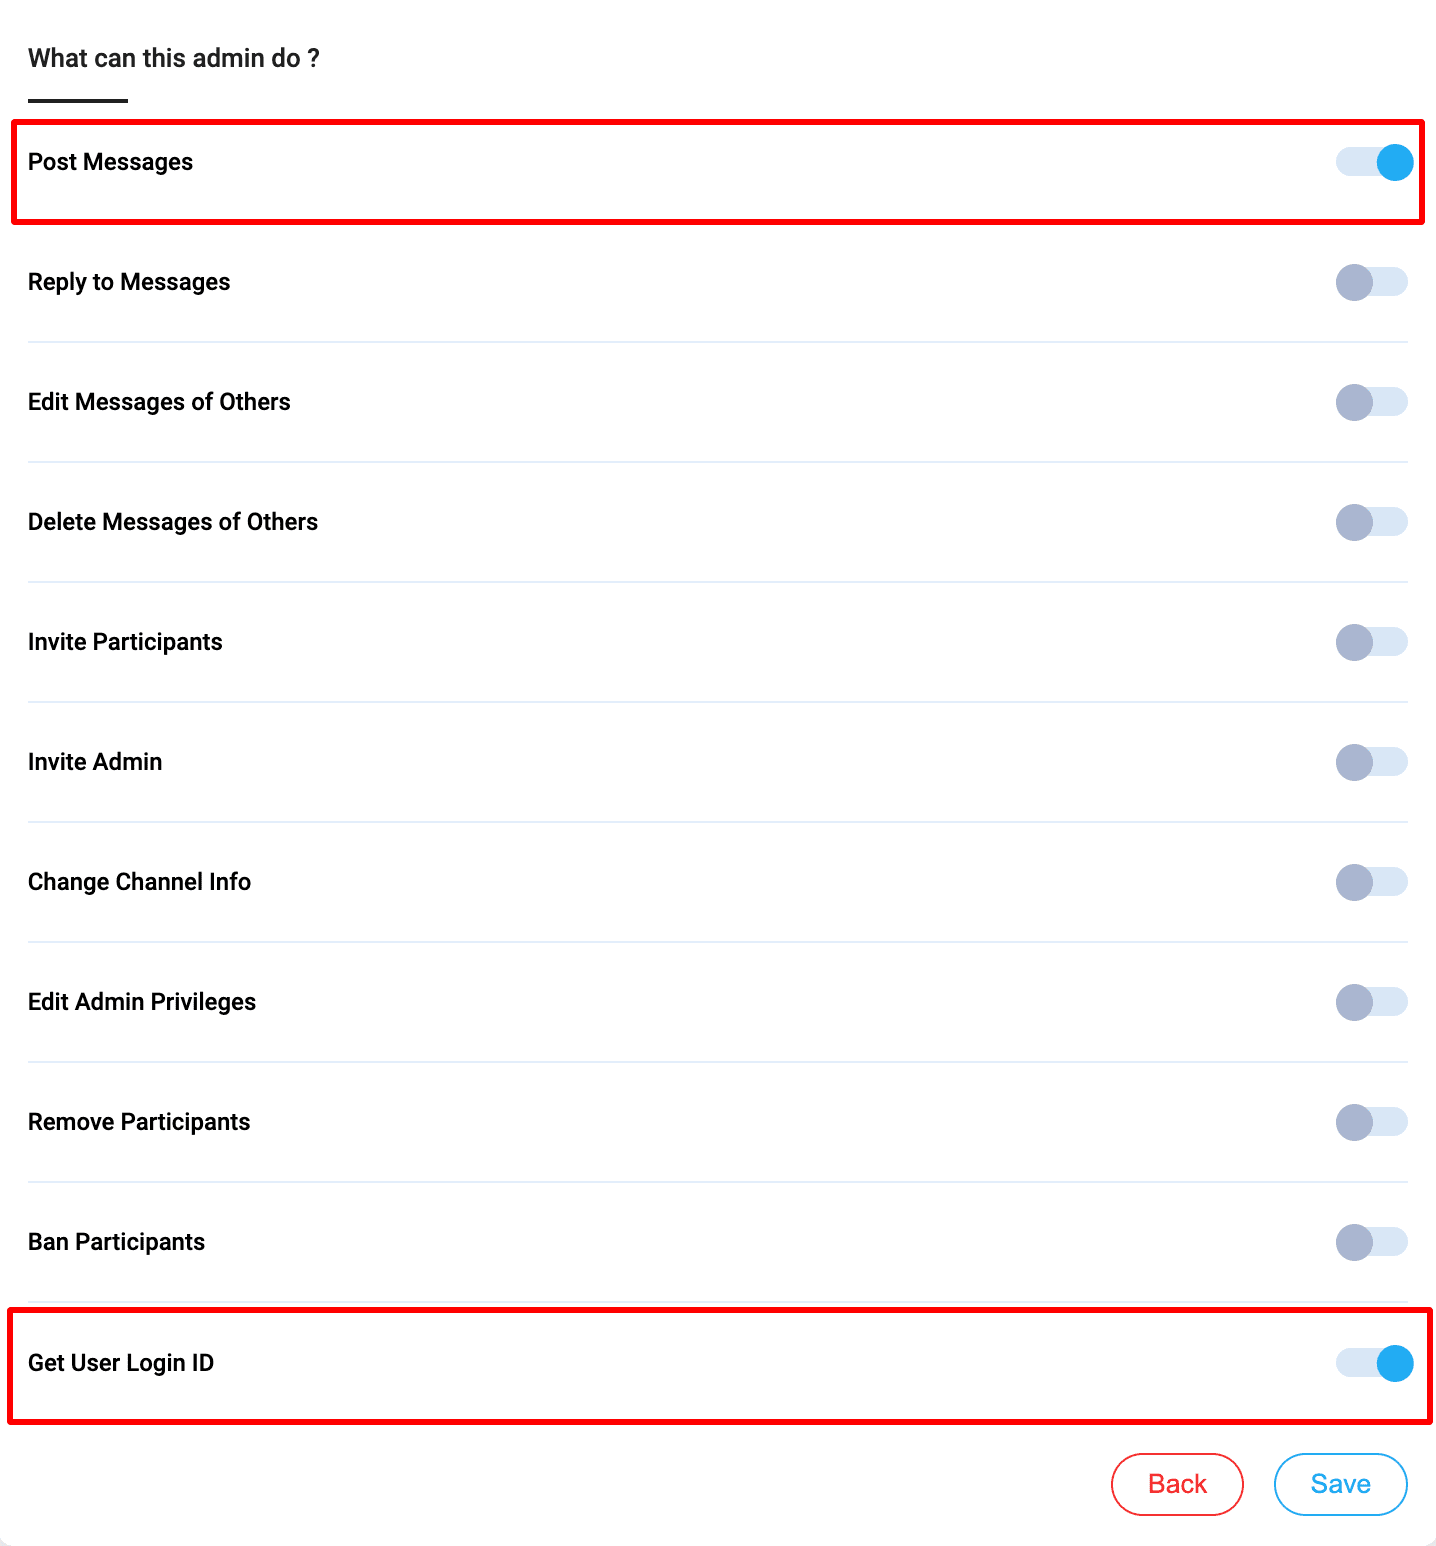
3.) Scroll down, and make sure that you toggle on these two privileges.
4.) Then click 'Chat with this Bot'.
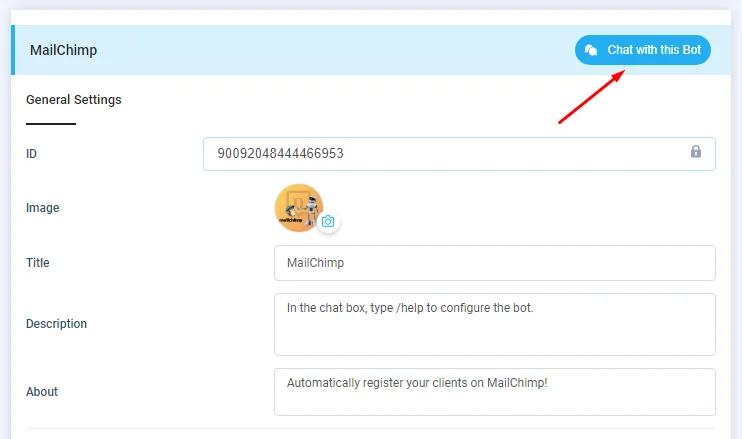
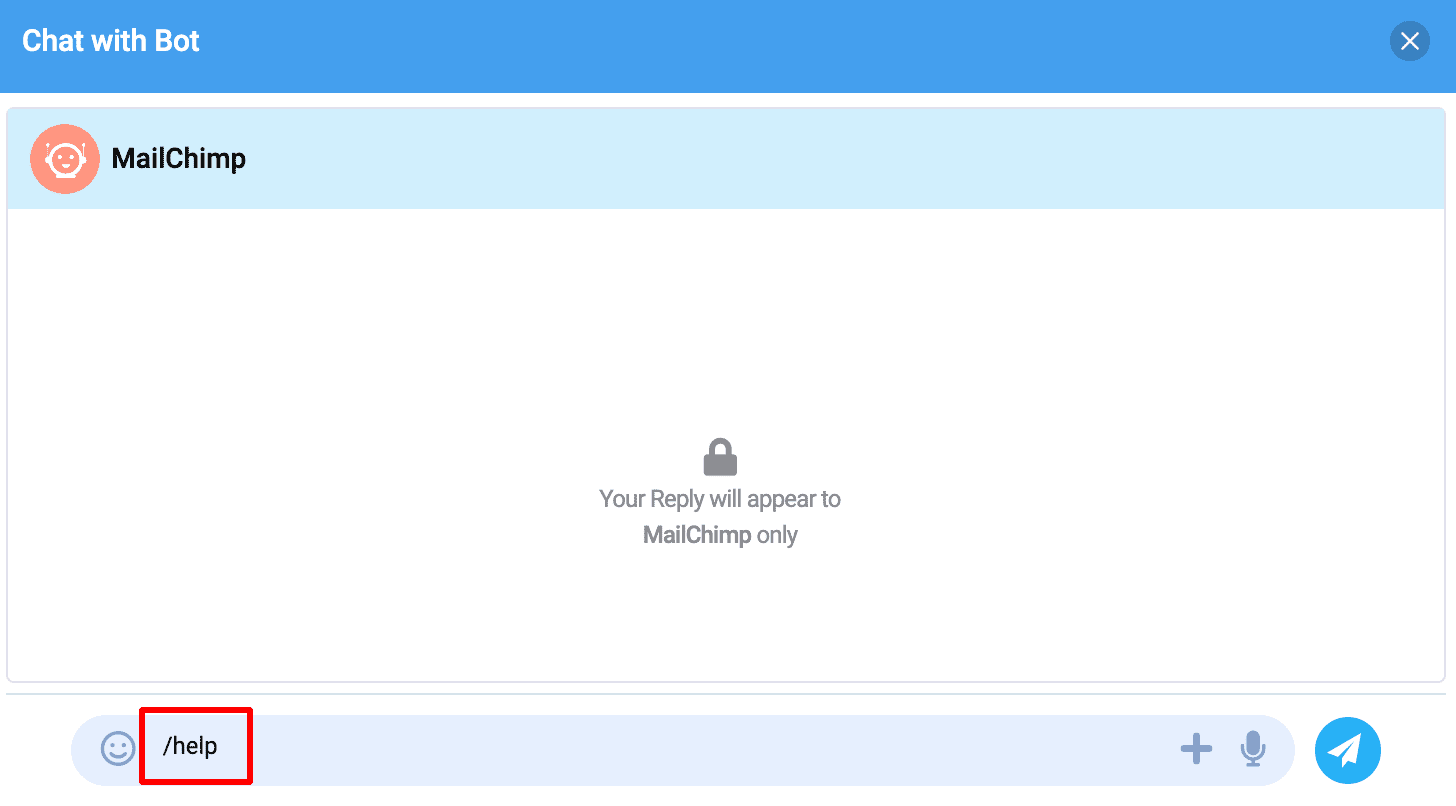
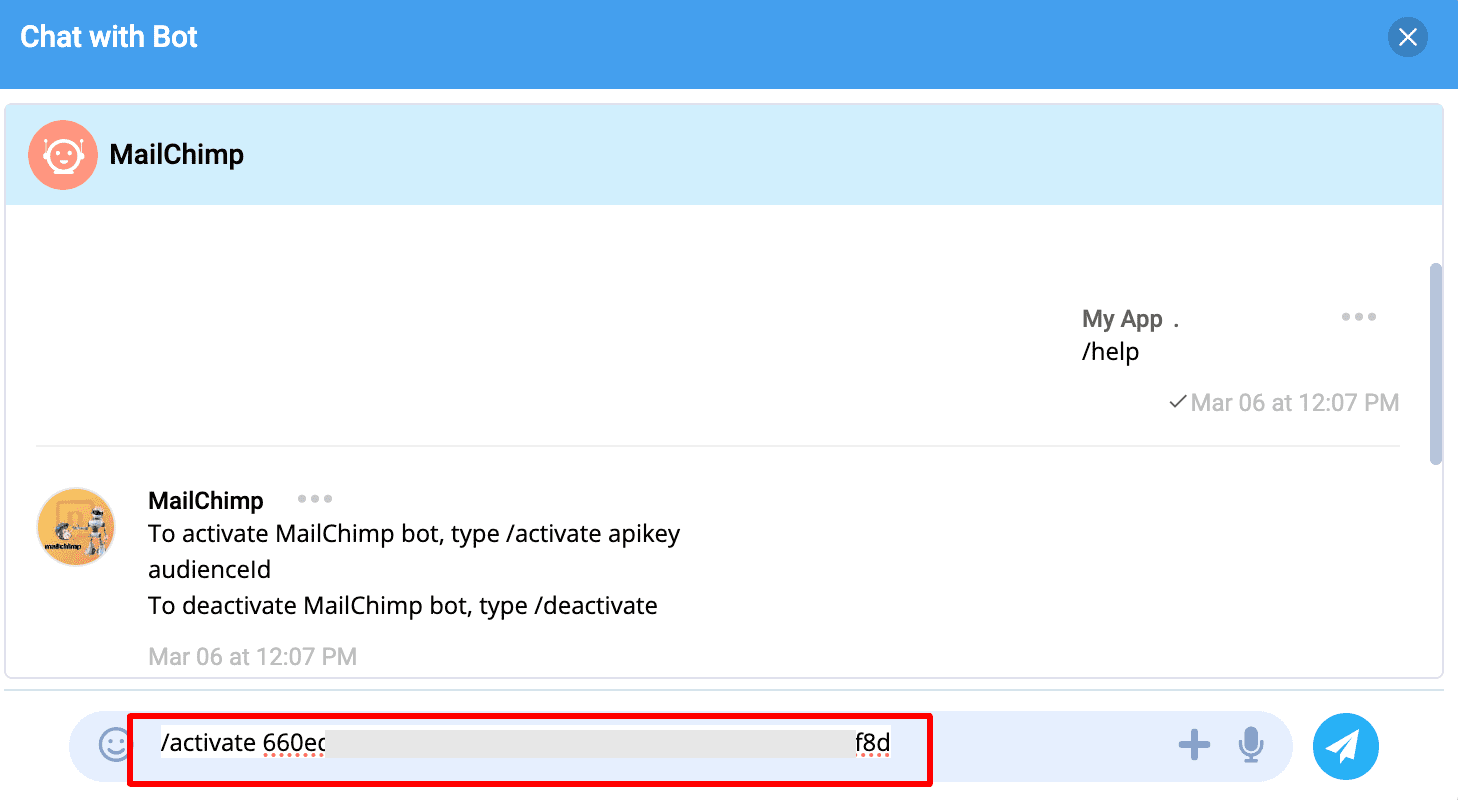
5.) Type /help in the chatbox.
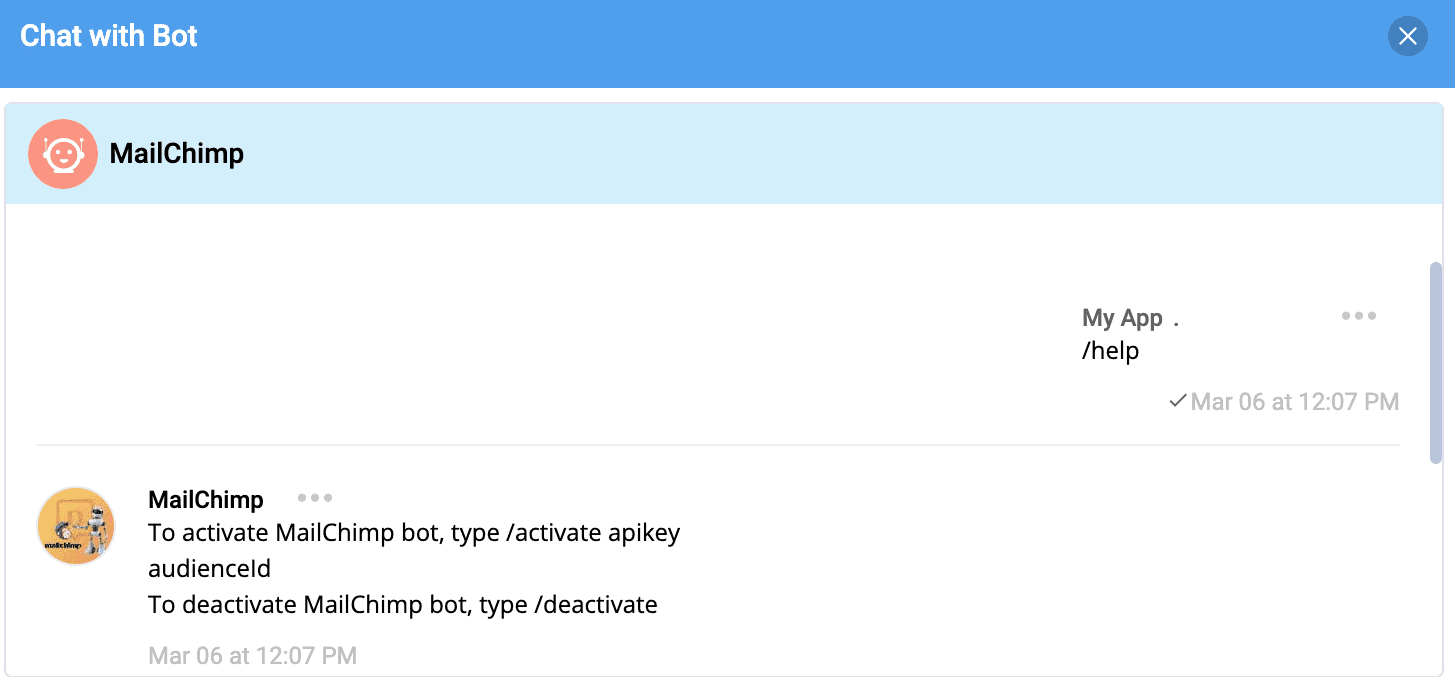
6.) A message will pop up to activate your Mailchimp Bot [ /activate apikey audienceid]
The API Key and Audience ID will be obtained from your MailChimp account through the following steps:
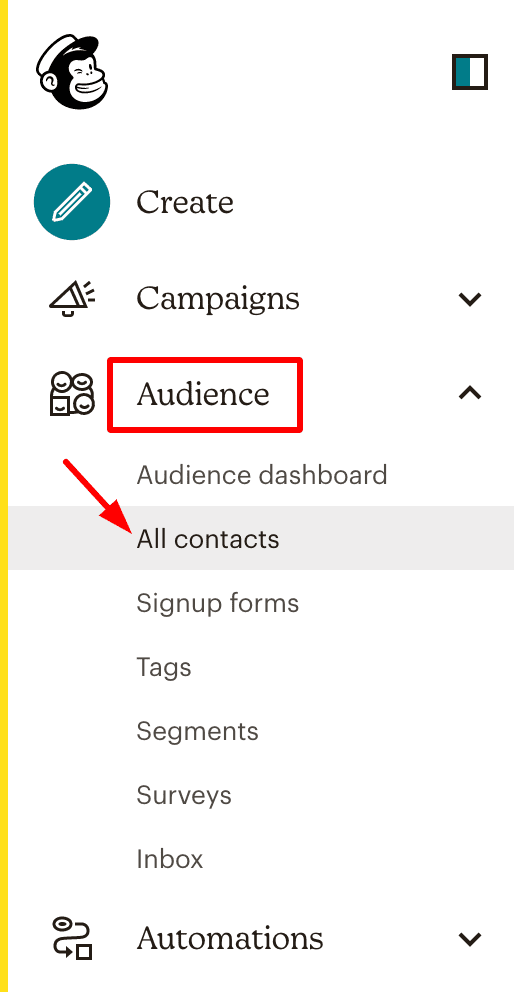
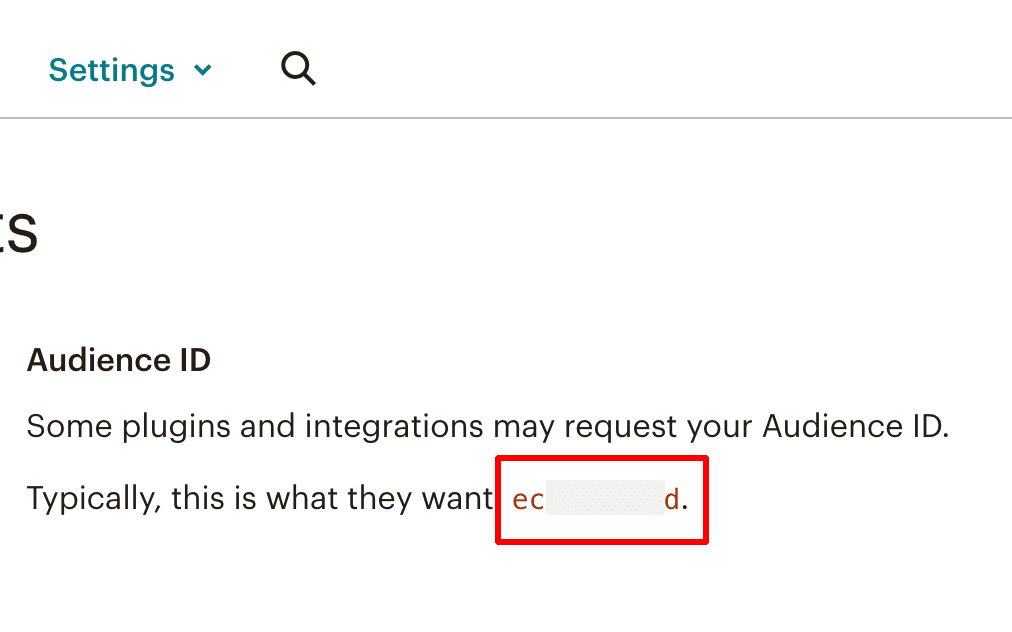
1.) To get Audience ID, log in to your MailChimp account, and click Audience from the side menu, Then select All Contacts.
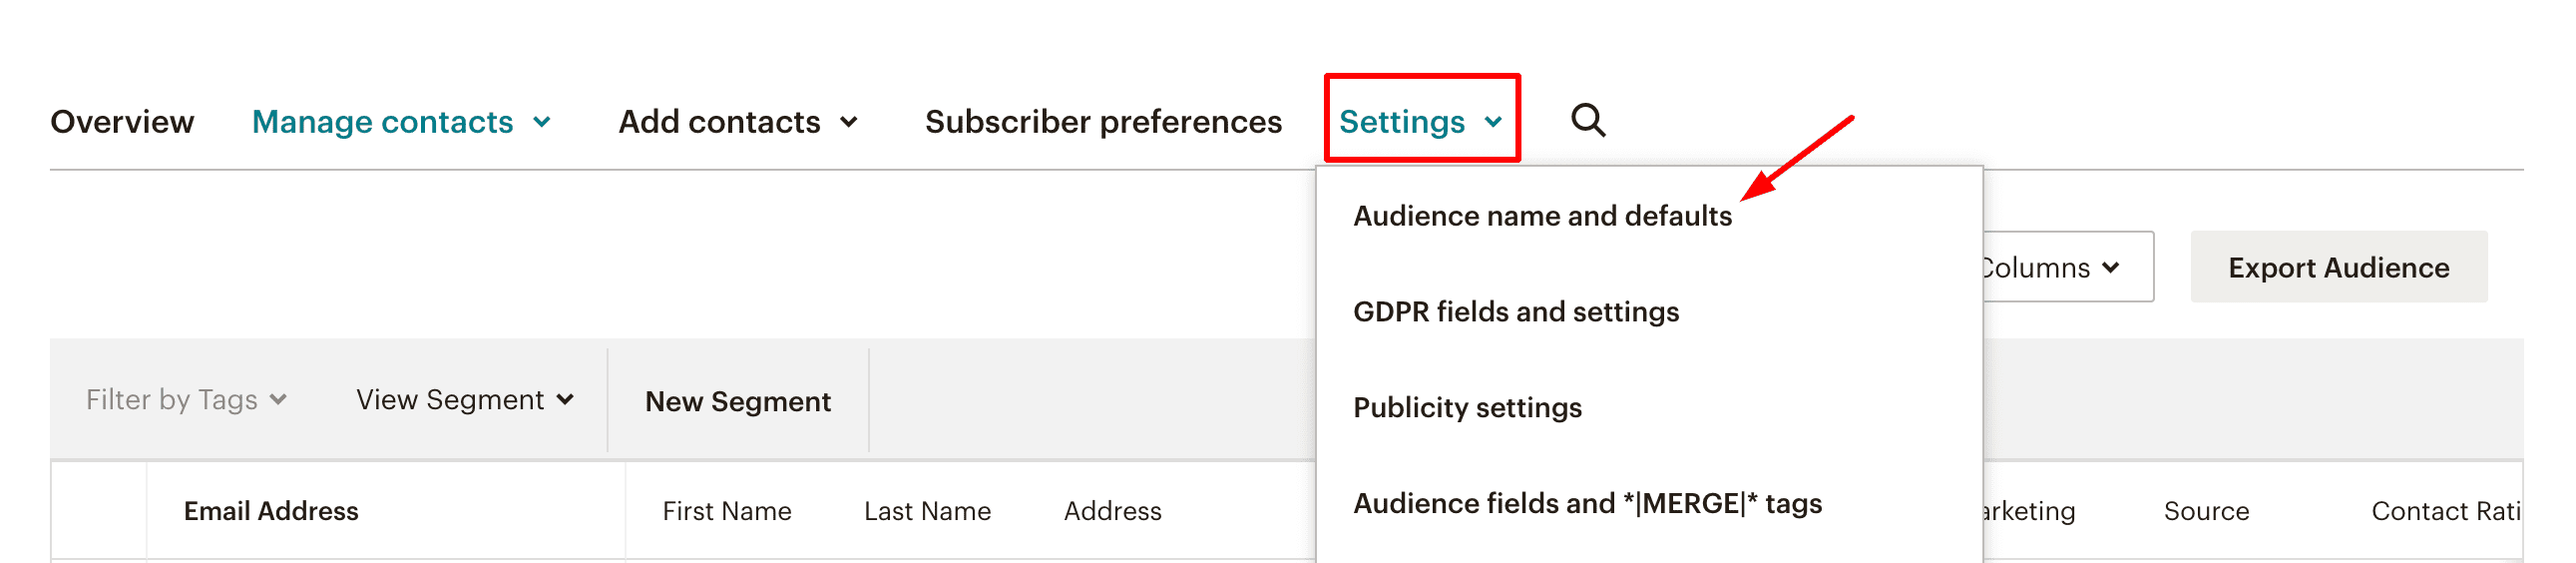
2.) From the settings menu, click Audience name and defaults.
3.) Then copy the audience ID.
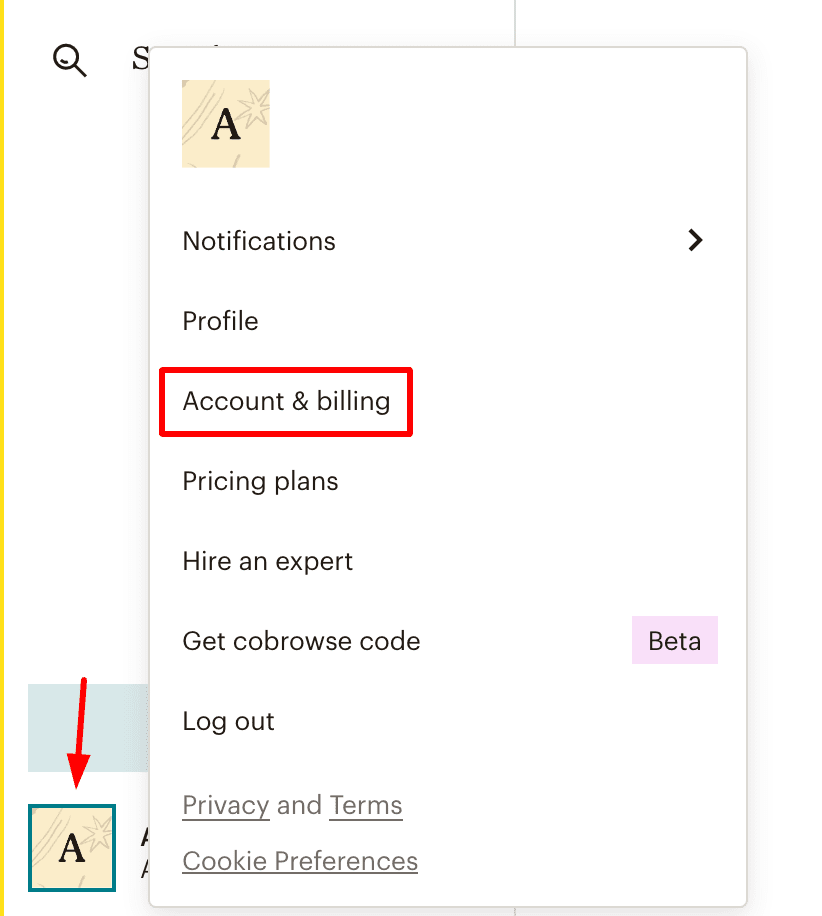
4.) To get your API Key, go back to your left side menu and click Account & billing.
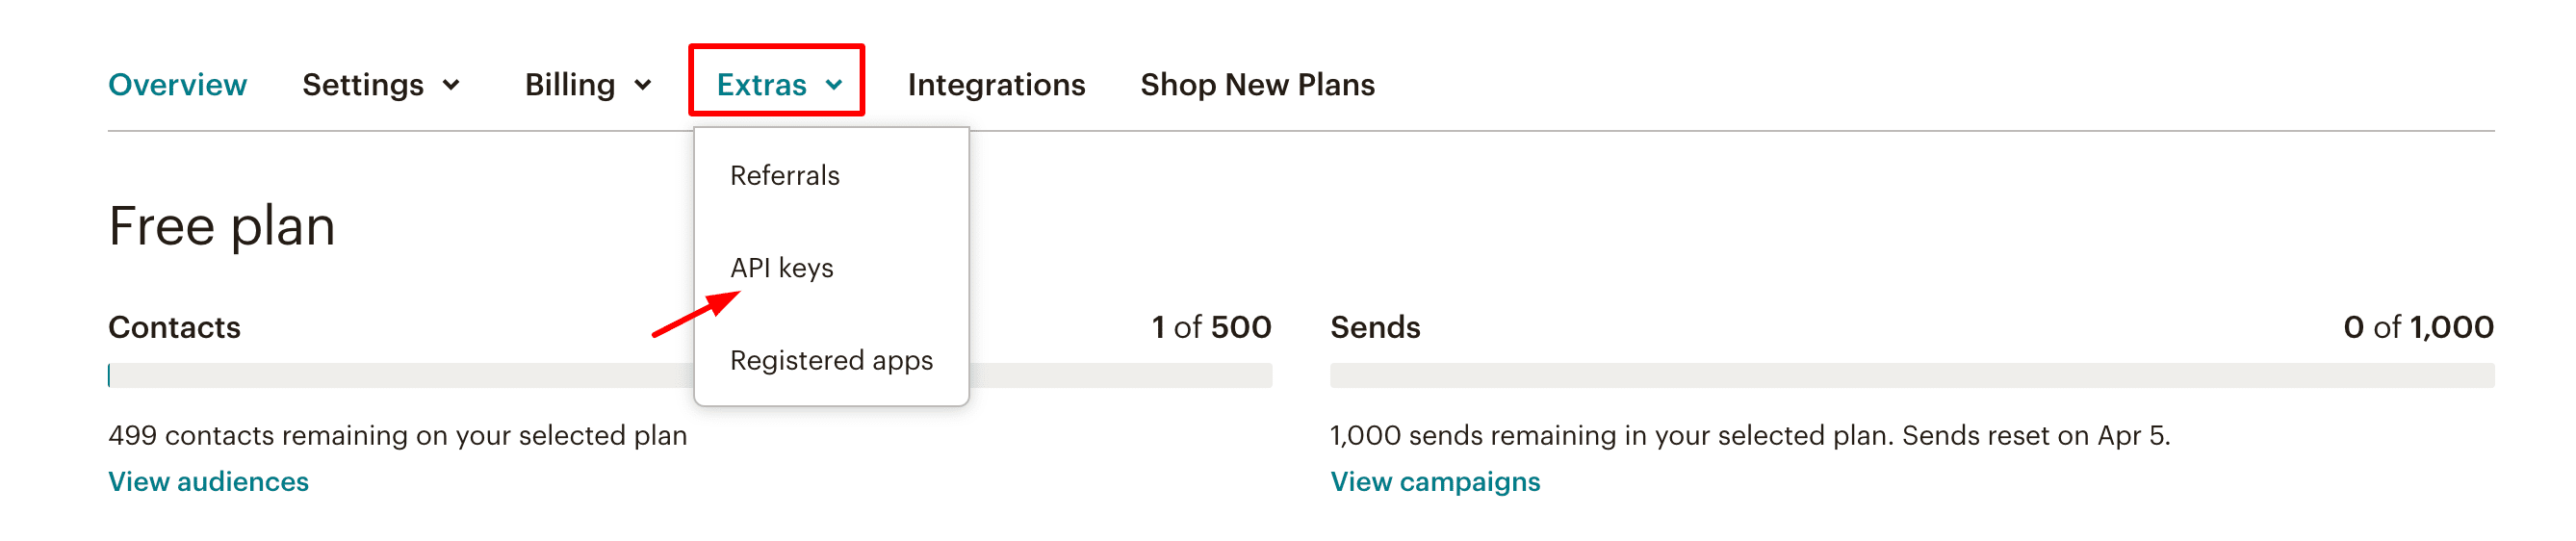
5.) Go to Extras and select API keys.
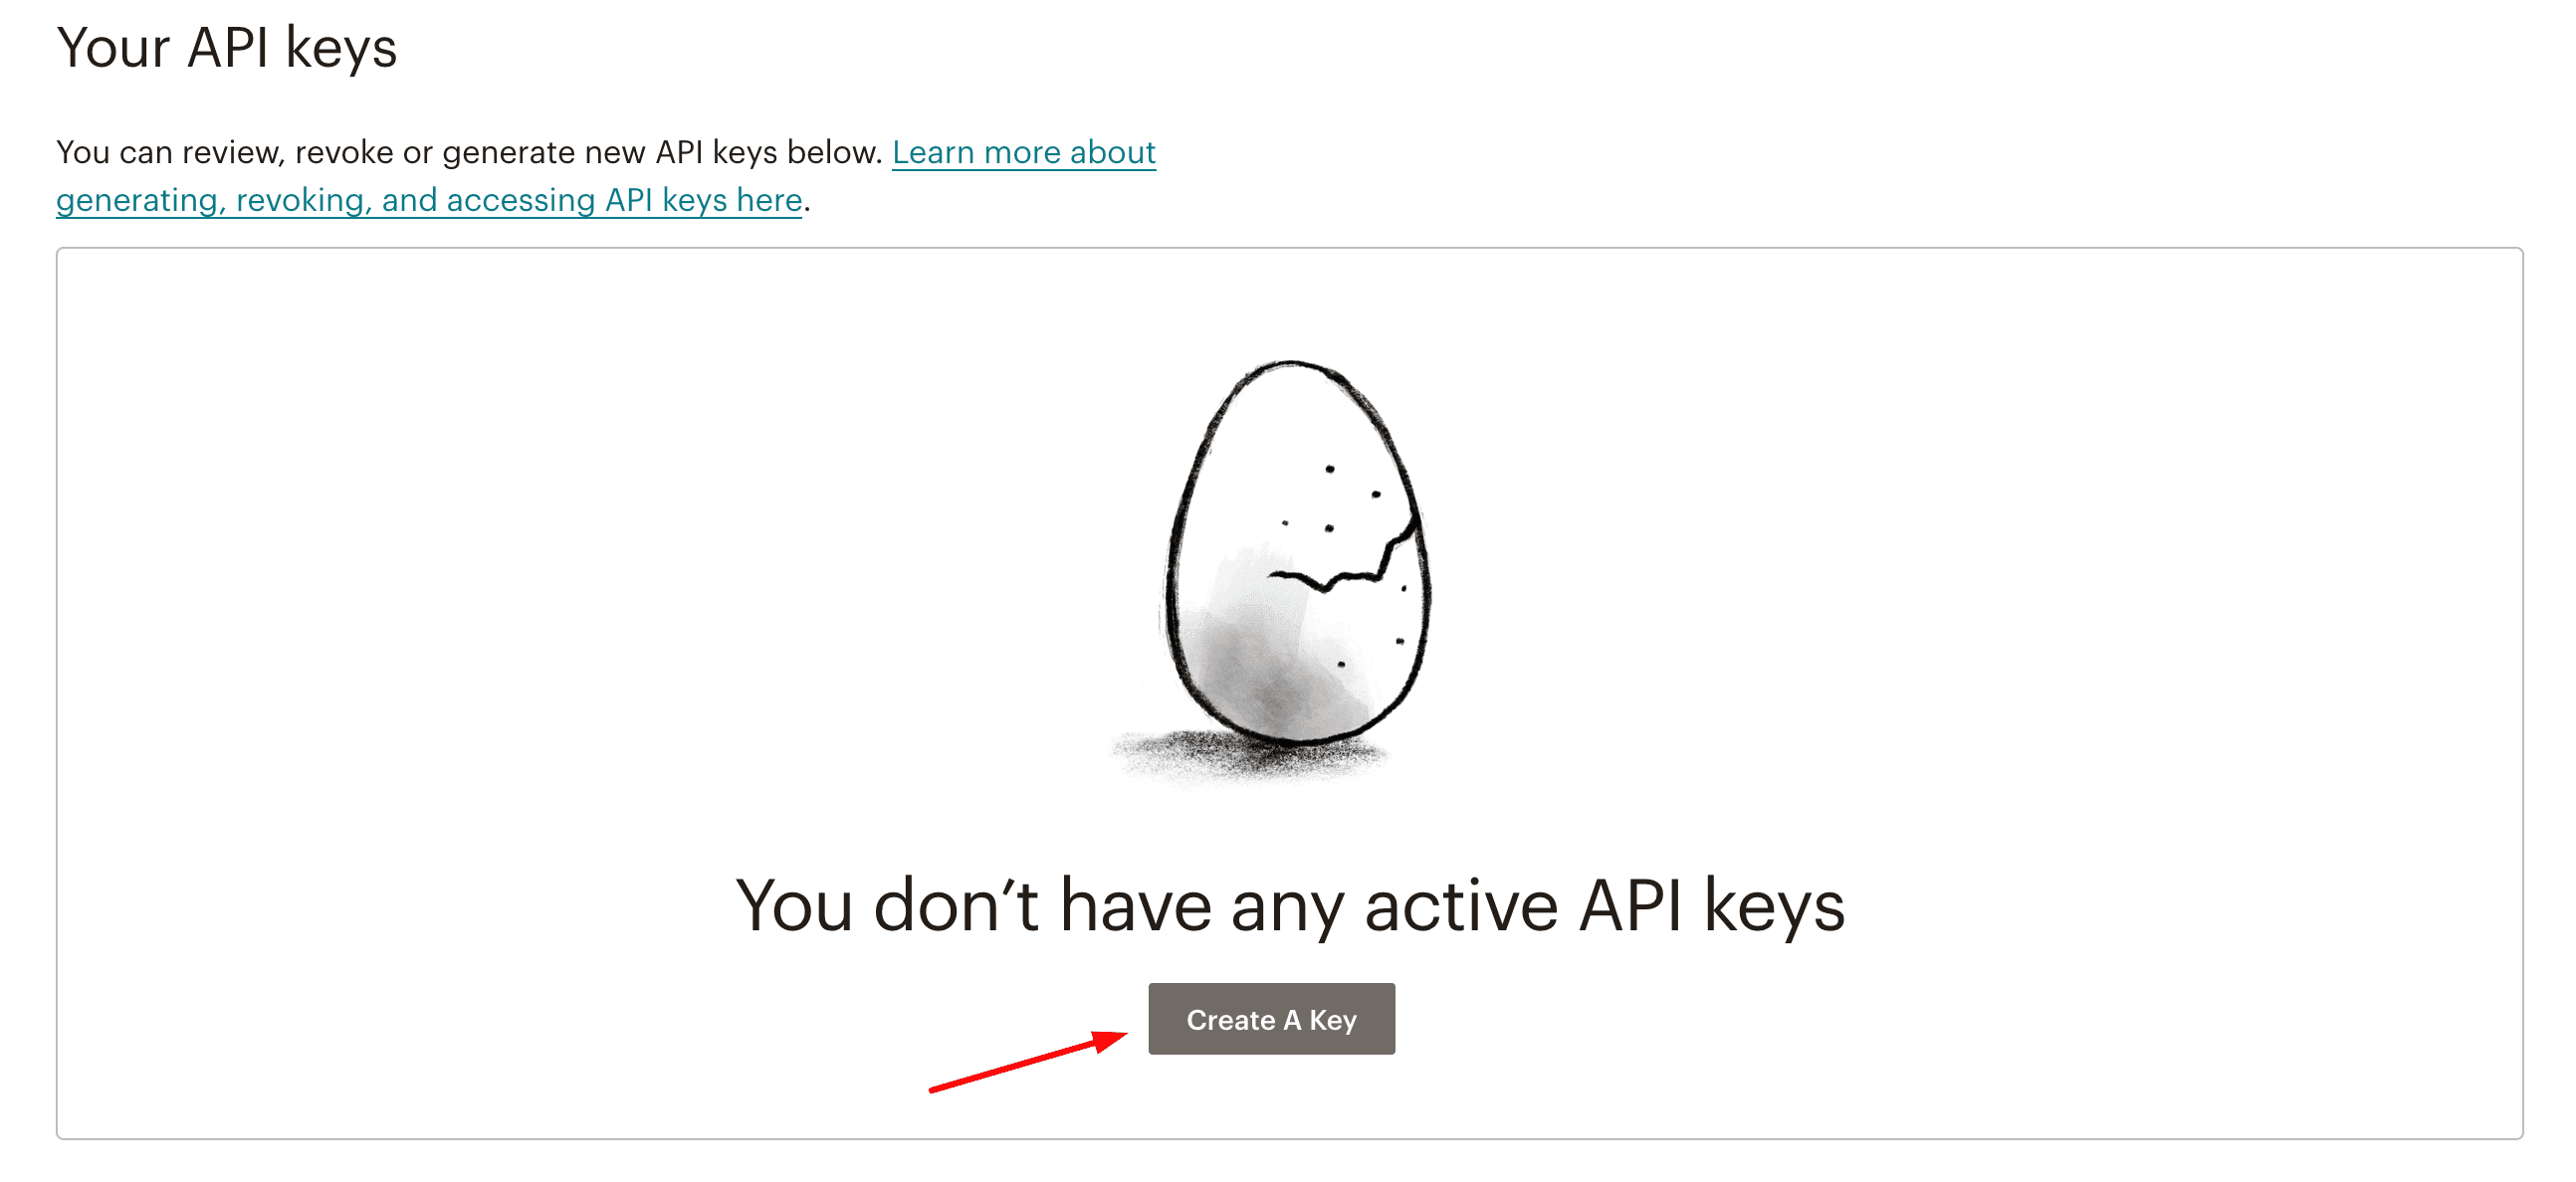
6.) Then click Create A Key to generate one.
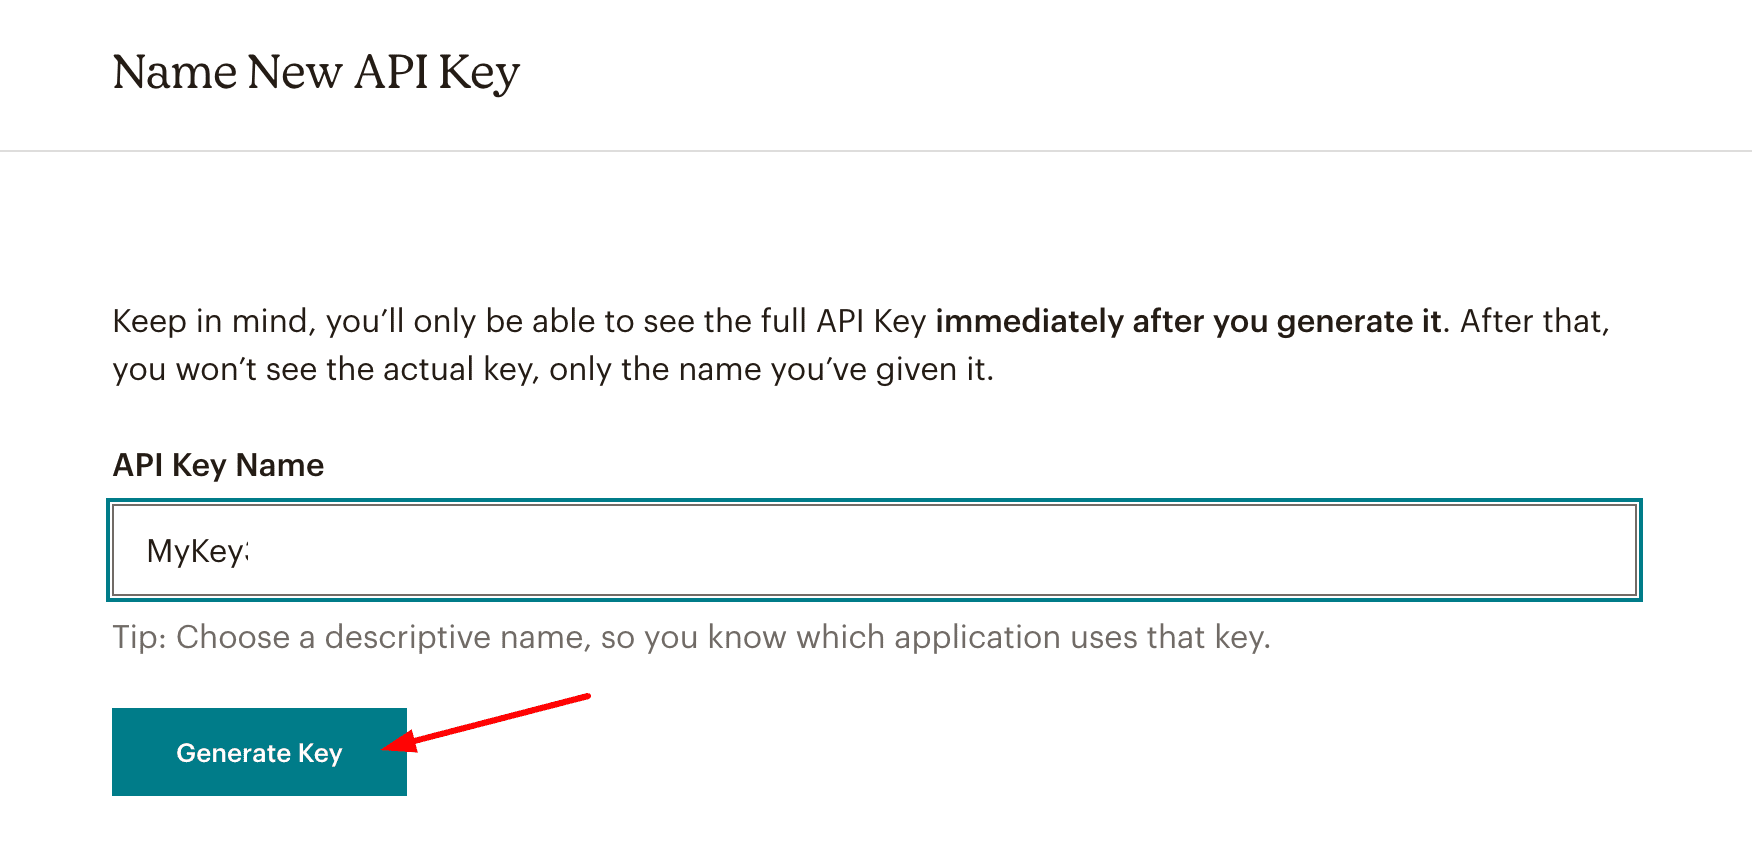
7.) Add a name for your Key then select Generate Key.
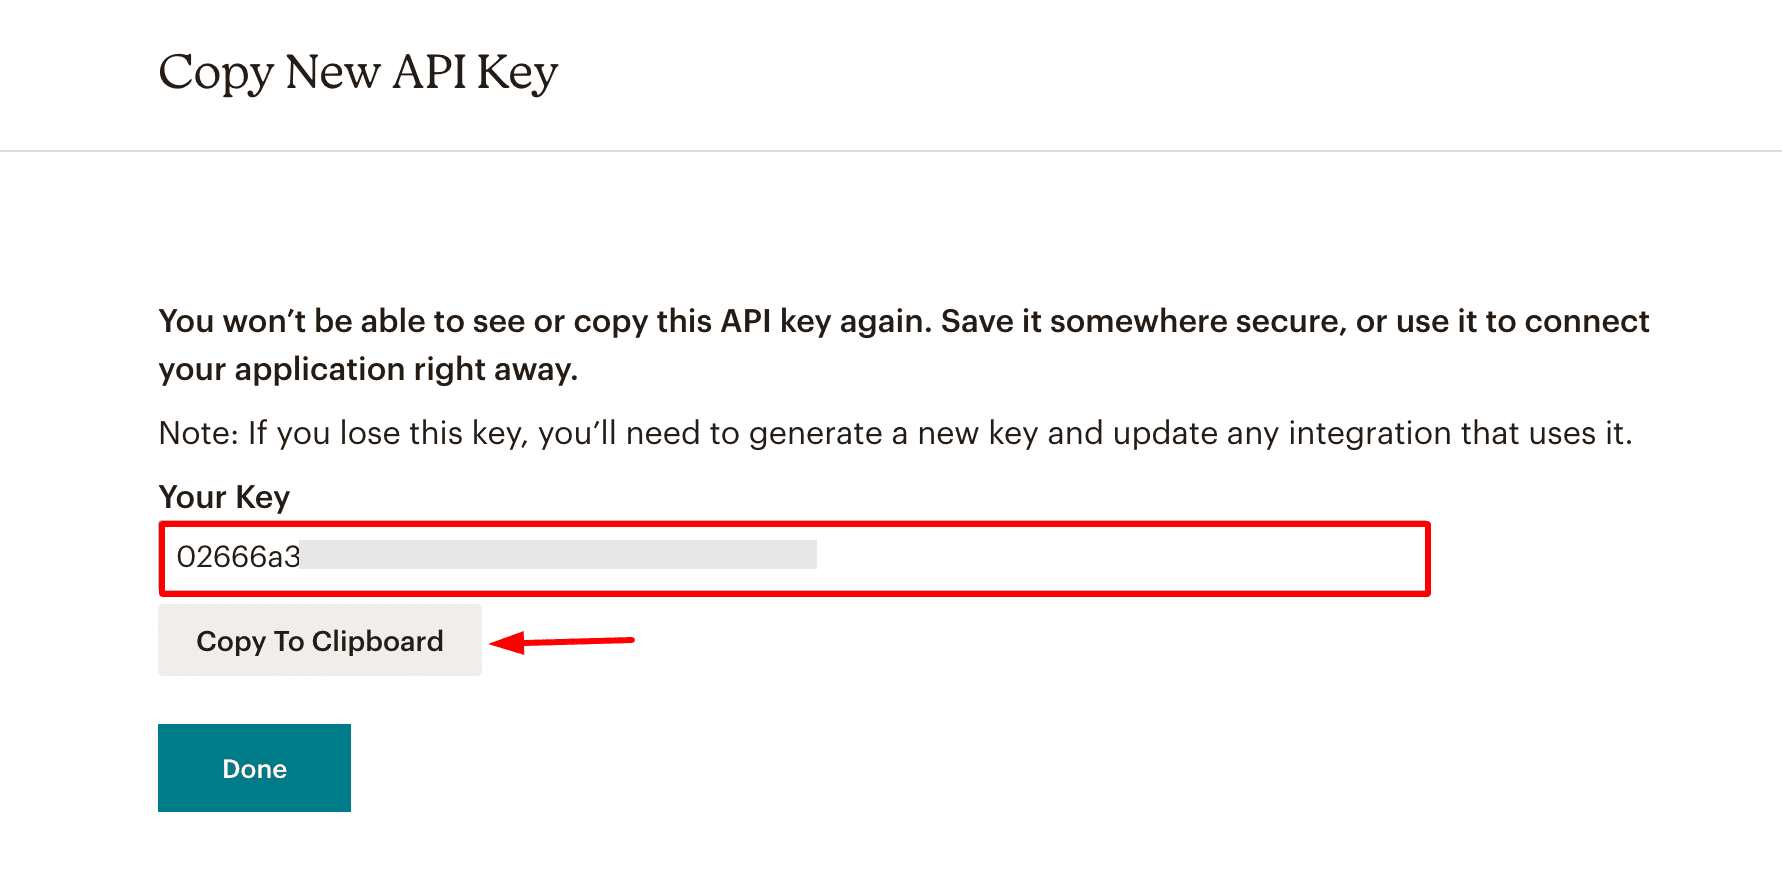
8.) Don't forget to copy your key and save it for the activation as you won't be able to see it again.
9.) Now go back to your Mailchimp Bot and enter \activate apikey audience id, then click Send.
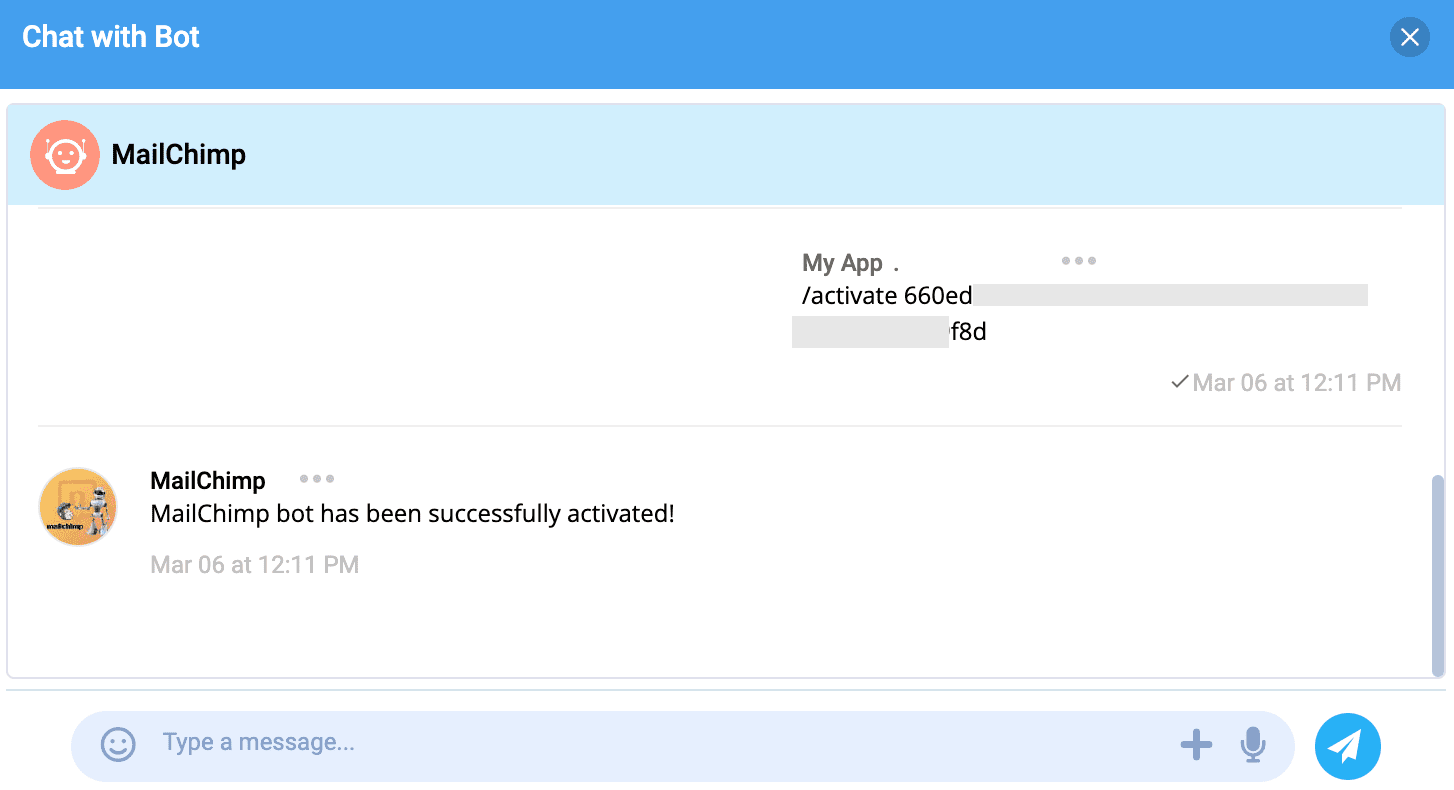
Congrats! You have now successfully activated the MailChimp Bot!
Create API/Bot within nandbox Messenger
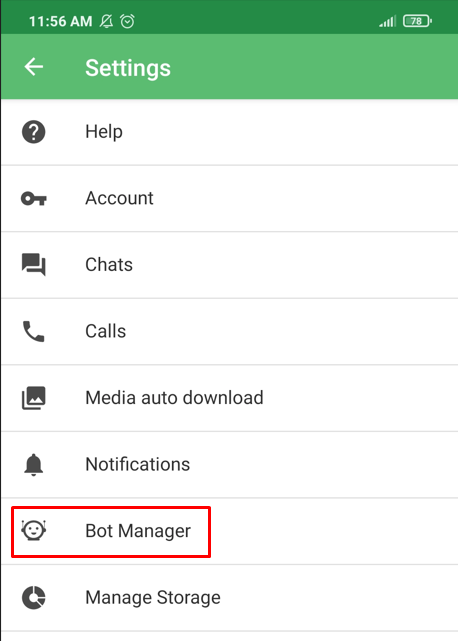
1.) From Settings menu, Select "Bot Manager".
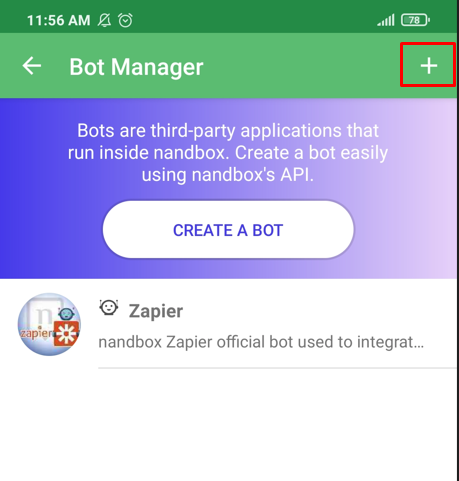
2.) Tap "+" to create a new Bot.
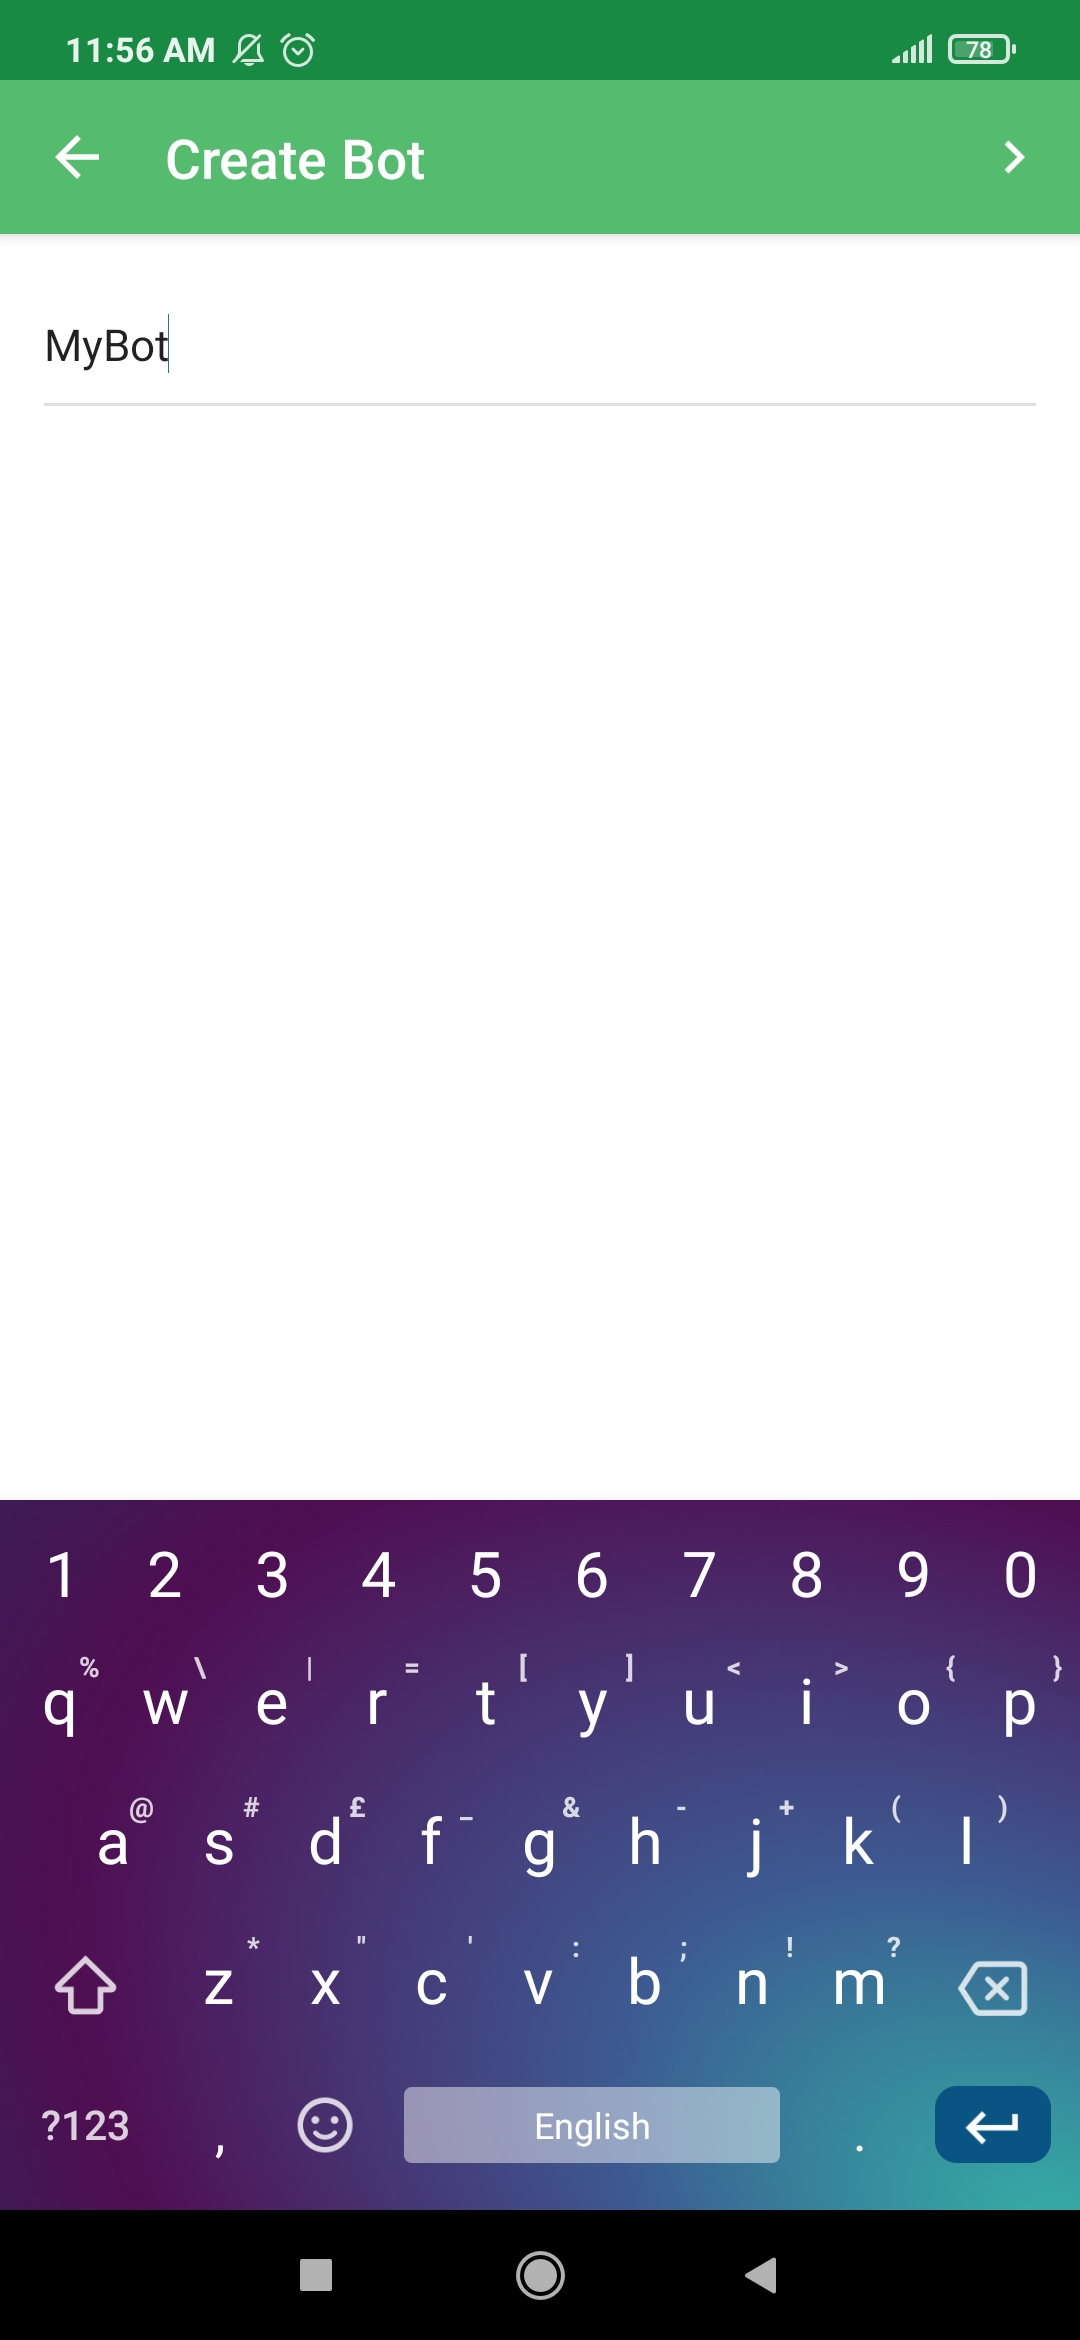
3.) Enter your Bot title [Up to 32 characters].
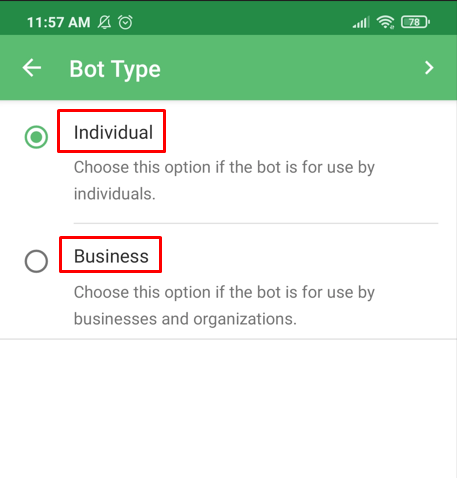
4.) Choose your Bot type.
- Business: if your Bot is associated with or will be for use by an organization, or business.
- Individual: if the Bot will be for use by an individual.
5.) Then fill out the required info:
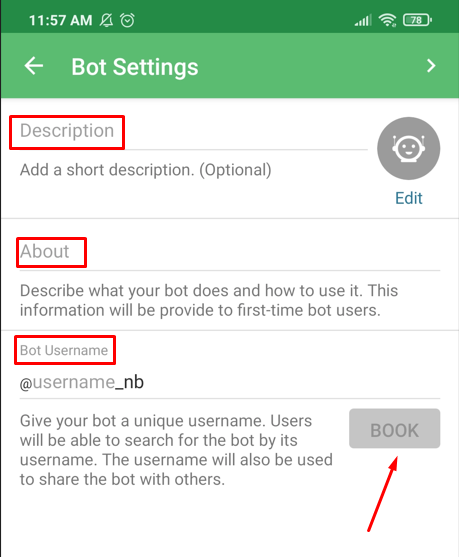
- Bot Description: a short text of up to 120 characters that describes your Bot. Users will see this text on the Bot's profile page or when they join your Bot. Also, when they share your Bot with someone, this text is sent together with the link.
- Add an image for your Bot
- About: a short text of up to 512 characters to describe what your Bot can do or how to use it. Users will see this text at the beginning of the conversation with the Bot.
- Add a unique username for your Bot. Unlike others, we protect your business name from being reserved by other bots. Your Bot unique handle will be matching your web domain name. For example, if your business domain name is XYZ.com, your Bot handle will be "xyz".
Then select BOOK.
6.) Now you can configure your Bot's properties:
- Inline: toggle inline mode for your bot.
- Private: Private Bot will not appear in the Bot index search. Admin must send the Bot link to the user to invite him/her to join the Bot.
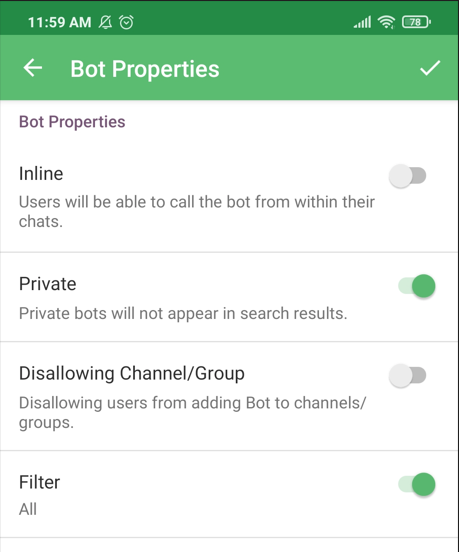
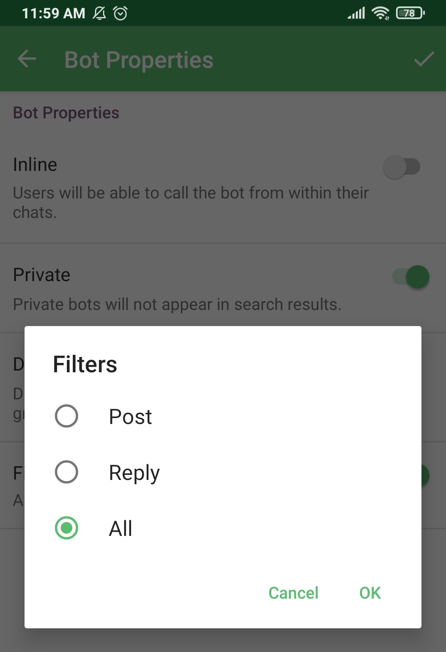
Filter: Select which messages your Bot will receive when added to a group. Choose from "none", "when mentioned", "posts" or "All".
Updated about 1 year ago