
Configure your App Information
Configuring iOS Version Information
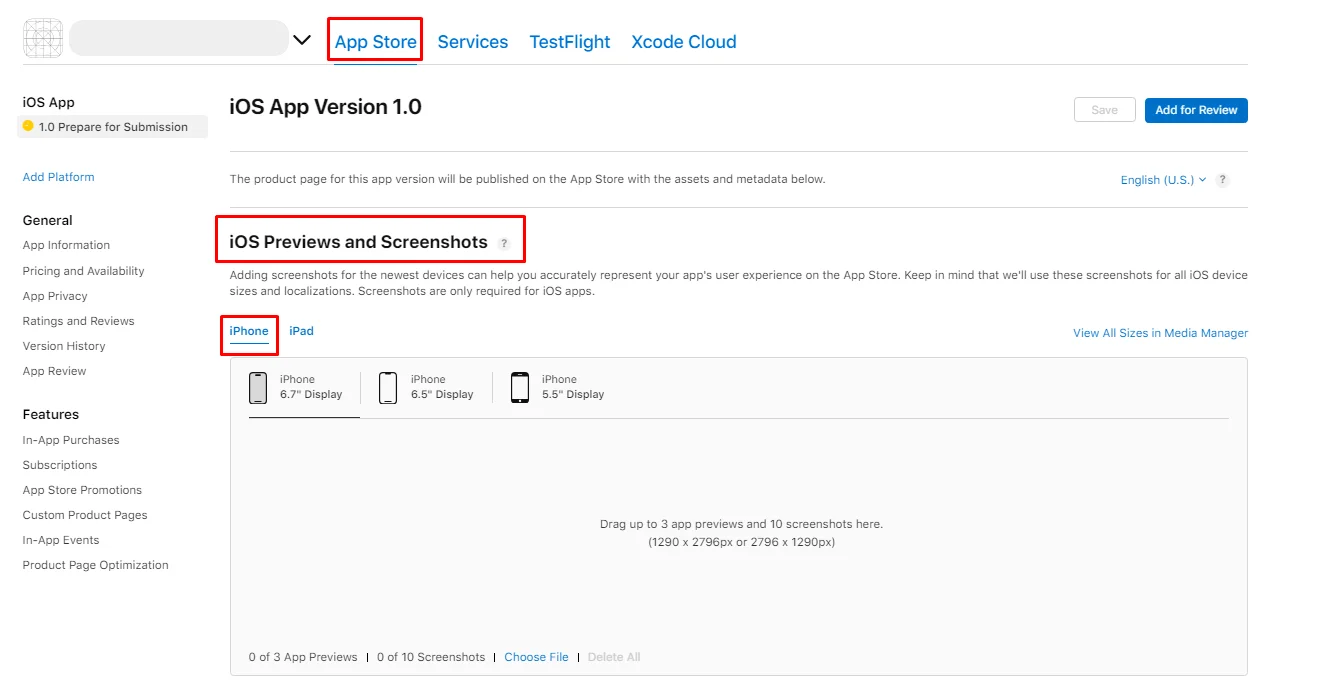
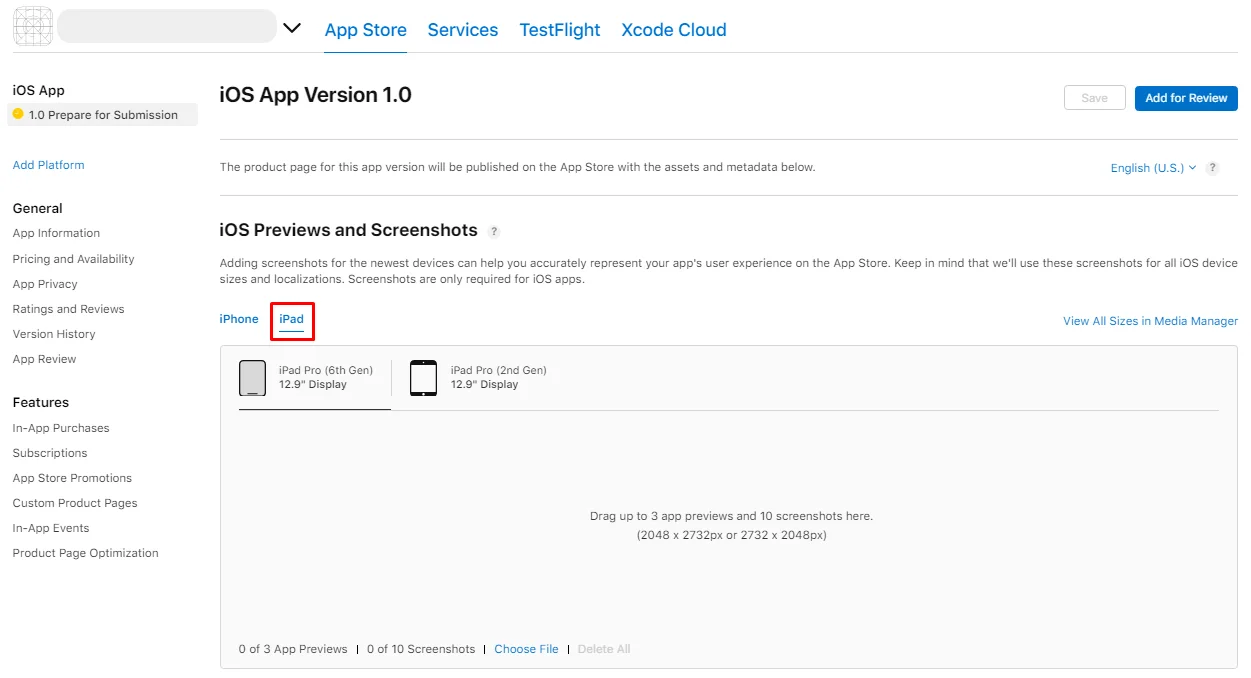
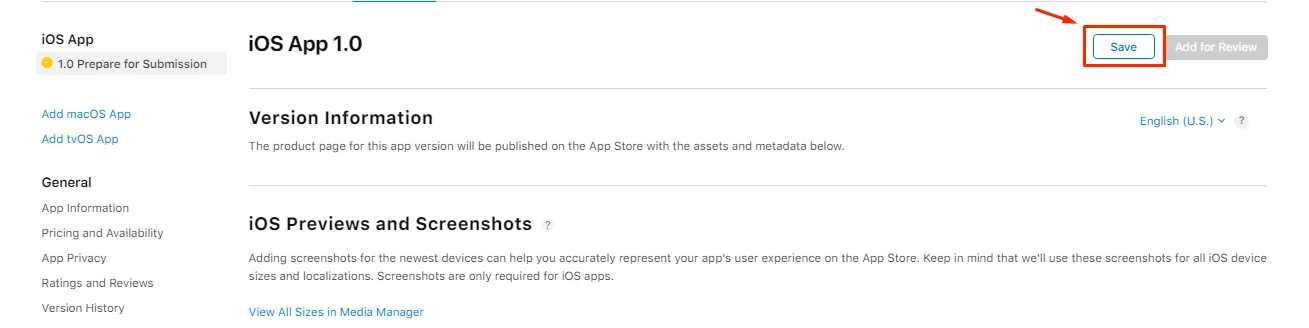
iOS Previews and Screenshots:
Here is where you can upload your app’s screenshots and an app preview (video), according to Apple Dimensions, to be represented with your app on the Apple Store. Make sure to upload both the iPhone 5.5” display and the iPhone 6.5” display, as they are mandatory.
Note that screenshots and app previews MUST be taken from the actual app, as Apple will reject your submission if your screenshots and previews are not compatible with the app preview on your device.
For more information regarding screenshot dimensions, check out this Apple guide.
Note that App screen recording is a must, as Apple will reject your app if you don't provide a video preview of your app:
1.) You can upload your iPhone screen-recorded video and screenshots to the iOS Previews and Screenshots section, and if you have an iPad, you can also upload them for your iPad version.
2.) Or you can upload it to YouTube or any website capable of turning your video into a URL. Then add it to the Notes section in the App Review Information section.

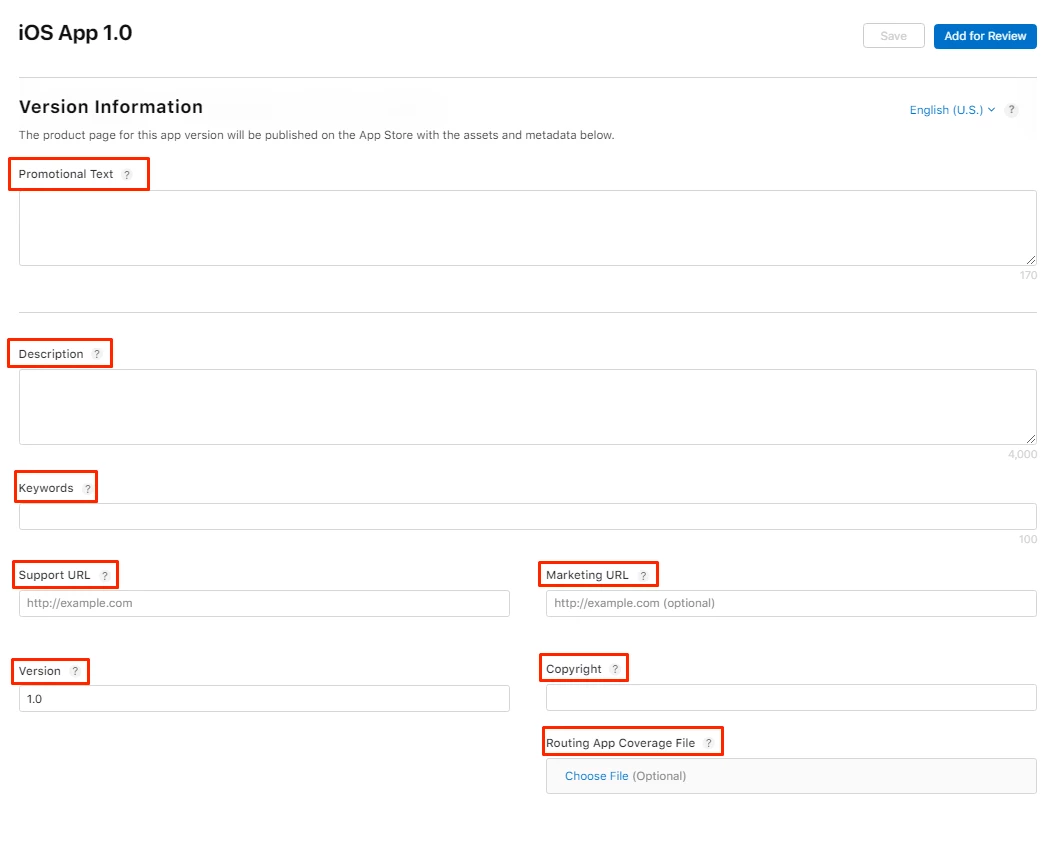
Version Information:
- Promotional Text: To tell App Store users about any new features of your app without having to submit an update.
- Description: Provide a detailed description of your app's functions and how it works regarding app functionality and features
Note that your app's promotional text and description are very important, as Apple will reject your app if both are not unique enough. As an app owner, you should mention what exactly your app represents; we don’t recommend adding a description like "Messenger app", as there are a lot of messenger apps on the Apple Store that serve the same functionality.
- Keywords: Add one or more terms that describe your app. Keywords make it easier to find what you want in the App Store. Use an English comma, a Chinese comma, or both to separate terms.
- Support URL: Add your support link.
- Marketing URL: Add your marketing URL. [Optional]
- Version: Add the number of the app's version that you are adding.
- Copyright: Add the name of the person or organization that owns your app's exclusive rights.
- Routing App Coverage File: Indicate in which regions your app works. The file type must be geojson format, and you can only have one MultiPolygon element. [Optional]
The next 3 steps are totally optional to you as an app owner; according to your preference, add:
App Clip: [Optional]

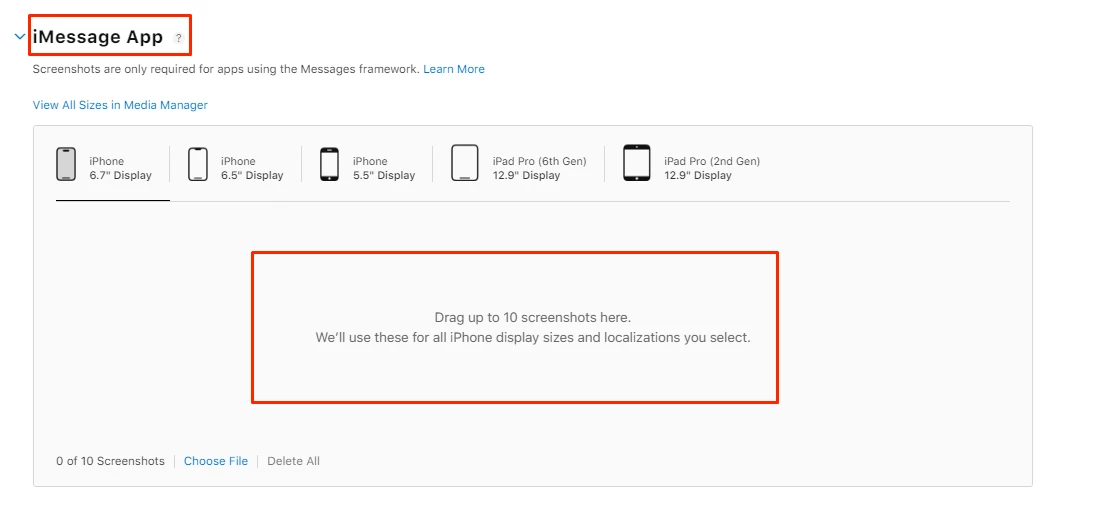
iMessage App: [Optional]
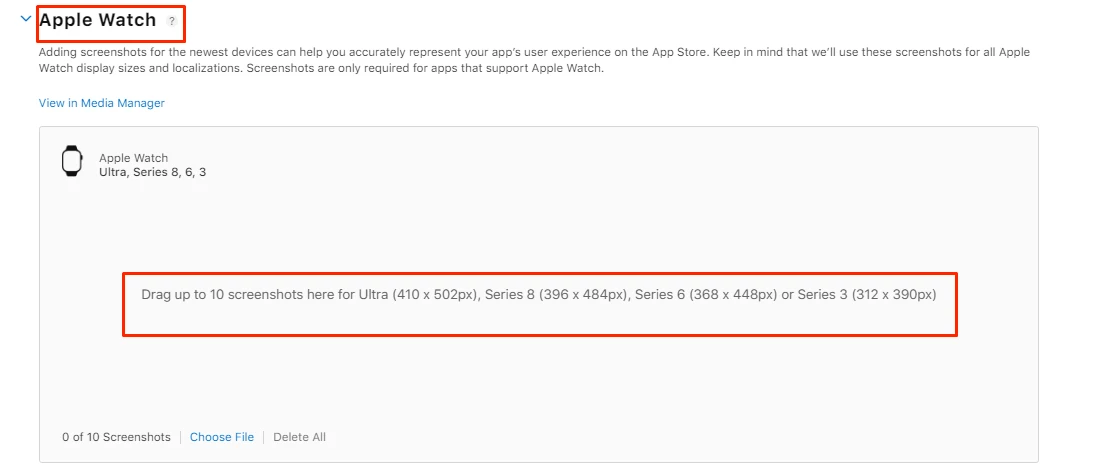
Apple Watch: [Optional]
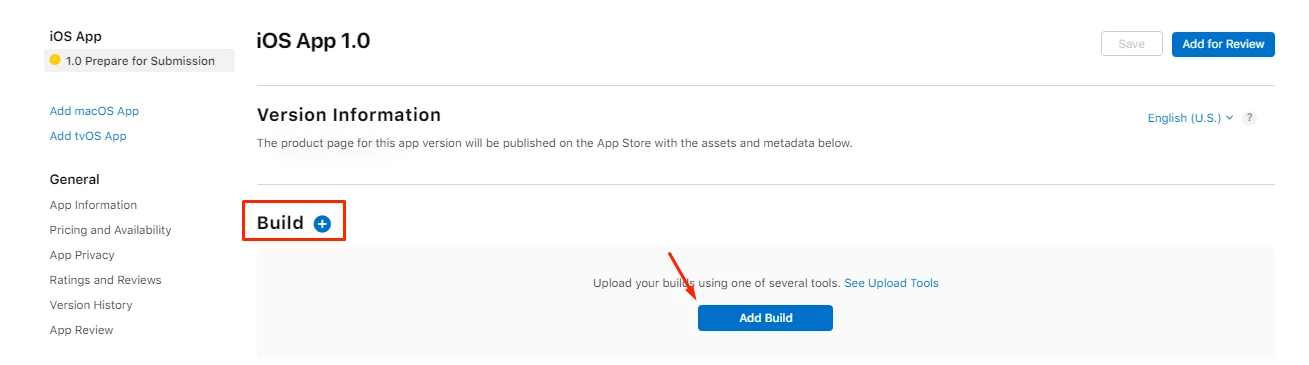
Build:
Now you need to add your successful - tested- app build release. Click "Add Build".
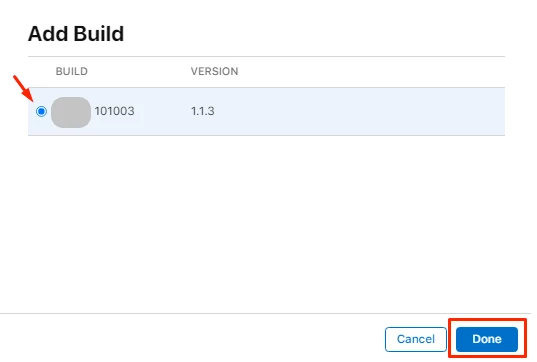
Choose your build, and click "Done".
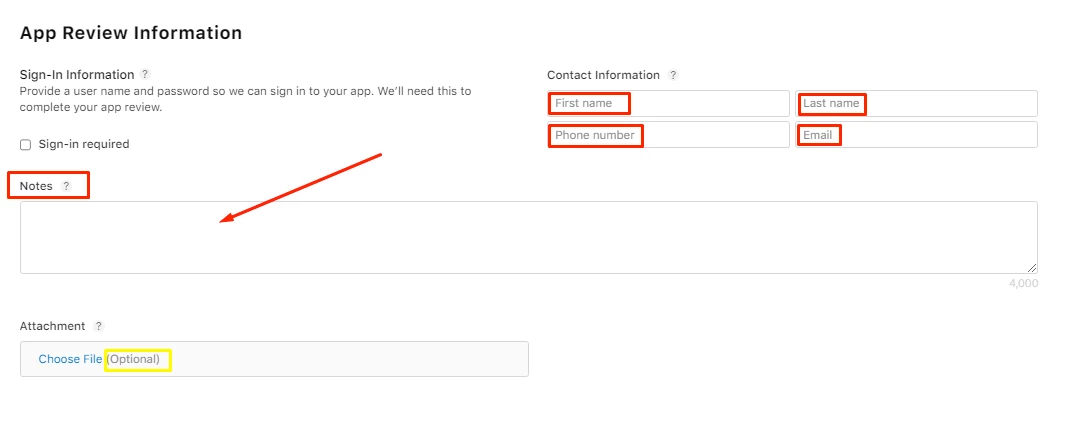
App Review Information:
This part is related to your app’s particular configuration options, user account information, or unique instructions:
- Contact information: First name, Last name, Phone number, Email.
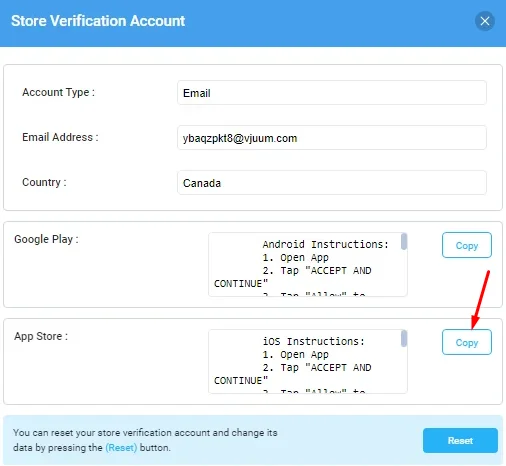
- Notes: This is where you add your login instructions.
- Attachment: [Optional] Attach app documentation, sample videos, and other items to speed up app review.
Check out this document to find out how to get your login instructions.
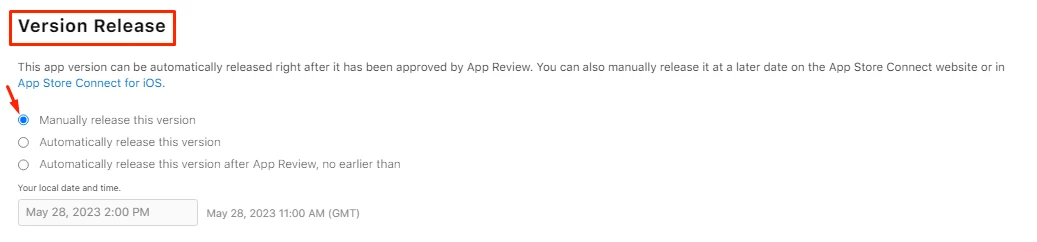
Version Release:
Make sure to mark “Manually release this version”.
After adding all your version information, don’t forget to click "Save"
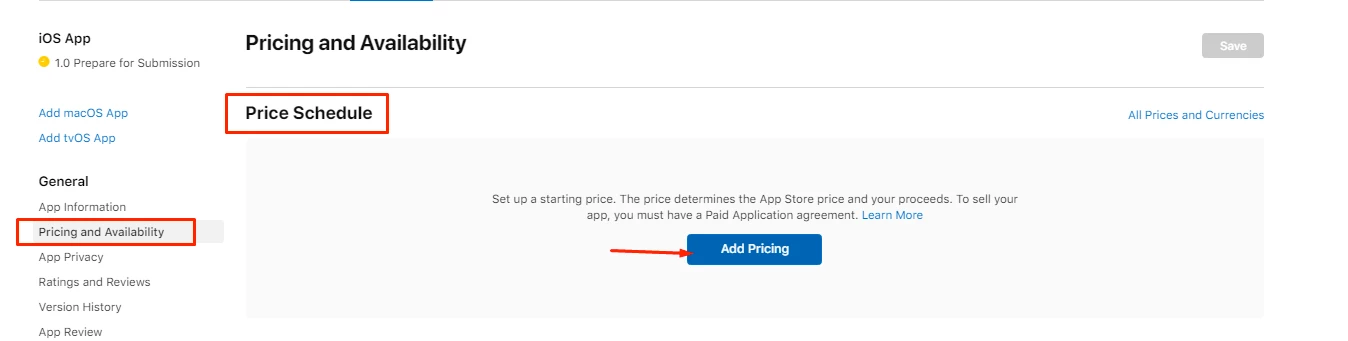
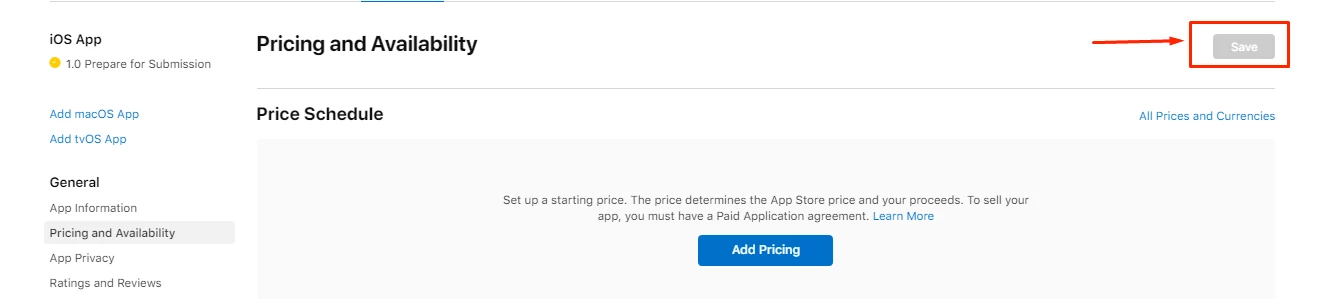
Pricing and Availability:
- Price Schedule: [If your App is Free, you can skip this step]
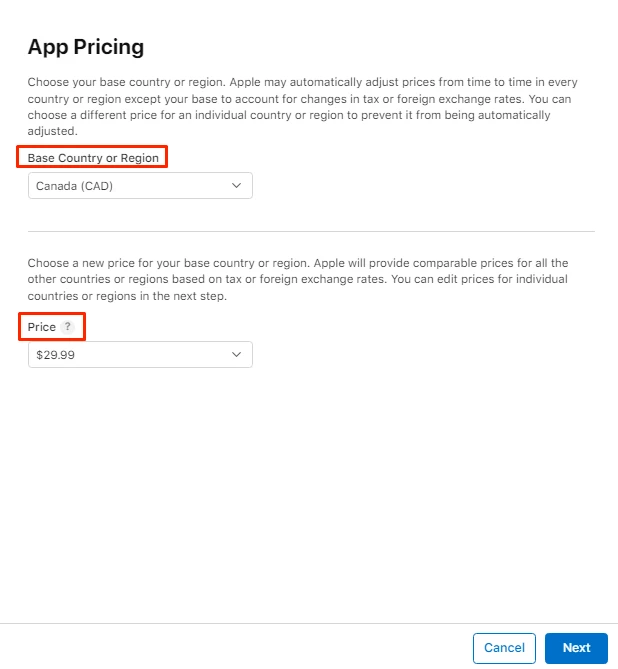
To set your App’s price, go to Pricing and Availability section, click “Add Pricing”.
Select your country and your app price, click “Next".
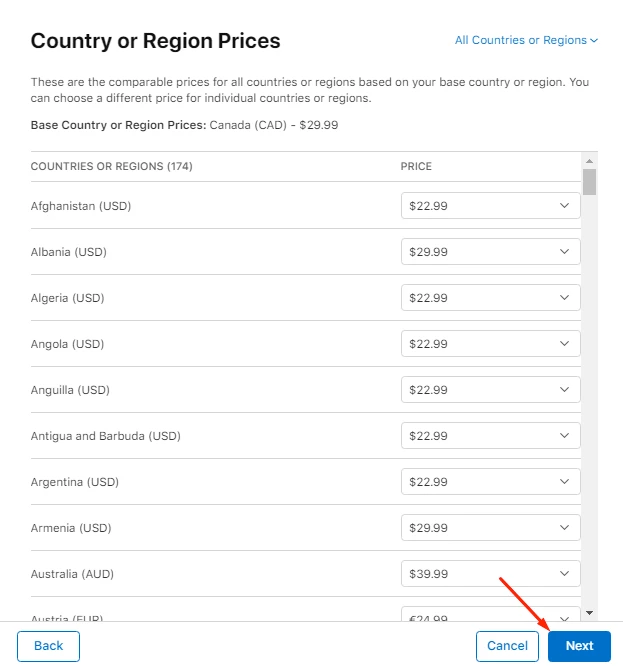
A list will pop up to check comparable prices for other regions based on your set price; you can also specify a price for a certain country. Click “Next”.
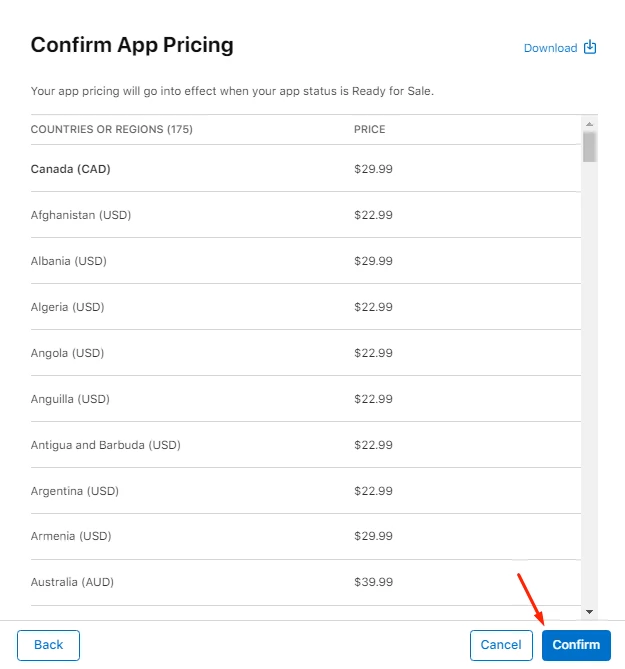
Then click “Confirm”.
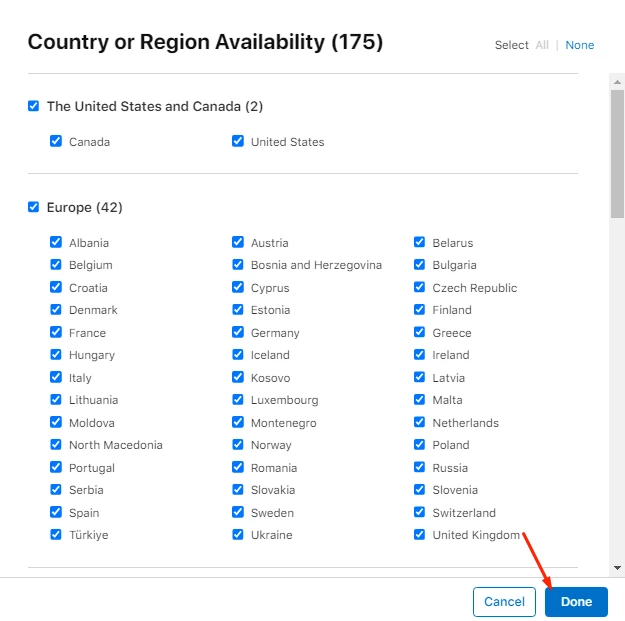
Availability: To select which countries you want your app to reach, click “Set Up Availability”.
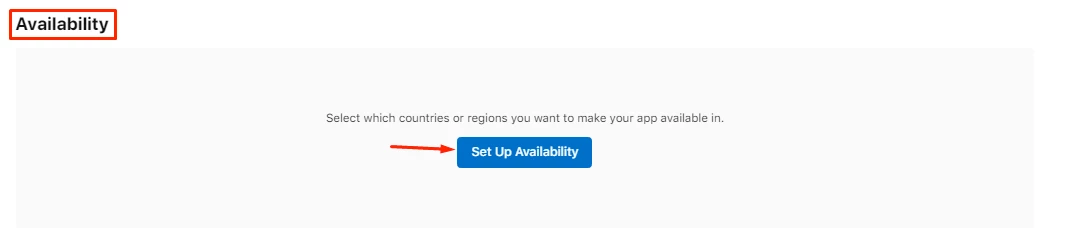
Add the countries you want your app to be submitted in, then click “Done”.
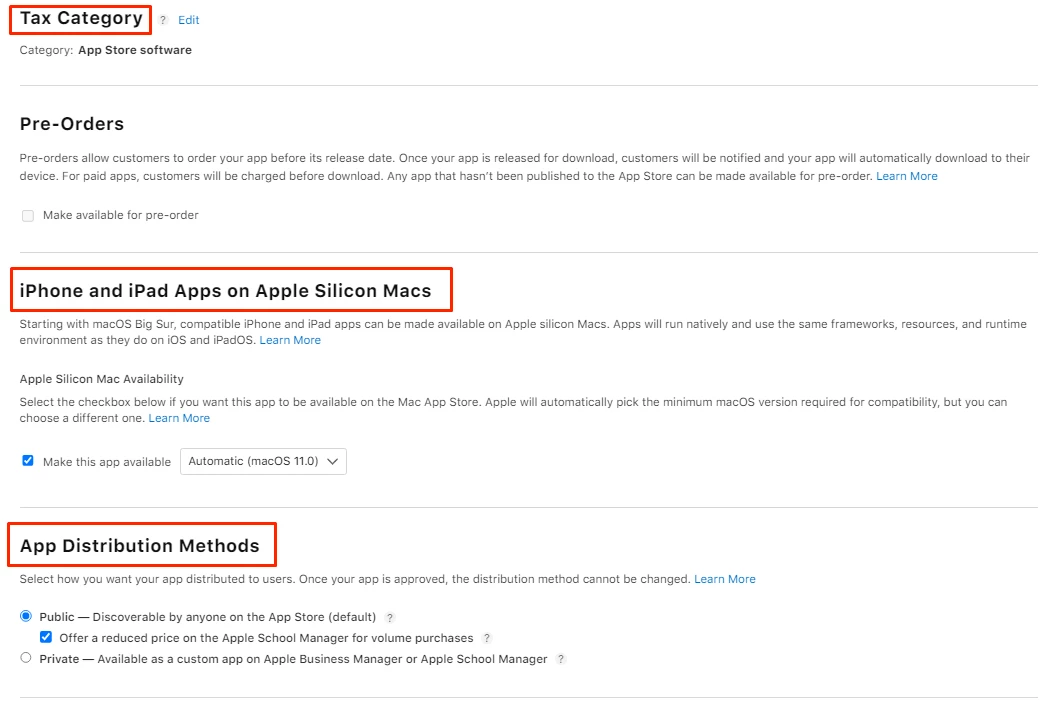
The rest of the requirements are already filled in by Apple Store Connect.
And don’t forget to “Save”.
Updated about 1 year ago