
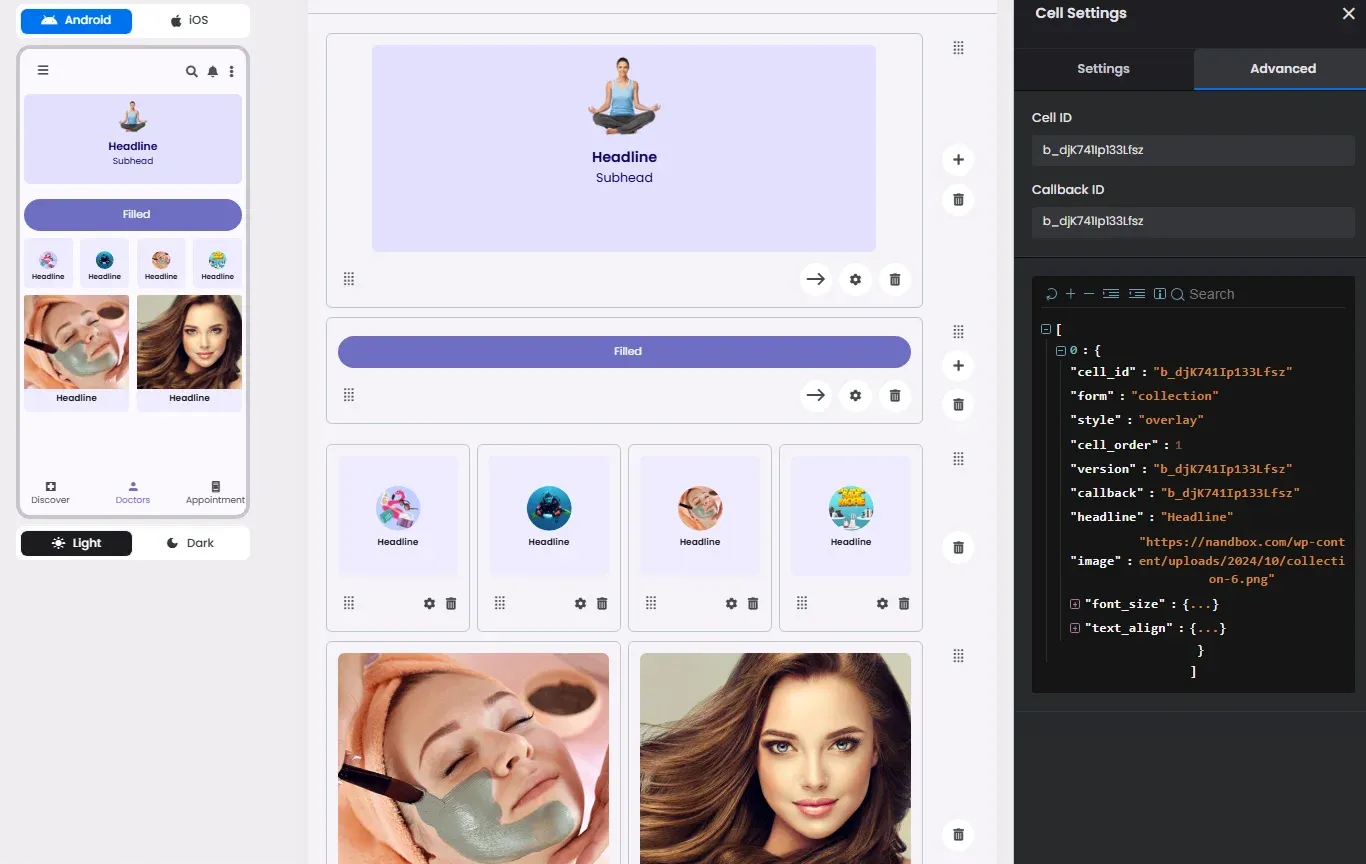
The Advanced Settings section enables developers to integrate booking and event elements with their backend using JSON requests. It provides the required configuration to create dynamic, real-time interactions within your booking or event marketplace.
It’s layer gives you the power to fine-tune how your booking & event hub behaves. While the basic setup defines the broad structure, these options let you control details like default sort, visibility logic, and component behavior. Use them to tailor the user experience to your audience — for example, highlighting upcoming events first, hiding certain categories for unverified users, or simplifying the layout for mobile viewers.
With Advanced Settings, you're moving beyond the out-of-box look and feel. Whether your app is serving a small local community or a large-scale marketplace, these settings ensure your booking hub remains intuitive, relevant, and scalable. Below are practical controls you’ll find inside Advanced Settings and how they map to user experience.
❓ FAQs
Q: How can I adjust advanced settings for my booking & event hub—like sorting, visibility, or layout options—without writing any code?
A: With nandbox’s Advanced Settings, you can fine-tune how your booking and event hub looks and work. From setting the default sort order to controlling who sees what, these tools let you customize your app’s experience—all without touching a single line of code.
Q: What can I control in Advanced Settings?
A: The Advanced Settings panel gives you full control to:
- Set a default sort order for events and bookings (e.g., newest first, alphabetical, or upcoming first).
- Apply a default filter or category, so users see the most relevant content right away.
- Manage visibility rules to show or hide sections based on user roles or app logic.
- Adjust the layout by toggling elements like search bars, collections, or featured sections on or off.
- Decide which components should load by default for faster, smoother navigation.
These options make it easy to tailor the hub to your audience and use case.
Here are a few scenario-based examples to help you see how these controls matter in practice:
- Sort order tuning: If you run seasonal events (e.g., summer camps), set “upcoming first” so users always see the next session.
- Default filtering: For a clinic app that offers general checkups and specialist consultations, you can default to showing “General Checkups” first for most users.
- Visibility rules: Suppose you want premium users to see VIP events or hidden workshops—use visibility toggles so only certain user roles or segments can see certain sections.
- Layout optimization: Hide search bars or secondary sections on compact screens to improve mobile load speed, and show them only on tablets or desktops.
Q: How do I access and configure these advanced options?
A:
- Open your Booking and Event Center layout in the nandbox builder.
- Select the section or component you want to customize (like Cards, Collections, or Calendar).
- Click the Advanced Settings tab.
- Adjust:
- Sort order (how bookings/events are listed)
- Default filter or category
- Visibility toggles to show/hide elements
- Component-specific options like date ranges or layouts
- Save your changes and preview them in the live app.
Now your booking hub will look and work exactly the way you want—no coding required.
After adjusting settings, always preview in different user roles (e.g., guest, logged-in, premium) to confirm visibility and filters behave as expected. Also, test on multiple devices; a layout that looks sleek on desktop may feel cluttered on mobile. These checks ensure nothing breaks for your users when you publish.