
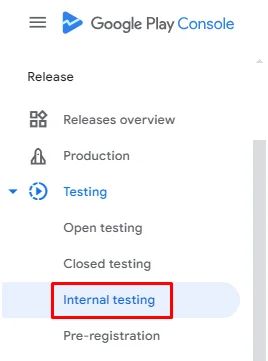
From the left menu, go to the ‘Testing’ section and click ‘Internal testing’
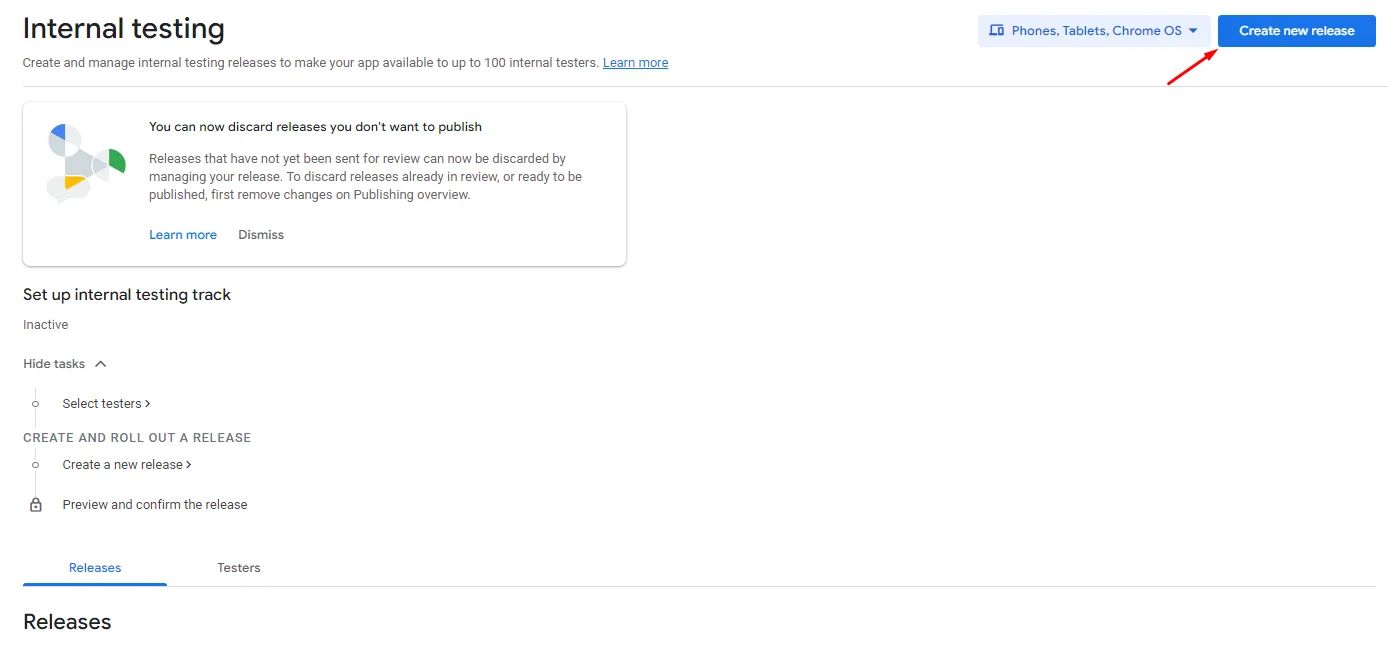
Click ‘Create new release.’
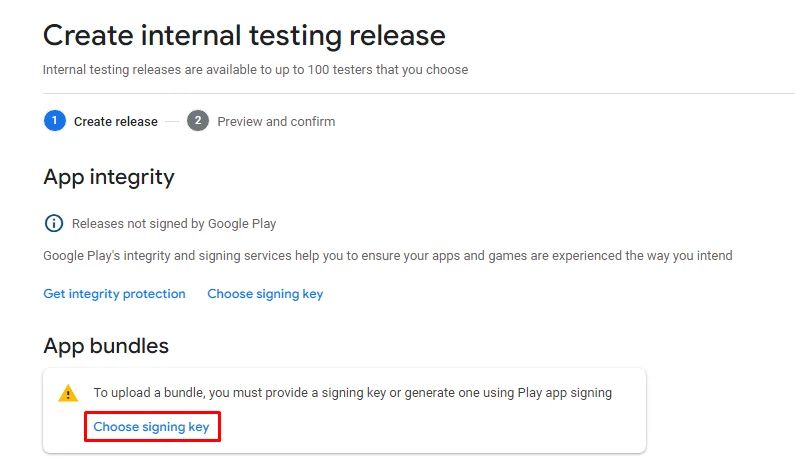
Click ‘Choose signing key.’
Click ‘Use Google-generated key.’
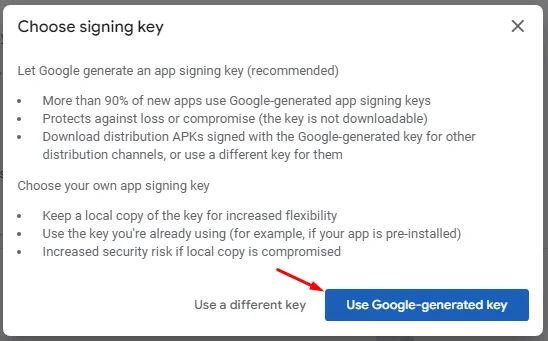
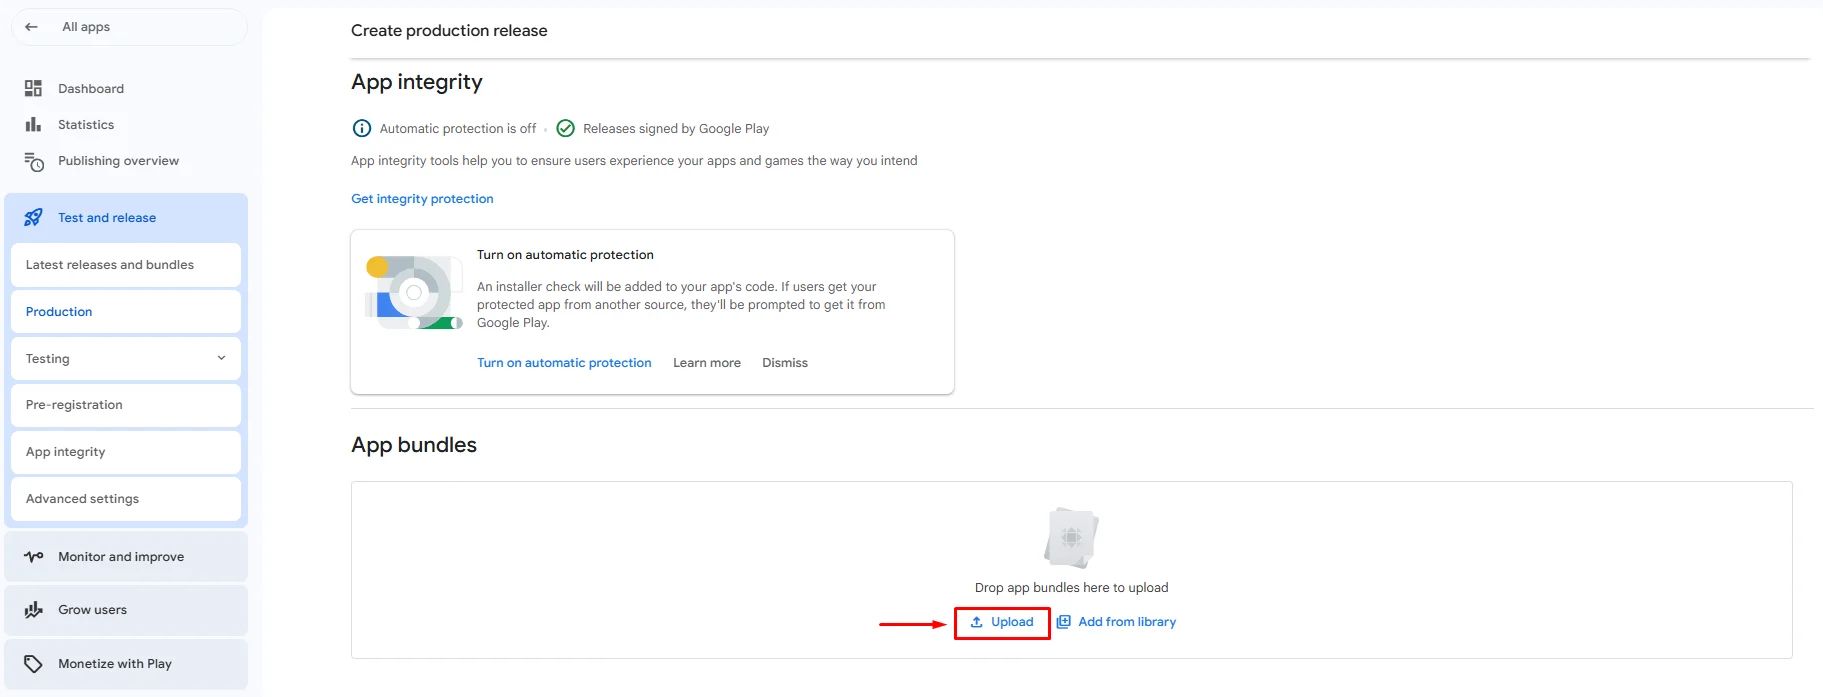
After the key is generated successfully, you will unlock the release section; click ‘Upload.’
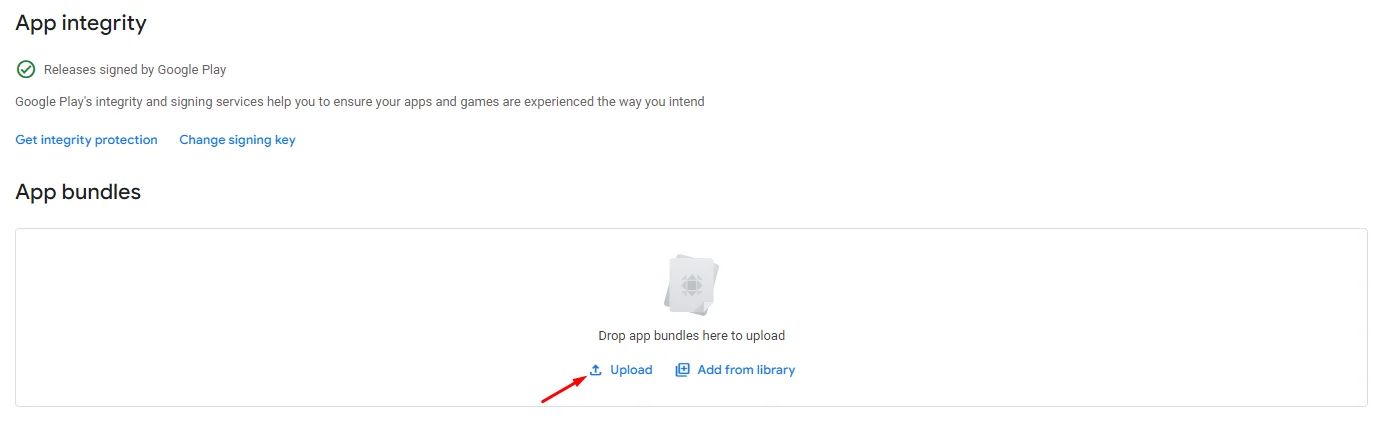
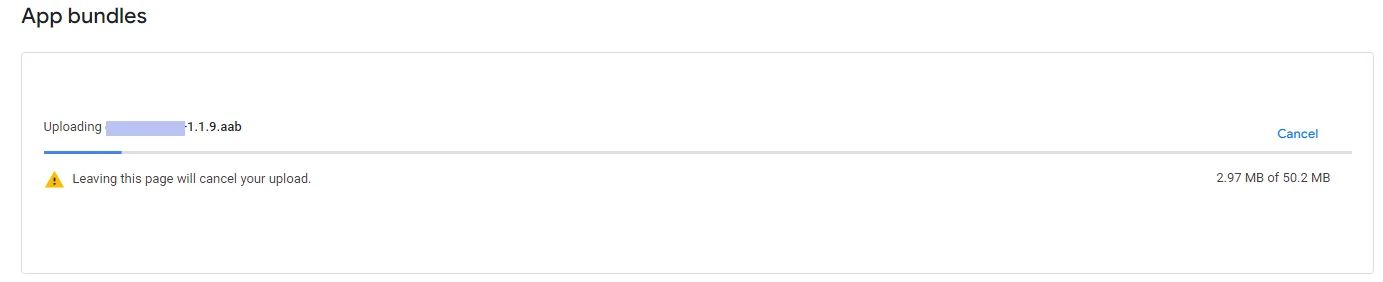
Choose your bundle and wait for the upload.
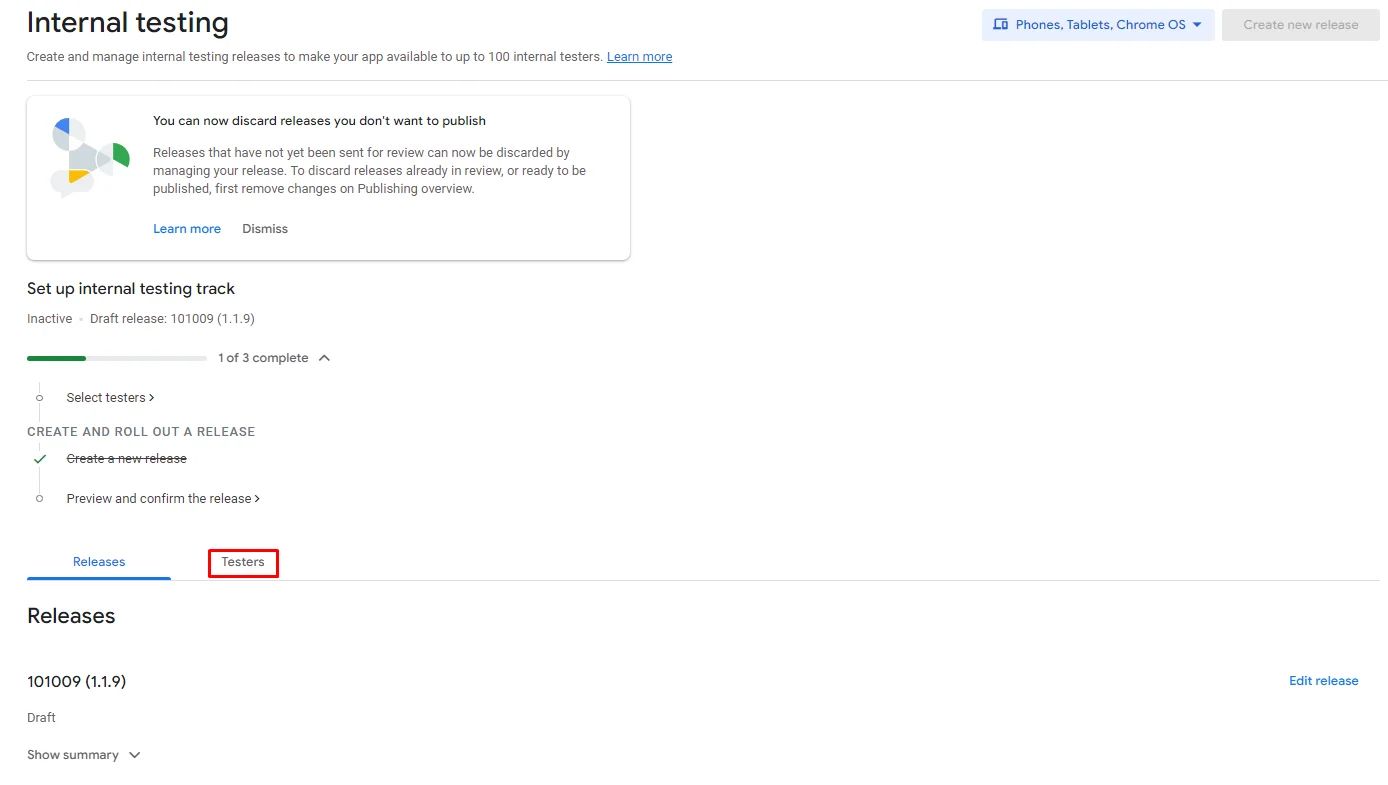
Once uploaded, go back and click ‘Testers’ to assign testers.
Be aware that if you have an Individual Google Developer Account, you will require 12 to 20 testers. To prevent scams, they must have a Gmail account as a trustworthy email address.
Click ‘Create email list.’
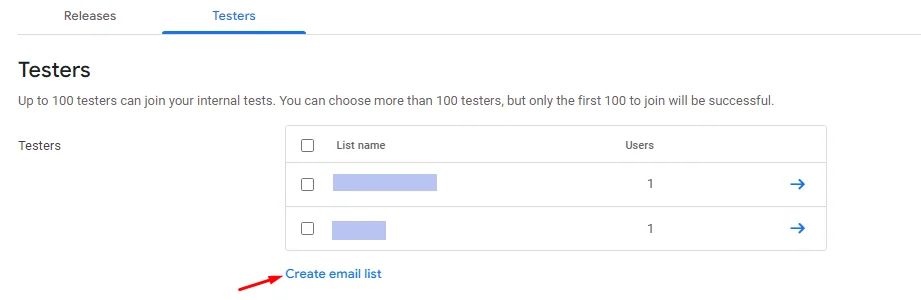
Give your list a name, include the testers' email addresses, and submit a CSV file with the list of testers.

When you are done, click ‘Save.’
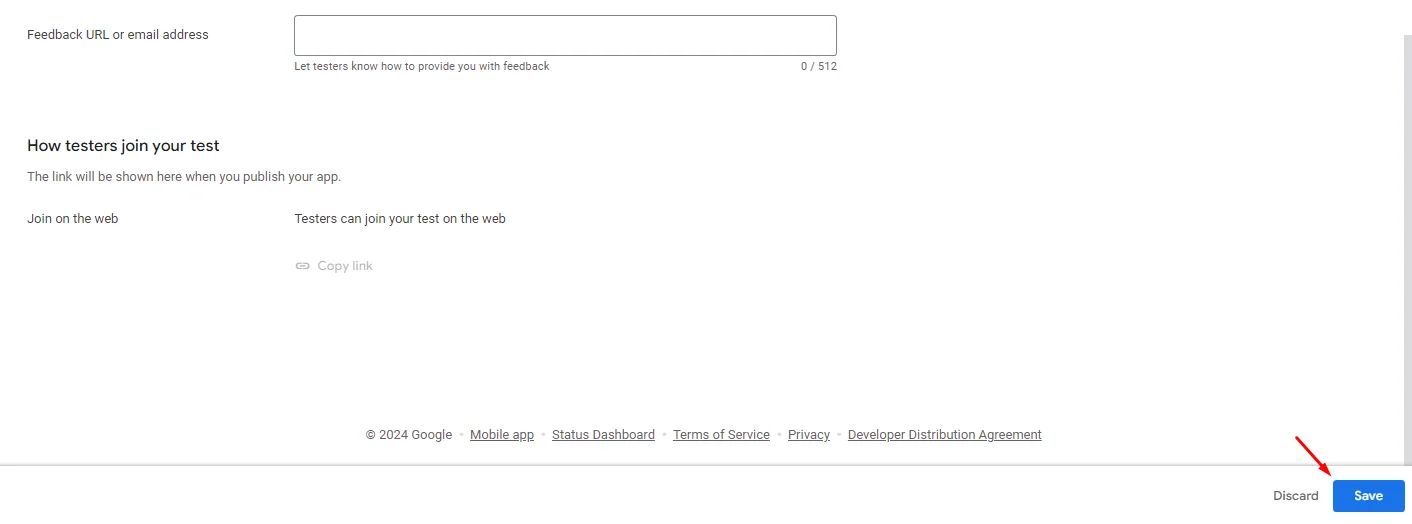
Now click ‘Preview and confirm release.’

Then click ‘Save and publish.’
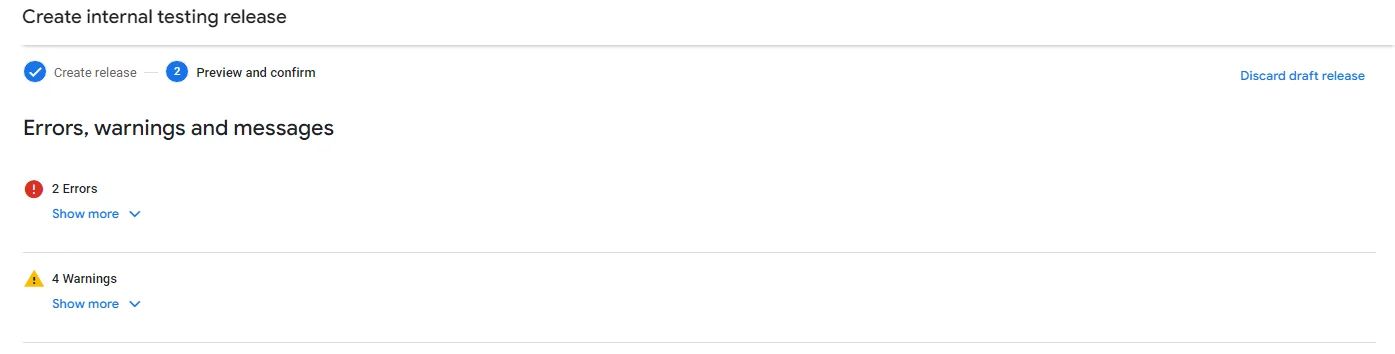
Keep in mind that before you can save and publish your app, you must disclose all of its configurations. Otherwise, you may see issues and warnings.
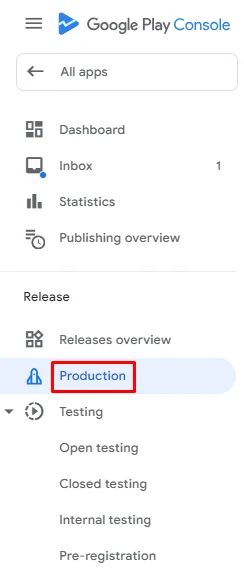
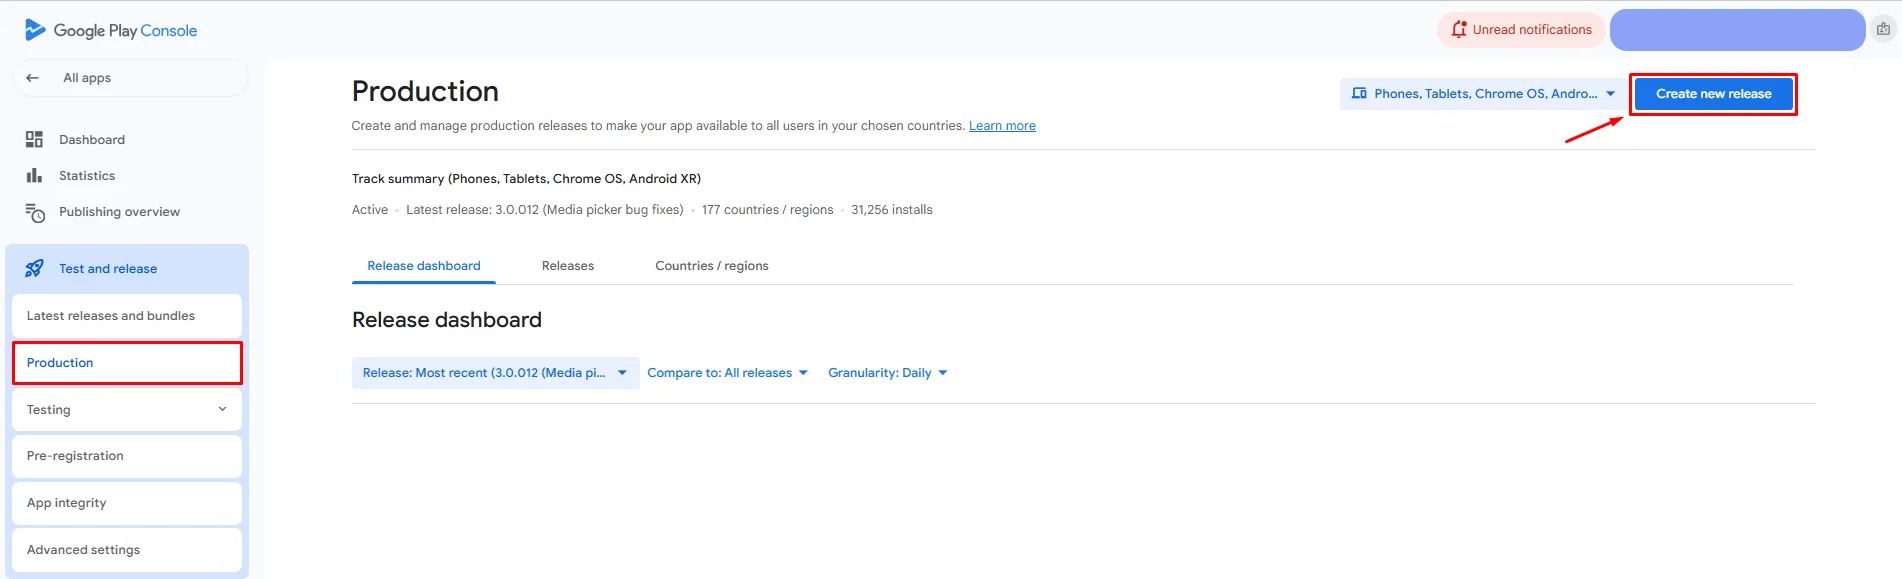
When you are satisfied with the testing results, from the left side menu, click ‘Production.’
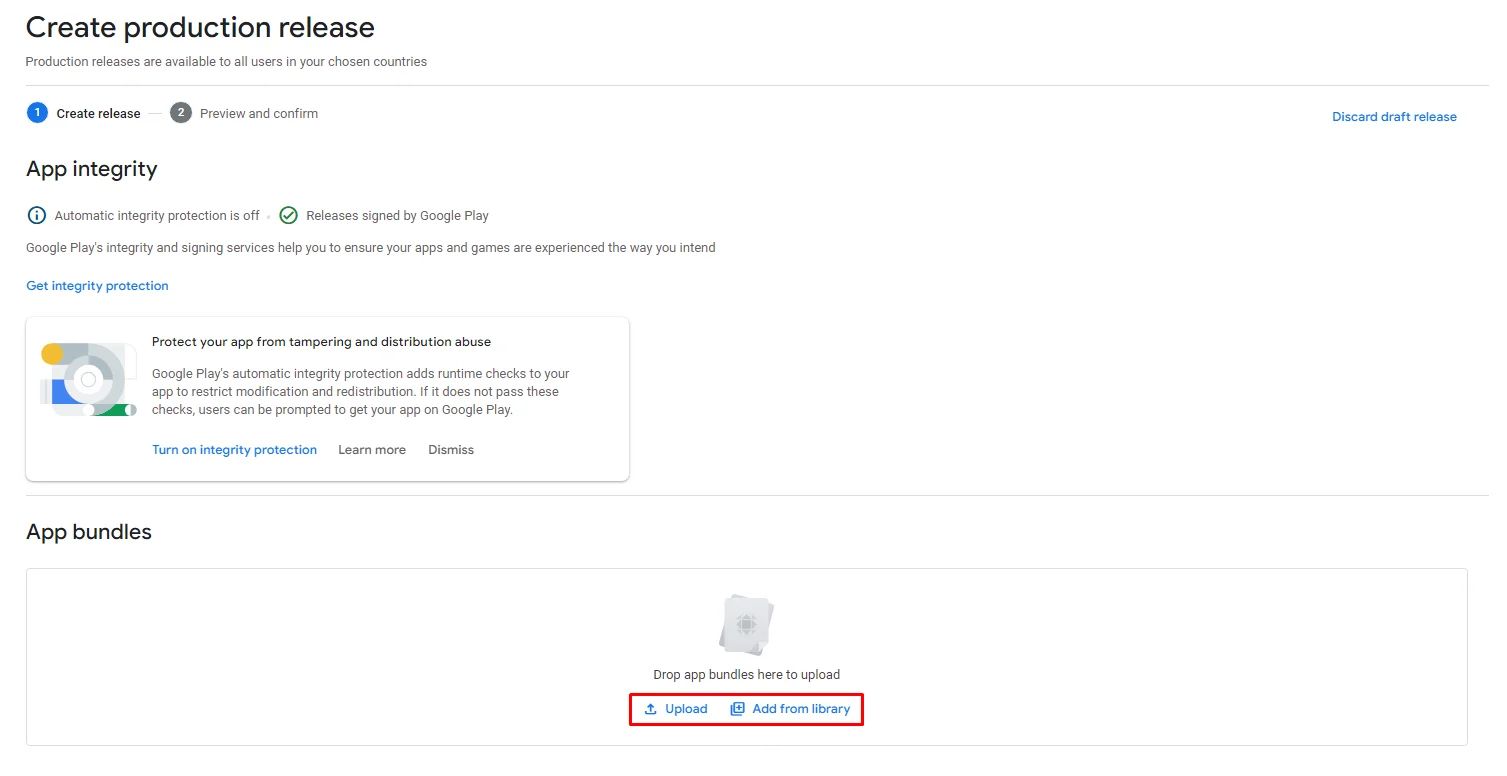
Click ‘Create new release.’

You can upload a new bundle or choose the uploaded bundle in the internal testing by clicking ‘Add from library.’
Note that if you make any changes to your builder, make sure to release a new bundle with your new changes and upload it again in the production section.
Then click ‘Save.’

Now all you need to do is
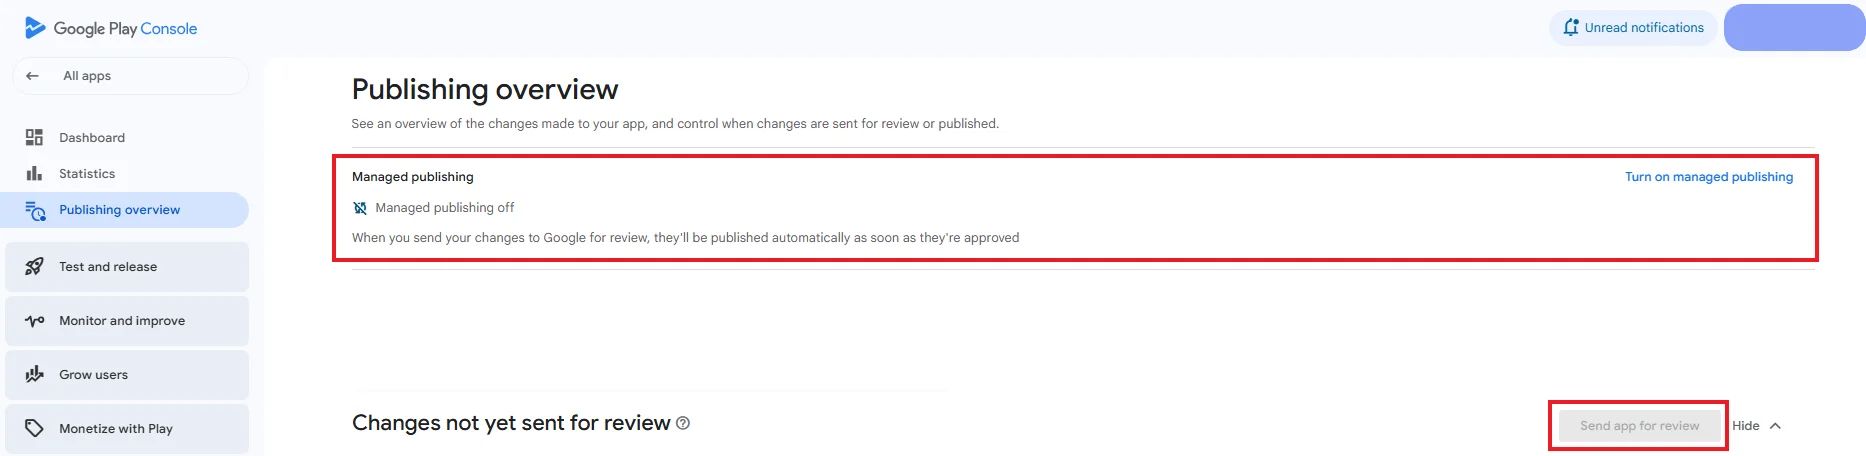
- Go to the ‘Publishing overview’ page and click ‘Send app for review’ so that Google can access the disclosed information and determine whether or not it corresponds with the content of your app.
- Decide if you want to turn ON Managed publishing.
- ON: Google will hold your update even after approval until you manually click Go live on the same page.
- OFF: The update will follow your rollout settings immediately after approval.
- If Managed publishing is OFF and you selected a full release (100%), your update will be available to all users automatically once approved. If Managed publishing is OFF and you selected a staged rollout, go to Release > Production after approval to manage the rollout percentage. You can increase the percentage to reach more users or pause the rollout if needed.
- If you set the release to Not yet rolled out, go to Release > Production after approval and click Rollout to production to make it live.
Dashboard Monitoring
Your Dashboard will be your indicator to review your app status, as it will manage your app by warning you with errors if there's a missing step, such as choosing countries you want to release your app in.
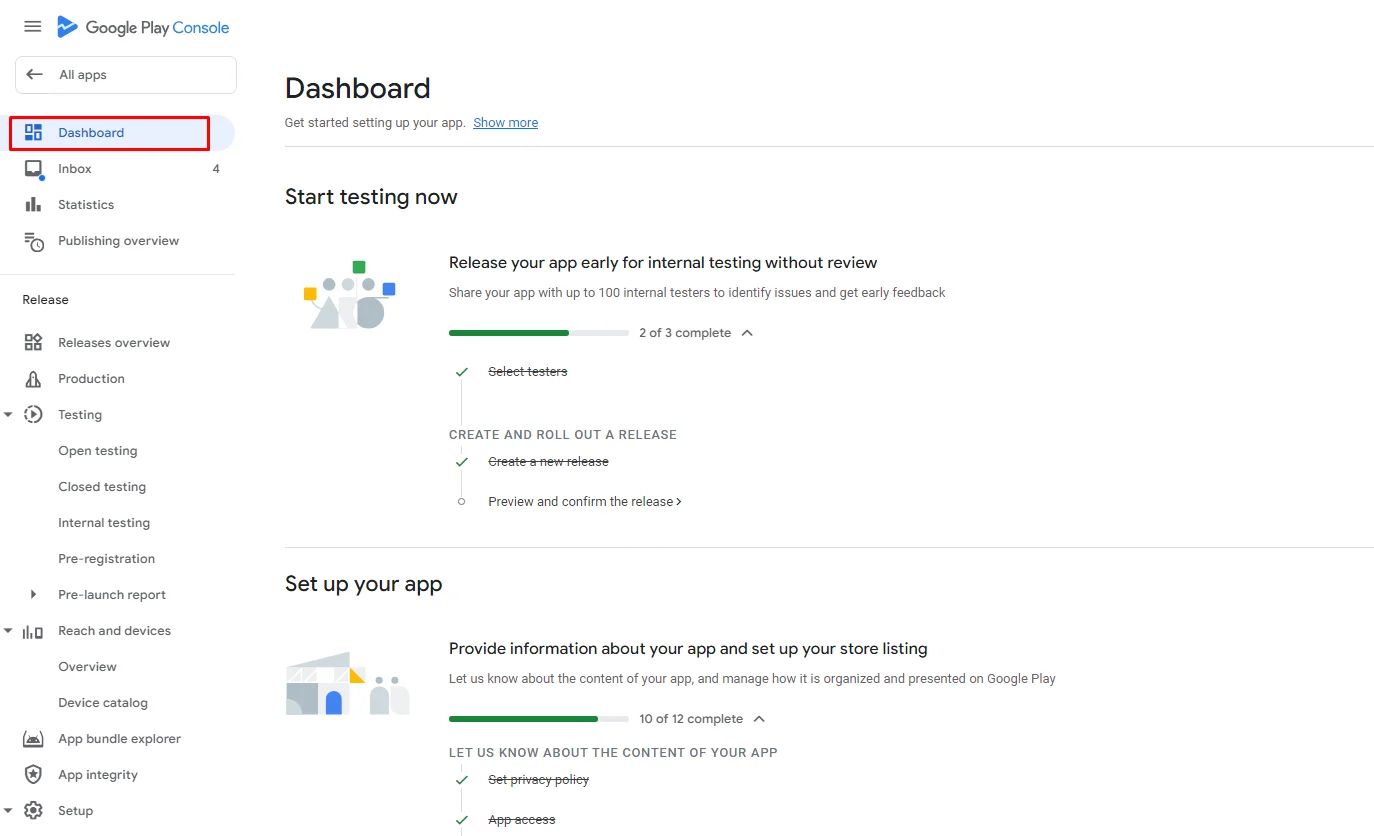
Make sure to check all your policies continuously to track Google's instructions and warnings in order to update them.
After the review process, you’ll be notified that your app is automatically published on the Google Play Store.
Make sure to enhance your app with features and bug fixes every 40 days for a better user experience.
Check out the rating system on Google Play for more information.
Release a New Version of Your App
If you want to publish an upgraded version of your app that is already available on the Google Play Store, you will only need to repeat the above steps:
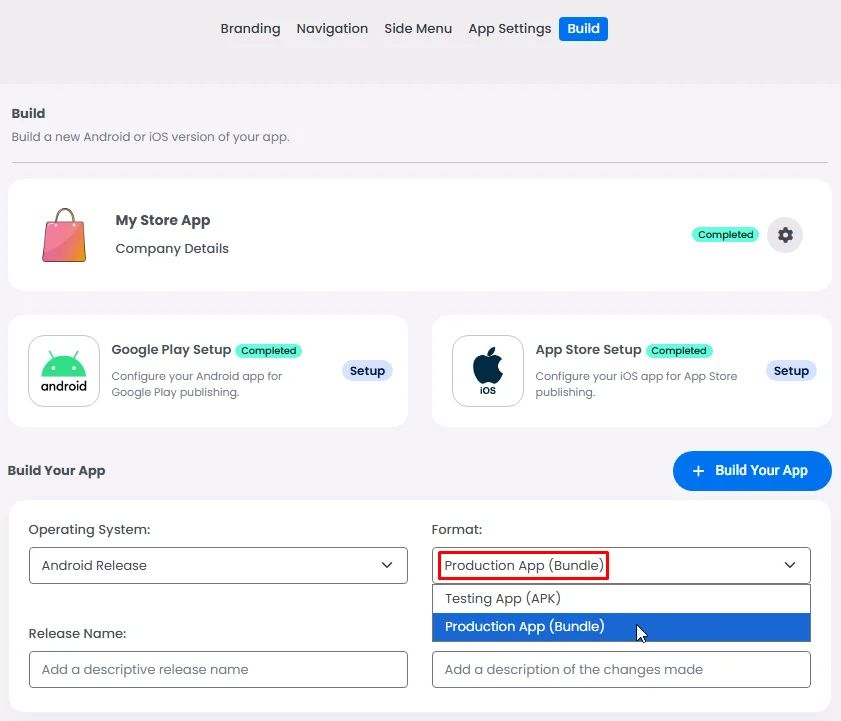
- After finalizing your app updated feature, go to the ‘Build’ page, create a new bundle and download it once done.
- Select your app in your Google Developer Account, go to production section and click ‘Create new release.’
- Then click ‘Upload’ to add your downloaded bundle.

- When done, click ‘Save.’
- Finally, Go to the ‘Publishing overview’ page and click ‘Send app for review.

Don’t forget to update your app information and privacy if you changed or added extra features to your new release.
When rereleasing an updated app version, don’t skip the rollout step after clicking Send app for review. Use Managed publishing in the Publishing overview page if you want to hold the update until you manually click Go live. If left OFF, your update will follow your chosen rollout settings in Release > Production.
❓ FAQs
Q: How do I publish my Android app to Google Play without coding or Android Studio?
A:
No need to touch a single line of code! With the Google Play Console and a platform like nandbox, you can publish your app using internal testing and production release tracks—all from your browser. Here's how it works:
Q: How do I upload my app for internal testing?
A:
Once you're inside your Play Console:
- Head to Testing → Internal testing
- Click Create new release
- When asked to choose a signing key, go with Google-generated key
- After the key is created, click Upload to add your
.aabbundle
Just wait a moment for the upload to finish—this will unlock the option to invite testers.
Q: Can I add testers without doing any coding?
A:
Absolutely! Here’s what you do:
- Click on the Testers tab
- Choose Create email list and give your group a name
- Upload a CSV file with your testers' Gmail addresses
- Hit Save and your testers will automatically receive access
📌 Tip: If you’re using an individual developer account, you’ll need at least 12–20 Gmail testers to start.
Q: What happens after I upload my bundle?
A:
Once your file is uploaded:
- Go back to your release
- Click Preview and confirm release
- Then hit Save and publish
🚨 Heads-up: Before publishing, make sure to fill out all app configurations like permissions, privacy details, and ad disclosures to avoid errors later.
Q: How do I publish the final version of my app on the Play Store?
A:
When you're ready to go live:
- Open your Play Console
- Navigate to Production → Create new release
- You can either:
– Upload a new app bundle, or
– Click Add from library to reuse your internal testing build
- Click Save, then go to Publishing Overview
- Click Send app for review and you’re done!
🎉 Once Google approves it, your app will be live on Google Play!
Q: What is Managed Publishing, and do I need it?
A:
Managed Publishing is like a manual launch button:
- ON: Your app gets approved, but it won’t go live until you click “Go live” yourself
- OFF: Your app goes live automatically after Google approves it
If you’ve chosen a staged rollout, you can adjust the rollout percentage anytime by going to Release → Production.
Q: I made changes in nandbox. How do I release a new version?
A:
Easy! Just rebuild and reupload:
- In nandbox, go to the Build page
- Click Test your App (APK) → then Build
- Download the updated
.aabfile
- In Play Console, go to Production and upload the new version
- Follow the same steps to submit and publish
Repeat these steps anytime you want to push a new update!