
Create Google Play Console Account
Go to Google Play Console and sign up for an organizational account or for Yourself.
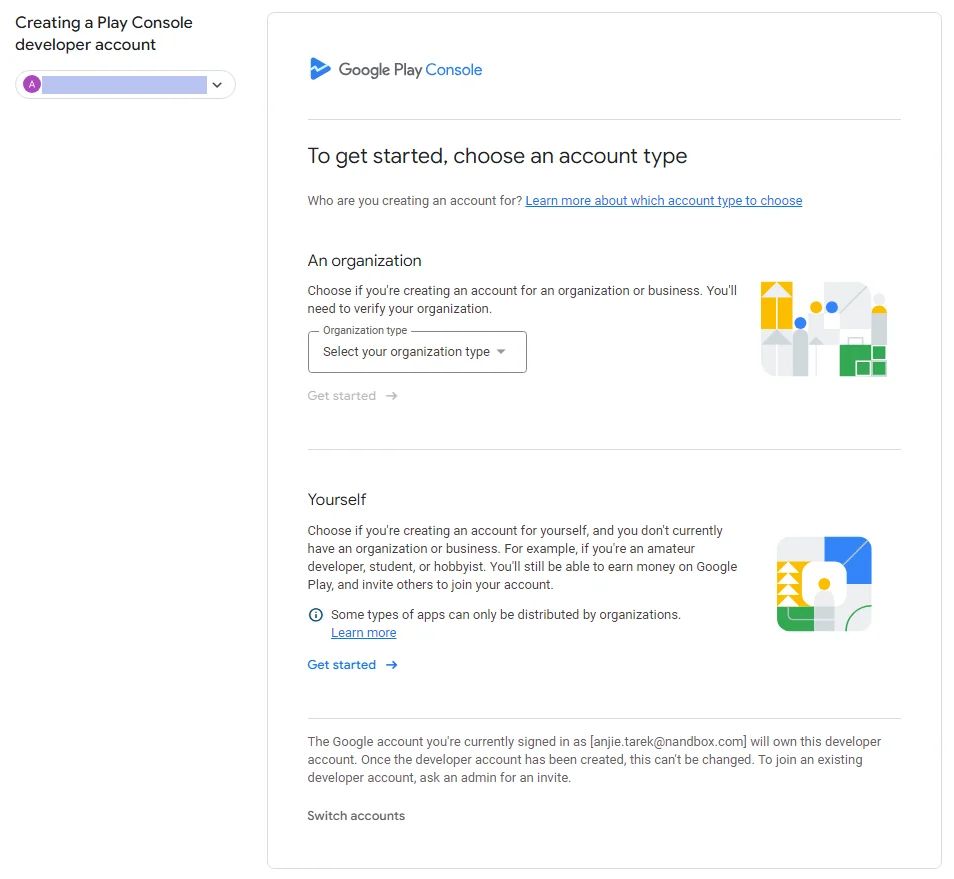
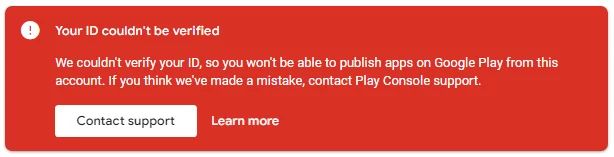
Note that organizational and individual console accounts take between 2 and 3 business days to be verified by Google. Make sure to verify your account first, as you will not be able to proceed with the creation and publishing process.
Create an Application on the Play Console
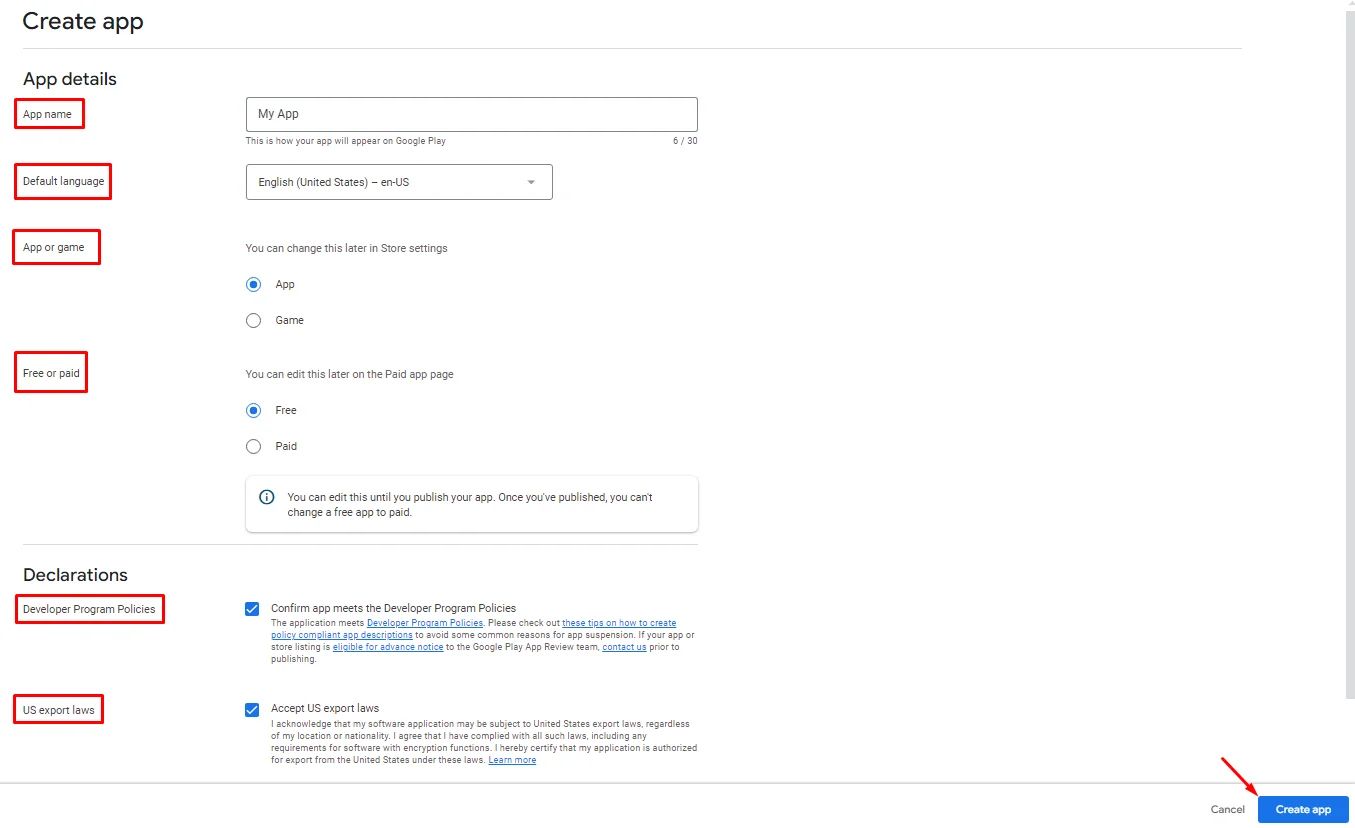
Navigate to your Google Play Console, then start creating an application. From the Home page, click ’Create App’.

Fill in the requirements: app name, default language, app or game, free or paid. Acknowledge the declarations and accept the Play App Signing Terms of Service, then click ’Create app.’
Configure App Company Details
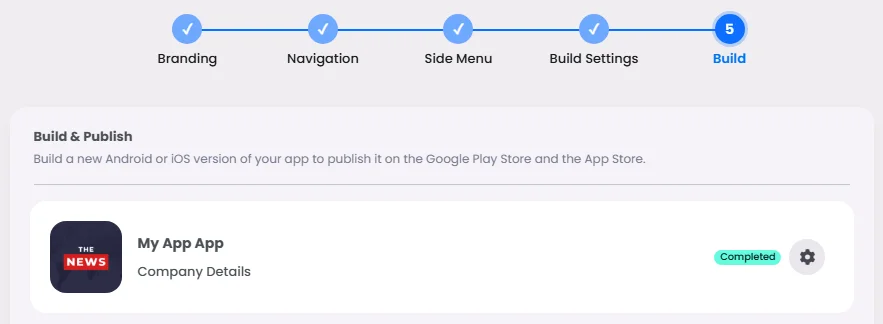
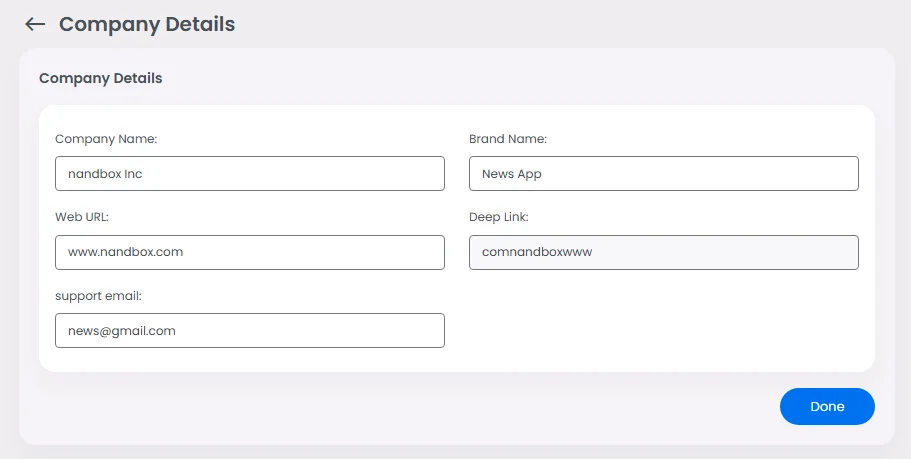
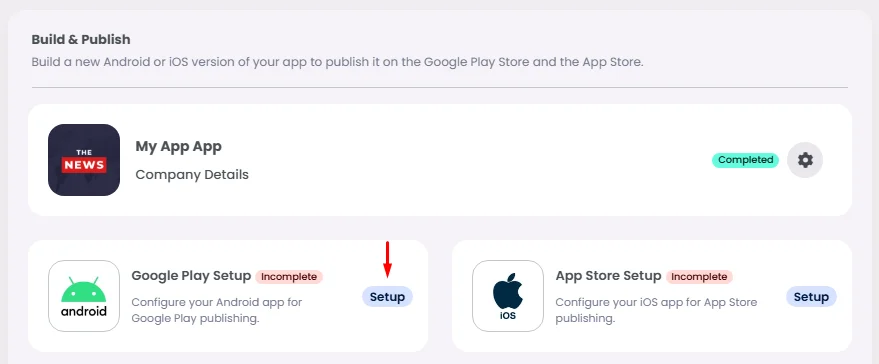
From your app builder, go to the Build page. In order to configure your Google Play Setup and generate an APK or Bundle, you need to fill out your 'Company Details' first. Click 'Setup.’
- Add your brand name and company name.
- To generate the deep link, you must include your website. This section is required because it relates to Group Messaging; deep linking assists users in mentioning each other by name in a group conversation if your app has a chat group feature.
- Add your support email so that users experiencing issues with their app account can contact you regarding registration problems.
If you don't have a web page, you can use any random URL to generate a deep link.
Then click ‘Done.’
Configure Google Play Setup
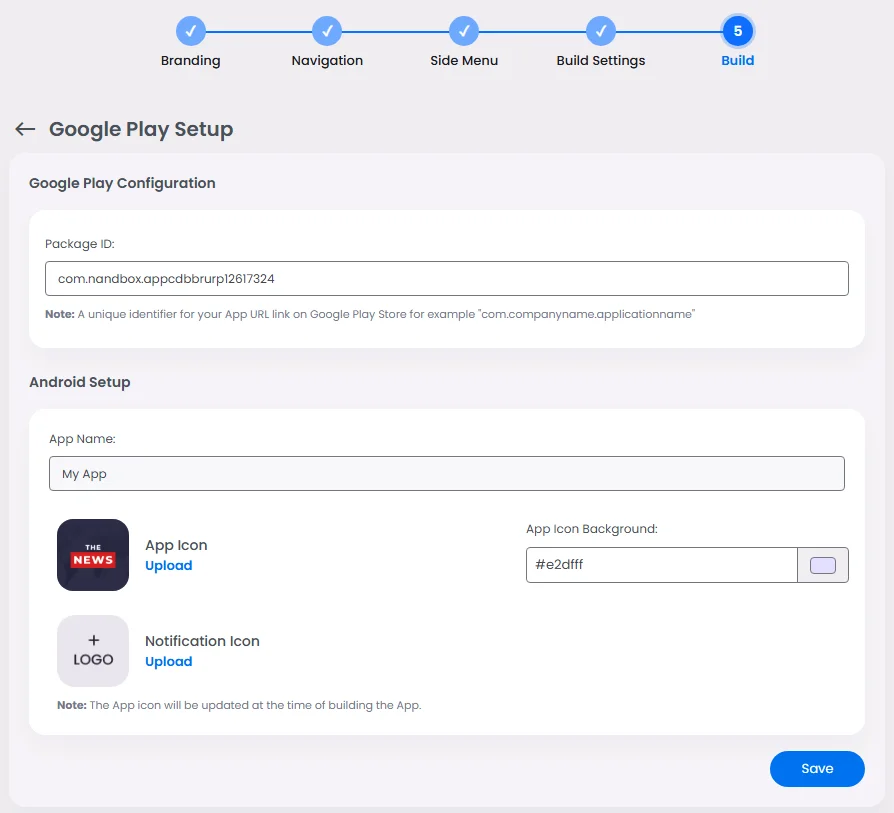
Now you need to set up your Android information. Click ‘Play Store Setup.’
- Your app URL on the Google Play Store is known as the package ID. The ID is generated by default, but you can add your own package ID.
Note that once you add your package ID, you cannot modify it again if you generated a bundle.
- Add your app name.
- Upload your app and notification icons (PNG 1024 x 1024 px).
Your branding page will automatically upload the app icon and app icon background if you already have them; if not, remember to upload them along with your notification icon.
❓ FAQs
Q: How do I create a Google Play Developer account to publish my app?
A: Before you can publish your Android app, you’ll need to set up a Google Play Developer account in the Play Console. Don’t worry—it’s simple, and you don’t need any coding skills.
Q: How do I register for a Google Play Developer account?
A:
- Go to the Google Play Console and click Sign Up.
- Choose your account type:
- Individual (for personal apps)
- Organization (for business or team-managed apps).
- Complete the registration form and pay the one-time registration fee.
- Google will review and verify your details—this usually takes 2–3 business days.
Q: What happens after my account is verified?
A: Once Google approves your account, you’re ready to set up your app for publishing:
- Log into the Play Console and click Create App under the Home section.
- Fill in the basic details:
- App name
- Default language
- App type (App or Game)
- Pricing (Free or Paid)
- Accept the terms for Play App Signing and click Create App.
Q: How do I connect my nandbox app builder to my Google account?
A:
- In nandbox, go to the Build page and select Google Play Setup.
- Enter your:
- Brand name
- Company name
- Website URL (required for deep linking; you can use a placeholder if needed).
- Click Done to save your setup.
Q: How do I set up my Play Store listing?
A:
- Still in the Build page under Play Store Setup, complete these steps:
- Confirm or edit your package ID (auto-generated but customizable before building).
- Add your app name.
- Upload your app icon and notification icon (PNG, 1024×1024 px).
- If you’ve already uploaded branding assets earlier in the builder, these fields will auto-fill—just review and update if needed.