
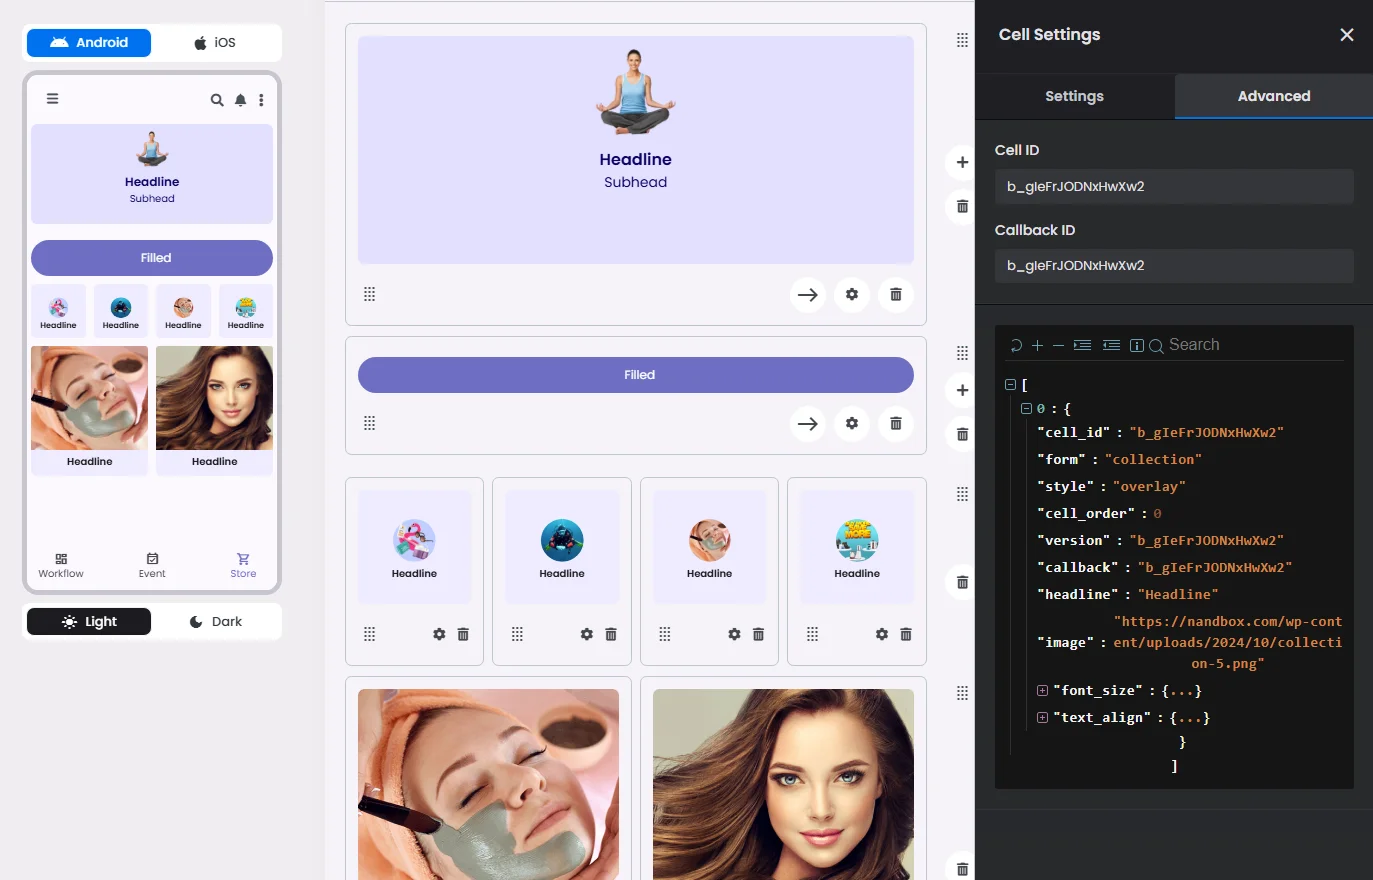
The Advanced Settings section allows developers to extend the store's functionality by connecting product-related elements (cells) to their backend through JSON requests. It provides the necessary configuration details for enabling dynamic and integrated shopping experiences.
It’s layer gives you the power to fine-tune how your shopping hub behaves. While the basic setup defines the broad structure, these options let you control details like default sort, visibility logic, and component behavior. Use them to tailor the user experience to your audience, for example, highlighting upcoming products first, hiding certain collections for unverified users, or simplifying the layout for mobile viewers.
With Advanced Settings, you're moving beyond the out-of-box look and feel. Whether your app is serving a small local community or a large-scale store, these settings ensure your shopping hub remains intuitive, relevant, and scalable. Below are practical controls you’ll find inside Advanced Settings and how they map to user experience.
❓ FAQs
Q: How can I customize advanced options for my in-app store—like sorting, layout, or visibility—without writing any code?
A: With nandbox’s Advanced Settings panel, you can fine-tune how your store looks and behaves—all without touching a single line of code. Adjust product sorting, control visibility, and tweak layouts in just a few clicks to create a store that fits your vision perfectly.
Q: What can I control in the Advanced Settings panel?
A:
The Advanced Settings panel gives you powerful tools to customize your store experience, including:
- Product sorting: Set the default order (like newest first or price: low to high).
- Section toggles: Enable or disable parts of your store based on what you need.
- Default filters: Pre-apply filters so users see specific products right away (e.g., in-stock items only).
- Visibility rules: Decide which content is visible for certain users or roles (perfect for exclusive content).
- Responsive layout controls: Adjust how elements appear across different screen sizes for a seamless experience.
Everything is handled visually with simple toggles, dropdowns, and drag-and-drop—no developer required.
Q: How do I access and use these settings?
A:
- Open your store layout editor.
- Click on the section or component you want to customize.
- Go to the Advanced Settings tab.
- Use the available options to:
- Set a default sort order for product displays.
- Toggle visibility for certain elements or limit them to specific user roles.
- Enable or disable features like chips, search bars, or headlines.
- Apply preset filters (like showing only items on sale).
- Preview your changes live in the builder before publishing them to your app.