
This window is where you collect certain products under one category and assign them to your shop.
A collection is a way to group related products under one theme, like ‘Summer Sale,’ ‘Best Sellers,’ or ‘New Arrivals.’ When you create a collection, you give your customers a way to browse smarter, not harder. It also helps with internal organization, so you can control what shows up where in your store.
📋 Steps
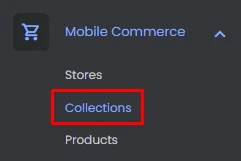
From the admin menu, click 'Collections.’
Click ‘Add New Collection.’

A window will appear where you can enter your collection title and description, click or drag and drop an image, and select a collection theme.
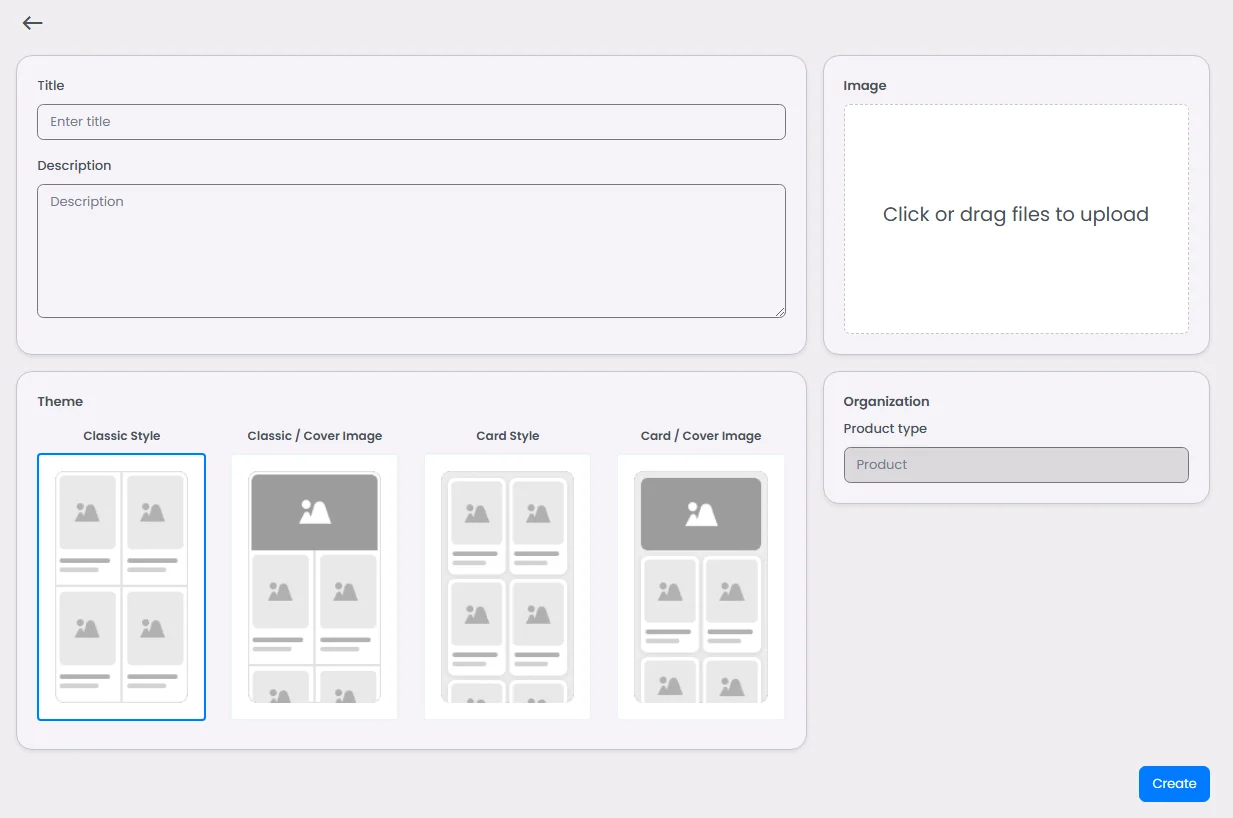
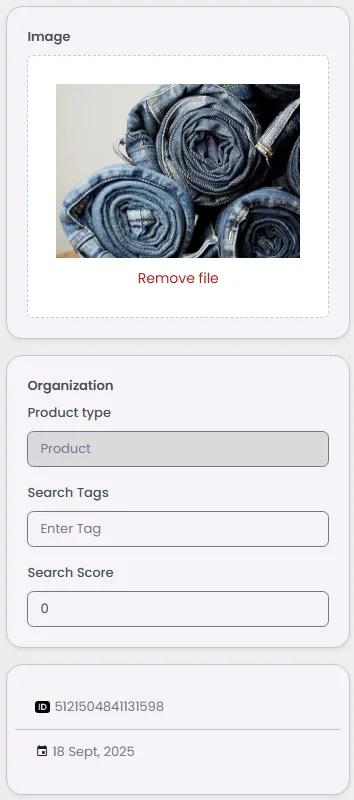
And when you click ‘Create,’ additional options will appear:
- Add search tags to connect your collection with a search filter or chip.
- The search score determines the order of the collections in the search; for example, add 1 to make your collection the first one to appear.
- You’ll also find the collection’s created ID and date of creation.
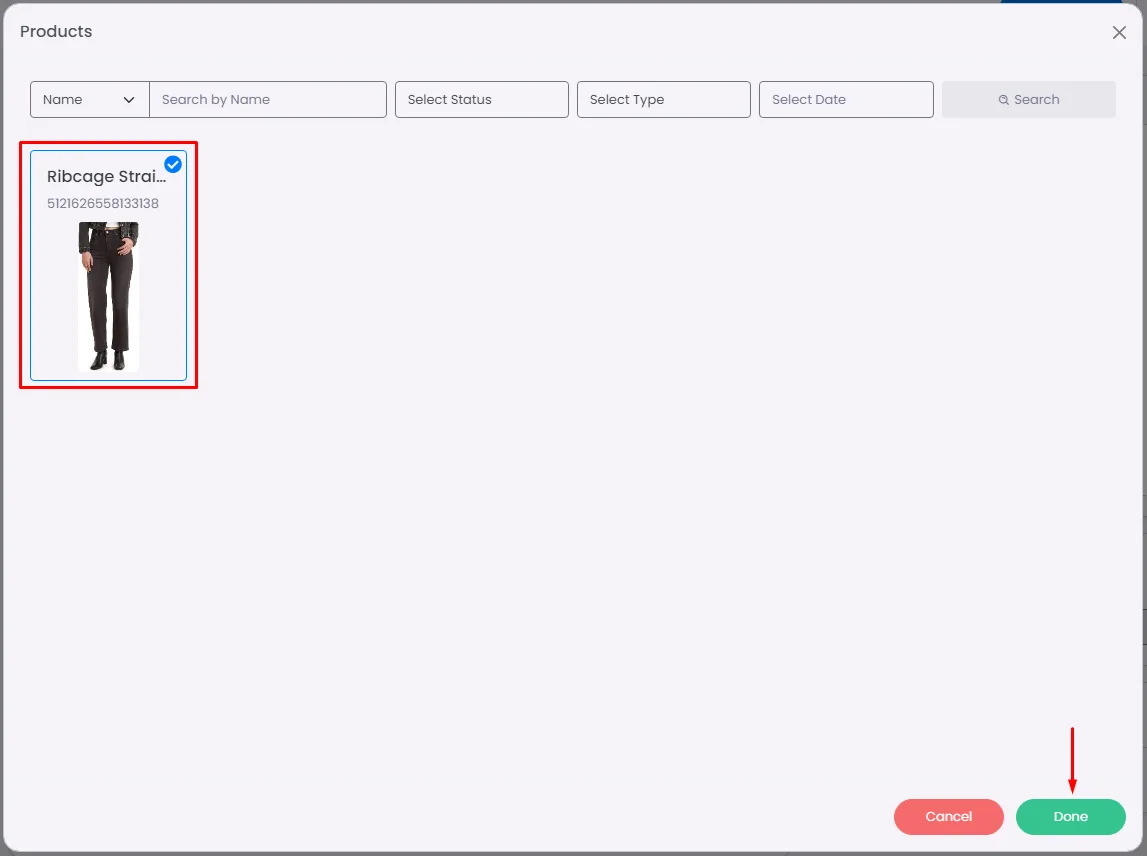
Now, it’s time to assign products to this collection. Click ‘Add Product.’

Select the product and click ‘Done.’
Keep in mind that there are two ways to add a product to a collection: you can either add the product to the collection section or assign the collection to the product section.
Once your collections are set up and products assigned, the collection structure becomes part of your app’s visible navigation. Users can filter by collection in the store interface, giving them a curated browsing experience. Behind the scenes, this also helps you manage and promote certain offerings (for example, highlighting ‘Best Offers’ or grouping ‘On Sale’).
Use Cases
- Retail stores: Organize products into collections like ‘New Arrivals,’ ‘On Sale,’ or ‘Best Sellers’ to guide shoppers easily.
- Food & beverage businesses: Group menu items into collections such as ‘Appetizers,’ ‘Main Dishes,’ and ‘Desserts’ for a restaurant-style browsing experience.
- Fashion brands: Showcase seasonal collections like ‘Spring Collection,’ ‘Winter Essentials,’ or ‘Accessories’ to keep the catalog fresh and appealing.
- Electronics shops: Create collections like ‘Laptops,’ ‘Smartphones,’ and ‘Accessories’ to help customers quickly find the right category.
- Event organizers & merch sellers: Arrange event merchandise into collections such as ‘VIP Exclusives,’ ‘Limited Edition,’ and ‘Standard Merch’ to streamline browsing.
❓ FAQs
Q: How can I group products into categories or collections in my app’s shop without coding?
A: With nandbox’s visual admin panel, you can quickly organize your shop by creating product categories or collections—no coding required. Group items under themes like “Summer Sale,” “New Arrivals,” or “Best Sellers” to make shopping easier for your users.
Q: How do I create a new collection?
A:
- From your admin dashboard, go to Collections.
- Click Add New Collection.
- Fill out these details:
- Title—Give your collection a name (e.g., “Winter Deals”).
- Description—Add a short summary to describe what’s in the collection.
- Upload or drag an image—This will represent your collection in the shop.
- Choose a collection theme—Select the layout style you want for the collection.
- Click Create to save it.
Once it’s created, you’ll see the Collection ID and the date it was added.
Q: How do I add products to a collection?
A:
- Open the collection you want to edit.
- Click Add Product.
- Select the products you want to include from the list.
- Click Done—your products are now grouped under this collection.
You can assign products to a collection in two ways:
- From the Collection screen (click Add Product).
- From the Product screen (use Assign to a Collection).
This gives you full flexibility to organize your store however you like.